AI Window Tint Preview
← Browse all creative effectsLast updated
Preview light, medium, dark, or limo tint on your car windows with AI in seconds.

Upload photo to preview window tint level
"50% tint on front side windows, 20% tint on rear side windows and back window"
Release to upload
50,000+photos edited
<30stypical edit
1 freeedit weekly
How it works
See it in action

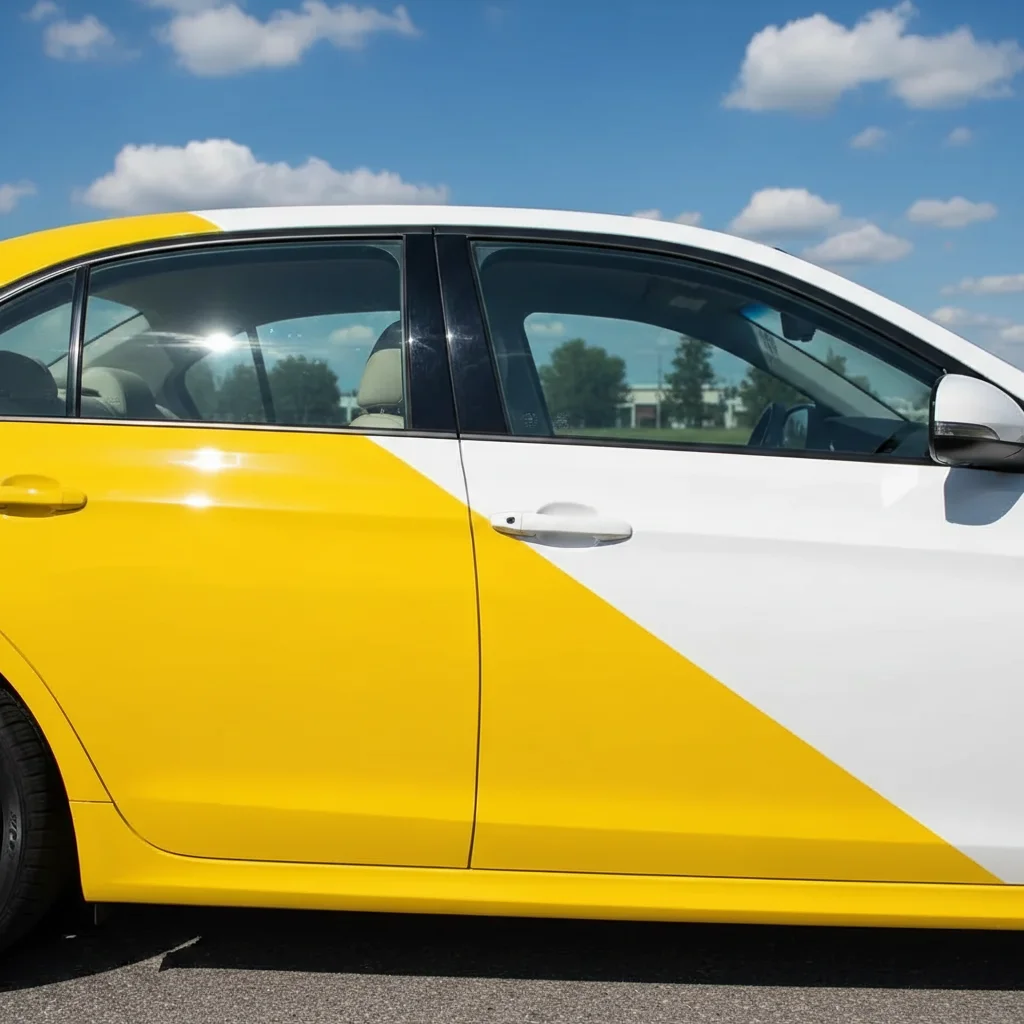
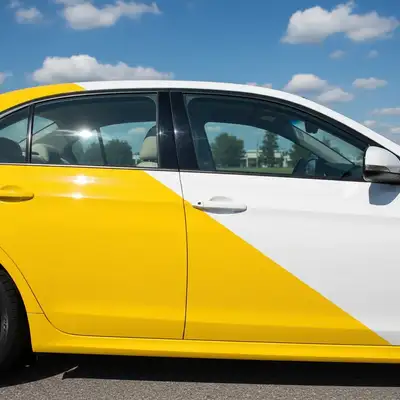
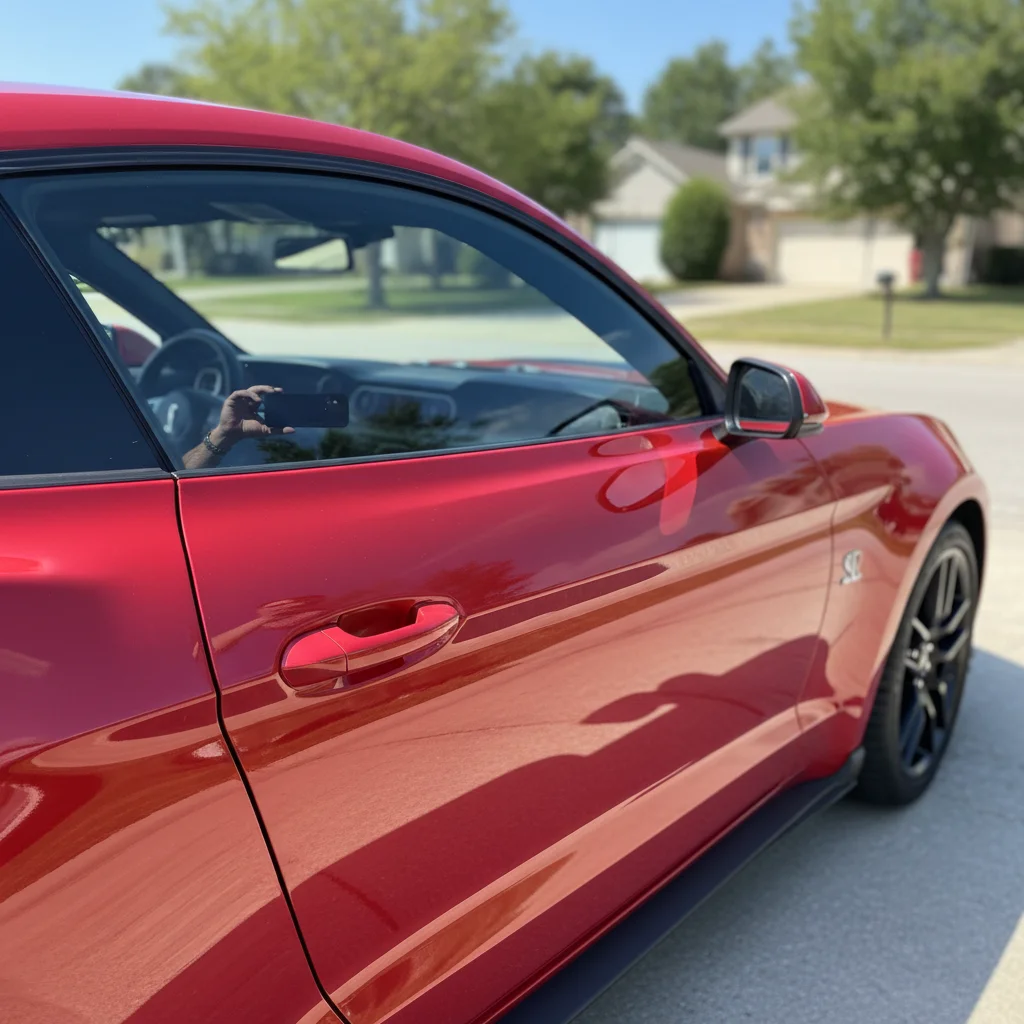
Same sedan with medium 35% tint on all windows
Same sedan with medium 35% tint on all windows
SUV with dark rear tint, lighter front
SUV with dark rear tint, lighter front
Prompt:
50% tint on front side windows for legal compliance, 20% dark tint on rear side windows and back window for privacy
Truck with very dark limo tint on rear, clear front
Truck with very dark limo tint on rear, clear front
Prompt:
5% limo tint on rear cab windows and back window, front windows stay factory clear to remain street legal
Quick answers
Popular use cases
Ready to preview window tint?
Free to try. No signup required.