Do I need to mark faces before describing the adjustment?
No! For most skin tone adjustments, just describe what you want: 'adjust skin tone warmer' or 'remove the orange tint and balance skin color.' The AI understands 'skin tone' and finds all faces automatically. Only use markers when you need different adjustments for different people, or when you want to target one specific face in a group.
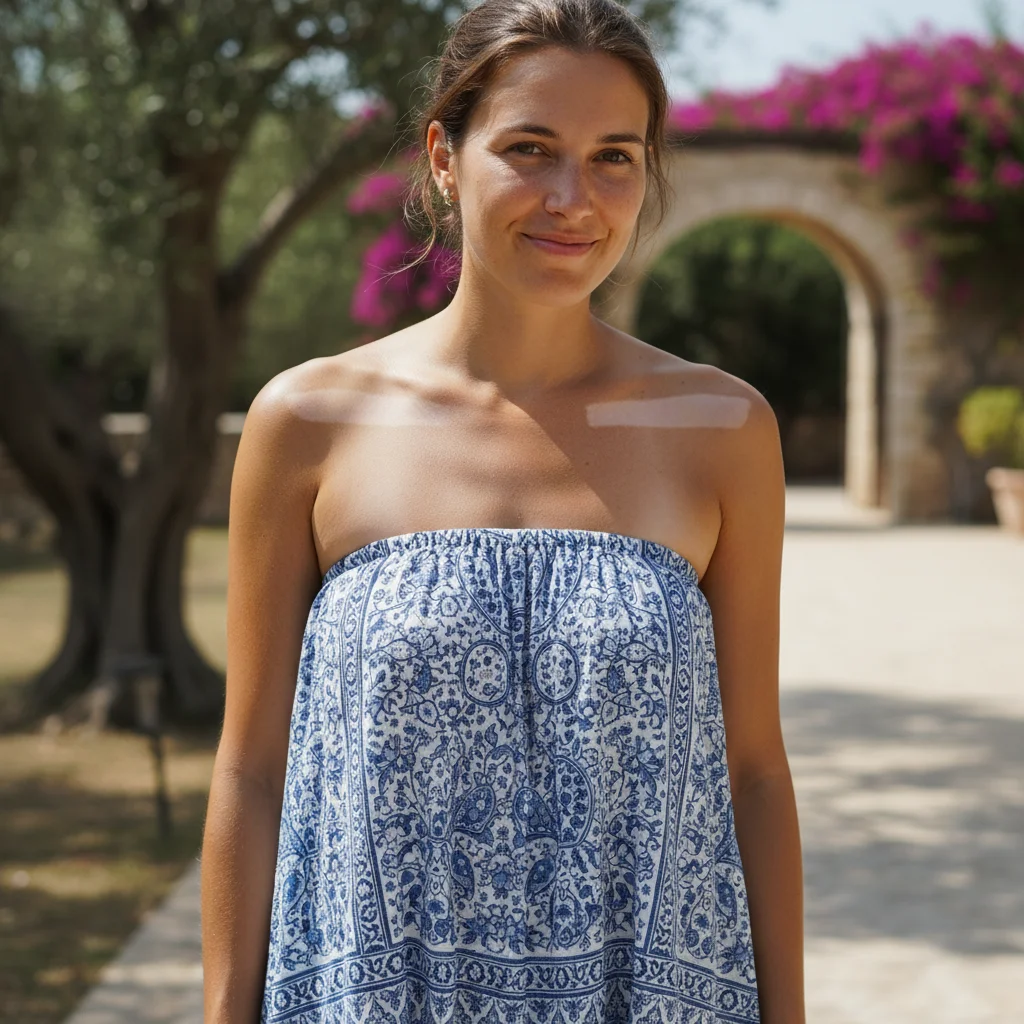
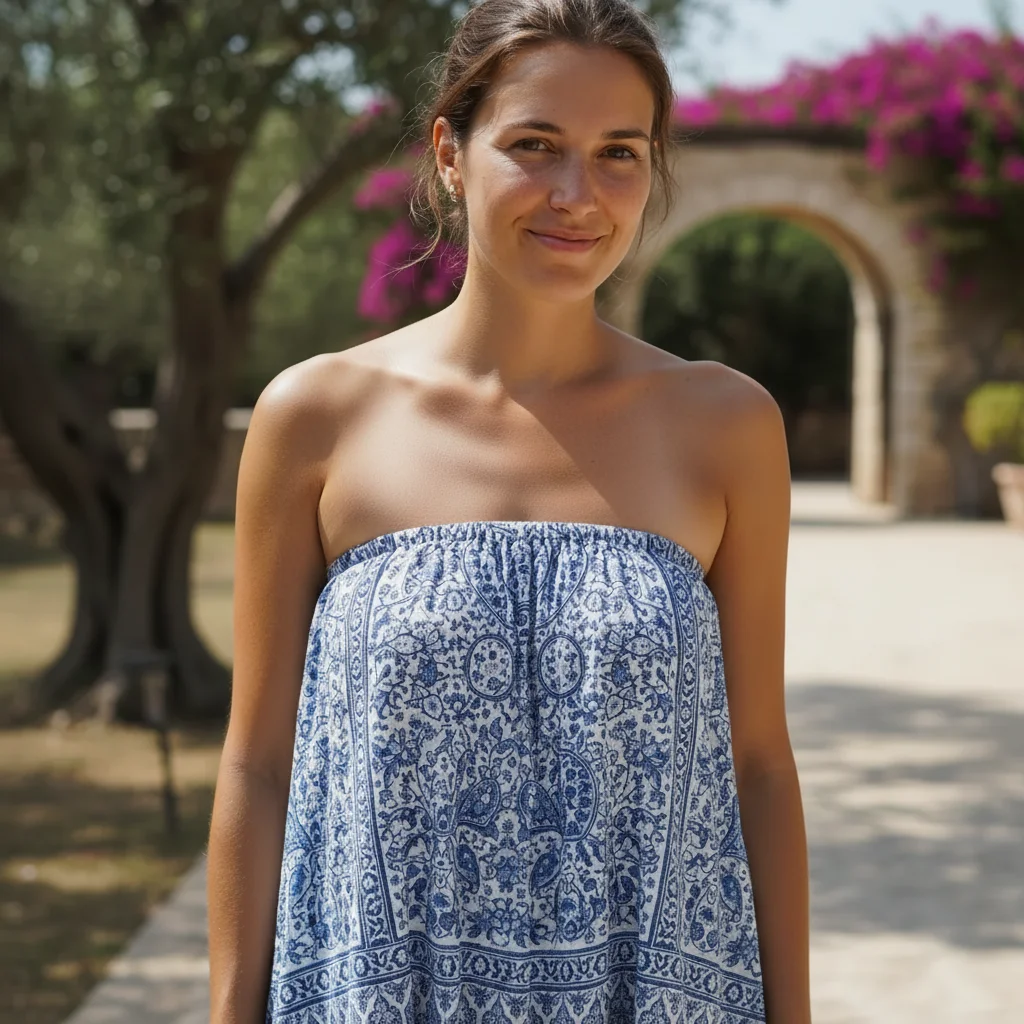
How do I adjust skin tone for free without Photoshop?
Use EditThisPic's free AI skin tone adjuster. Upload your photo, describe the change you want (like 'warmer' or 'remove orange tint'), and the AI handles color correction automatically. No subscriptions, no accounts, no watermarks. You get natural-looking results in seconds without learning complex color grading tools.
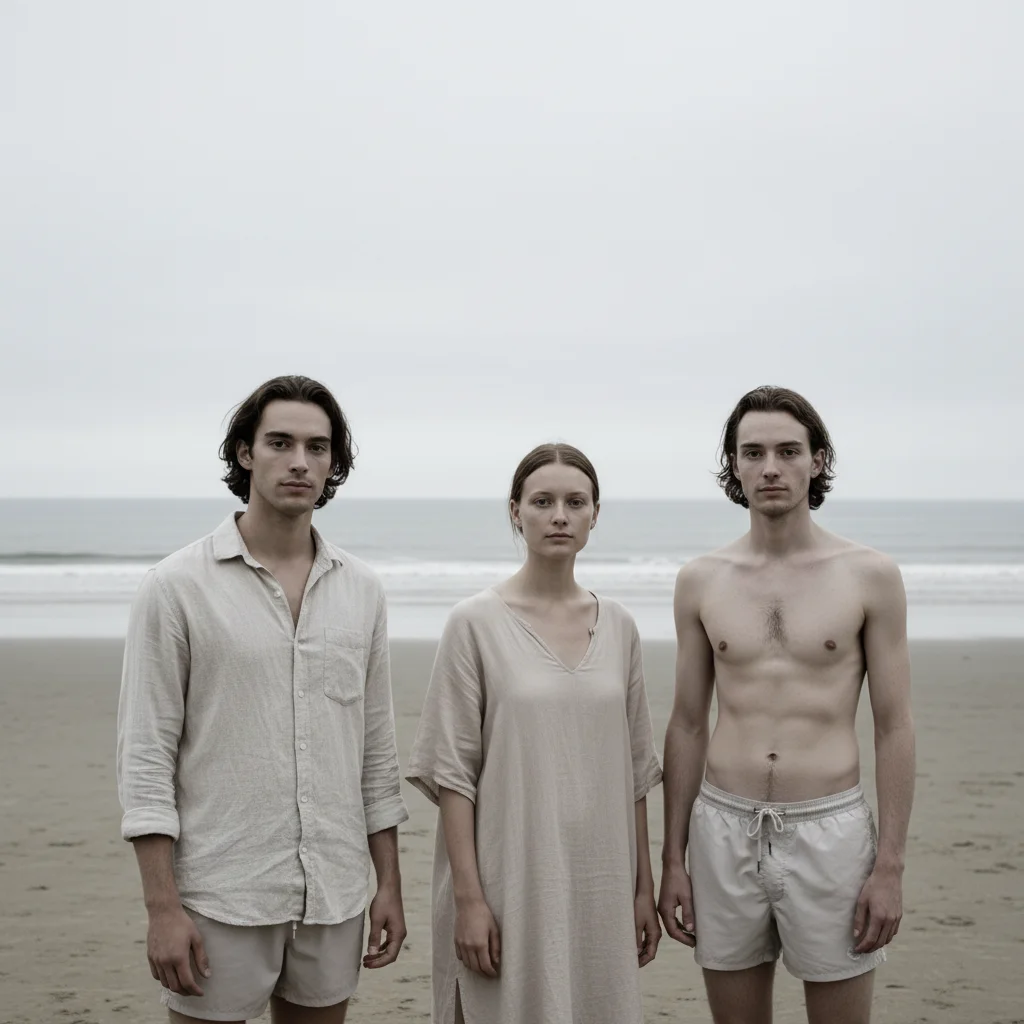
Will it work on all skin tones and ethnicities?
Yes. The AI is trained on diverse skin tones from very pale to very deep, and adjusts relative to each person's natural tone. When you say 'warmer,' it warms their specific starting tone naturally. When you say 'remove green tint,' it removes the cast while preserving their natural color. Results work equally well across all skin tones.
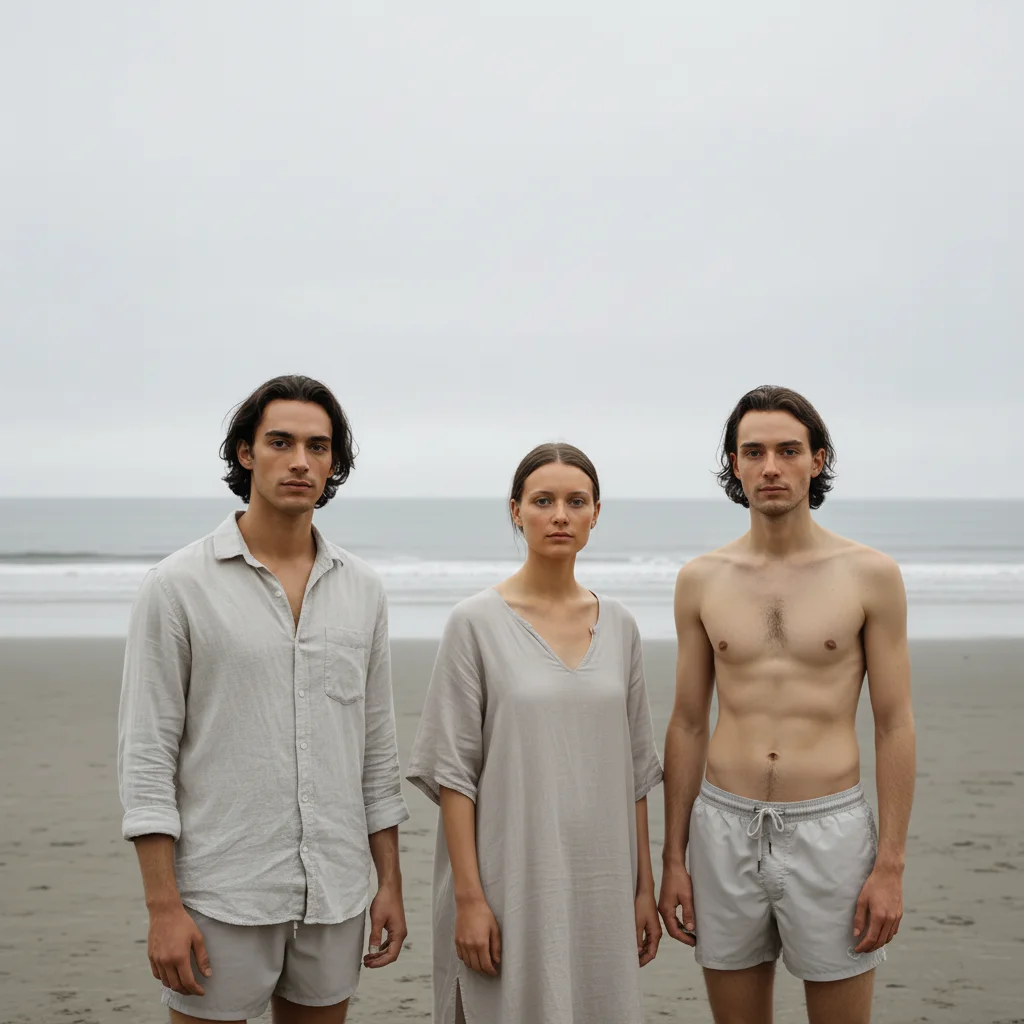
Can I fix photos with mixed lighting where people have different skin colors?
Yes. Use a prompt like 'balance skin tones across all faces to consistent warm natural color, removing uneven lighting.' The AI will analyze each person's skin and adjust them all toward the same target tone, correcting for different lighting conditions on each person.
What's the difference between skin tone adjustment and photo color correction?
Skin tone adjustment targets only skin areas (faces, arms, neck) to correct color casts and balance tones. Photo color correction adjusts the entire image including backgrounds, clothing, and objects. Use skin tone adjustment when faces look off-color but the rest of the photo is fine. Use color correction when the whole image has a color cast.
Is EditThisPic's AI skin tone adjuster really free?
Yes — you get 1 free edit per week, no account needed. For unlimited edits, plans start at $3.99/month.
Can I adjust skin tone on my phone?
Yes. EditThisPic works in any mobile browser — iPhone, Android, tablet. No app download needed.
What photo formats does the AI skin tone adjuster support?
JPG, PNG, WebP, and HEIC. Upload any common photo format and EditThisPic handles the rest.