Free • No signup Create Cosmetic procedure results photos · Free

Document Cosmetic Procedure Results Consistently

Last updated

Aesthetic procedures require objective documentation. Match lighting and angles to show real results.

Botox documentation with mismatched lighting obscuring results Normalized lighting showing accurate wrinkle reduction results

Upload photo to create cosmetic procedure results photos

"normalize lighting to show wrinkle and line reduction accurately, no lighting tricks that hide or exaggerate results"

Release to upload

50,000+photos edited
<30stypical edit
1 freeedit weekly

1 free edit·then from $4.99

How it works

  1. Upload pre and post-treatment photos

    Drop your before-treatment and after-treatment photos into EditThisPic. JPG, PNG, WebP up to 7MB. Works with dermatology photos, plastic surgery documentation, med spa results, laser treatment outcomes—any aesthetic procedure needing consistent documentation.

    Expect: Simple lighting normalization: 20-25 seconds. Complex multi-angle documentation or significant quality differences: may need refinement.
  2. Specify clinical documentation standards

    Type 'match lighting and angle for aesthetic documentation' or 'normalize both photos to clinical quality with consistent lighting.' The AI removes lighting bias that can hide or exaggerate treatment effects—critical for honest results documentation and regulatory compliance.

    Tip: For consistent clinic documentation, create a standard prompt template and use it for all procedures: 'neutral white light, straight-on angle, clear view of treated area.'

    Copy one of these to get started:

    Standard aesthetic procedure documentation match lighting and angle for medical aesthetic documentation, ensure both photos show treatment area identically
    Botox or wrinkle reduction documentation normalize lighting to show wrinkle and line reduction accurately, no lighting tricks that hide or exaggerate results
    Filler or volume restoration results match lighting and shadows to accurately show volume changes and facial contour improvements from fillers
    Skin treatment or laser therapy results normalize lighting to clinical quality, accurately show skin texture, tone, and clarity improvements without lighting bias
    3 more prompts
    Multi-angle facial documentation for front view, match clinical lighting; for profile, match clinical lighting; for three-quarter view, match clinical lighting
    Patient-submitted follow-up photos enhance patient home photo to match clinic documentation quality, normalize lighting while preserving accurate treatment results
    Creating professional portfolio photos create side-by-side before-after with matched clinical lighting, professional presentation for portfolio and marketing
  3. Verify treatment outcome accuracy

    Check that skin texture, color, wrinkles, volume, and other treatment effects are accurately represented without lighting-induced distortion. Verify both photos show the treated area from the same perspective and distance. Medical aesthetics documentation must reflect real outcomes.

  4. Refine for specific procedures

    If documenting specific treatments, add relevant details: 'for Botox forehead lines, ensure lighting shows actual wrinkle reduction' or 'for filler results, match lighting to show volume accurately.' Different procedures have different documentation requirements.

    Tip: Multi-area treatments need consistent documentation for each area. Use same standardized settings for all before-after pairs.

See it in action

Botox documentation with mismatched lighting obscuring results
Before
->
Normalized lighting showing accurate wrinkle reduction results
After

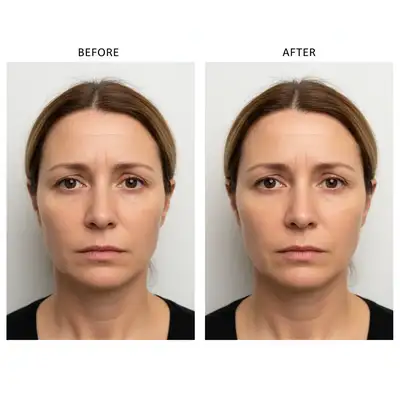
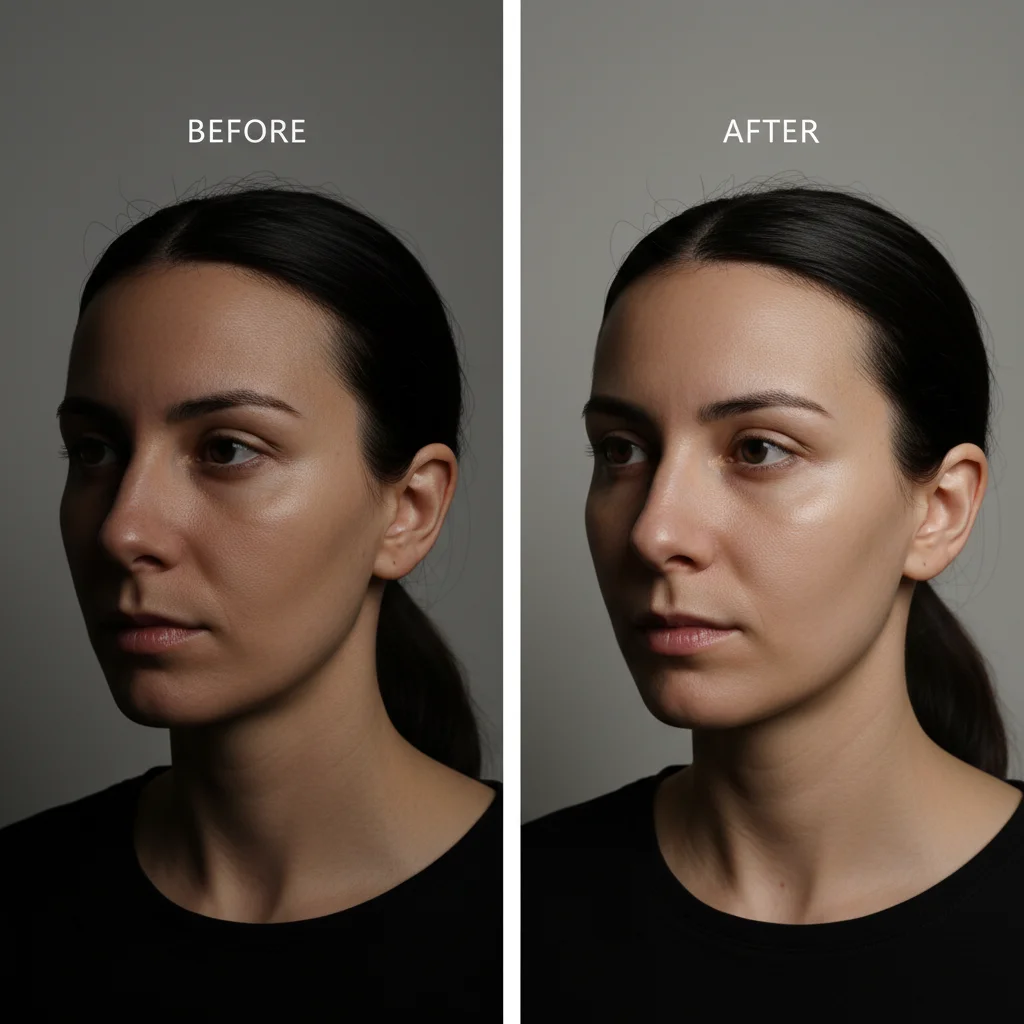
Botox forehead lines documentation normalized

Pre-treatment in bright overhead exam room light, post-treatment in softer consultation room. Matched lighting to show actual wrinkle reduction without lighting distortion.

Prompt: normalize lighting to show wrinkle and line reduction accurately, no lighting tricks that hide or exaggerate results
Filler results with inconsistent lighting and shadow patterns
Before
->
Matched lighting showing accurate volume enhancement from fillers
After

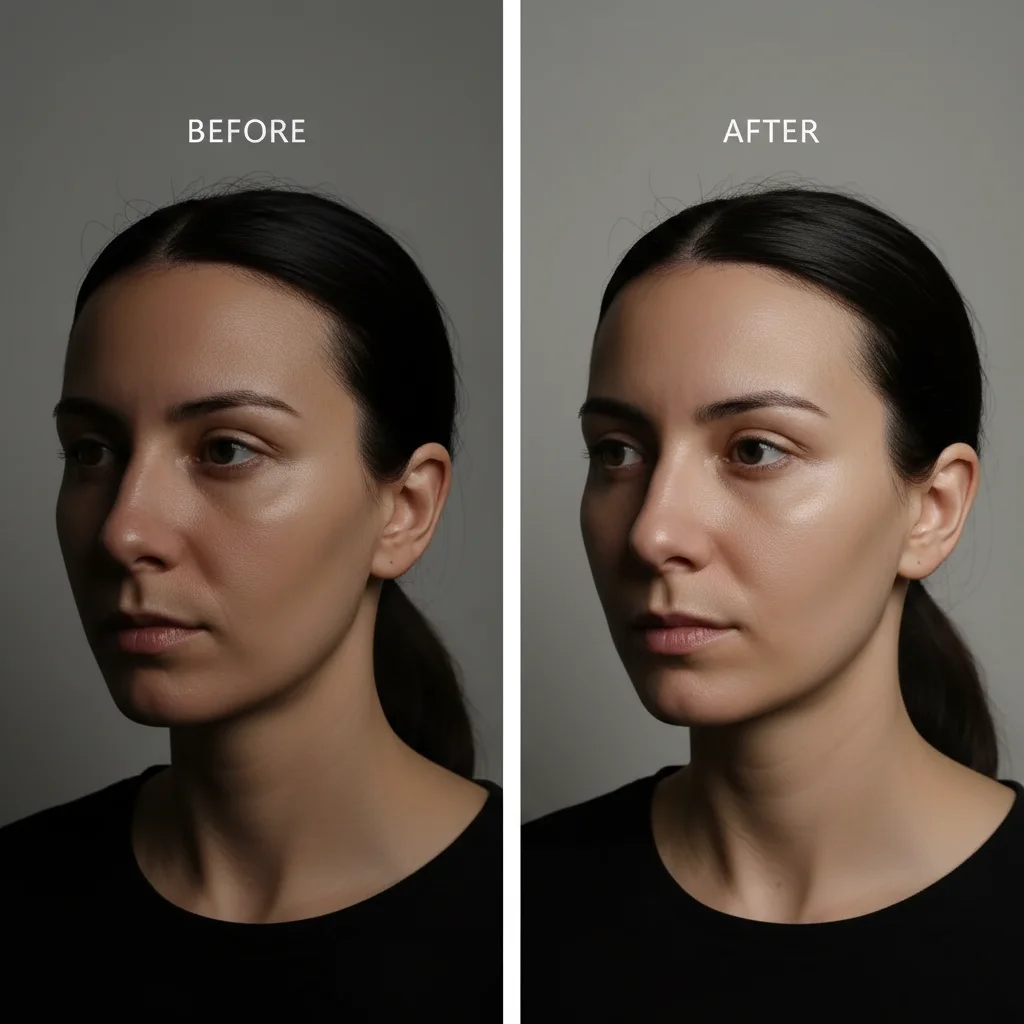
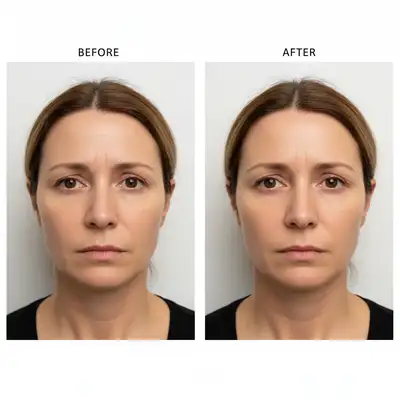
Dermal filler results with consistent shadow documentation

Cheek filler before-after with different lighting creating inconsistent shadow patterns. Normalized to accurately show volume enhancement from filler placement.

Prompt: match lighting and shadows to accurately show volume changes and facial contour improvements from fillers
Laser treatment photos with mismatched home vs clinic quality
Before
->
Standardized documentation showing accurate skin texture improvement
After

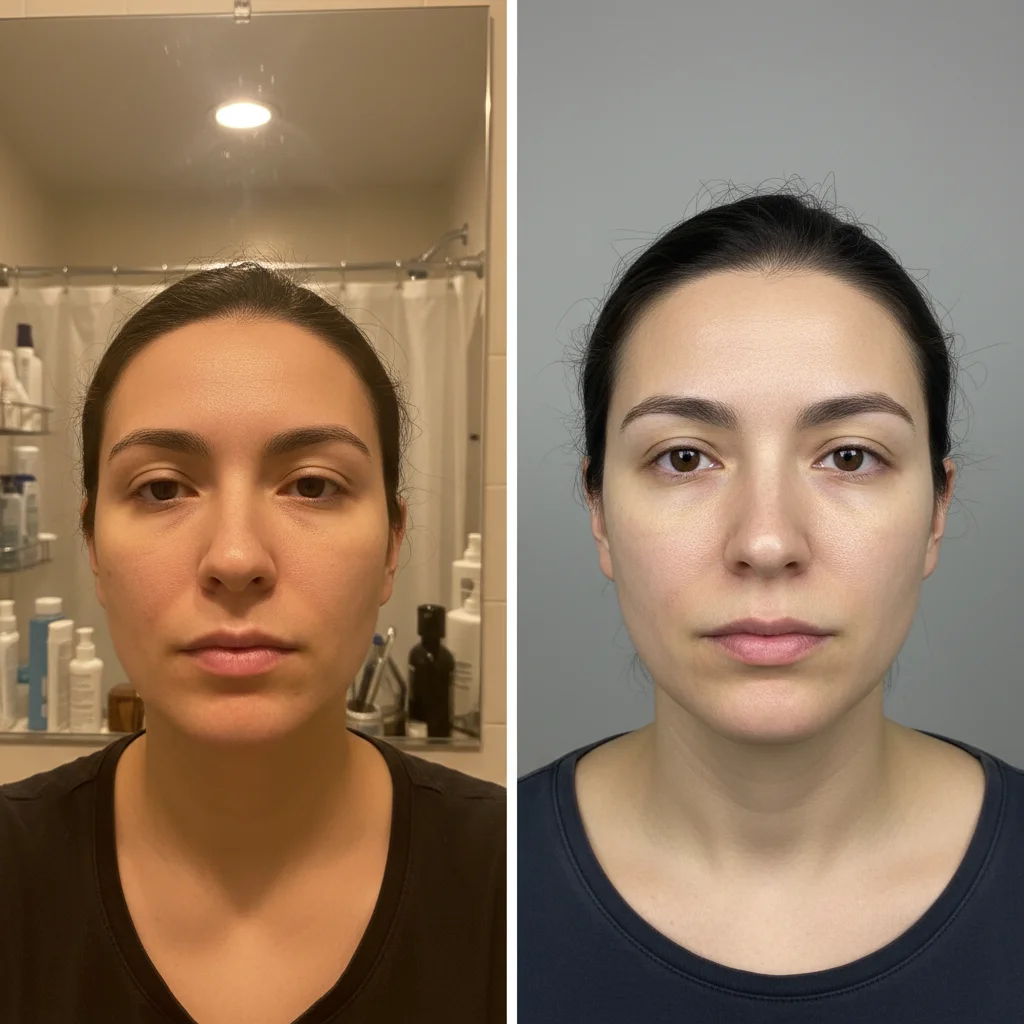
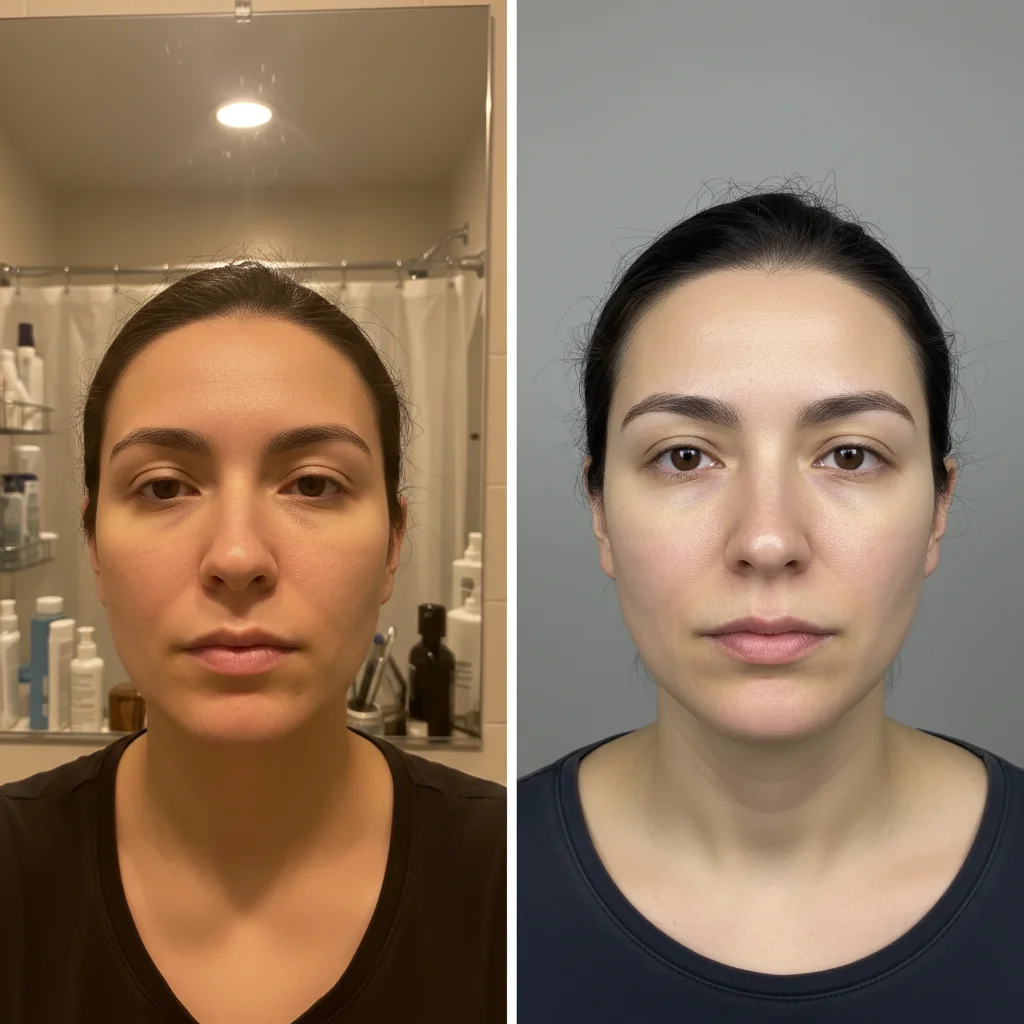
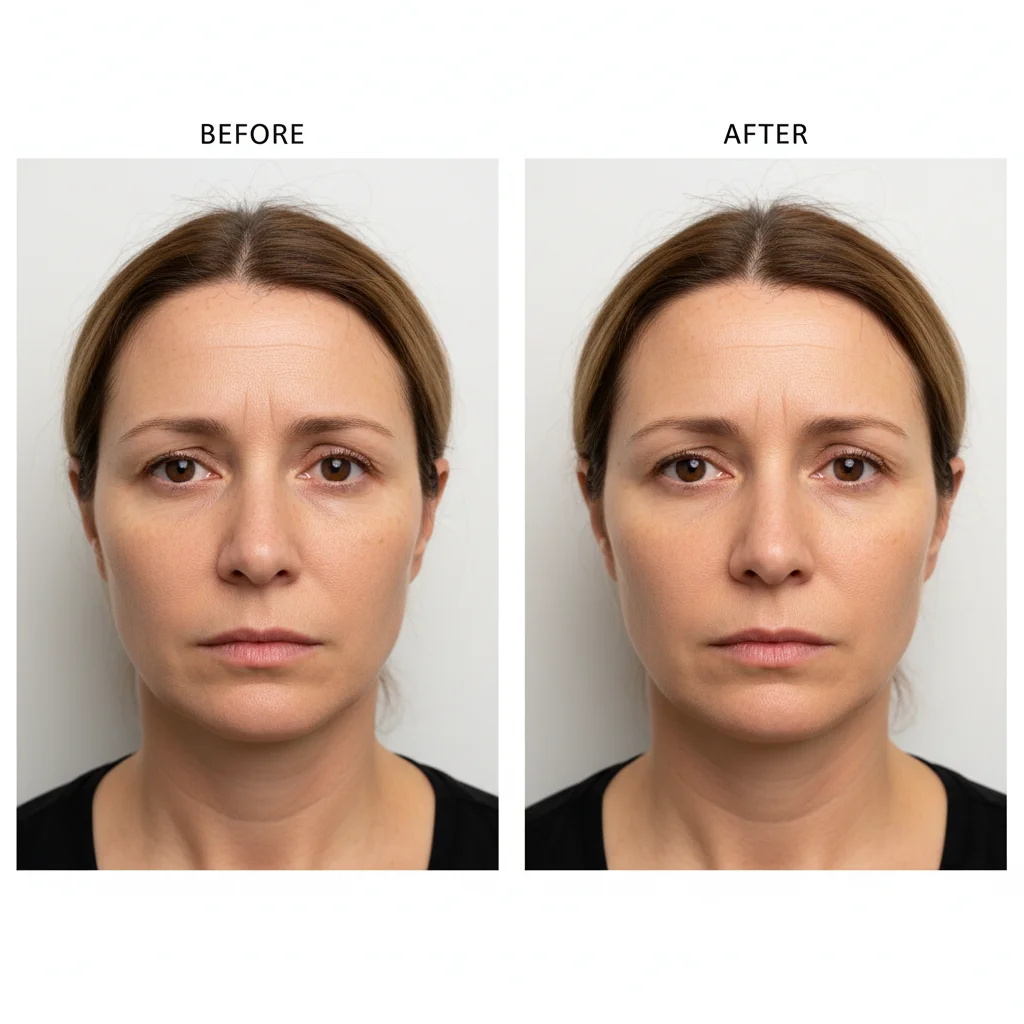
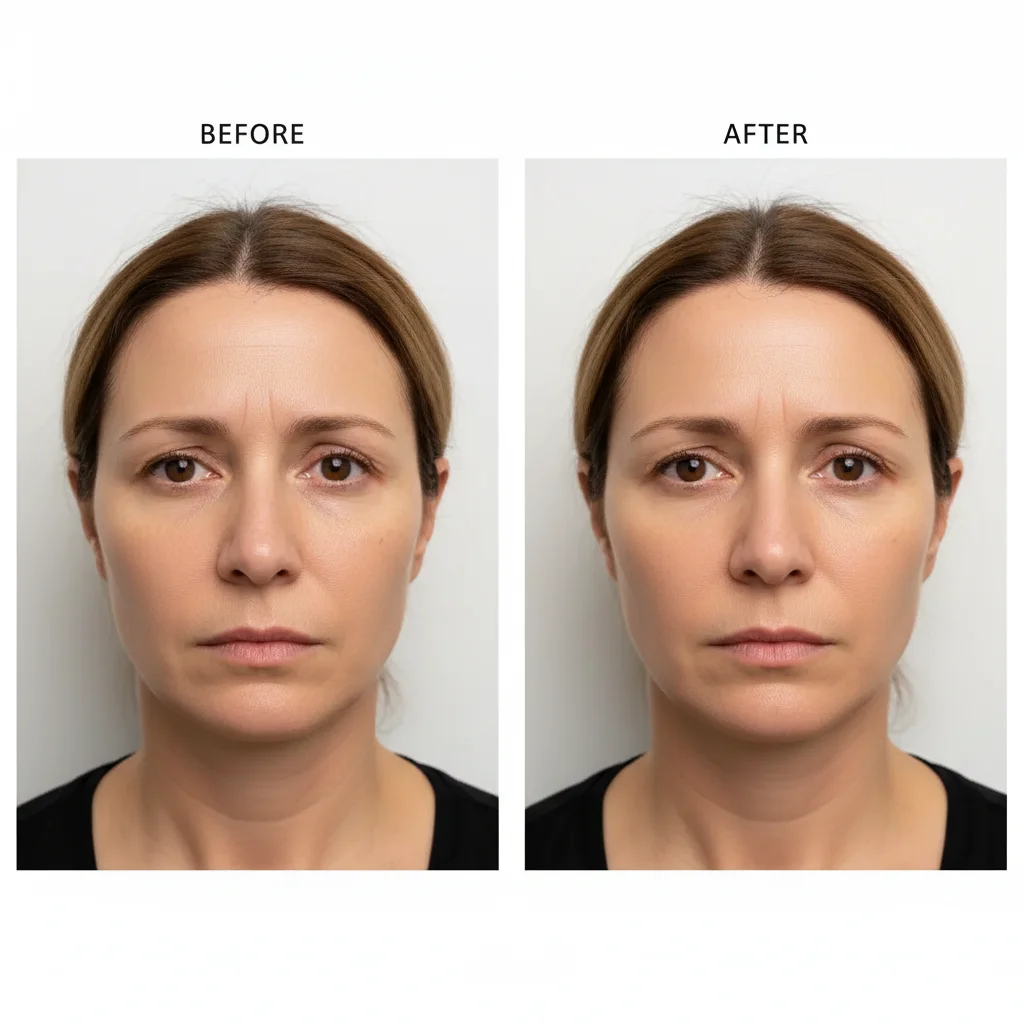
Laser skin treatment with normalized texture documentation

Acne scar laser treatment before-after. Patient's before photo from home, after from clinic. Standardized to clinic quality showing real skin texture improvement.

Prompt: normalize lighting to clinical quality, accurately show skin texture, tone, and clarity improvements without lighting bias

Quick answers

Do I need to mark areas before matching cosmetic procedure photos?

No! Just describe the documentation requirement: 'match lighting for aesthetic documentation' or 'normalize both photos to clinical quality.' The AI understands medical photography standards and applies consistent conditions automatically.

Why is lighting consistency critical for cosmetic procedure documentation?

Cosmetic results are extremely lighting-sensitive. Different lighting can hide wrinkles, exaggerate or minimize volume changes, alter skin texture appearance, and misrepresent treatment outcomes. Consistent lighting ensures you're documenting actual treatment effects, not photographic variables. This is essential for honest patient communication, regulatory compliance, and professional credibility.

Can this work with patient-submitted follow-up photos?

Yes. Remote follow-ups often rely on patient selfies with varying quality and lighting. The AI can normalize these to clinic documentation standards—improving consistency, enhancing clarity, and making them clinically useful for assessment. Always verify that normalization preserves accurate representation of treatment results, not artificial enhancement.

How do I document procedures requiring multiple angles?

Use the same standardization prompt for each angle pair: 'match clinical lighting for front view,' then repeat for profile, three-quarter, and any other required angles. Comprehensive facial documentation needs consistency across all perspectives. Save your standardized prompt and apply it to every angle pair for professional multi-view documentation.

What if normalization changes how treatment effects look?

Medical accuracy always takes priority. If lighting normalization alters the visible appearance of treatment effects, reduce the adjustment: 'match lighting minimally while showing accurate treatment results.' The goal is removing lighting bias, not creating identical photos. Some lighting variation is acceptable if it preserves honest outcome representation.

Is EditThisPic's AI cosmetic procedure results photos creator really free?

Yes — you get 1 free edit per week, no account needed. Plans start at $4.99/month for 15 edits.

Can I create cosmetic procedure results photos on my phone?

Yes. EditThisPic works in any mobile browser — iPhone, Android, tablet. No app download needed.

What photo formats does the AI cosmetic procedure results photos creator support?

JPG, PNG, WebP, and HEIC. Upload any common photo format and EditThisPic handles the rest.

How much does EditThisPic cost?

You get 1 free edit per week — no account needed. After that, credit packs start at $1.99 for 3 edits. Monthly plans start at $4.99/mo for 20 edits with unused credits rolling over. All edits are full resolution with no watermark.

Ready to create consistent cosmetic procedure documentation?

Free to try. No signup required.

1 free edit included·Credit packs from $4.99