Free • No signup Place Object · Free

Place Object in Photo

Last updated

Place any object in a photo with deliberate styling — upload your scene photo and a reference photo of the object, describe angle, position, and composition.

01Photo 1
Styled flat-lay with pink linen and petals, empty center
02Photo 2
Reference image for Place Object in Photo
03Result
Same flat-lay with a perfume bottle placed at a deliberate angle with a long shadow

Upload photo to place object

"place this product standing upright in the right third of the image, slightly angled toward the viewer, with dramatic side lighting casting a strong shadow to the left"

Release to upload

1 free edit·then from $4.99

Popular use cases:
  • place product in photo for content creation
  • product placement photo styling
  • AI product flat-lay compositing
  • place item in styled photo
  • product photography compositing free
  • place branded product in lifestyle photo
  • styled product shot without a studio
  • place object with composition control

1Your photo
+
2Reference
=
Result
Styled flat-lay background with flowers and fabric, no product placed yet Your scene
Perfume bottle on white background — the product to place Reference object
Styled flat-lay with the perfume bottle placed at an intentional angle Result

"Place this bottle at a 45-degree angle in the center, soft natural side light"

Cost
Free No signup required
Time
Instant results in 15-30 seconds
Works on
Any device - browser, phone, tablet, desktop
Powered by
AI-powered photo editing

How it works

  1. Upload your two photos

    Drop your styled scene or background photo into EditThisPic — this is the environment you want the object placed in. Then click '+ Add reference photo' to upload a photo of the specific object. The two-photo setup is what lets the AI place your exact object, not a generic stand-in. JPG, PNG, or WebP up to 7MB each.

    Expect: Both photos ready in seconds. The AI reads the reference for the object's exact form before placing it.
  2. Describe angle, position, and light

    This is where 'place' differs from a casual add. Describe the deliberate composition you want: angle ('at 45 degrees'), position ('in the lower third'), orientation ('label facing the viewer'), and light ('with soft side lighting casting a shadow to the right'). The more intentional your prompt, the more styled the result.

    Tip: For product flat-lays, combining angle + shadow direction is the key to styled results: 'slightly angled with a long shadow falling to the left from the side light.'

    Copy one of these to get started:

    Place product at an angle for flat-lay styling place this product at a 45-degree angle in the center of the flat-lay, with a long soft shadow falling to the left from diffused side lighting
    Place product upright for editorial-style photo place this product standing upright in the right third of the image, slightly angled toward the viewer, with dramatic side lighting casting a strong shadow to the left
    Place beauty product for Instagram content place this beauty product in the center of the styled background, front-facing and upright, with soft diffused light from above and a clean drop shadow
    Place product in a lifestyle scene with natural light place this product on the surface in the foreground of the lifestyle scene, slightly angled for a casual look, with natural window light from the left creating a gentle shadow
    2 more prompts
    Place item in minimalist white background scene place this item on the white surface, angled at about 30 degrees, with clean overhead studio lighting and a soft, almost imperceptible shadow directly below
    Place product in dark moody background scene place this product standing upright in the lower right of the dark background, with a single dramatic spotlight from above and a strong directional shadow creating depth
  3. Review the composition

    Does the object's angle feel intentional and styled? Is the shadow direction adding depth and interest? Does the placement create visual balance within the scene? These are styling questions, not just technical ones — 'does it look like a professional product photo?'

  4. Refine angle and shadow for styling

    Product styling often takes 2-3 iterations. Adjust the angle: 'slightly more upright' or 'more tilted.' Adjust the shadow: 'longer shadow' or 'shadow more to the right.' Each refinement gets you closer to the exact styled image you're visualizing.

    Tip: Iterate on one thing at a time: fix angle first, then shadow direction, then scale. Changing everything at once makes it harder to know what worked.

See it in action

Styled flat-lay with pink linen and petals, empty center
Main Photo
Reference image for Place Object in Photo
Reference
Same flat-lay with a perfume bottle placed at a deliberate angle with a long shadow
Result

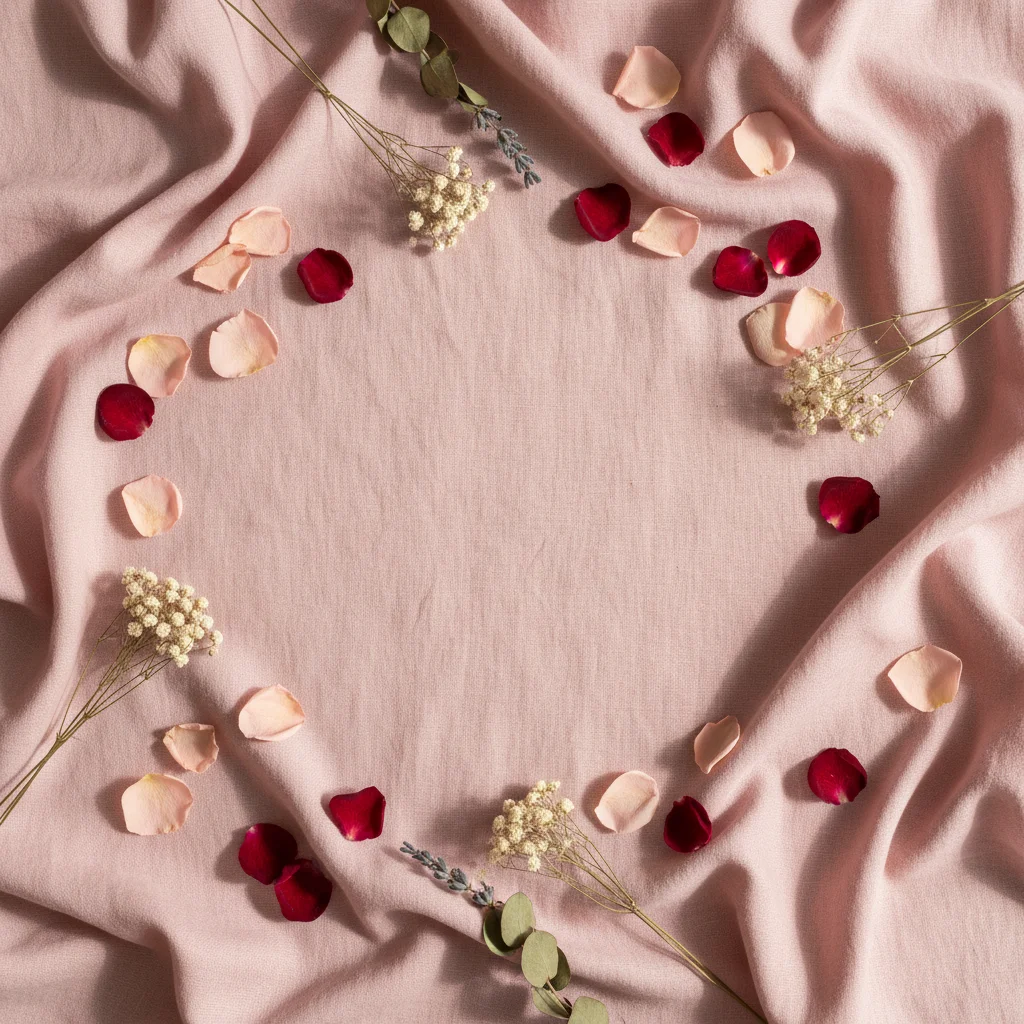
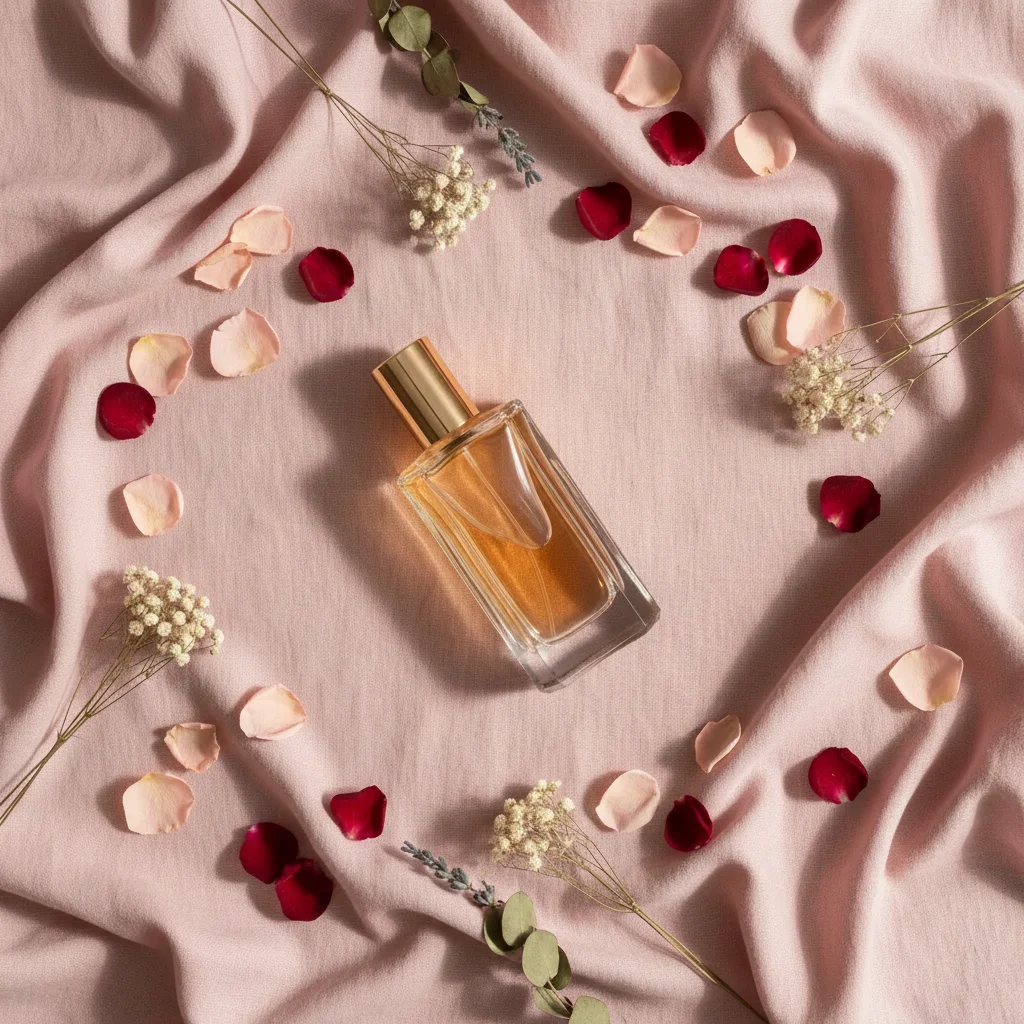
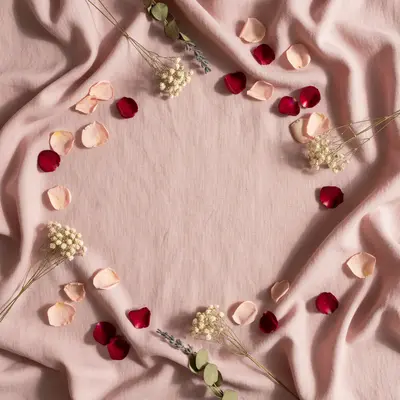
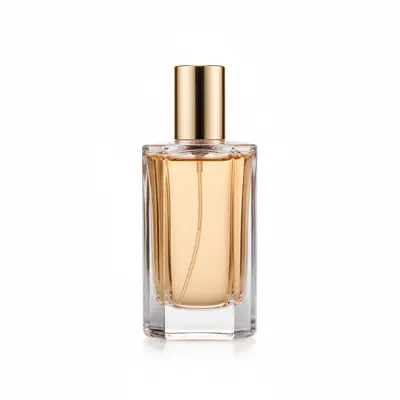
Perfume bottle placed in flat-lay with styled composition

A styled flat-lay background with florals and linen — AI placed a perfume bottle from a reference photo at a deliberate 45-degree angle with a long side-light shadow for an editorial effect.

Prompt: Place the perfume bottle from the reference photo in the center of the flat-lay. Position it at a 45-degree angle, leaning slightly left, with soft side lighting from the right casting a long shadow to the left.
Clean white marble editorial background with dramatic side lighting
Main Photo
Reference image for Place Object in Photo
Reference
Same background with a skincare serum bottle placed with editorial composition
Result

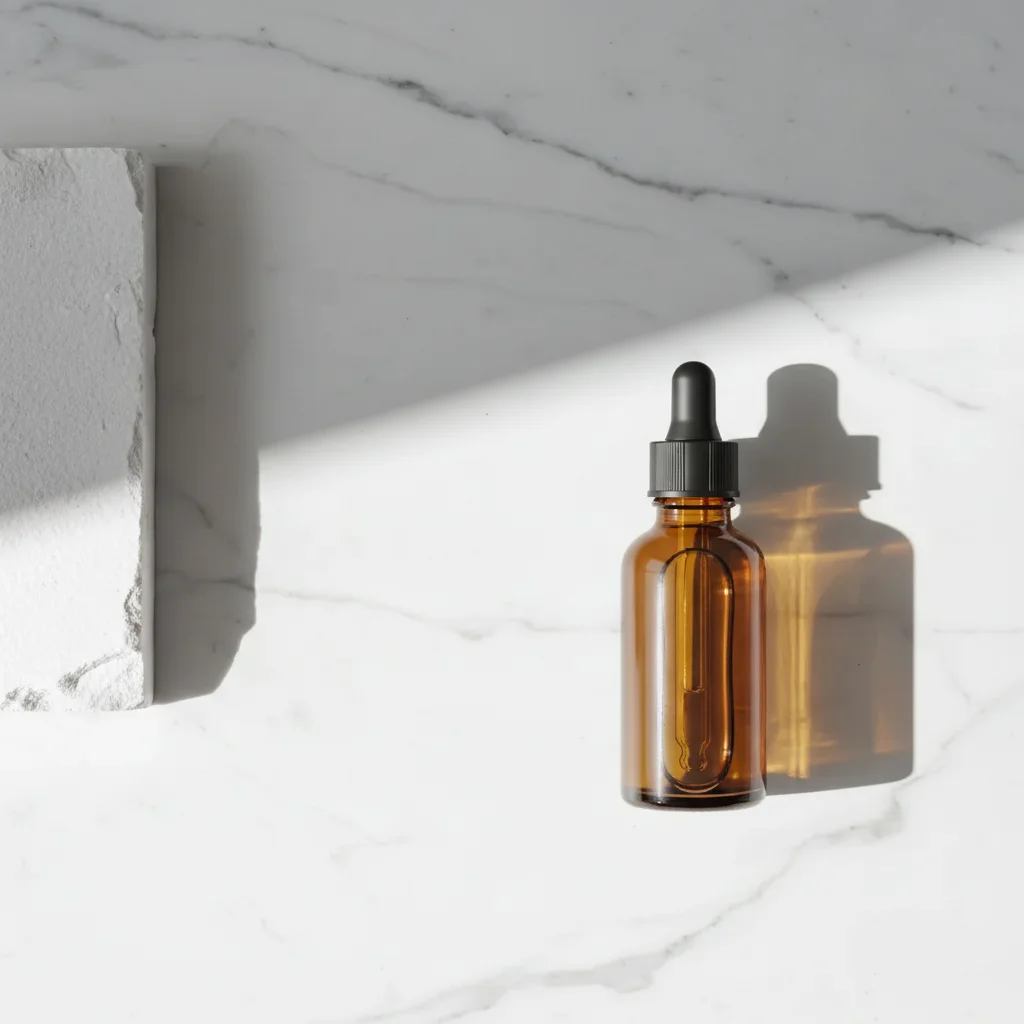
Skincare product placed in editorial beauty scene

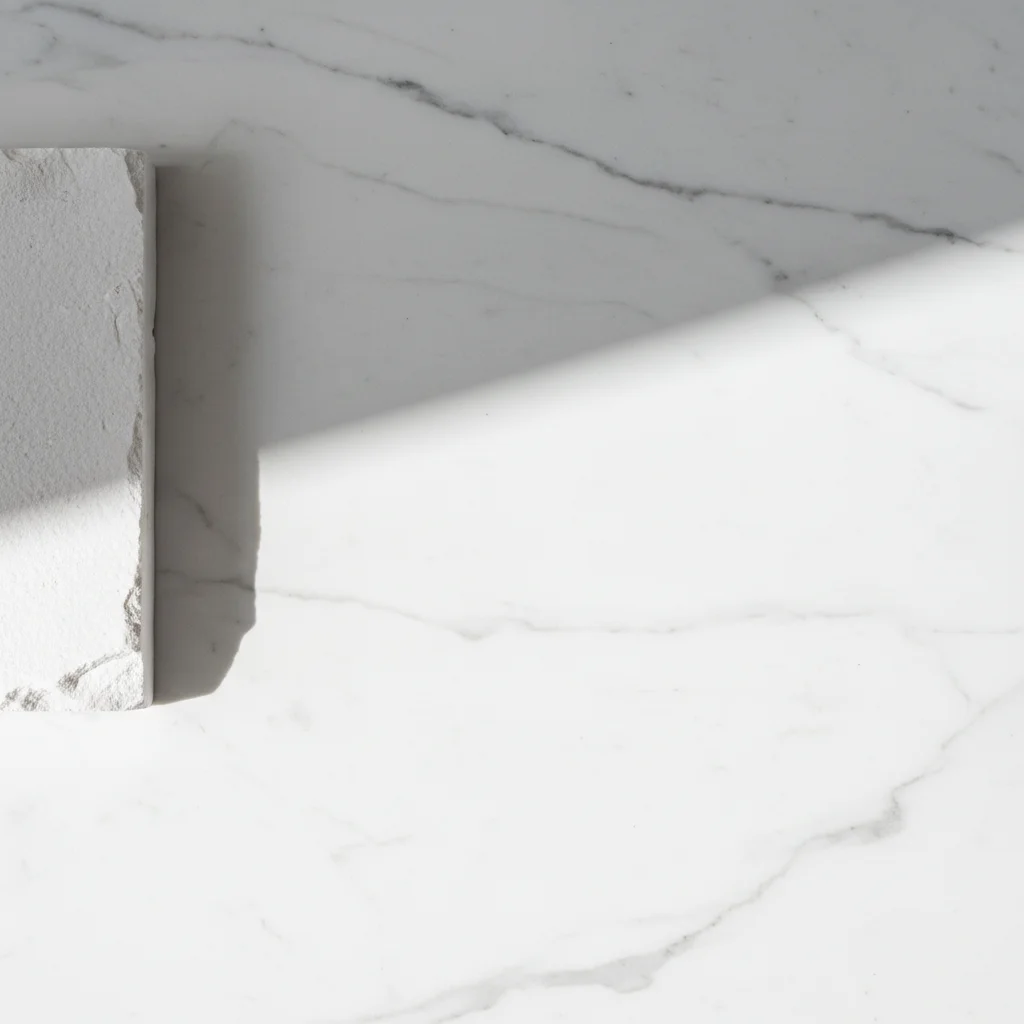
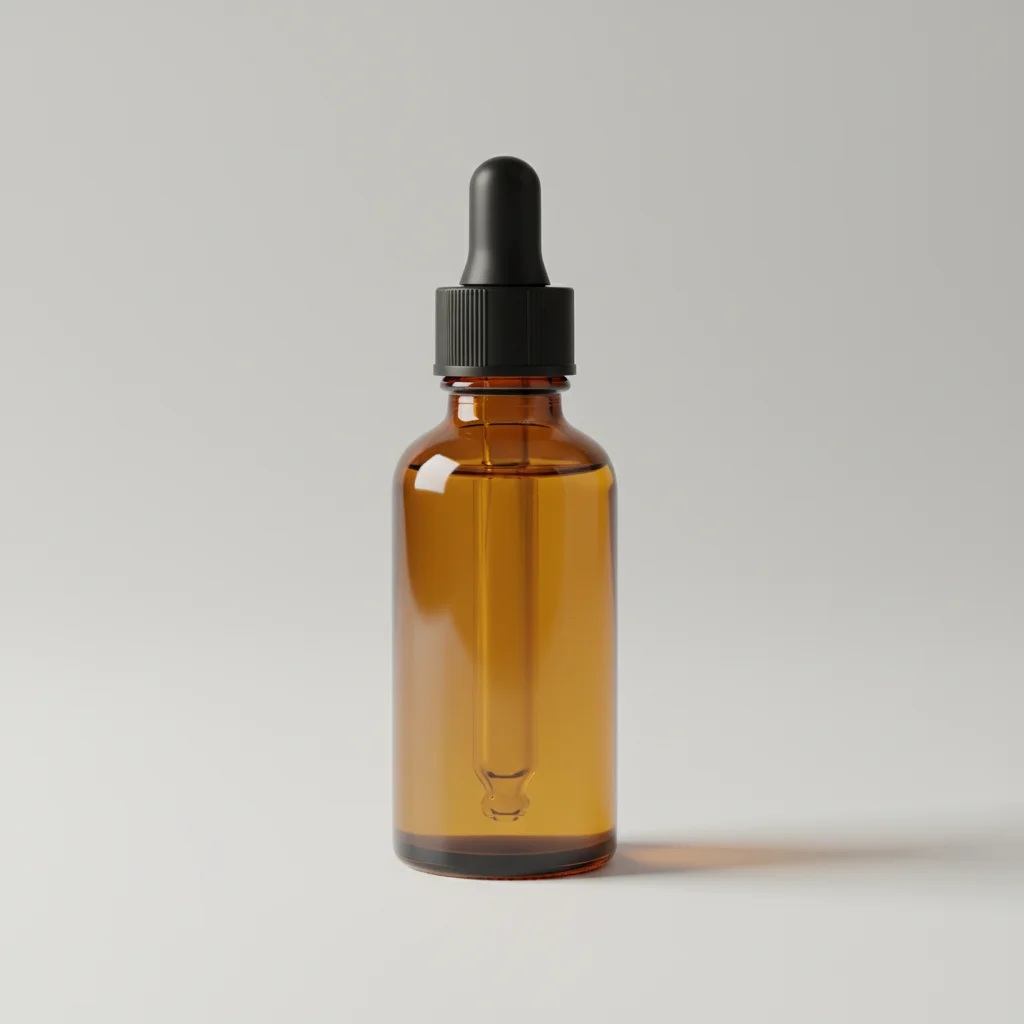
Clean white editorial background — AI placed a skincare serum bottle from a reference photo in the right third with dramatic directional lighting for a high-end beauty look.

Prompt: Place this serum bottle from the reference photo onto the marble background. Position it standing upright on the right side and match the dramatic side lighting.
Morning lifestyle table scene with warm light and empty foreground left
Main Photo
Reference image for Place Object in Photo
Reference
Same scene with a coffee bag casually placed in the foreground with morning light shadow
Result

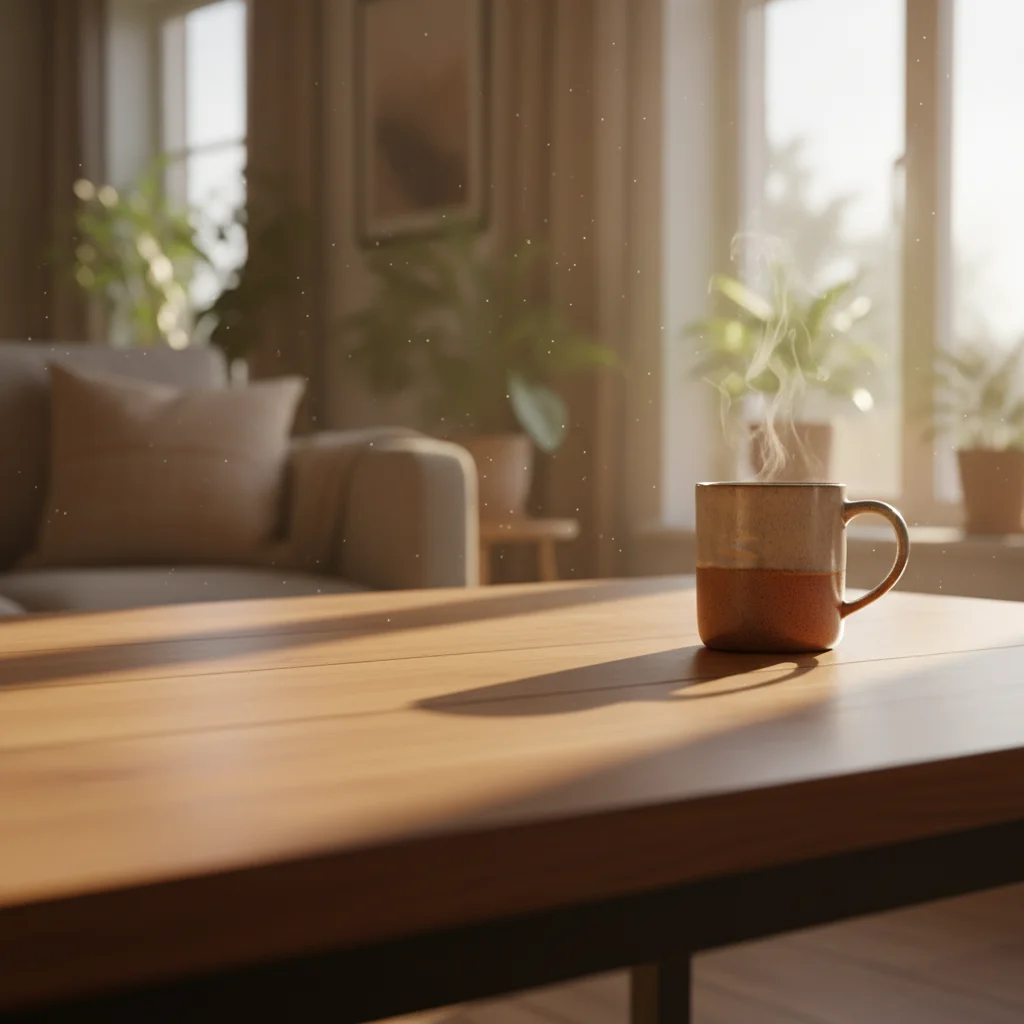
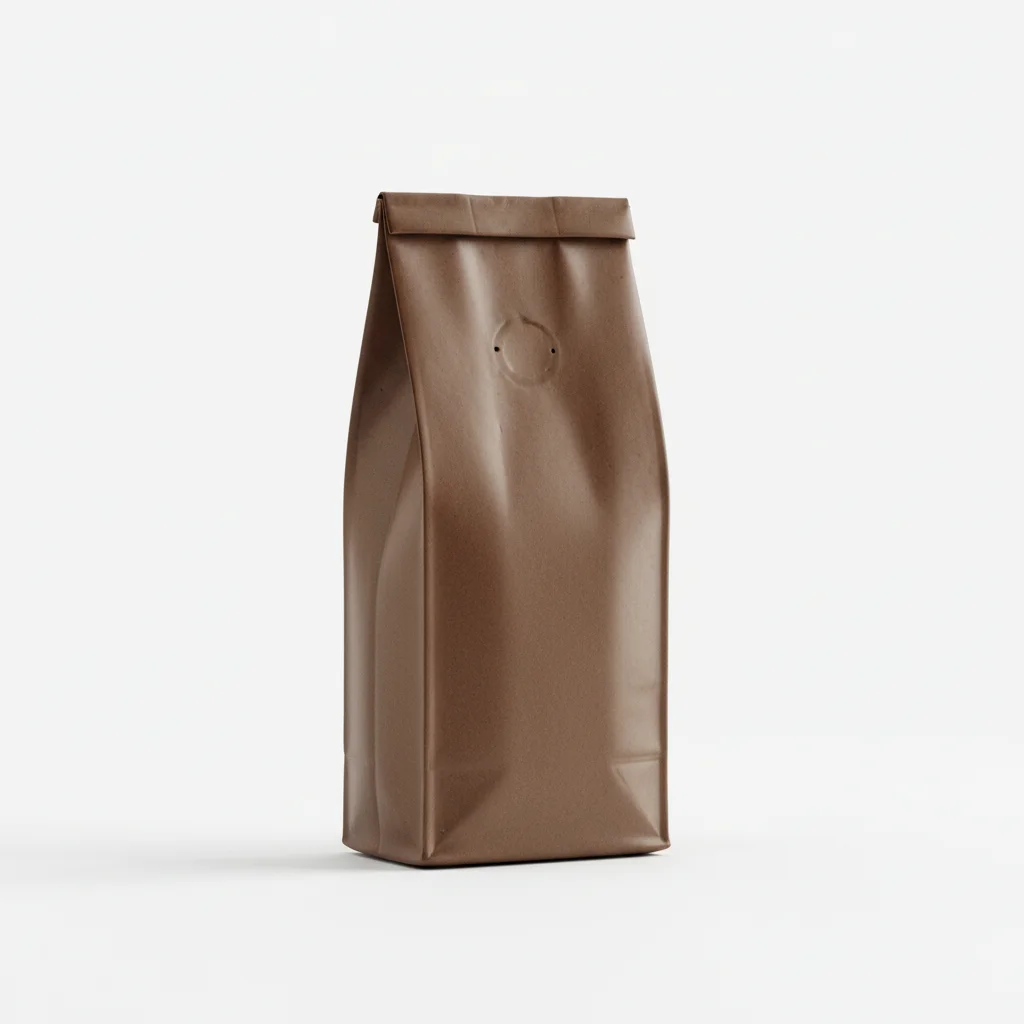
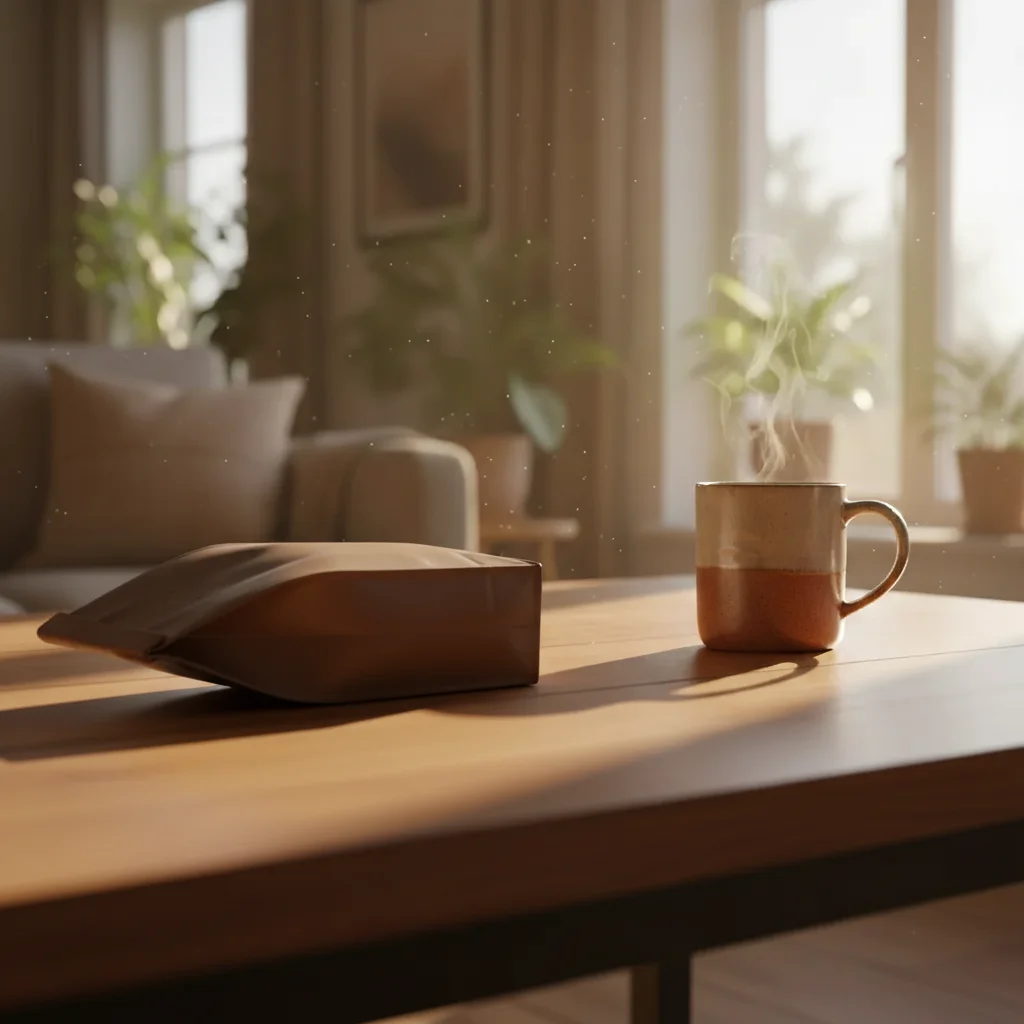
Coffee product placed in lifestyle morning scene

Soft morning light lifestyle scene with a wooden table — AI placed a coffee bag from a reference photo in a casual, slightly angled composition with natural morning light shadow.

Prompt: Place the coffee bag from the reference photo into the left foreground. Have it lying casually on its side, with a soft shadow matching the morning light from the right.

If something looks off

Object is placed upright when I wanted an angled composition

Why: Without explicit angle instruction, the AI defaults to upright/neutral placement.

Try: place this object at a [45-degree / 30-degree / slight] angle, [leaning left / leaning right / tilted toward viewer]

Tip: Specify both angle degree and lean direction — 'slightly angled' is ambiguous; '30 degrees leaning right' is not

Shadow is too short or missing for the styled look

Why: The AI generated a neutral ambient shadow instead of a directional styling shadow.

Try: place this object with a long directional shadow falling to the [left/right], created by side lighting from the opposite direction

Tip: Long shadows require side lighting — describe 'side lighting from [direction]' to get the shadow length you want

Object is in the wrong compositional position

Why: Description-based positioning can be interpreted differently than intended.

Try: Tap a marker on the exact target location and regenerate with the same composition description

Tip: Markers + composition description is the most reliable combination for precise styled placement

Object is too centered/symmetrical — looks too perfect

Why: AI defaults to symmetric placement unless you specify intentional asymmetry.

Try: place this object slightly off-center to the [left/right], with an asymmetric composition for a more natural editorial feel

Tip: Rule of thirds works in product photography too — off-center with intentional negative space looks more styled

AI changed wrong area

Why: Without a marker, the AI's interpretation of the composition target differed from yours.

Try: Tap a marker on the exact target location, then regenerate with your composition description

Tip: Always combine marker + composition description for styled product placement — it gives both precision and context

Quick answers

Do I need TWO photos for this?

Yes. Placing a specific real object in a photo requires two uploads: your styled scene or background photo and a reference photo of the exact object you want to place. Upload the scene first, then click '+ Add reference photo' for the object. This is what lets the AI place your specific product — not a generic placeholder — with the composition you describe.

How do I place an object in a photo for free with good composition?

Upload your scene to EditThisPic, click '+ Add reference photo' for the object, then describe the composition: 'place this bottle at a 45-degree angle in the lower right, with side lighting casting a shadow to the left.' The AI handles the placement and lighting in about 30 seconds. Free to try, no account needed, no watermark.

What is the difference between 'place' and just 'add' an object?

In practice, the AI performs the same compositing operation. The difference is in how you guide it. 'Place' implies deliberate styling — specify angle, orientation, and shadow direction. 'Place this bottle at 45 degrees with side lighting' gives you a styled product photo. 'Add this bottle to the table' gives you a more casual composite. Use 'place' language when you want intentional, styled composition.

Can I control the angle of the object?

Yes. Specify the angle in your prompt: 'at 45 degrees leaning right,' 'slightly tilted toward the viewer,' 'lying on its side at 30 degrees,' or 'standing perfectly upright.' The AI interprets angle instructions relative to the scene's perspective. More specific angle descriptions give more predictable results — 'slightly angled' works but '30-degree tilt leaning right' is more controllable.

Can I control the shadow direction?

Yes. Describe the light source direction: 'side lighting from the left creates a shadow falling to the right' or 'overhead spotlight with a short shadow directly below.' For long, dramatic shadows on flat-lays, describe: 'low side lighting from the right with a long shadow stretching to the left.' Shadow direction is controlled by light direction — describe the light, and the shadow follows.

Is this useful for product photography content creation?

Yes — this is one of the primary use cases. Content creators and brands use it to composite product shots into styled scenes without a physical shoot: upload a styled background (your own or a stock scene), upload the product on a white background, describe the composition and lighting, and get a styled product photo in 30 seconds. Works for Instagram content, catalog images, and brand photography.

How much does EditThisPic cost?

You get 1 free edit per week — no account needed. After that, credit packs start at $1.99 for 3 edits. Monthly plans start at $4.99/mo for 15 edits with unused credits rolling over. All edits are full resolution with no watermark.

Ready to style your product shot?

Upload your scene and reference object. Describe the composition. Free, no account needed.

1 free edit included·Credit packs from $4.99