Free • No signup Insert Object · Free

AI Object Insertion Tool

Last updated

Insert a specific object into an exact spot in your photo — upload your scene photo and a reference photo of the object, then mark or describe the target location.

01Photo 1
Pantry shelf with visible gap between two jars
02Photo 2
Reference image for AI Object Insertion Tool
03Result
Same shelf with a sauce bottle precisely inserted into the gap

Upload photo to insert object

"insert this item into the empty space in the upper right of the flat-lay arrangement, with consistent overhead studio lighting and a matching drop shadow"

Release to upload

1 free edit·then from $4.99

Popular use cases:
  • insert object into photo online
  • precision object placement photo
  • add item to specific spot in photo
  • product insertion photo editor
  • insert item into gap in photo
  • AI object insertion tool
  • insert product into shelf photo
  • digitally insert object into scene

1Your photo
+
2Reference
=
Result
Product shelf arrangement with a gap between two items Your scene
Product bottle on a white background — the item to insert Reference object
Same shelf with the bottle precisely inserted into the gap Result

"Insert this bottle into the gap between the two items, matching the shelf lighting"

Cost
Free No signup required
Time
Instant results in 15-30 seconds
Works on
Any device - browser, phone, tablet, desktop
Powered by
AI-powered photo editing

How it works

  1. Upload scene + object reference

    Drop your main photo (the scene with the target spot) into EditThisPic. Then click '+ Add reference photo' to upload a photo of the specific object you want to insert. The distinction from general adding: you're targeting a specific, defined location in the scene — a gap, a slot, a designated space. JPG, PNG, or WebP up to 7MB.

    Expect: Both photos load in seconds. You're set up to describe the exact insertion point.
  2. Mark or describe the insertion point

    Use a marker to tap the exact spot you want the object inserted — this is the most reliable method for precise placement. Or describe the exact location: 'insert this bottle into the gap between the olive oil and the vinegar, on the second shelf.' The more precisely you define the gap or space, the better.

    Tip: For product arrangements or shelf scenes, tap a marker at the exact center of the gap. The AI uses this as the object's anchor point.

    Copy one of these to get started:

    Insert product into gap in shelf arrangement insert this product into the gap between the two items on the shelf, matching their scale, with consistent shelf lighting and a soft shadow on the shelf surface
    Insert item into a flat-lay arrangement insert this item into the empty space in the upper right of the flat-lay arrangement, with consistent overhead studio lighting and a matching drop shadow
    Insert branded product into retail scene insert this product into the empty slot on the retail shelf in the background, centered in the space, with the fluorescent store lighting matching neighboring products
    Insert tool or item into workshop scene insert this tool into the empty hook on the pegboard on the right side, hanging naturally, with the overhead workshop lighting casting a slight shadow on the board below it
    2 more prompts
    Insert missing item into a recipe or food prep photo insert this ingredient into the empty space in the center of the cutting board, at the same scale as the surrounding ingredients, with the overhead food-photography lighting
    Insert trophy or award into display case photo insert this trophy into the empty shelf in the display case, centered in the space, with the cabinet's interior lighting and a subtle reflection on the glass shelf
  3. Check fit, scale, and integration

    Verify that the inserted object fits the space convincingly — it should match the size of adjacent objects, have consistent lighting direction, and look like it was always there. Check that it doesn't overlap neighboring items unless intentional.

  4. Refine scale and depth

    If the object is too large or too small for the slot, add scale guidance: 'insert at the same height as the neighboring items' or 'it should be slightly smaller to fit the available space.' Depth cues like 'slightly behind the front row' also help in layered arrangements.

    Tip: Mention an adjacent item for scale: 'insert this item at the same height as the bottle to its right.'

See it in action

Pantry shelf with visible gap between two jars
Main Photo
Reference image for AI Object Insertion Tool
Reference
Same shelf with a sauce bottle precisely inserted into the gap
Result

Product inserted into shelf gap

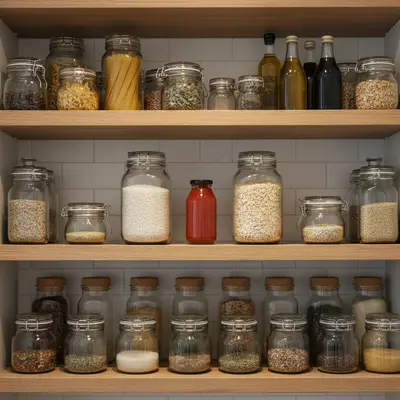
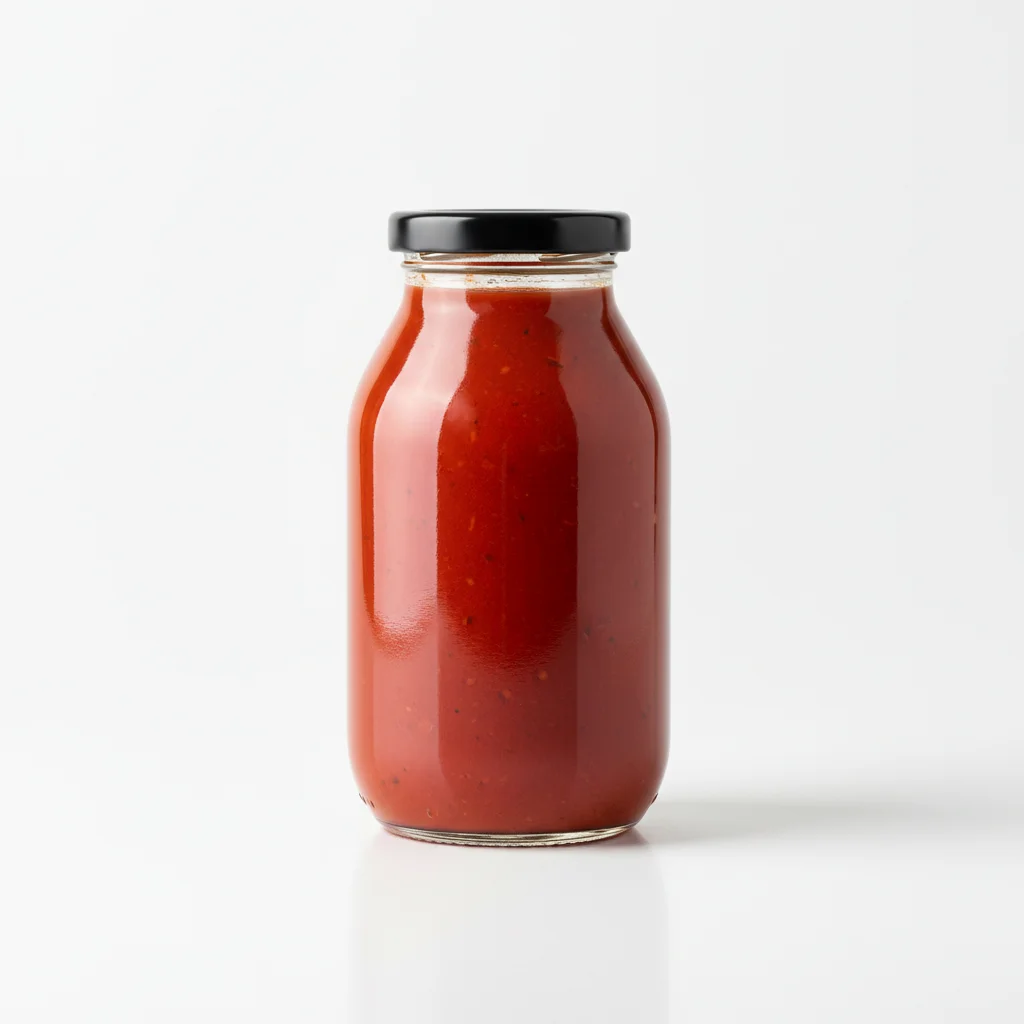
A styled pantry shelf with a visible gap between two jars — AI inserted a sauce bottle from the reference photo precisely into the gap, matching scale and the overhead kitchen lighting.

Prompt: Insert the sauce bottle from the reference photo into the gap between the two jars on the shelf.
Product mockup with empty phone stand
Main Photo
Reference image for AI Object Insertion Tool
Reference
Same mockup with a phone precisely inserted into the stand
Result

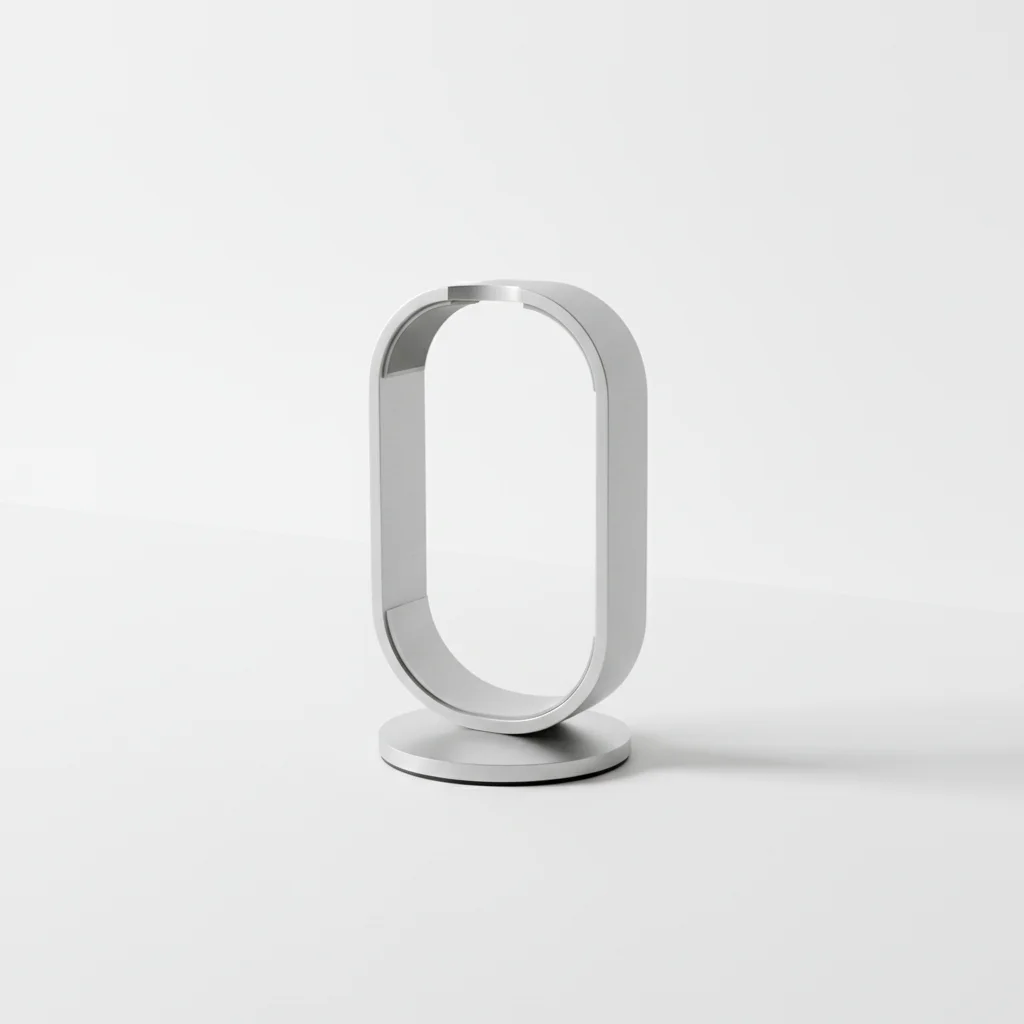
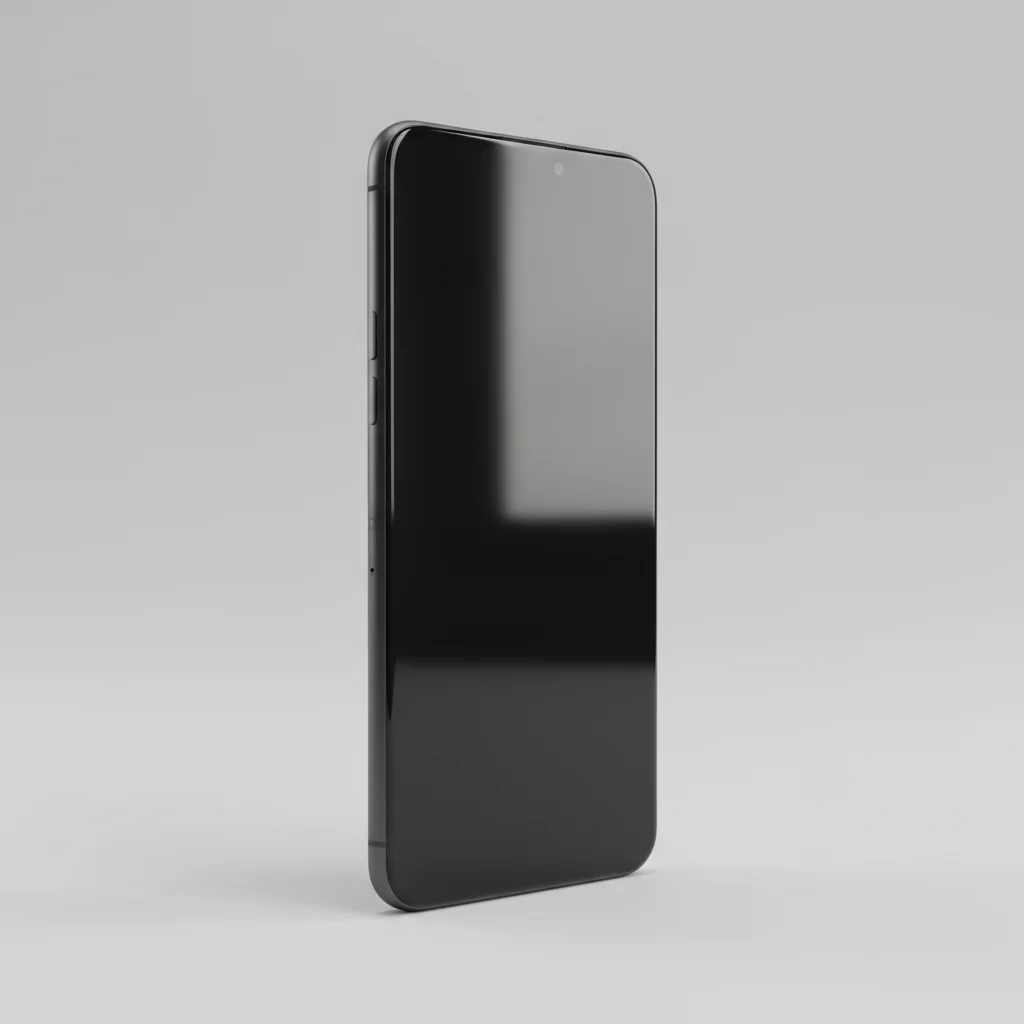
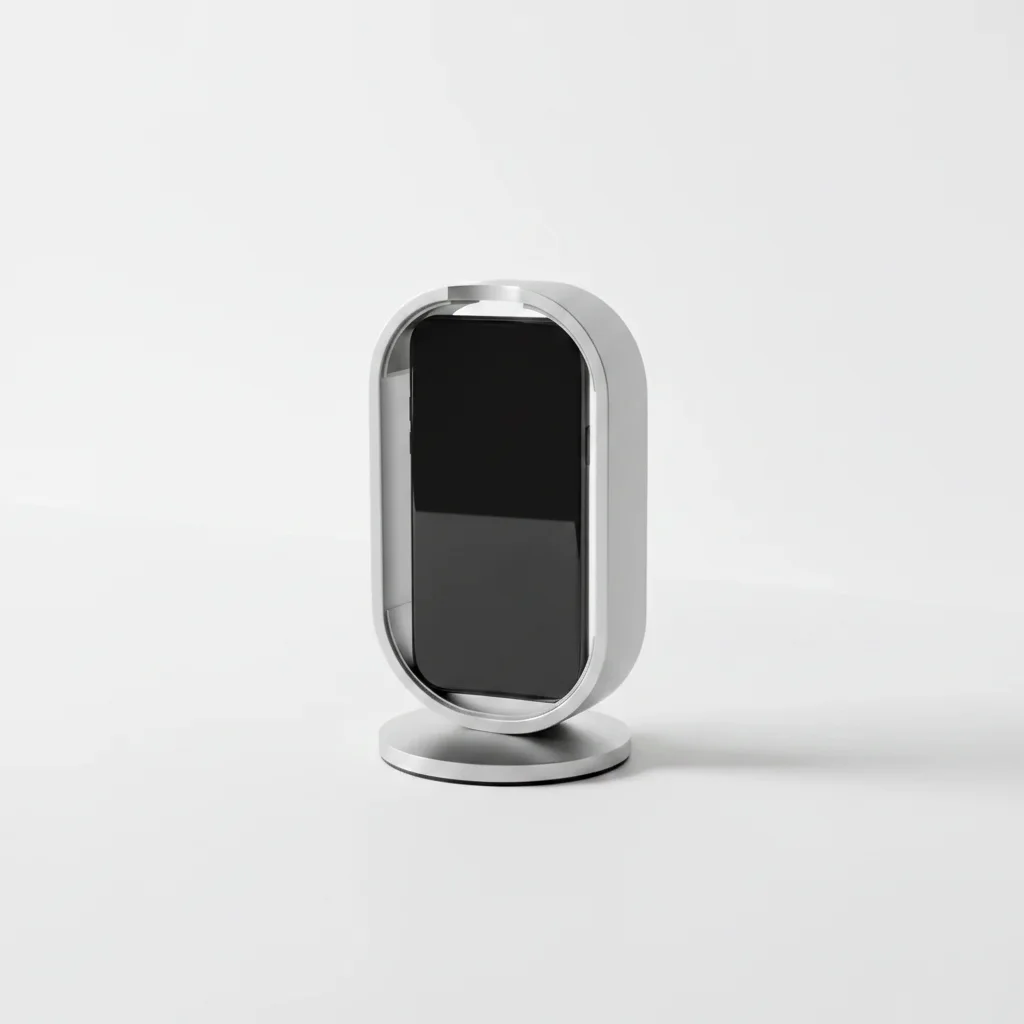
Phone inserted into product mockup slot

A device mockup scene with an empty phone stand — AI inserted a specific phone model from a reference photo into the stand with correct perspective and screen angle.

Prompt: Take the phone from the reference photo and place it in the empty device stand. Make it face forward and match the lighting to the scene.
Library shelf row with a visible gap between books
Main Photo
Reference image for AI Object Insertion Tool
Reference
Same shelf with a specific book inserted into the gap
Result

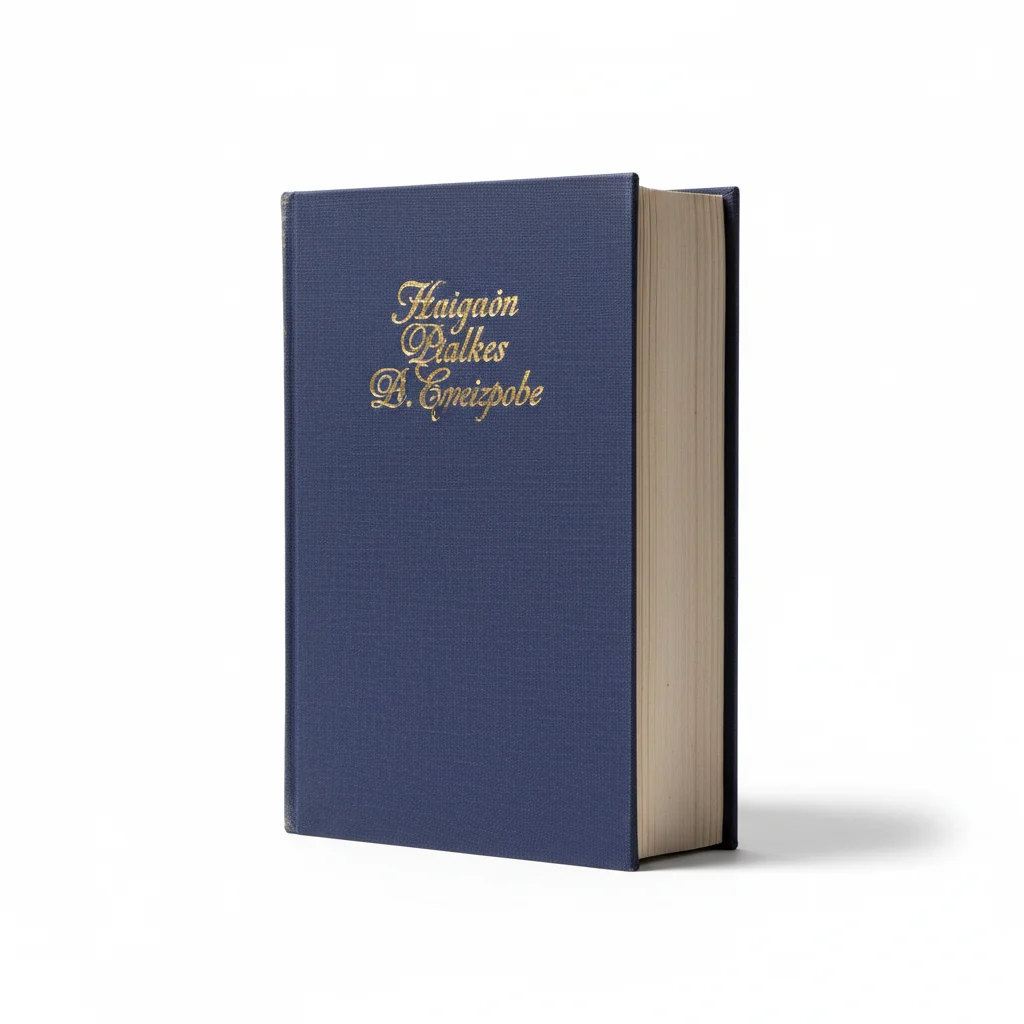
Book inserted into library shelf row

A library shelf with books tightly arranged but one gap — AI inserted a specific book from a reference photo into the slot, matching the perspective of the adjacent spines and the ambient library lighting.

Prompt: Insert the book from the reference photo upright into the gap on the library shelf. Make sure its spine is facing out and it matches the lighting of the surrounding books.

If something looks off

Object doesn't land precisely in the target gap or slot

Why: Description-based placement works for open scenes but is less reliable for tight, defined slots.

Try: Tap a marker directly inside the target gap or slot, then regenerate with the same prompt

Tip: Markers are the most reliable method for inserting into defined spaces — always use one for slot/gap insertions

Inserted object is too large and overlaps adjacent items

Why: The AI overestimated the available space or underestimated the scale of neighboring items.

Try: insert this object at a smaller scale so it fits within the gap — match the height of the neighboring [item name]

Tip: Reference an adjacent item's height or width as the size anchor

Inserted object looks out of depth (too far forward or too far back)

Why: The AI placed the object at the wrong depth layer in a 3D scene.

Try: insert this object at the same depth as the surrounding items on the shelf, not in front of them

Tip: Describe depth relative to nearby items: 'same plane as the adjacent items' or 'slightly behind the front row'

Lighting on inserted object doesn't match neighbors

Why: The object's highlight and shadow directions differ from the scene.

Try: re-insert this object with lighting from [direction] matching the adjacent items in the scene

Tip: Look at where highlights land on neighboring objects and describe that lighting direction

AI changed wrong area

Why: Without a precise marker, the AI interpreted the target location differently.

Try: Tap a marker at the center of the target gap and regenerate

Tip: For insertion tasks (gap/slot/slot), always use markers — they're more reliable than text for exact positioning

Quick answers

Do I need TWO photos for this?

Yes. Inserting a specific object into a photo requires two images: your main scene photo (with the target spot or gap) and a reference photo of the object you want to insert. Upload the scene first, then click '+ Add reference photo' to upload the object. The AI extracts the object from the reference and inserts it into the exact spot you describe or mark.

How is 'inserting' different from 'adding' an object?

In practice, the AI treats them the same — both composite a new object into a scene. The distinction matters in how you guide the placement. 'Insert' implies targeting a defined space (a gap on a shelf, a slot in an arrangement, a dedicated spot). For these precise insertions, use a marker tap on the exact location rather than relying on description. Markers are the key tool for insertion accuracy.

How do I insert an object into a specific spot in a photo?

Tap a marker directly on the target spot — inside the gap, on the shelf slot, or at the exact position. Then describe what to insert: 'insert this bottle into the marked spot, matching the lighting of adjacent items.' The marker gives the AI a precise anchor that description alone can't match for tight-space insertions.

Can I insert an object between other existing objects?

Yes, and this is where the marker + description combination works best. Tap a marker inside the gap, then describe the neighbors: 'insert this into the gap between the two bottles on the left, matching their scale.' The AI will scale the inserted object to fit the available space. Very tight gaps (less than the object's natural size) may result in the object looking slightly squeezed — describe any scale adjustment if needed.

Will the inserted object blend seamlessly?

Yes, when you describe lighting context. The AI handles edge blending automatically, but lighting matching depends on your prompt. Always describe the light direction or quality in the target area: 'with the same overhead fluorescent lighting as the other items on the shelf.' Reference photos on neutral backgrounds give the cleanest insertion edges.

What is the best reference photo for object insertion?

A clear photo of the object on a simple background (white, grey, or plain surface) with good, even lighting. The object should be the main subject of the reference photo — not a small detail in a larger scene. Front-facing or slightly angled views give the AI the most useful information for the insertion orientation. Avoid reference photos with strong directional shadows that conflict with the scene's lighting.

How much does EditThisPic cost?

You get 1 free edit per week — no account needed. After that, credit packs start at $1.99 for 3 edits. Monthly plans start at $4.99/mo for 15 edits with unused credits rolling over. All edits are full resolution with no watermark.

Ready to insert your object?

Upload scene + reference photo and mark the target spot. Free, no account needed.

1 free edit included·Credit packs from $4.99