Free • No signup Insert Object · Free

Insert Object into Image

Last updated

Insert a specific object into an image at an exact location — upload your image and a reference photo of the object, then mark or describe where it goes.

01Photo 1
Marketing banner with gradient background and empty product area
02Photo 2
Reference image for Insert Object into Image
03Result
Same banner with a skincare bottle inserted into the right side

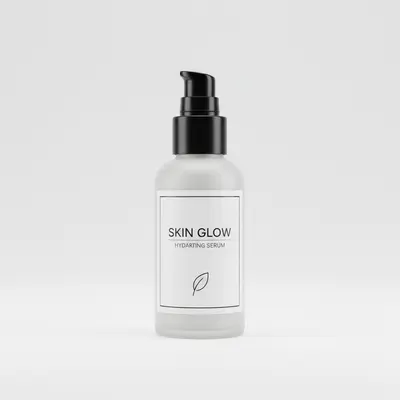
Upload photo to insert object

"insert this item into the lifestyle image at the center, at a realistic scale for the scene, with natural window lighting matching the ambient light visible in the image"

Release to upload

1 free edit·then from $4.99

Popular use cases:
  • insert product into marketing image
  • add object to digital image layout
  • product image insertion tool
  • insert item into ad image free
  • embed product in image online
  • AI image compositing for marketing
  • insert object into banner image
  • product placement in images

1Your photo
+
2Reference
=
Result
Marketing image with styled background and empty product area Your image
Product on white background — the object to insert Reference object
Banner image with the product precisely inserted into the designated space Result

"Insert this product into the empty area on the right, matching the scene lighting"

Cost
Free No signup required
Time
Instant results in 15-30 seconds
Works on
Any device - browser, phone, tablet, desktop
Powered by
AI-powered photo editing

How it works

  1. Upload your image + object reference

    Drop your main image into EditThisPic, then click '+ Add reference photo' to upload the object you want to insert. You now have both loaded: the destination image and the source object. This two-image setup is what makes the tool work for inserting a specific, real object rather than generating something generic. JPG, PNG, or WebP up to 7MB each.

    Expect: Both images upload in seconds. The AI can now extract the exact object from the reference.
  2. Describe or mark the target location

    Tell the AI exactly where in the image the object should go. For digital images and design layouts, this can be precise: 'insert this product into the empty space at the bottom left, with the studio lighting from the main image.' Tap a marker on the exact position for the most reliable placement.

    Tip: For images used in advertising or marketing, describe any lighting setup you can see: 'gradient background with soft light from the upper left' helps the AI match the product's appearance to the image's mood.

    Copy one of these to get started:

    Insert product into marketing or ad image insert this product into the empty space on the right side of the image, front-facing with the label visible, matching the cool gradient background lighting
    Insert item into e-commerce lifestyle image insert this item into the lifestyle image at the center, at a realistic scale for the scene, with natural window lighting matching the ambient light visible in the image
    Insert object into a template or mockup image insert this product into the designated product area in the mockup, centered and front-facing, with the neutral studio lighting consistent with the rest of the template
    Insert product into social media image layout insert this product into the lower left quadrant of the image, slightly angled for a natural look, with soft diffused lighting matching the clean Instagram aesthetic
    2 more prompts
    Insert branded item into editorial image insert this branded item into the scene between the two subjects, naturally placed as if held or just set down, with the editorial lighting matching the main image
    Insert trophy or award into certificate display image insert this award trophy into the empty space at the top center of the display, standing upright, with warm directional lighting casting a subtle shadow to the right
  3. Review the insertion result

    Check that the object is the right size relative to other image elements, that its lighting matches the scene's direction and color temperature, and that any expected shadow is present. For marketing images, also check that the brand or product details read clearly at the intended viewing size.

  4. Adjust if needed

    If the scale is off, describe the target size: 'the product should be larger — taking up about 40% of the image height.' If lighting is off, add: 'match the cool gradient background lighting, not warm.' For marketing and ad images, these details matter more than for casual use.

    Tip: For advertising images, specify whether the product face (label, logo, screen) should be fully visible: 'front-facing, label clearly readable.'

See it in action

Marketing banner with gradient background and empty product area
Main Photo
Reference image for Insert Object into Image
Reference
Same banner with a skincare bottle inserted into the right side
Result

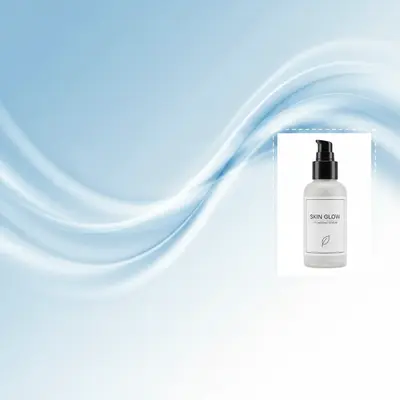
Product inserted into marketing banner image

A styled marketing banner with a gradient background and empty product zone — AI inserted a skincare bottle from a reference photo into the designated area with matched gradient lighting.

Prompt: Insert the skincare bottle from the reference photo into the empty space on the right side of the banner. Make sure the label is front-facing and it matches the soft lighting from the upper left.
Overhead flat-lay desk with empty upper right corner
Main Photo
Reference image for Insert Object into Image
Reference
Same flat-lay with a coffee cup inserted into the upper right corner
Result

Coffee cup inserted into styled desk image for social media

A flat-lay desk image for Instagram — AI inserted a specific branded coffee cup from a reference photo into the upper corner of the flat-lay, matching the overhead studio lighting.

Prompt: Place the coffee cup from the reference photo onto the empty upper right corner of the desk. Make sure to match the overhead lighting and add a realistic, soft shadow underneath it.
Reading corner interior with empty side table surface
Main Photo
Reference image for Insert Object into Image
Reference
Same interior image with a book inserted onto the side table
Result

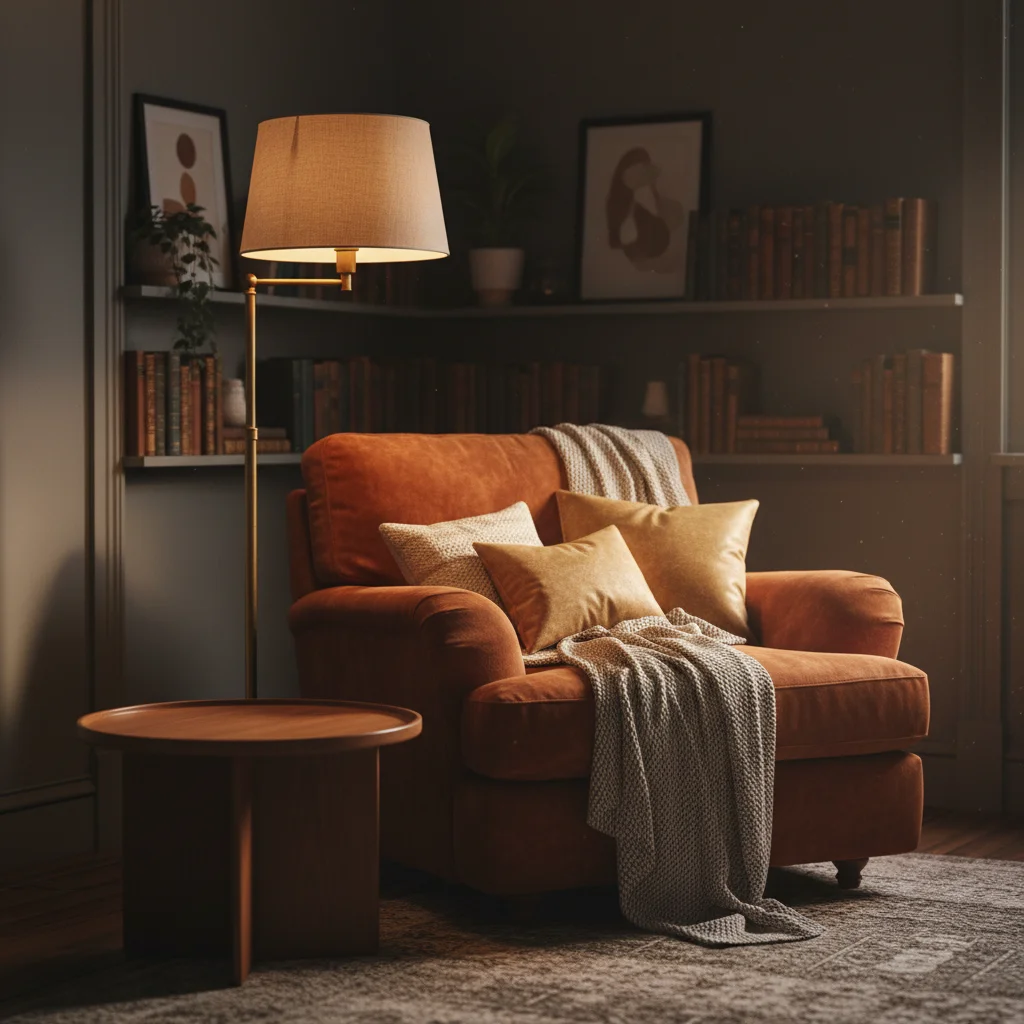
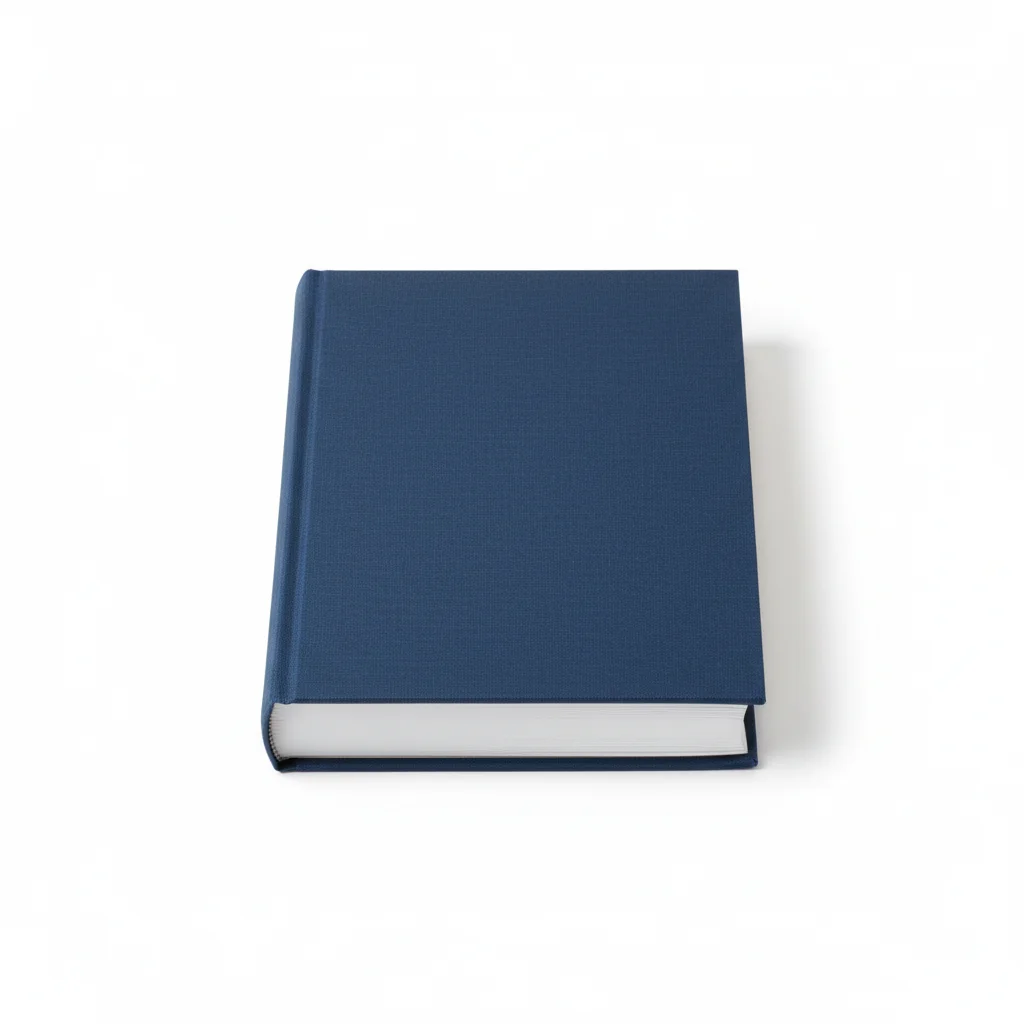
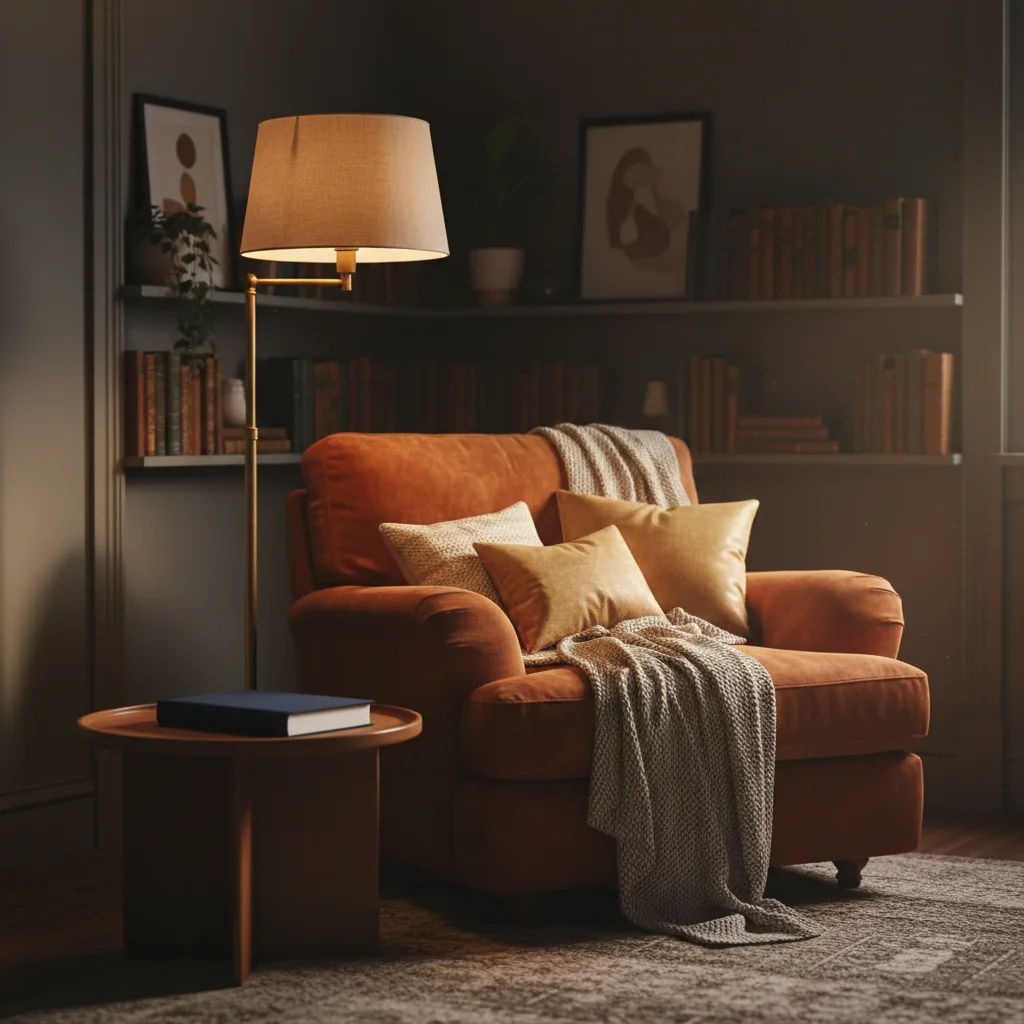
Book inserted into interior design image

An interior design portfolio image of a reading corner — AI inserted a specific book from a reference photo onto the side table surface, matching the warm ambient interior light.

Prompt: Insert the book from the reference photo onto the surface of the side table in the lower left, cover facing up. Match the warm ambient lamp light and add a soft shadow on the table.

If something looks off

Object is placed in the wrong area of the image

Why: Description-based positioning works for open areas but is less precise for defined zones in layouts.

Try: Tap a marker on the exact target location and regenerate with the same prompt

Tip: For marketing images and layouts with defined zones, always use a marker for placement

Object doesn't match the image's lighting or color temperature

Why: Digital marketing images often have stylized lighting that differs from natural scenes — needs explicit description.

Try: re-insert this object matching the [warm/cool/gradient/studio] lighting and overall color temperature of the image

Tip: Describe the mood: 'cool tech aesthetic,' 'warm golden lifestyle,' 'clean white studio' — these cues help more than lighting direction alone

Inserted product label or branding isn't visible

Why: The AI may have inserted the object at an angle where the label faces away.

Try: insert this product front-facing with the label or branding clearly visible toward the viewer

Tip: For product marketing images, always add 'front-facing, label clearly readable' to your prompt

Object has no shadow in the image

Why: Digital images sometimes have gradient backgrounds where shadows aren't obvious — the AI skips them.

Try: add a soft drop shadow beneath the inserted object, consistent with the image's light direction

Tip: Even on gradient backgrounds, a soft drop shadow makes inserted objects look intentional, not floating

AI changed wrong area

Why: Without a marker, the AI's interpretation of the target area may differ from yours.

Try: Tap a marker on the exact target location, then regenerate

Tip: Use markers as your primary placement tool for digital images and marketing layouts

Quick answers

Do I need TWO photos for this?

Yes. To insert a specific object into an image, you need two uploads: your main destination image and a reference photo of the exact object you want to insert. Upload the main image first, then click '+ Add reference photo' for the object. The AI extracts the object from the reference and places it in the image exactly where you describe or mark.

How do I insert an object into a specific location in an image?

The most reliable method is to tap a marker on the exact target location in the image, then describe what to insert and how it should look. For example: tap the empty product zone, then type 'insert this bottle here, front-facing label visible, matching the gradient background lighting.' Markers are more reliable than text for precise location targeting in complex images.

Can I use this for product marketing images and ads?

Yes — this is a core use case. Upload your styled marketing image or banner as the main image, upload your product as the reference, describe the placement and any brand requirements (label facing, minimum size), and get a composited result in 30 seconds. Works for social media ads, e-commerce banners, website hero images, and product catalogue shots.

Will the inserted object look native to the image or obviously pasted in?

With the right prompts, the insertion looks native. The critical factors are: (1) describing the image's lighting style — 'gradient background, cool light from upper left' — so the object's highlights and shadows match, (2) requesting a contact or drop shadow, and (3) specifying scale if there are reference elements in the image. Marketing images with strong gradient backgrounds or stylized color may need one or two refinements for a perfect match.

Can I insert an object into a PNG or transparent-background image?

Yes, but transparent backgrounds may render with a white or grey fill behind the object in the composite. For the cleanest results on transparent-background images, describe the context as 'insert on a transparent background' and download as PNG to preserve transparency. If the background renders as white, regenerate with 'transparent or removed background behind the inserted object.'

How precise can the object insertion be?

Very precise when you use markers. Tap the exact position in the image — the AI uses this as the object's anchor point. For fine-grained control, combine a marker tap with descriptive instructions: 'insert this product at the marked position, centered horizontally, with its base on the shelf surface.' Markers plus description is more accurate than description alone for tight placement requirements.

How much does EditThisPic cost?

You get 1 free edit per week — no account needed. After that, credit packs start at $1.99 for 3 edits. Monthly plans start at $4.99/mo for 15 edits with unused credits rolling over. All edits are full resolution with no watermark.

Ready to insert your object?

Upload your image and reference photo. Mark the spot. Done in 30 seconds.

1 free edit included·Credit packs from $4.99