Free • No signup Add Object · Free

AI Add Object to Image

← Browse all add & replace tools

Last updated

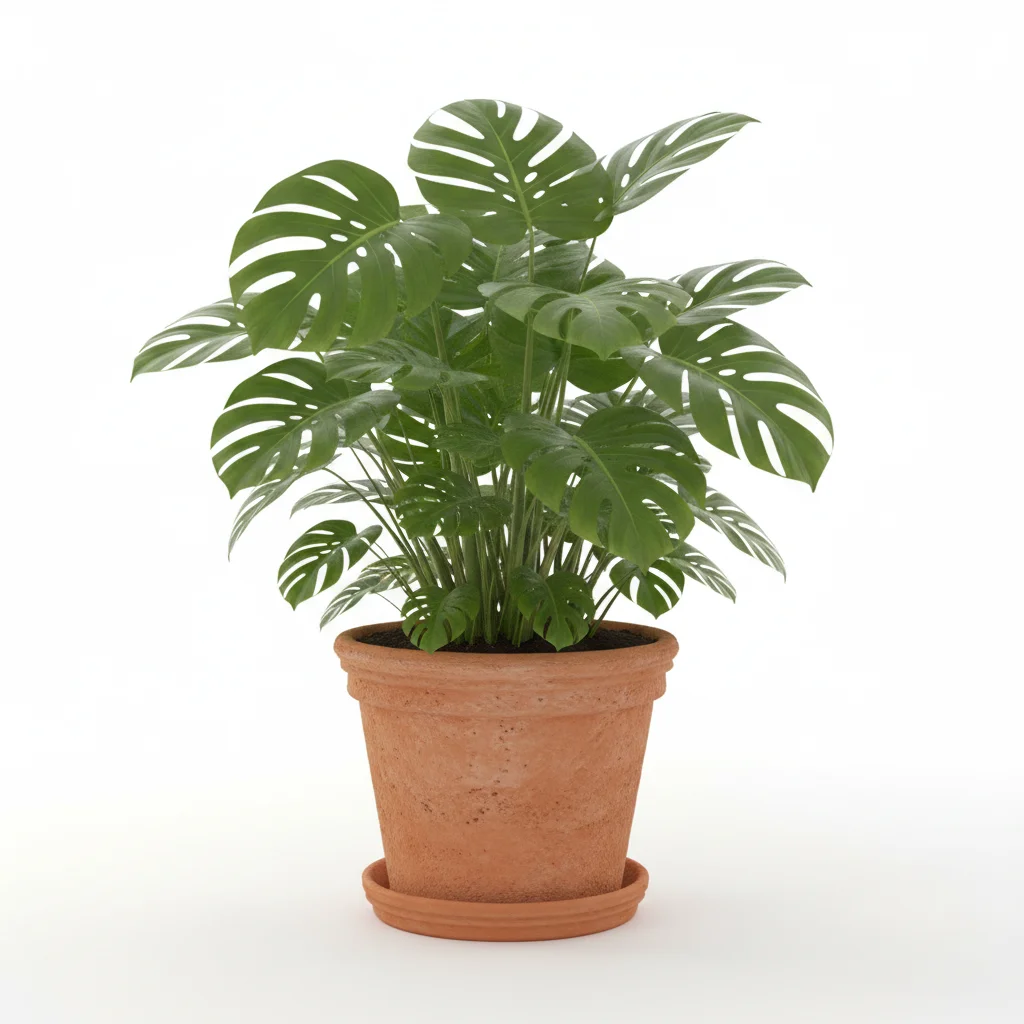
Add any object to an image using a reference photo — two-photo upload, AI compositing with matched lighting and perspective.

01Photo 1
Minimalist white desk with laptop and empty left corner
02Photo 2
Reference image for AI Add Object to Image
03Result
Same desk image with a succulent plant composited in the left corner

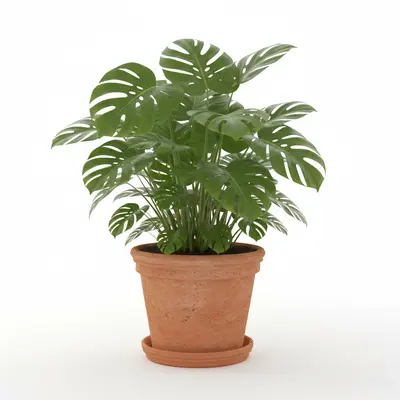
Upload photo to add object

"add this item naturally into the right side of the scene, at a realistic scale for the space, with lighting matching the warm afternoon light visible in the image"

Release to upload

1 free edit·then from $4.99

Popular use cases:
  • add object to digital image
  • AI image compositing
  • product image editing
  • add item to image online free
  • object insertion tool
  • product mockup creator
  • styled product photography
  • add accessory to image

1Your photo
+
2Reference
=
Result
Clean white desk with a laptop, empty space on the left Your image
Small succulent plant in a white ceramic pot, product photo on white background Reference object
Desk image with the succulent naturally composited in the left corner Result

"Add this plant to the left corner of the desk, matching the soft studio light"

Cost
Free No signup required
Time
Instant results in 15-30 seconds
Works on
Any device - browser, phone, tablet, desktop
Powered by
AI-powered photo editing

How it works

  1. Upload scene + object reference

    Drop your main image (the scene you want to edit) into EditThisPic. Then click '+ Add reference photo' to upload a photo of the specific object. You now have two images loaded: the scene and the object reference. JPG, PNG, or WebP up to 7MB.

    Expect: Both photos upload in seconds. The AI reads the reference for the object's shape, color, and texture.
  2. Describe placement and lighting

    Type where the object should go and how: 'add this plant to the left corner, slightly angled, with a soft shadow matching the overhead lighting.' Position, angle, surface, and shadow instructions all help the AI get it right the first time.

    Tip: Including 'soft shadow' or 'drop shadow' in your prompt is the single biggest factor in making composited objects look grounded, not floating.

    Copy one of these to get started:

    Add product to styled desk image add this product to the left corner of the desk, slightly angled, with a soft drop shadow matching the overhead studio lighting
    Add branded item to lifestyle image for social add this item naturally into the right side of the scene, at a realistic scale for the space, with lighting matching the warm afternoon light visible in the image
    Add product to stock background image add this product centered in the foreground of the image, with a contact shadow on the surface below it, matching the cool daylight color temperature
    Add object to mockup or template image add this object in the designated space on the right side of the mockup, matching the neutral white studio background and soft diffused overhead lighting
    2 more prompts
    Add prop to fashion or beauty image add this prop beside the main subject in the image, positioned naturally as if it belongs in the scene, with the same warm soft-box lighting direction from the right
    Add food item to table scene image add this food item to the empty space on the wooden cutting board in the image, with overhead flat-lay lighting and consistent shadows matching the surrounding food items
  3. Generate and check the composite

    Review the result: does the object scale correctly against nearby elements? Does the lighting direction match? Does it have a plausible shadow on the surface? These three checks catch 90% of issues before you need to refine.

  4. Use markers for precise positioning

    If the AI placed the object in the wrong area, tap a marker directly on the target spot and regenerate. This is especially useful for editorial images or product mockups where exact pixel placement matters.

    Tip: For flat-lay or overhead images, tap the center of where the object's base should sit.

See it in action

Minimalist white desk with laptop and empty left corner
Main Photo
Reference image for AI Add Object to Image
Reference
Same desk image with a succulent plant composited in the left corner
Result

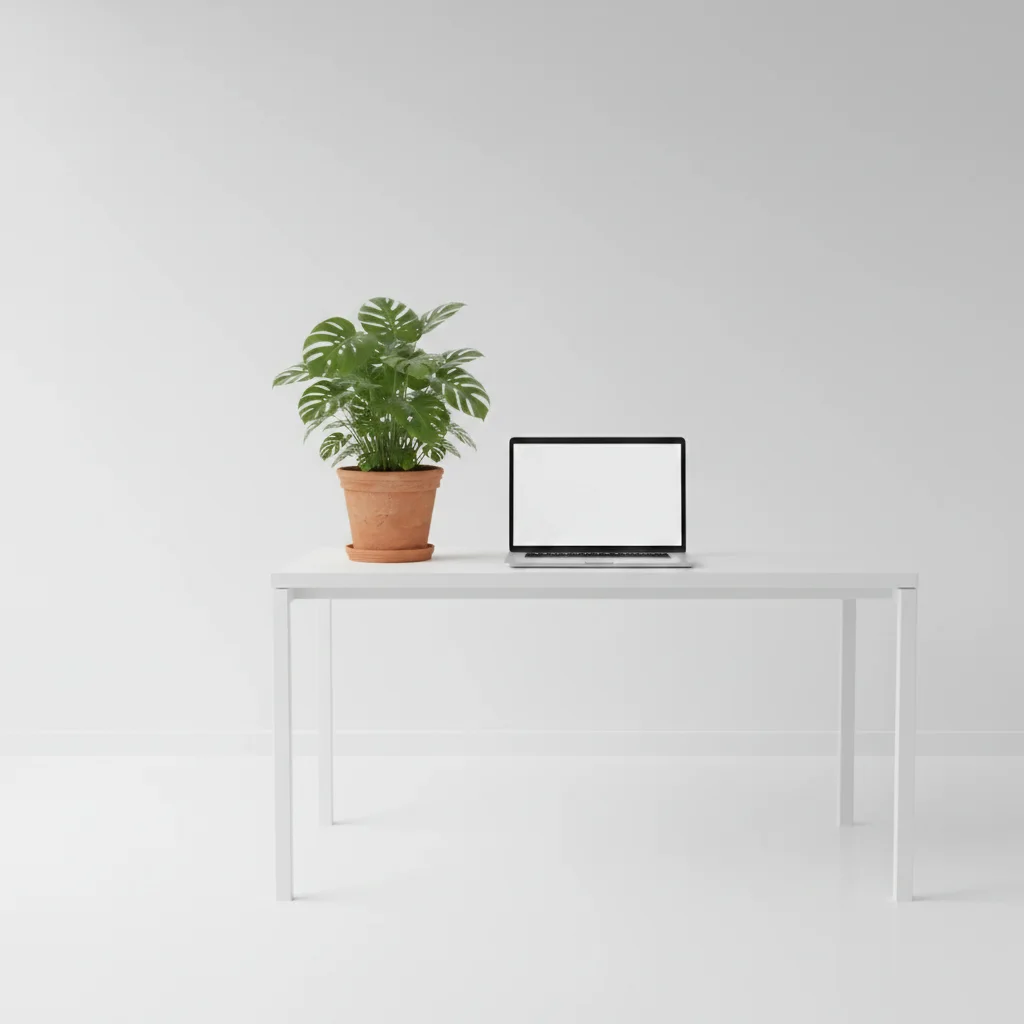
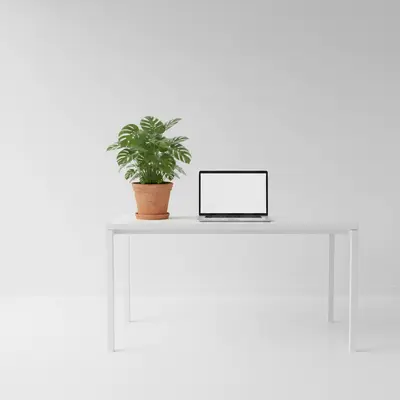
Plant added to desk workspace image

Minimalist desk image with a laptop — AI composited a succulent from a reference photo into the empty left corner, with matched studio lighting and a subtle shadow on the white desk surface.

Prompt: Add the potted plant from the reference photo to the empty left corner of the desk. Give it a soft, realistic drop shadow that matches the overhead lighting.
Styled bathroom shelf with empty space on the right
Main Photo
Reference: cream pillar candle in clear glass jar
Reference
Same shelf with a candle naturally added to the right end
Result

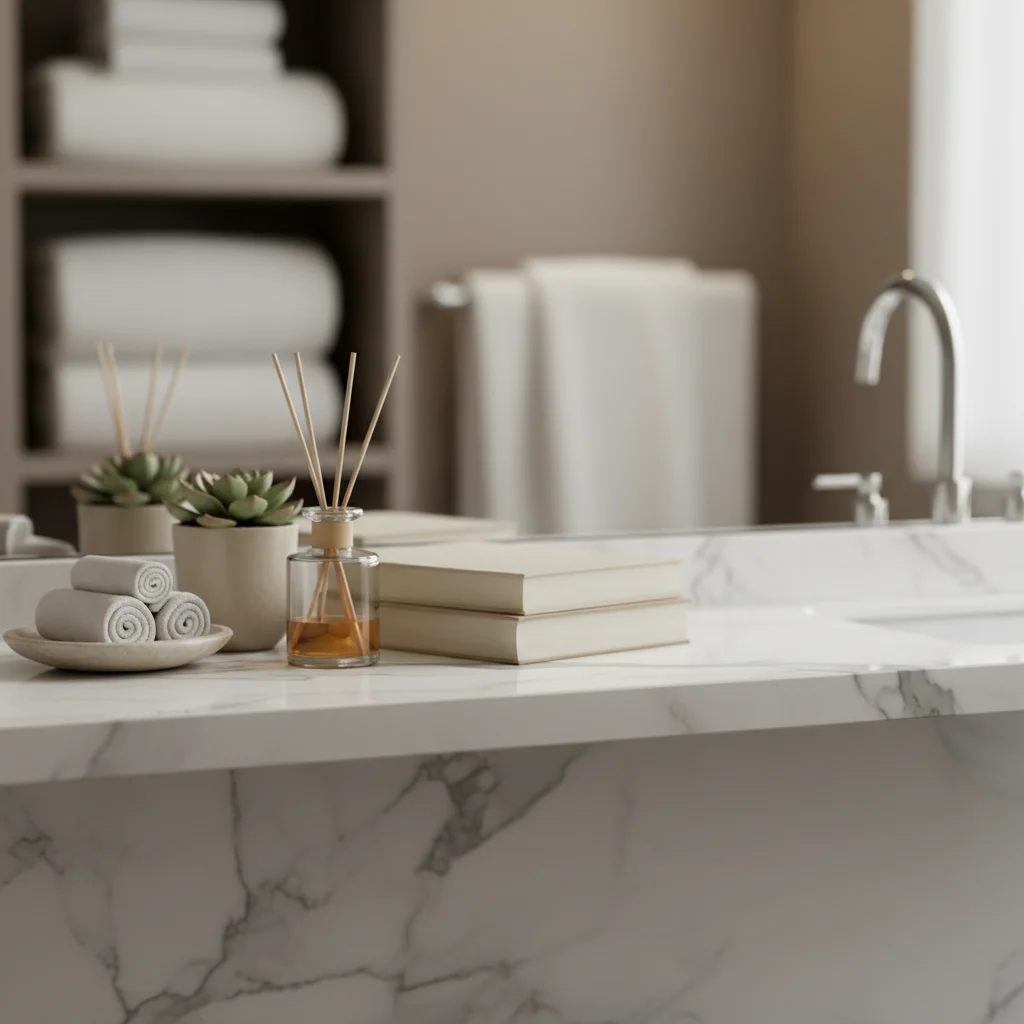
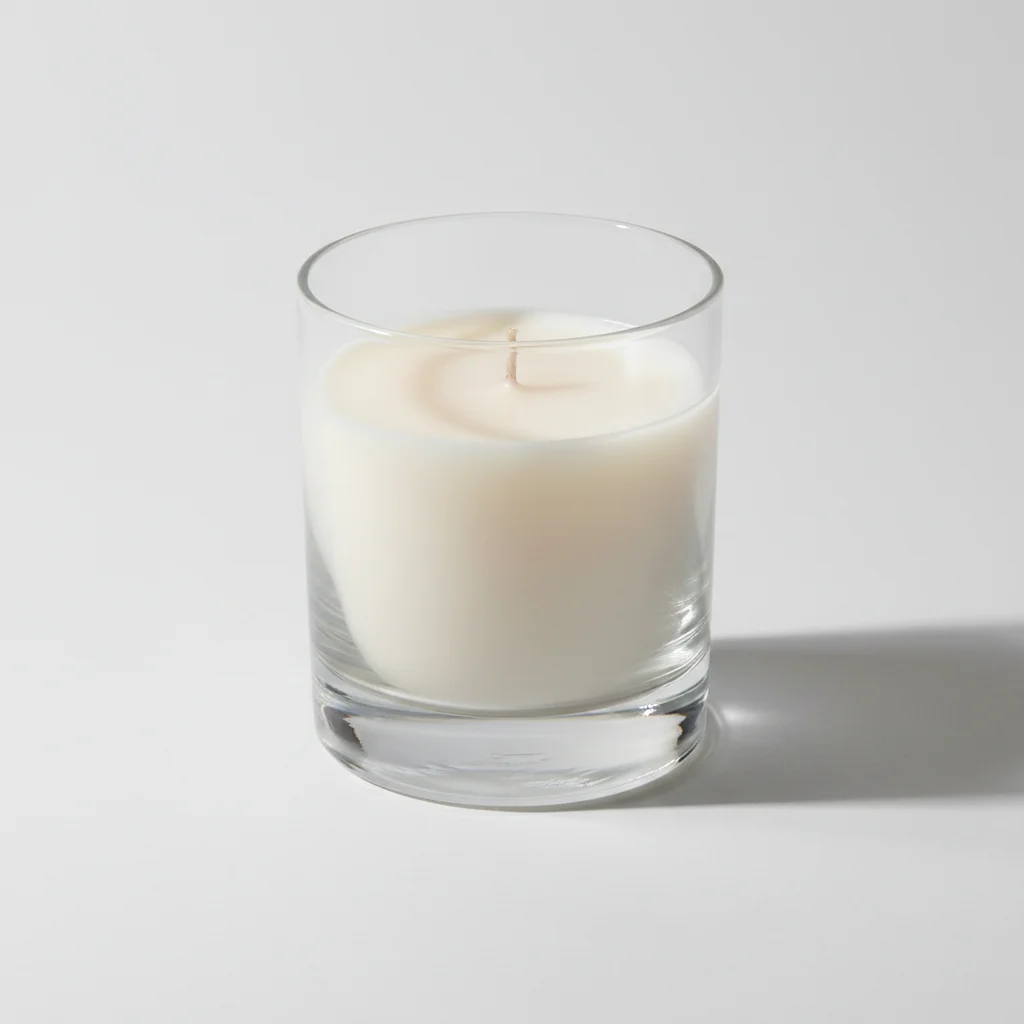
Candle added to bathroom lifestyle image

Styled bathroom shelf image — AI added a candle from a reference photo onto an empty section of the marble shelf, matching the warm soft ambient light of the bathroom scene.

Prompt: Place the cream pillar candle from the reference photo (photo 2) onto the empty right end of the marble shelf. Preserve the candle's glass jar and wax color exactly as shown. Add a soft warm shadow that matches the room lighting.
Empty outdoor concrete surface with directional sunlight
Main Photo
Reference image for AI Add Object to Image
Reference
Same concrete surface with a sneaker composited in the center
Result

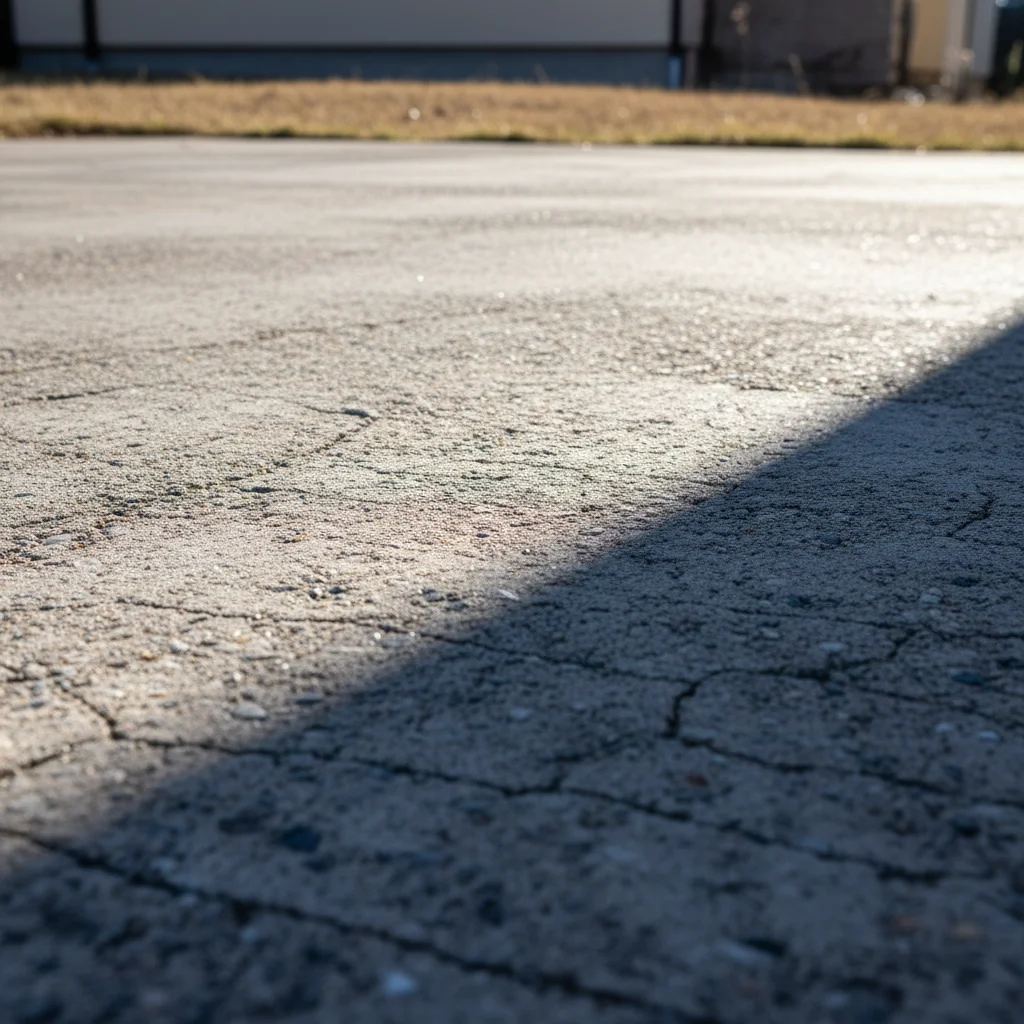
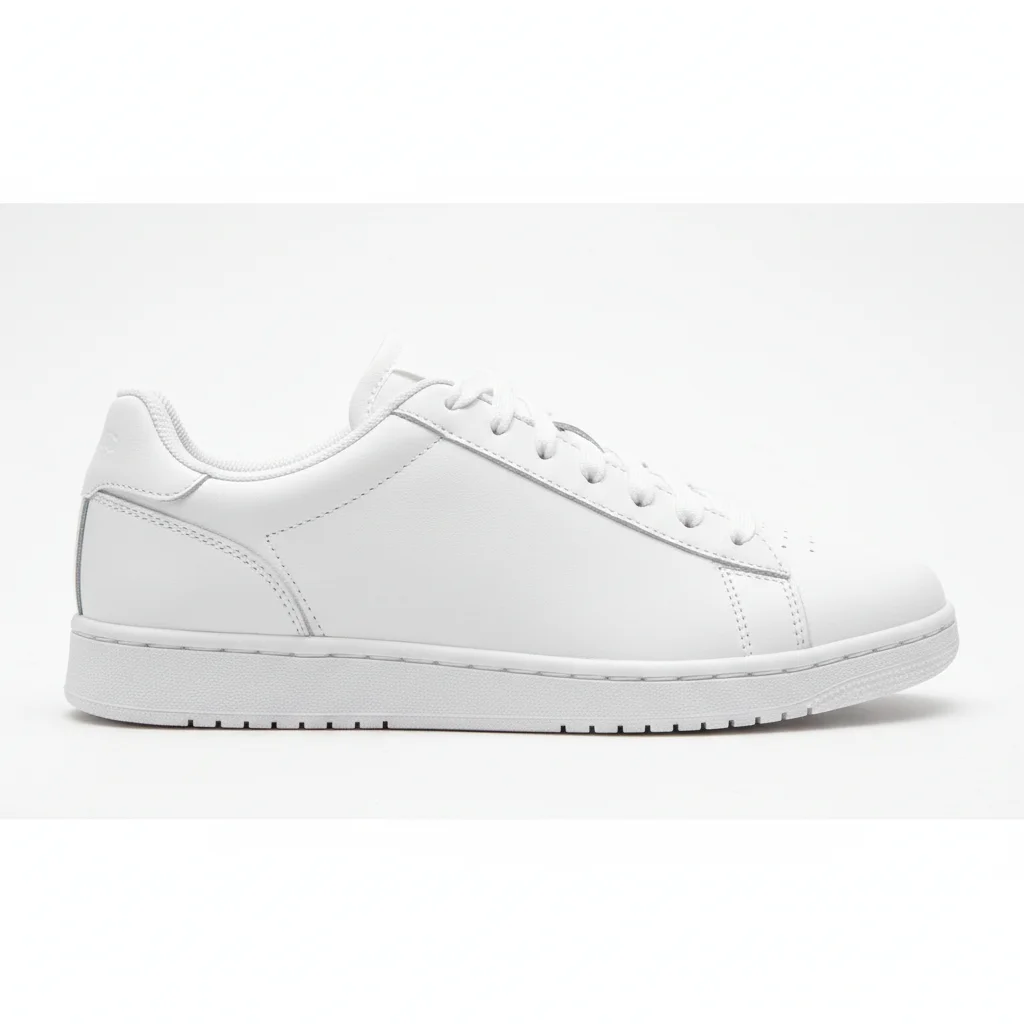
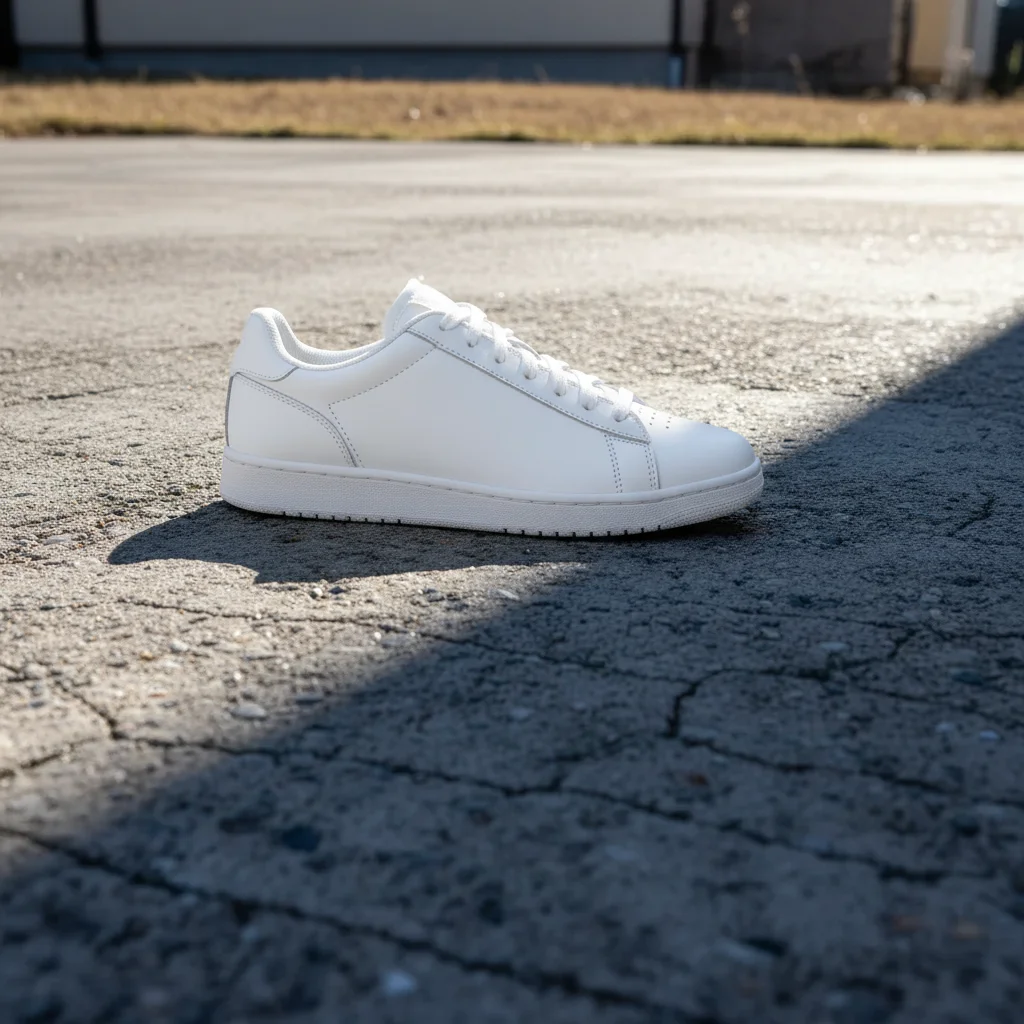
Sneaker added to outdoor lifestyle image

Outdoor concrete surface image — AI composited a sneaker from a reference photo onto the surface, with directional sunlight shadow falling in the same direction as the ambient light.

Prompt: Add the sneaker from the reference photo to the center of the concrete surface. Make sure it's slightly angled and casts a natural sunlight shadow to the right, matching the lighting in the main photo.

If something looks off

Object appears in the wrong area of the image

Why: Spatial descriptions like 'on the left' can be ambiguous in complex images.

Try: Tap a marker exactly where you want the object, then regenerate with the same prompt

Tip: Markers override description for positioning — use them whenever placement precision matters

Object looks too bright or too dark compared to the scene

Why: The reference photo's exposure doesn't match the scene's lighting conditions.

Try: re-add this object matching the [bright/dim/warm/cool] lighting of the rest of the image

Tip: Describe the overall lighting mood: 'match the cool overcast light of the image' helps the AI calibrate exposure

Object has no shadow and looks floating

Why: Shadow generation needs explicit instruction for surface contact shadows.

Try: add this object with a soft contact shadow where it touches the [surface name] below

Tip: 'Contact shadow' specifically means the shadow right where the object meets the surface — use this term

Object's color looks off compared to the scene

Why: The AI may apply different color grading from the reference photo's white balance.

Try: add this object with color temperature matching the overall warm/cool tone of the image

Tip: Note the image's color tone: 'this image has a warm yellow cast' helps the AI match

AI changed wrong area

Why: Ambiguous placement description caused the AI to modify an unintended part of the image.

Try: Tap a marker on the exact target spot and regenerate

Tip: When you need precision, always use markers rather than relying on description alone

Quick answers

Do I need TWO photos for this?

Yes. To add a specific object to an image, you need two photos: (1) your main scene image, and (2) a reference photo of the object you want to add. Upload your scene first, then click '+ Add reference photo' for the object. If you don't have a reference photo of the specific object, you can describe it in your prompt instead — but a reference gives much more accurate results.

How do I add an object to an image for free?

Upload your image to EditThisPic, click '+ Add reference photo' to upload the object you want to add, then describe the placement: 'add this item to the center of the table with a soft shadow.' The AI composites the object in 30 seconds. Free to use, no account needed, no watermark on the result.

What is the difference between this and Photoshop compositing?

In Photoshop, you would manually select the object, mask it out, paste it into the scene, then manually adjust lighting, shadows, and color matching — typically 30 minutes to an hour per image. EditThisPic handles extraction, placement, and lighting automatically when you describe what you want. Results in 30 seconds instead of an hour, with no technical skills needed.

Can this handle transparent or reflective objects?

Simple transparency (like a glass vase) works reasonably well. Highly complex reflective surfaces (mirrors, polished chrome) or filled liquids (glass of water) are harder and may need multiple refinements. For products with these properties, describe the surface clearly: 'this glass vase is transparent — show the background through it.' Opaque solid objects always give the cleanest results.

Will the reference object's background show up in the composite?

No. The AI extracts the object from the reference photo and discards the background. This is why white or neutral backgrounds on the reference give the cleanest extraction — there's no color contamination from a complex background. Even objects on busy backgrounds usually composite cleanly, though edges may need a refinement if the background color is similar to the object.

Can I use a screenshot or low-quality photo as the reference?

Yes, but quality matters for results. Screenshots or small web images work as references but produce softer-edged composites. For best results, use a photo where the object is clear and well-lit, taking up a good portion of the frame. Phone camera photos are ideal — they don't need to be studio quality, just clear and not heavily blurred.

How much does EditThisPic cost?

You get 1 free edit per week — no account needed. After that, credit packs start at $1.99 for 3 edits. Monthly plans start at $4.99/mo for 15 edits with unused credits rolling over. All edits are full resolution with no watermark.

Ready to add your object?

Upload scene + reference photo and describe the placement. Free, no account needed.

1 free edit included·Credit packs from $4.99