Free • No signup Put Object · Free

Put Object in Photo

← Browse all creative effects

Last updated

Want to see how an object would look in a photo? Upload your main photo and a reference photo of the object, and the AI puts it there in 30 seconds.

01Photo 1
Living room with empty corner near a window
02Photo 2
Reference image for Put Object in Photo
03Result
Same corner with a large potted plant naturally placed next to the window

Upload photo to put object

"put this product on the table in the center of the photo, with a contact shadow on the wooden surface and lighting matching the warm overhead light"

Release to upload

1 free edit·then from $4.99

Popular use cases:
  • put object in photo online free
  • put furniture in room photo
  • put product in lifestyle photo
  • put item in photo to see how it looks
  • AI put object in picture
  • put something in a photo
  • put plant in room photo
  • put product in photo for mockup

1Your photo
+
2Reference
=
Result
Empty room corner near a window with bare floor Your photo
Large potted plant on a white background Reference object
Room corner with the potted plant naturally placed next to the window Result

"Put this plant in the corner next to the window, with natural daylight"

Cost
Free No signup required
Time
Instant results in 15-30 seconds
Works on
Any device - browser, phone, tablet, desktop
Powered by
AI-powered photo editing

How it works

  1. Upload your two photos

    Drop your main photo — the scene you want the object to appear in — into EditThisPic. Then click '+ Add reference photo' to upload a photo of the specific object you want to put in the scene. The two-photo setup lets the AI put the exact object you have, not a made-up one. JPG, PNG, or WebP up to 7MB.

    Expect: Both photos load fast. The AI is ready to put the specific object from reference photo into your scene.
  2. Say where to put it

    Tell the AI where to put the object: 'put this chair next to the window,' 'put this lamp on the side table,' 'put this bag on the bench.' Simple, natural language works well here — just describe position relative to something already in the photo.

    Tip: The more specific your reference point — 'put it to the left of the sofa' rather than 'put it on the left' — the more accurate the first result.

    Copy one of these to get started:

    Put furniture or decor item in a room photo put this [item] next to the [nearby object in photo], at a natural scale for the space, with a shadow matching the natural window light from the [left/right]
    Put a product in a photo to see how it looks put this product on the table in the center of the photo, with a contact shadow on the wooden surface and lighting matching the warm overhead light
    Put a prop in a portrait or people photo put this prop on the surface beside the subject on the right, naturally positioned as if it was there during the shoot, matching the soft studio lighting
    Put a plant in a room photo put this plant in the corner next to the window on the right, at a realistic size for the room, with natural daylight casting a soft shadow to the left
    2 more prompts
    Put food or drinks in a kitchen or table photo put this dish in the center of the table, as if just served, with overhead kitchen lighting and the surface shadow matching the other items on the table
    Put a sports or recreational item in an outdoor photo put this bike leaning against the wall on the right, with natural outdoor daylight casting a shadow on the pavement below
  3. Check if it looks right

    Does the scale feel right for the space? Is the lighting direction consistent with the rest of the photo? Does it have a shadow on the floor or surface? These three questions tell you whether the result looks like the object was actually there when the photo was taken.

  4. Tweak with a marker or adjusted prompt

    If it's in the wrong spot, tap a marker on the exact location you want it and regenerate. If the scale or lighting is off, add details to your prompt: 'it should be smaller' or 'matching the natural window light from the right.'

    Tip: For interior or room photos, always mention the light source: 'natural window light from the left' gives the AI the direction it needs for consistent shadows.

See it in action

Living room with empty corner near a window
Main Photo
Reference image for Put Object in Photo
Reference
Same corner with a large potted plant naturally placed next to the window
Result

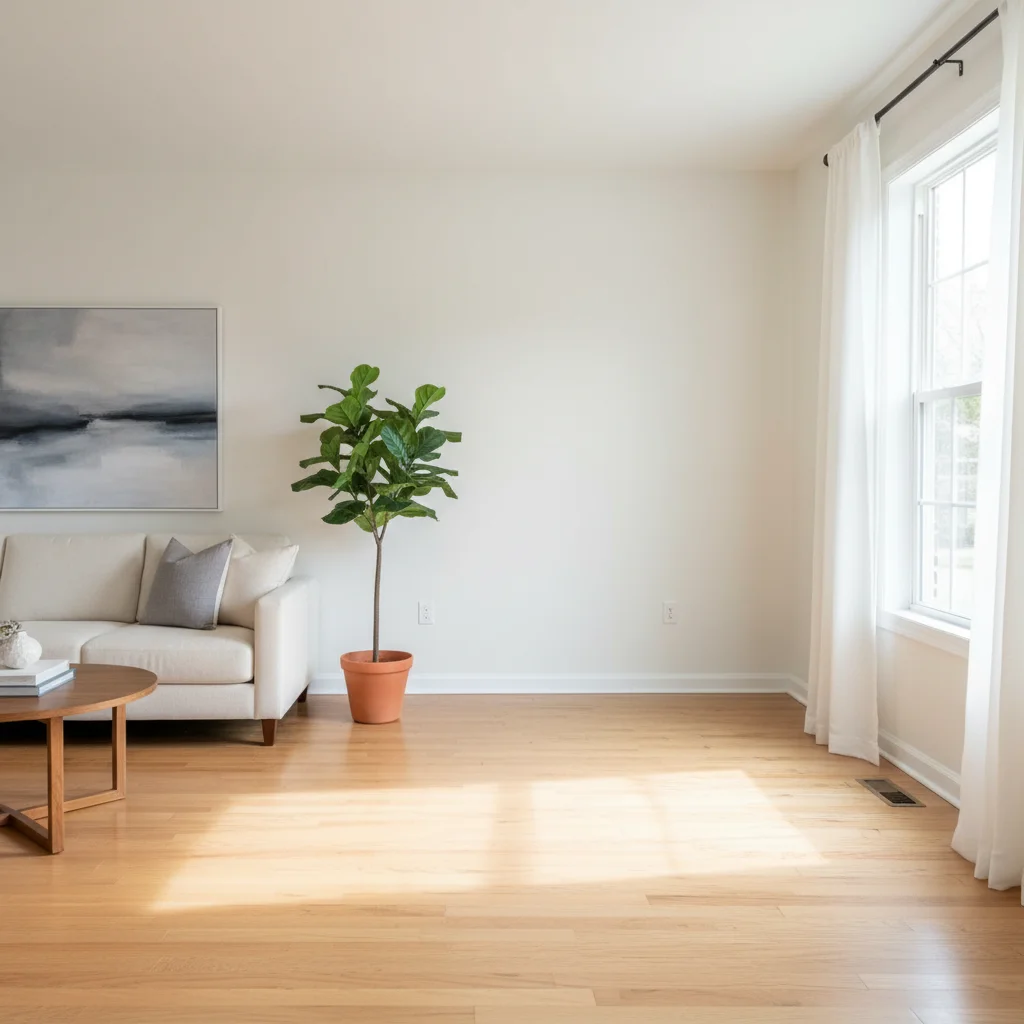
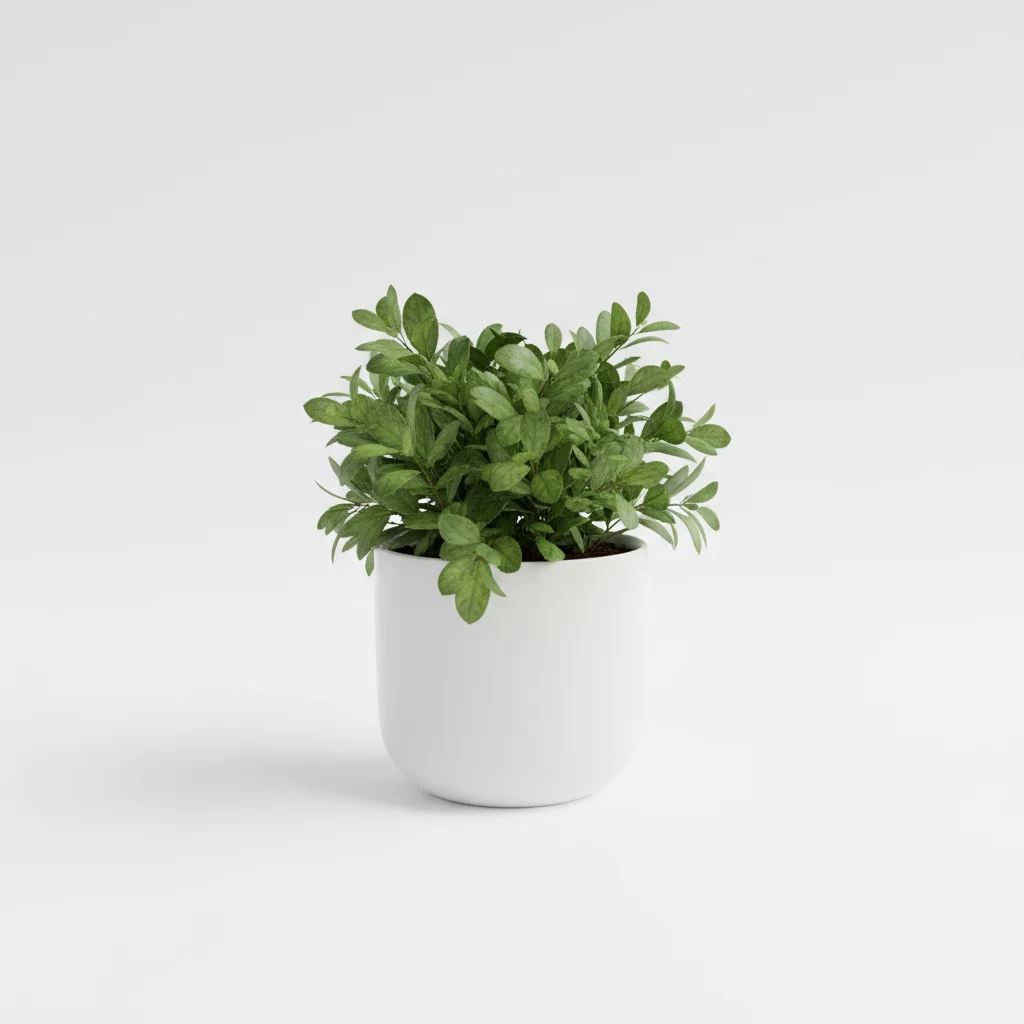
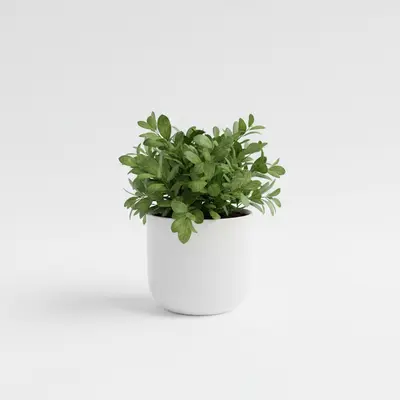
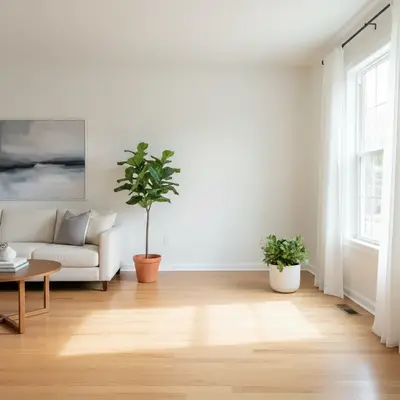
Plant put in empty room corner

Empty living room corner near a window — AI put a large fiddle-leaf fig from a reference photo into the corner, with natural window light from the right and a soft shadow on the hardwood floor.

Prompt: Place the potted plant from the reference photo in the empty corner next to the window, making sure it looks natural with realistic lighting and a soft shadow on the floor.
Empty outdoor concrete step with strong daylight
Main Photo
Reference image for Put Object in Photo
Reference
Same step with a pair of sneakers naturally placed on it
Result

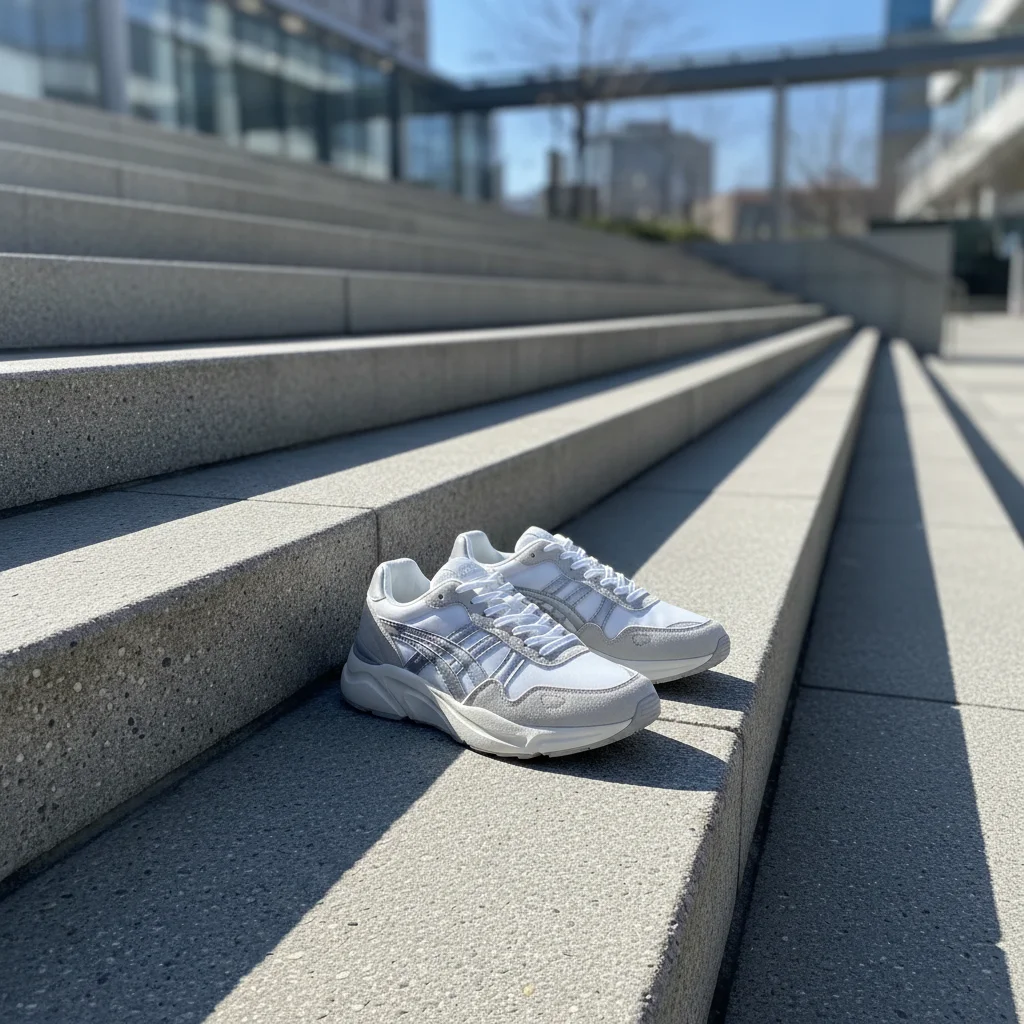
Shoes put on a step for product photography

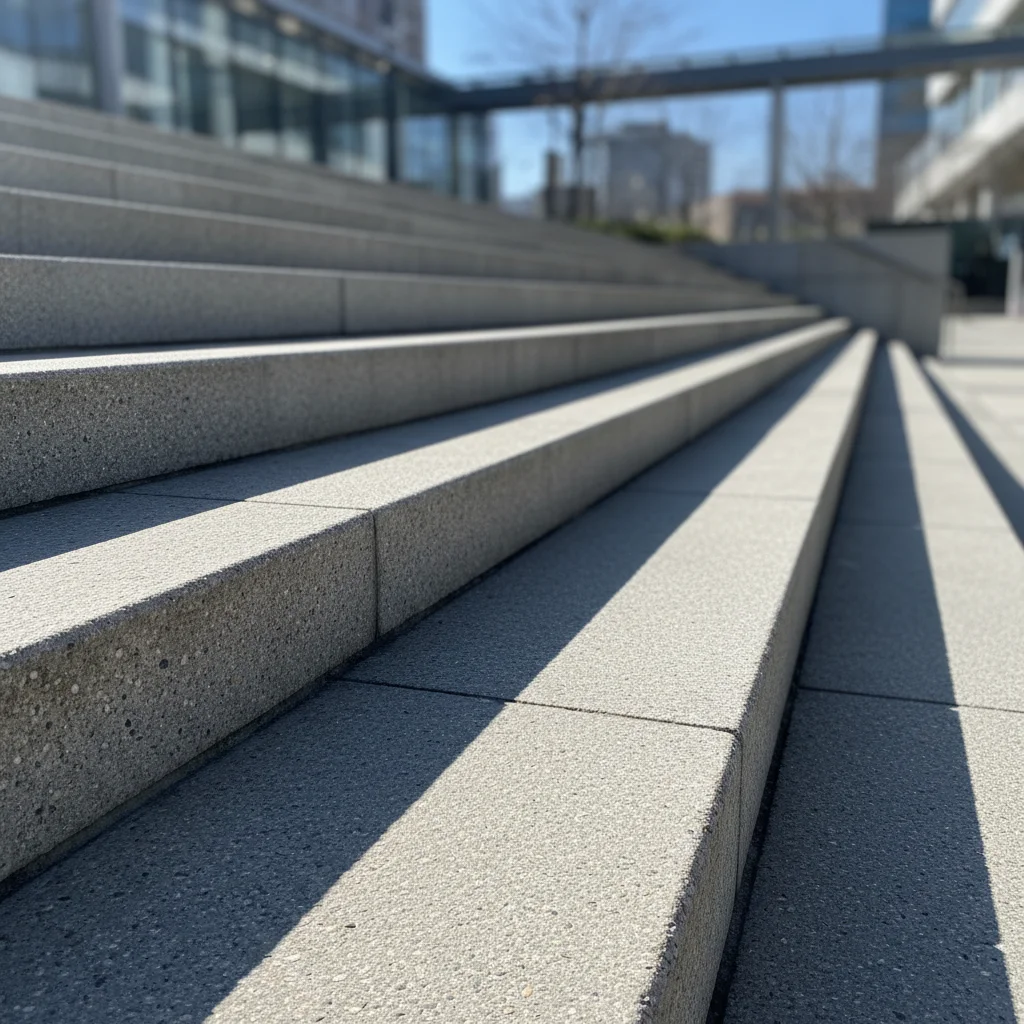
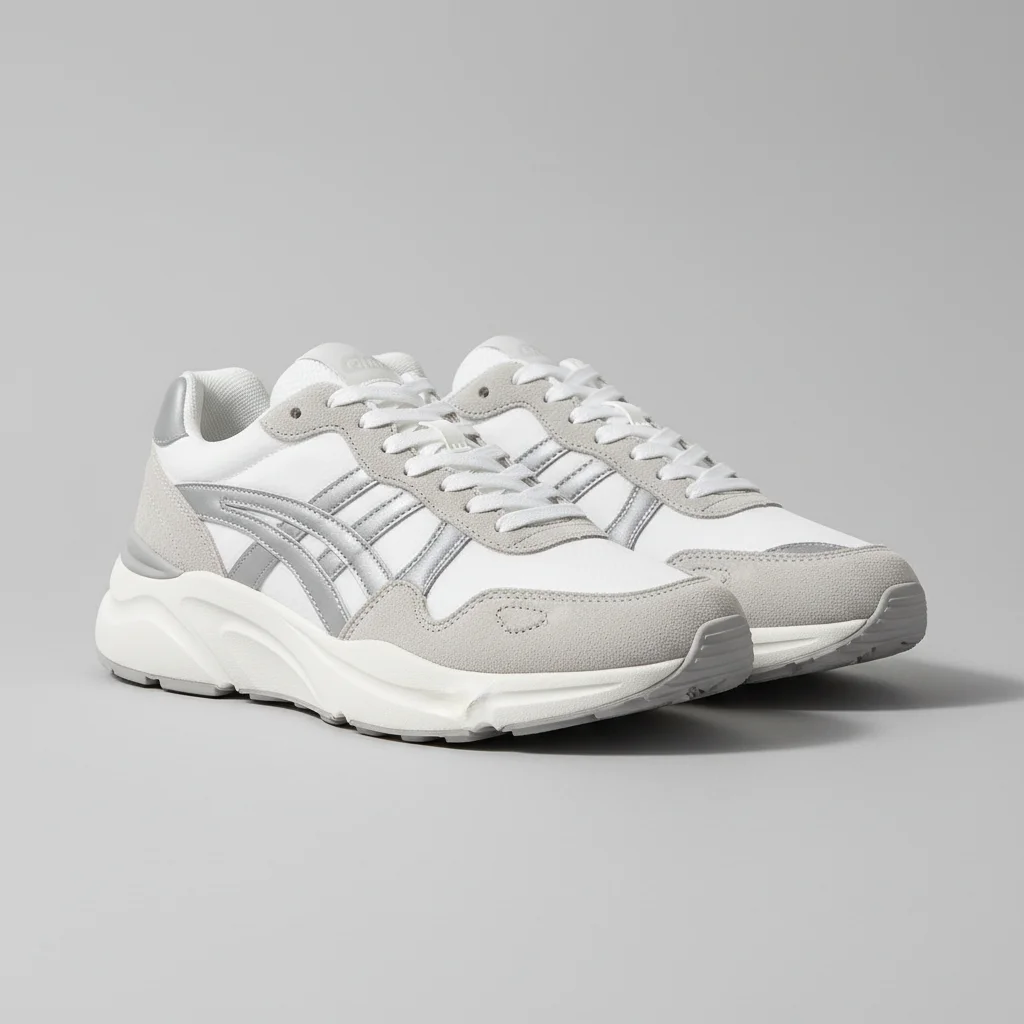
Outdoor step scene — AI put a pair of sneakers from a reference photo on the step, with natural outdoor lighting and correct shadow direction matching the ambient daylight.

Prompt: Place the pair of sneakers from the reference photo onto the center of the concrete step, side by side, making them look natural and matching the outdoor daylight and shadows.
Cozy bedroom with empty bedside table surface
Main Photo
Reference image for Put Object in Photo
Reference
Same bedroom with a ceramic mug naturally placed on the bedside table
Result

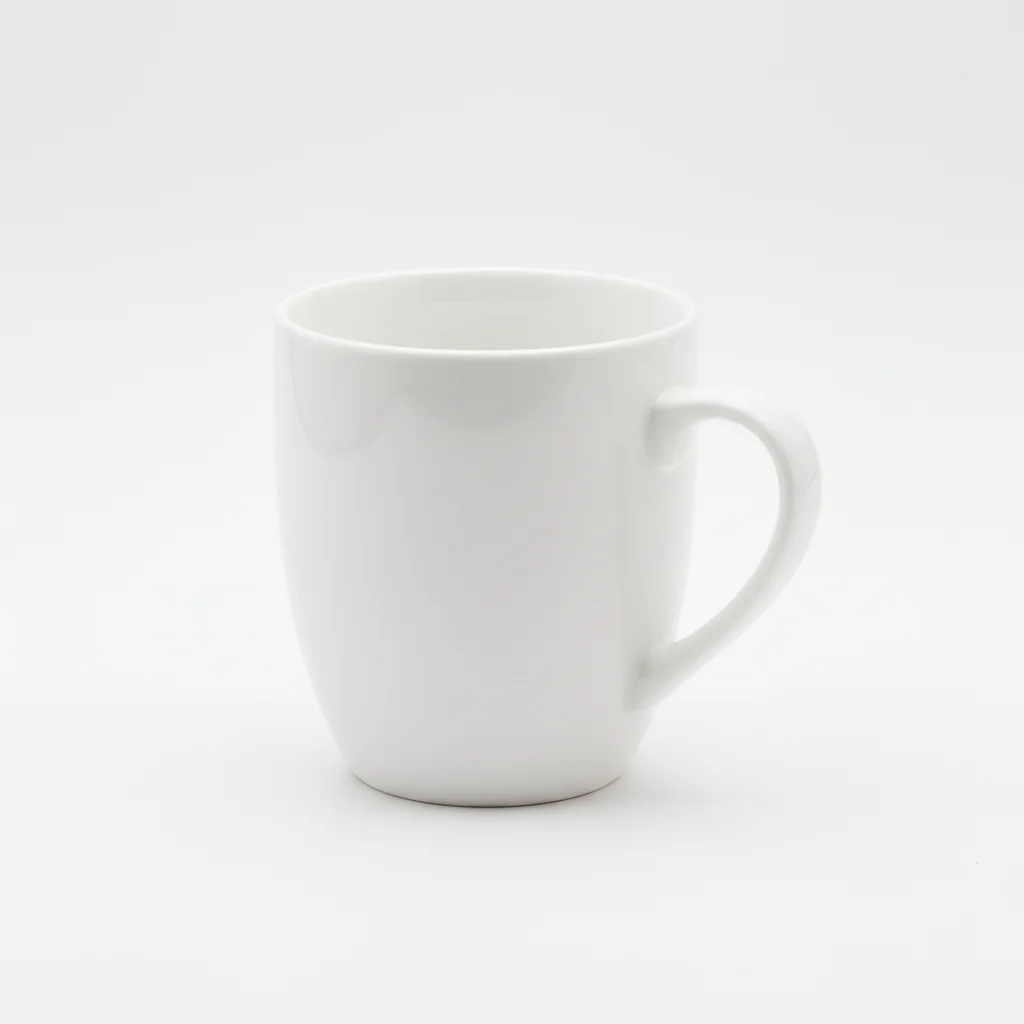
Mug put on bedside table in bedroom photo

Cozy bedroom photo — AI put a ceramic mug from a reference photo on the bedside table, with warm bedside lamp light and a soft shadow on the table surface.

Prompt: Put this mug from the reference photo on the bedside table, making it look natural with a soft shadow.

If something looks off

Object lands in the wrong spot

Why: Casual positional language ('in the corner,' 'on the left') can be interpreted differently by the AI.

Try: Tap a marker on the exact target spot and regenerate with the same prompt

Tip: Whenever exact positioning matters, use a marker tap rather than relying on description

Object looks too big for the space

Why: The AI estimated the scene's scale differently — especially common in wide-angle room photos.

Try: put this object at a smaller scale — it should appear [roughly same height as the sofa/table/nearby item]

Tip: Reference a nearby object's height: 'same height as the bedside lamp' is a concrete anchor for scale

Object has a shadow going the wrong direction

Why: The prompt didn't specify light direction so the AI guessed incorrectly.

Try: put this object with the shadow falling to the [left/right] to match the window light in the photo

Tip: Find the shadow of any existing object in the photo and describe that direction

Object looks floating — no ground contact

Why: The AI omitted the contact shadow that grounds the object to the surface.

Try: re-put this object with a natural floor/surface shadow beneath it, grounding it to the [floor/table/shelf]

Tip: Always name the surface: 'on the hardwood floor with a shadow,' not just 'on the floor'

AI changed wrong area

Why: The AI modified a different area of the photo instead of the target location.

Try: Tap a marker on the exact target spot, then regenerate

Tip: Markers prevent the AI from guessing the location — they're the most reliable positioning tool

Quick answers

Do I need TWO photos for this?

Yes. To put a specific real-world object into a photo, you need two uploads: your main scene photo and a reference photo of the object you want to put in it. Upload the scene first, then click '+ Add reference photo' to upload the object. If you don't have a reference photo, you can describe the object from scratch and the AI will generate one, but a reference ensures it's the exact item you want.

How do I put an object in a photo for free?

Upload your scene photo to EditThisPic, click '+ Add reference photo' to upload the object, then describe where: 'put this plant in the corner next to the window.' The AI composites the object in about 30 seconds. Free to use, no account needed, no watermark on the result.

Can I use this to see how furniture or decor would look in my room?

Yes — this is one of the most practical uses. Upload a photo of your room, upload a product photo of the furniture or decor item (from the store's website works fine), describe where to put it, and see a realistic composite in 30 seconds. Useful before buying expensive items or for interior design planning. The AI matches your room's lighting so the result looks realistic.

Can I use a product photo from a website as the reference?

Yes. Product photos from retailer websites (the standard white-background shots) work very well as reference images. The AI extracts the product and discards the white background. Screenshot or save the product image from the website and upload it as your reference. White backgrounds actually give the cleanest extraction — product photos are ideal for this.

Will the object look like it was actually in the photo?

When the lighting and scale are right, yes. The key is describing the light source in your prompt — 'natural window light from the left' or 'warm overhead lamp.' The AI generates shadows and highlights to match. Results look most convincing when the reference photo is on a clean background and the object is at a natural angle for the scene.

How many objects can I put in a photo at once?

You can describe multiple objects in one prompt: 'put this vase on the left and this lamp on the right.' However, you can only upload one reference photo at a time — so multi-object prompts without a reference will generate objects matching your description, not specific real items. For exact objects, put them in one at a time (each edit takes about 30 seconds).

How much does EditThisPic cost?

You get 1 free edit per week — no account needed. After that, credit packs start at $1.99 for 3 edits. Monthly plans start at $4.99/mo for 15 edits with unused credits rolling over. All edits are full resolution with no watermark.

See how it looks before you buy or shoot

Upload your photo + object reference. Free, no account needed.

1 free edit included·Credit packs from $4.99