Free โ€ข No signup Remove Acne ยท Free

AI Acne Remover

Just describe what you want and AI handles the acne editing.

Before ai-acne-remover edit
Before
โ†’
After ai-acne-remover edit
After

AI Acne Remover

Drop your photo here

or click to browse

Release to upload

Free โ€ข No signup

Advertisement
Popular use cases:
  • social media photos
  • professional headshots
  • product photography
  • personal photos

Cost
Free No signup required
Time
Instant results in 15-30 seconds
Works on
Any device - browser, phone, tablet, desktop
Powered by
AI-powered photo editing
Scenario Prompt Time
Remove forehead acne Remove all acne spots from the forehead while preserving the natural skin texture and tone 15s
Clear cheek breakouts Remove all acne blemishes from the cheek area while maintaining natural skin texture 15s
Remove chin acne Remove acne from the chin area while preserving skin tone and natural contours 20s
Clear jawline acne Remove all acne spots from the jawline while maintaining natural skin texture and shadows 20s

How it works

  1. Upload Your Photo

    Click the upload button or drag and drop your photo. Our AI acne remover works with JPG, PNG, and WebP formats. For best results, use well-lit photos where acne is clearly visible.

    Expect: Your photo will appear in the editor within seconds. You'll see the original image ready for acne removal with no quality loss.
  2. Mark the Acne Areas

    Use the brush tool to paint over acne spots, blemishes, and breakouts you want to remove. The AI will automatically detect skin texture and tone in the surrounding areas to create natural-looking results.

    Copy one of these to get started:

    Remove forehead acne Remove all acne spots from the forehead while preserving the natural skin texture and tone
    Clear cheek breakouts Remove all acne blemishes from the cheek area while maintaining natural skin texture
    Remove chin acne Remove acne from the chin area while preserving skin tone and natural contours
    Clear jawline acne Remove all acne spots from the jawline while maintaining natural skin texture and shadows
    2 more prompts
    Remove nose acne Remove acne from the nose while preserving natural nose shape and skin texture
    Clear temple acne Remove all acne from the temple area while maintaining natural skin tone and hairline
  3. Generate Clear Skin

    Click Generate and watch as AI removes acne while preserving natural skin texture, pores, and tone. The process typically takes 3-5 seconds.

  4. Download Your Clear Photo

    Download your acne-free photo in full resolution with no watermark. Your edited image maintains the original quality with smooth, natural-looking skin.

Advertisement
Try it free โ†“

AI Acne Remover

Drop your photo here

or click to browse

Release to upload

Free โ€ข No signup

"This acne tool is incredible. Just described what I wanted and it worked perfectly on the first try." @happy_user

See it in action

Before ai-acne-remover edit
Before
->
After ai-acne-remover edit
After

Forehead Acne Removal

Removed multiple acne spots from forehead while preserving natural skin texture and tone.

Prompt: Removed multiple acne spots from forehead while preserving natural skin texture and tone.
Before ai-acne-remover edit
Before
->
After ai-acne-remover edit
After

Cheek Breakout Clearing

Cleared severe cheek acne for a professional headshot with natural-looking results.

Prompt: Cleared severe cheek acne for a professional headshot with natural-looking results.

Detailed Guides by Scenario

๐Ÿ“ท

Professional Photography

Remove unwanted acne from professional photo shoots, client deliverables, and stock photography to achieve clean, polished results.

Common Scenarios

  • Client portrait sessions where the acne appeared unexpectedly in frame
  • Stock photography that needs the acne removed for broader commercial appeal
  • Product photography with distracting acne in the background

Best Practices

  • Zoom in and place a marker directly on the acne for the most accurate removal
  • Run a second pass if any faint outlines or shadows remain after the first edit
  • Describe the desired background fill โ€” e.g., 'replace the acne with clean wall' for predictable results
๐Ÿ“ท

Real Estate & Property Listings

Clean up property photos by removing acne that distract buyers and lower perceived home value.

Common Scenarios

  • Listing photos where the acne clutters the frame and makes rooms look smaller
  • Exterior shots with acne that hurt curb appeal
  • Open house photos that need the acne removed before uploading to MLS

Best Practices

  • Shoot the space first, then edit โ€” AI removal works better than awkward staging workarounds
  • After removing the acne, check that floor lines and wall edges still look straight
  • Process all listing photos in one session so lighting and style stay consistent
๐Ÿ“ท

Personal & Social Media

Fix personal photos by removing acne before sharing on social media, printing, or gifting.

Common Scenarios

  • Vacation photos where the acne appeared in an otherwise perfect shot
  • Family photos with acne that distract from the people in the frame
  • Profile pictures and dating app photos that need the acne cleaned out

Best Practices

  • Save the original photo first โ€” edit a copy so you can always go back
  • For group photos, mark the acne carefully to avoid affecting nearby people
  • If the first result isn't perfect, try rewording your prompt with more detail about the background

If something looks off

AI changed wrong area

Why: The AI interpreted the instruction differently than expected.

Try: Be more precise with your markings. Paint directly over each acne spot using a brush size that closely matches the blemish. Avoid marking large areas of clear skin.

Tip: Use smaller brush strokes on just the target area for more precise AI edits.

Skin looks too smooth or fake

Why: The AI interpreted the instruction differently than expected.

Try: Try marking only the acne spots themselves rather than the surrounding skin. Our AI preserves natural skin texture when you mark precisely.

Tip: Add 'keep natural skin texture' to your prompt to preserve realistic detail.

Acne still visible after removal

Why: The AI interpreted the instruction differently than expected.

Try: Some acne spots may need a second pass. Generate the result, then mark any remaining spots and generate again.

Tip: A quick second pass on remaining traces usually gives a clean final result.

Skin tone doesn't match

Why: The AI interpreted the instruction differently than expected.

Try: Ensure your photo has even lighting. Photos with strong shadows or color casts may produce inconsistent results. Try a better-lit photo for more accurate tone matching.

Tip: Try adjusting your prompt wording if the first result isn't perfect โ€” small changes make a big difference.

Quick answers

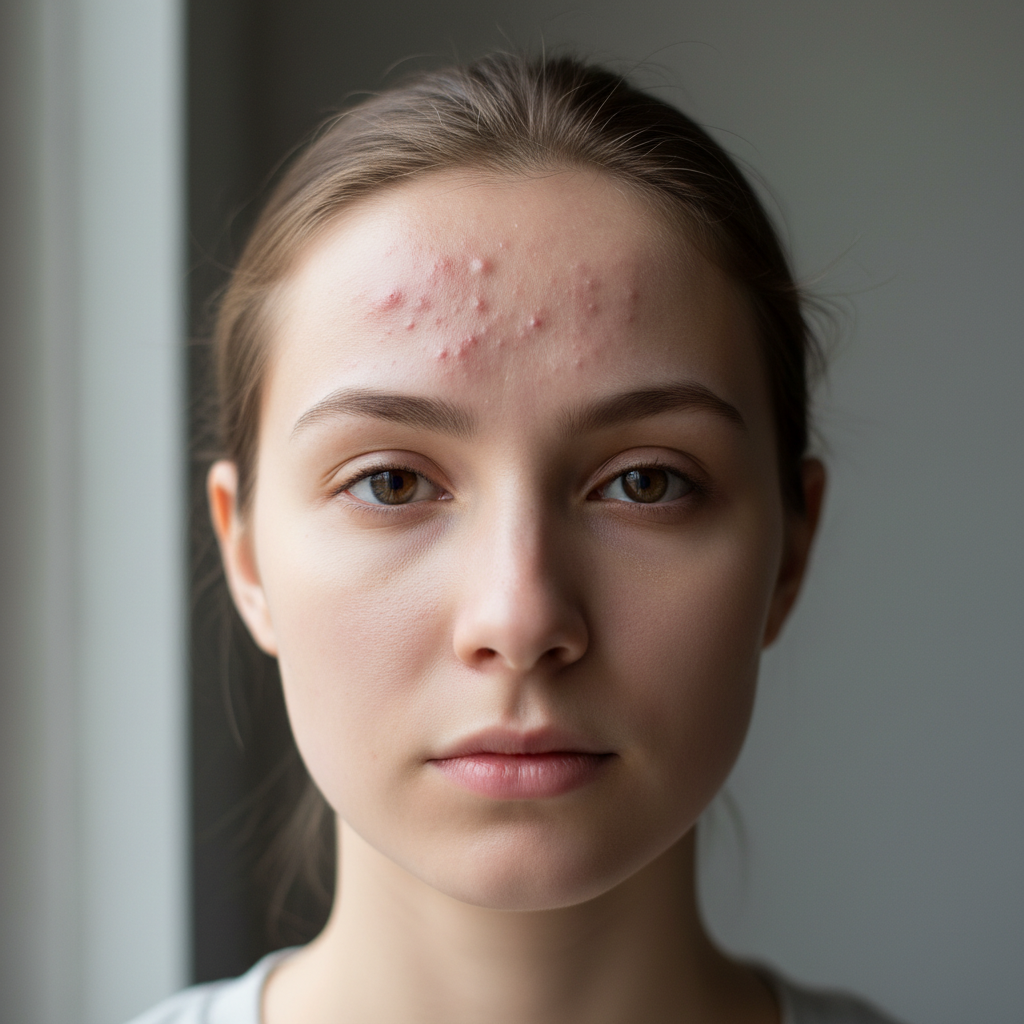
Do I need to mark the acne spots?

Yes, paint over each acne spot you want to remove using the brush tool. This tells the AI exactly which blemishes to eliminate while preserving the rest of your natural skin texture.

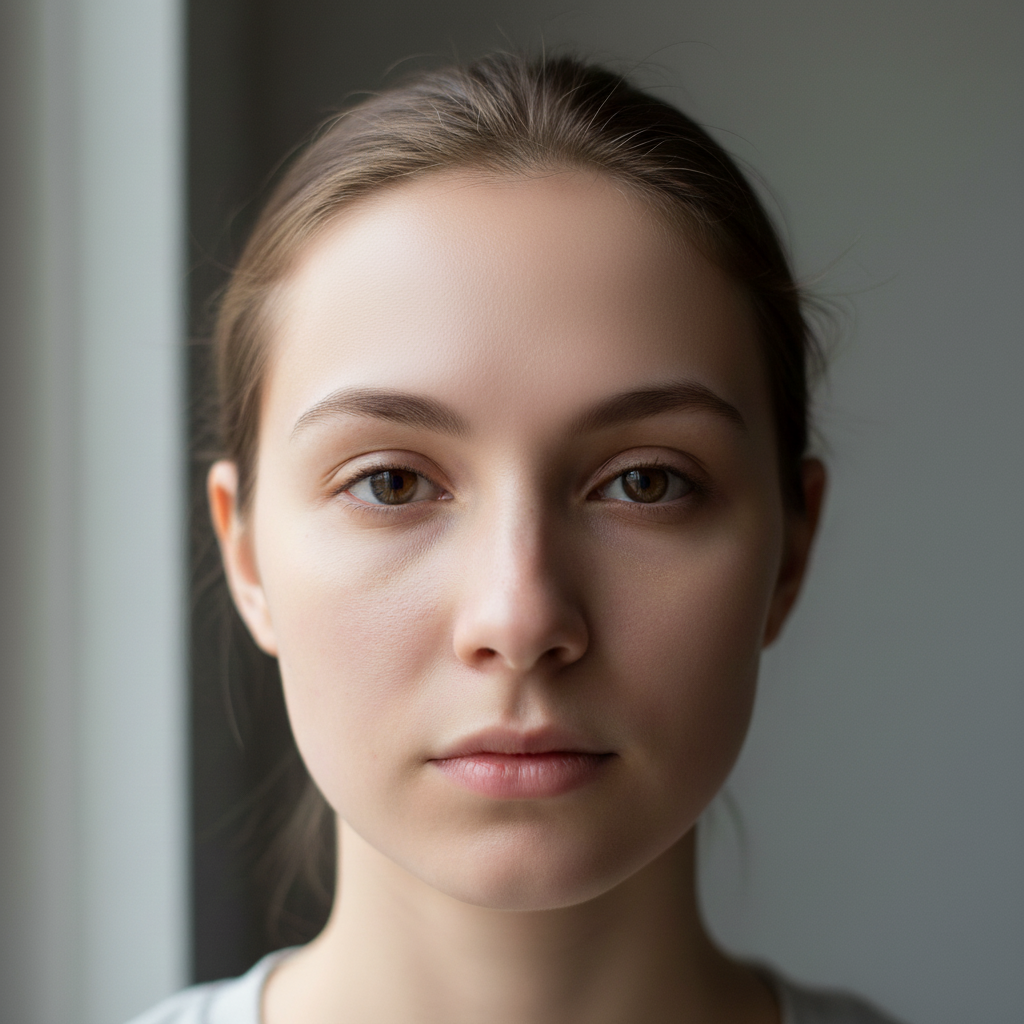
Will it look natural or obviously edited?

Our AI analyzes surrounding skin texture, tone, and pores to create natural-looking results. When used on well-lit photos with precise markings, the removal is virtually undetectable.

Can I remove acne scars or just active acne?

This tool works best on active acne, pimples, and fresh blemishes. For acne scars, try our AI Scar Remover which is specifically designed for textured scarring.

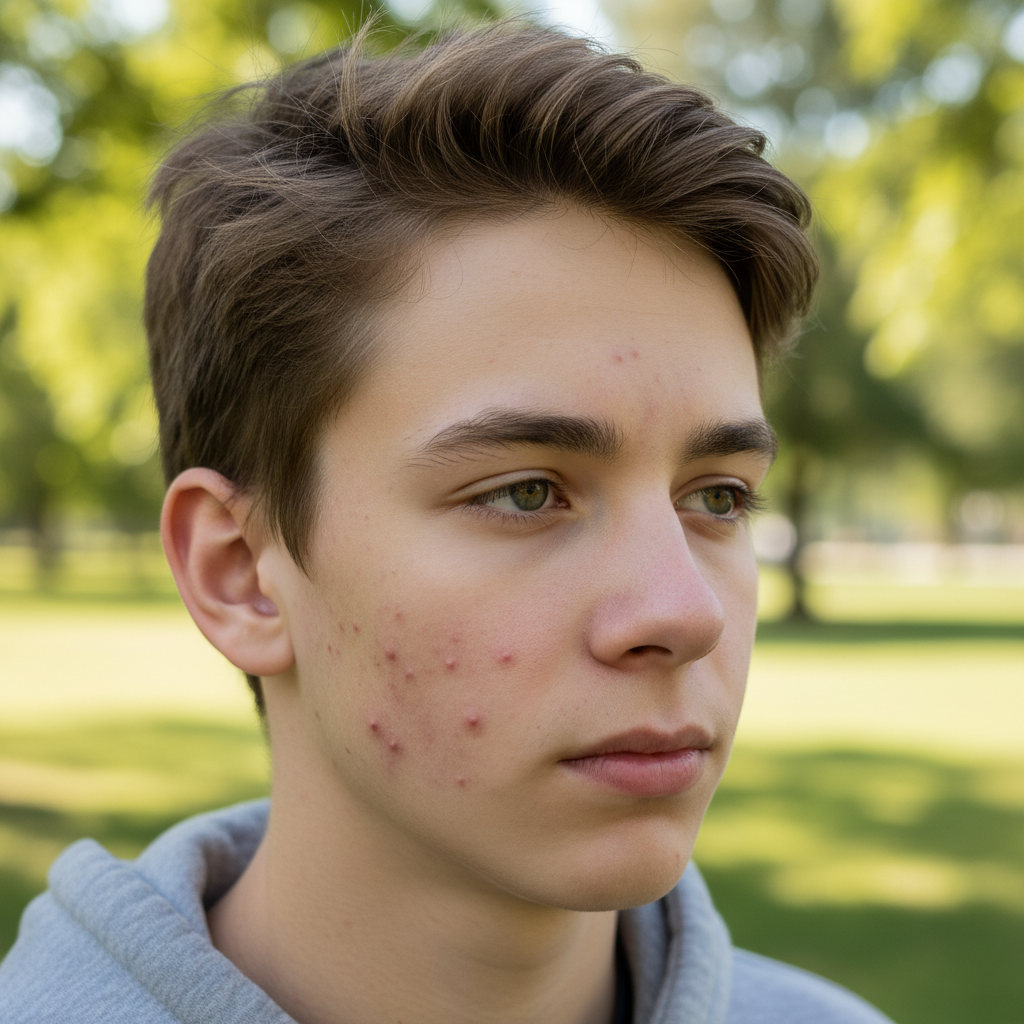
Does it work on all skin tones?

Yes, our AI is trained on diverse skin tones and accurately matches texture and color across light, medium, and dark skin. The key is having even, natural lighting in your photo.

Is EditThisPic's AI acne remover really free?

Yes โ€” you get 1 free edit per week, no account needed. For unlimited edits, plans start at $3.99/month.

Can I remove acne on my phone?

Yes. EditThisPic works in any mobile browser โ€” iPhone, Android, tablet. No app download needed.

What photo formats does the AI acne remover support?

JPG, PNG, WebP, and HEIC. Upload any common photo format and EditThisPic handles the rest.

How long does it take to remove acne?

Usually 15-30 seconds. Upload your photo, describe what you want, and the AI delivers the result.

Ready to edit your photos?

Free to try. No signup required.

Try it free โ†’