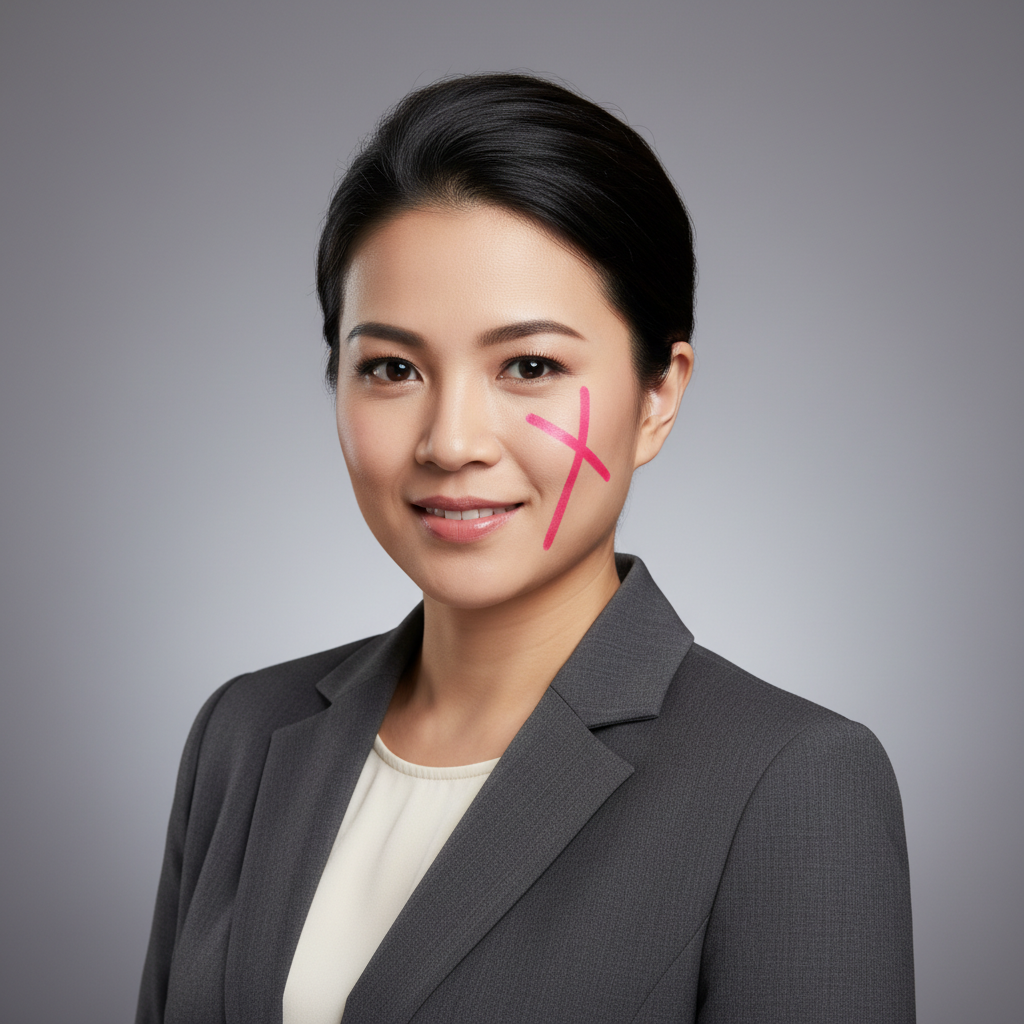
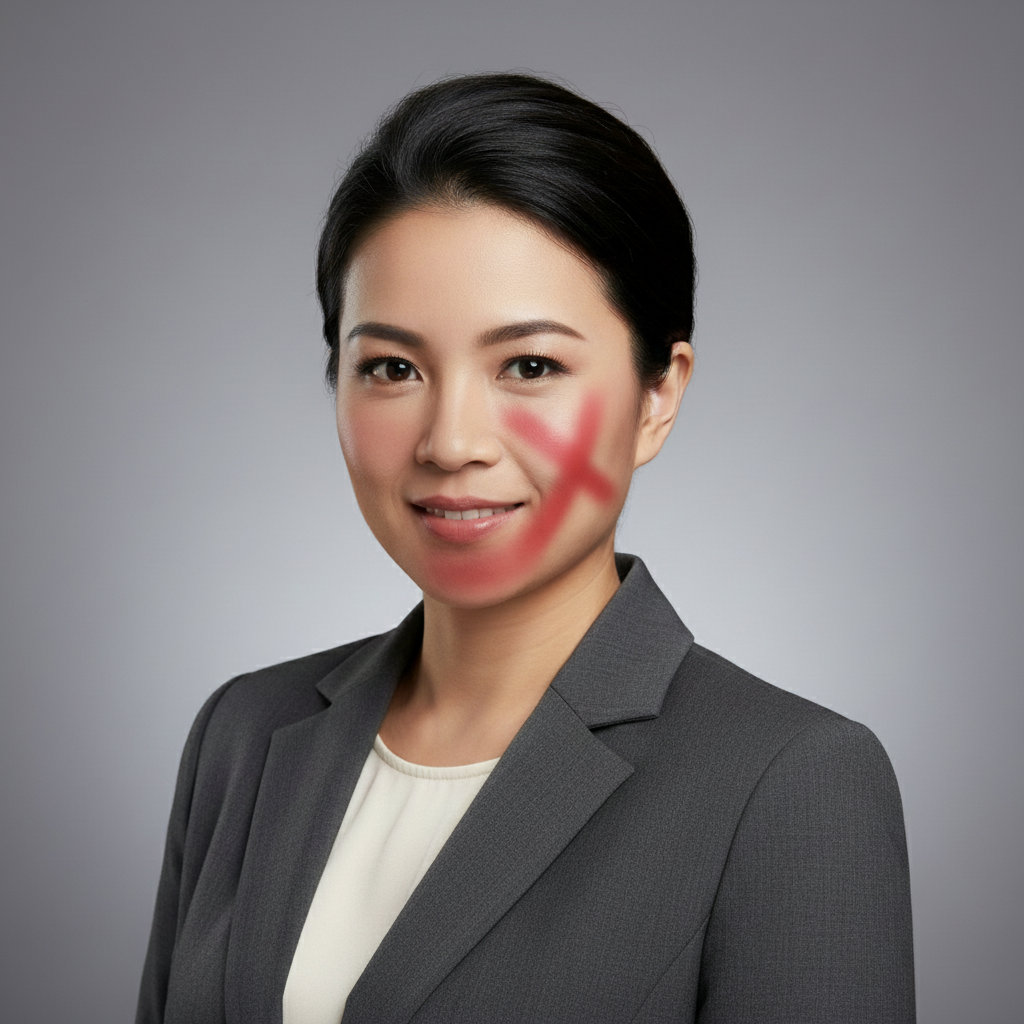
Do I need to mark the scar before describing?
No! Just describe which scar to work on: 'reduce the scar on the cheek' or 'remove surgical scar on forehead.' The AI understands scar descriptions and locations. Only use markers when you need precision—like specifying which mark in a photo with multiple scars, or for complex textured scarring that needs targeted work.
How do I remove scars from photos for free?
EditThisPic offers free AI scar removal. Upload your photo, type 'reduce the scar on [location]' or 'remove the scar and blend with skin,' and the AI processes it in 15-25 seconds. No account needed, no watermark. Works on facial scars, surgical scars, and acne scarring with natural-looking skin texture preservation.
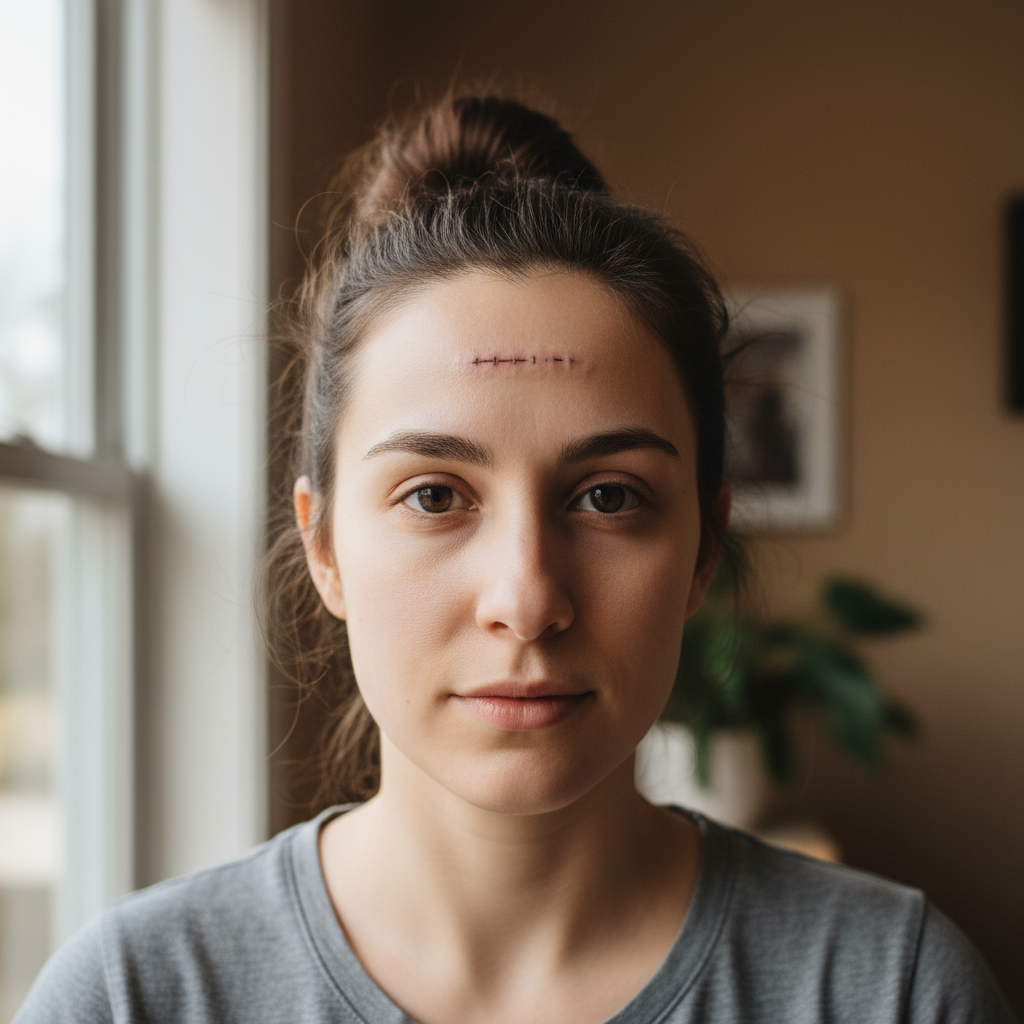
Can it remove acne scars or just injury scars?
It works on both. Fresh injury scars and surgical scars (linear marks with color difference) typically blend well in one pass. Textured acne scars (pockmarks, indented marks) need more specific prompts like 'smooth acne scarring while keeping natural pores visible' and may require a second refinement for complex cases.
What's the best free tool for removing scars from portrait photos?
EditThisPic's AI Scar Remover is designed specifically for portrait scar reduction. It's free, requires no login, and preserves natural skin texture while blending scars. Unlike generic smoothing tools that blur everything, it understands skin context and maintains realistic pores, lines, and tone while reducing scar visibility.
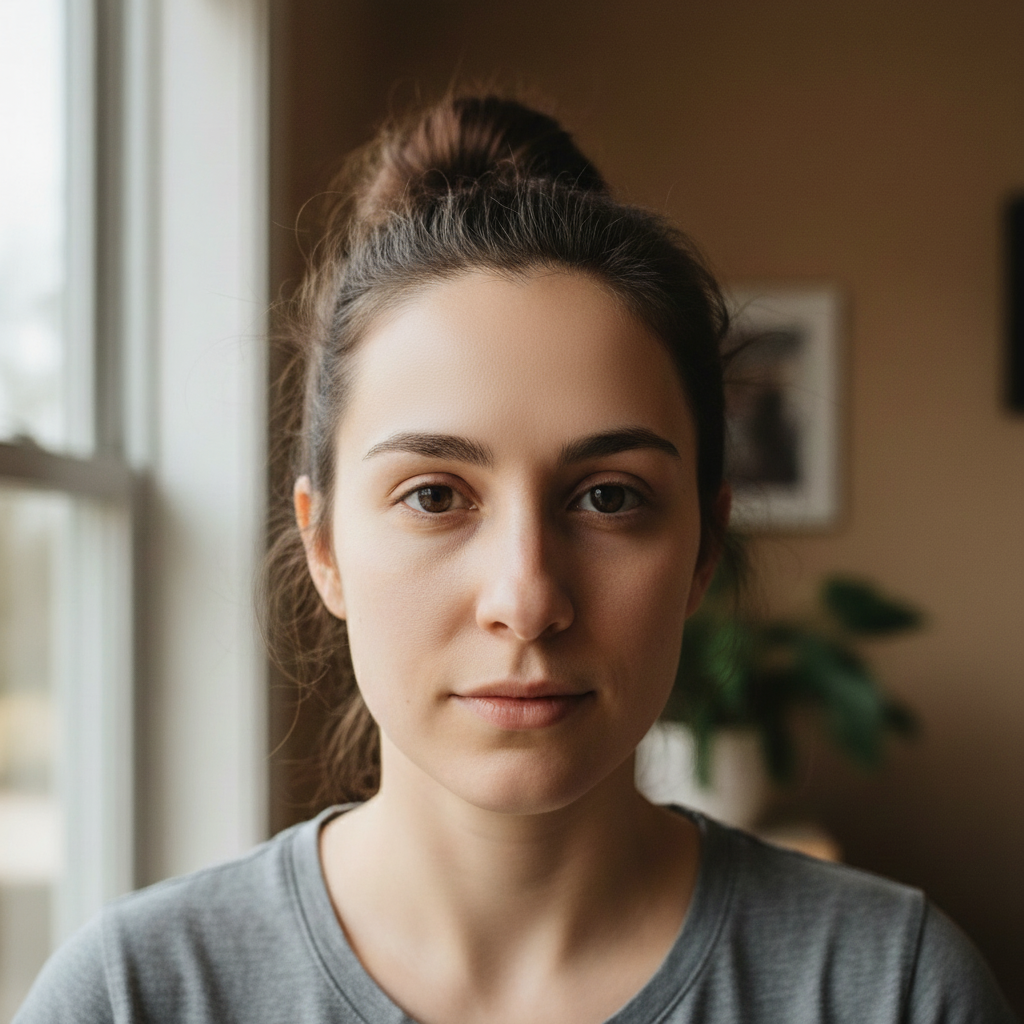
Will it look natural or obviously Photoshopped?
When you include texture preservation in your prompt ('keep natural skin texture', 'preserve pores', 'blend softly'), the AI maintains realistic skin detail. The key is using 'reduce' or 'blend softly' for subtle results rather than aggressive removal, and always specifying texture preservation to avoid over-smoothing.
Does it work on raised scars or keloids?
Yes, but you need to address the 3D appearance. Use prompts like 'flatten the raised scar and blend with skin level' or 'remove the 3D appearance and shadows of the keloid scar.' This tells the AI to address the lighting/shadow that makes it look raised, not just the color difference.
Is EditThisPic's AI scar remover really free?
Yes — you get 1 free edit per week, no account needed. For unlimited edits, plans start at $3.99/month.
Can I remove scar on my phone?
Yes. EditThisPic works in any mobile browser — iPhone, Android, tablet. No app download needed.