Free • No signup Remove Scar · Free

AI Scar Remover

Just describe which scars to minimize. No manual selection or tracing needed.

Portrait showing visible scar on left cheek
Before
Same portrait with scar reduced and blended naturally
After

Remove Scars from Photos

Drop your photo here

or click to browse

Release to upload

Free • No signup

Advertisement
Popular use cases:
  • portrait retouching
  • professional headshots
  • LinkedIn photos
  • dating profile photos
  • graduation photos
  • wedding photos
  • model portfolios
  • personal portraits

Cost
Free No signup required
Time
Instant results in 15-30 seconds
Works on
Any device - browser, phone, tablet, desktop
Powered by
AI-powered photo editing
Scenario Prompt Time
Facial scar (subtle) reduce the scar on the cheek and blend softly with natural skin tone 15s
Complete removal remove the scar completely and restore natural skin texture matching the surrounding area 20s
Surgical scar remove surgical scar on forehead and blend with skin, preserve natural forehead lines 25s
Acne scarring smooth acne scarring on the chin area while keeping natural skin texture and pores visible 30s

How it works

  1. Upload your photo

    Drop your portrait or photo showing the scar into EditThisPic. JPG, PNG, WebP up to 7MB. Works best on well-lit photos where scar texture and color are clearly visible against surrounding skin.

    Expect: Small facial scars: 15-20 seconds. Large surgical scars or textured acne scarring: may need 2-3 refinements to fully blend with natural skin tone and texture.
  2. Describe which scar to reduce or remove

    Type your instruction: 'reduce the scar on the left cheek' or 'remove surgical scar on forehead and blend with skin texture.' Be specific about location if there are multiple marks. No manual tracing—the AI understands scar descriptions and skin context.

    Tip: Use 'reduce' for subtle results or 'remove' for complete elimination. For natural-looking results, try 'soften the scar and blend with surrounding skin tone' which preserves realistic texture.

    Copy one of these to get started:

    Facial scar reduction (subtle) reduce the scar on the cheek and blend softly with natural skin tone
    Complete scar removal remove the scar completely and restore natural skin texture matching the surrounding area
    Surgical scar on forehead remove surgical scar on forehead and blend with skin, preserve natural forehead lines
    Acne scar texture reduction smooth acne scarring on the chin area while keeping natural skin texture and pores visible
    3 more prompts
    Raised or keloid scar flattening flatten the raised scar and match the skin level, blend color with surrounding tone
    Old scar with different pigmentation blend the darker scar tissue with the lighter surrounding skin tone and smooth the transition
    Multiple small scars (chickenpox marks) remove all small pockmark scars across the face and restore smooth skin texture
  3. Generate and review

    Click Generate and wait 15-25 seconds. Zoom to full size to check the scar area. Verify the skin texture looks natural (not too smooth or blurred) and the skin tone matches the surrounding area. Check for natural shadows and highlights.

  4. Refine with markers if needed

    If the scar is still partially visible or skin tone doesn't match perfectly, tap markers on the scar area and regenerate with a more specific prompt like 'blend the marked scar completely with natural skin texture.' This is optional—most scar removals work without markers.

    Tip: Markers are helpful for long surgical scars or textured acne scarring. Mark the scar path and the AI will blend it more precisely with surrounding skin.
Try it free

Remove Scars from Photos

Drop your photo here

or click to browse

Release to upload

Free • No signup

"I was self-conscious about my facial scar in photos. This tool made it nearly invisible while keeping my skin looking natural." @portrait_user

See it in action

Portrait showing visible scar on left cheek
Before
->
Same portrait with scar reduced and blended naturally
After

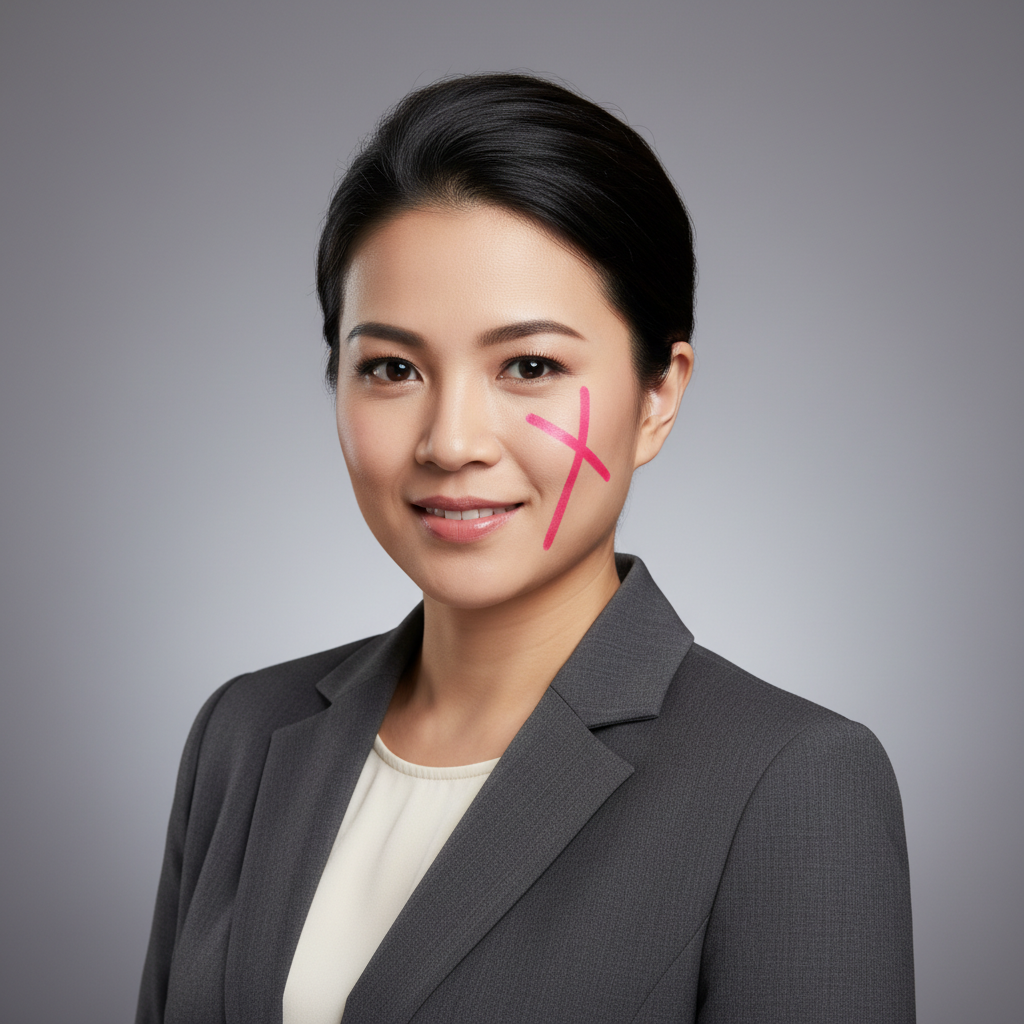
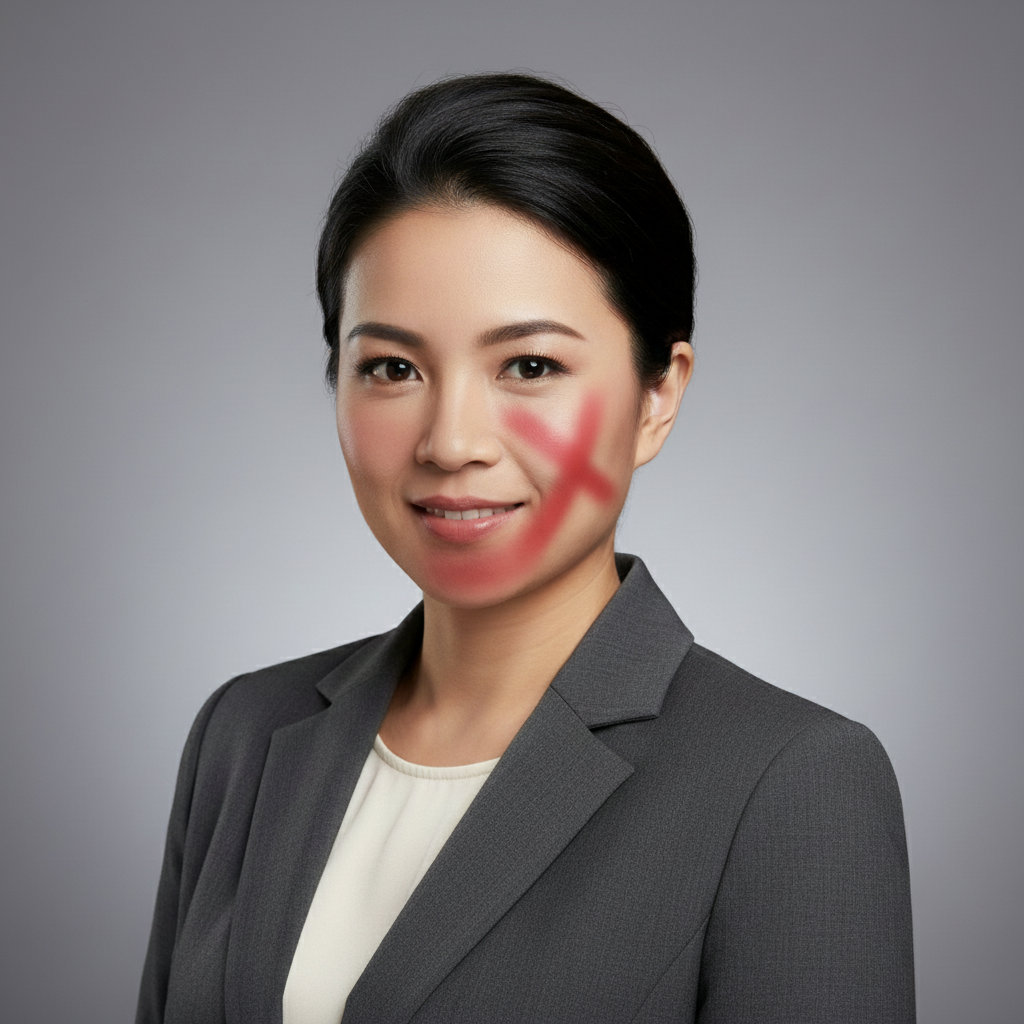
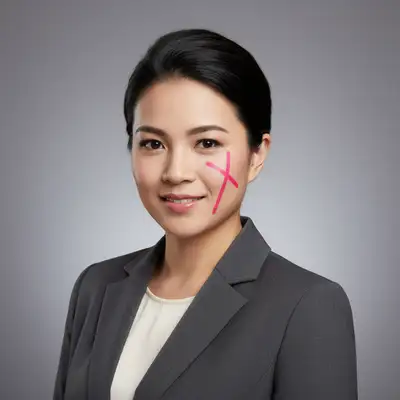
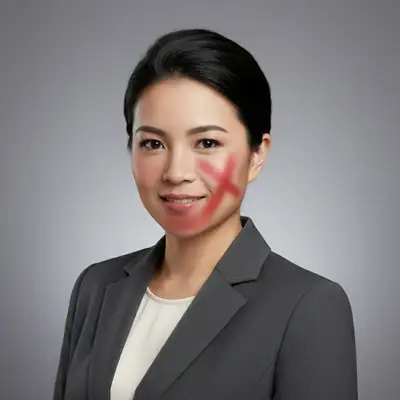
Facial scar reduced naturally

Visible cheek scar from childhood injury. One prompt softened it while preserving natural skin texture and tone.

Prompt: reduce the scar on the left cheek and blend softly with natural skin tone
Portrait with horizontal surgical scar across forehead
Before
->
Clean portrait with scar removed and natural forehead preserved
After

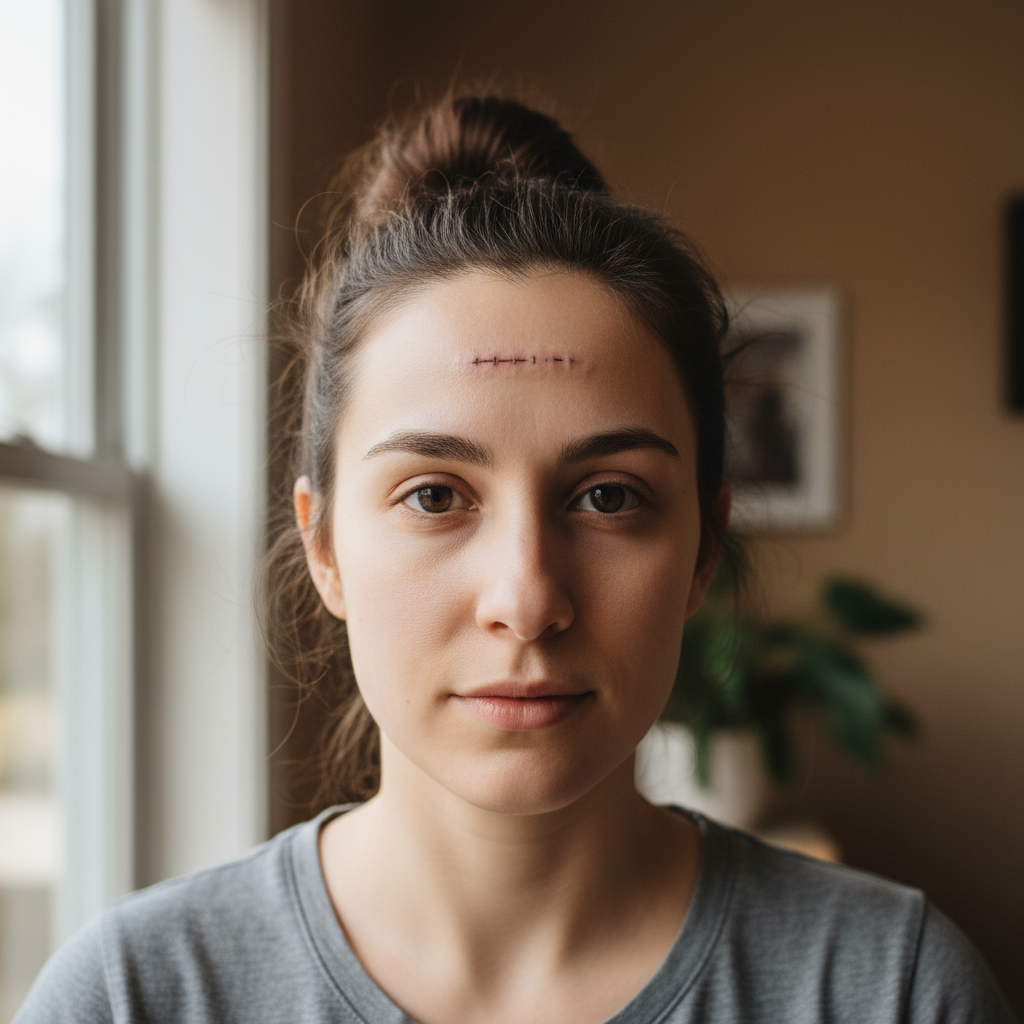
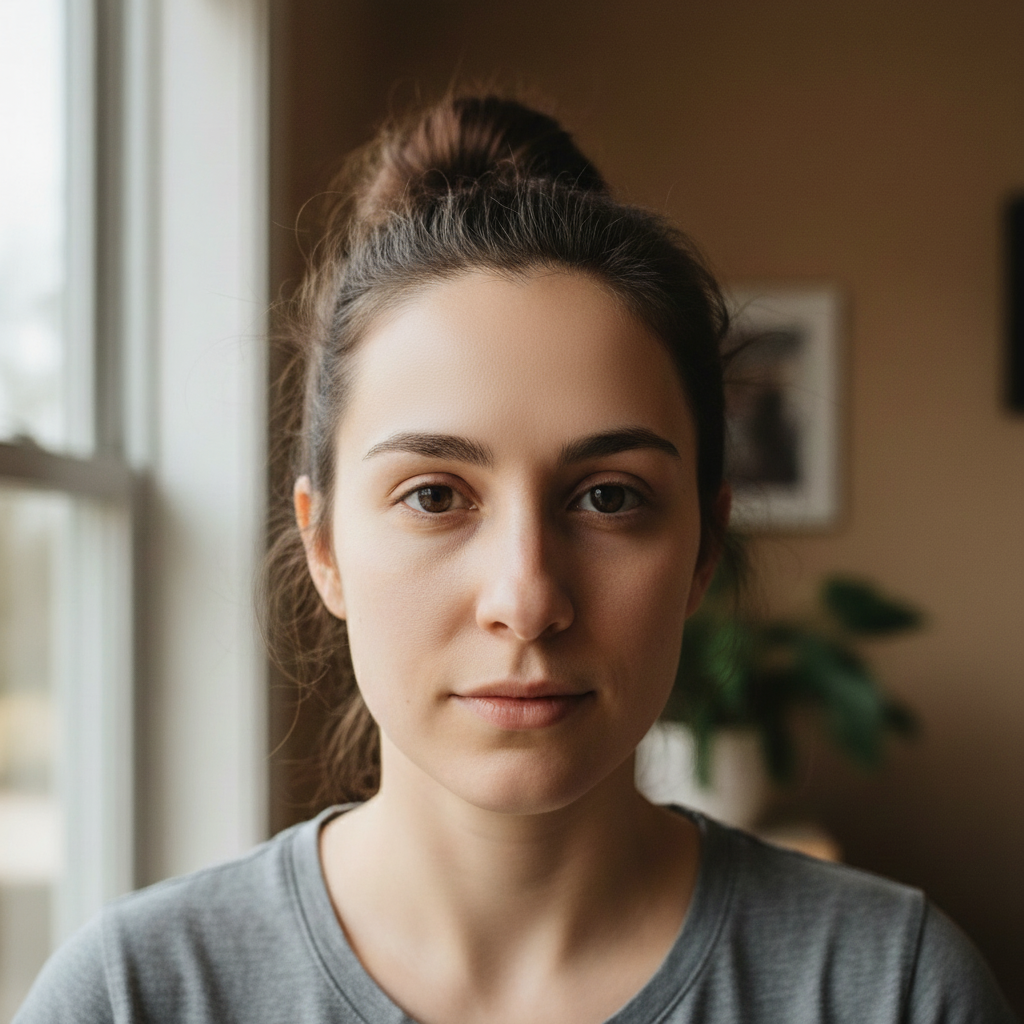
Surgical scar removed from forehead

Post-surgery scar crossed the forehead. AI removed it completely while preserving natural forehead lines.

Prompt: remove surgical scar on forehead and blend with skin, preserve natural forehead lines
Portrait showing textured acne scarring on chin
Before
->
Same portrait with smooth chin while maintaining natural pores
After

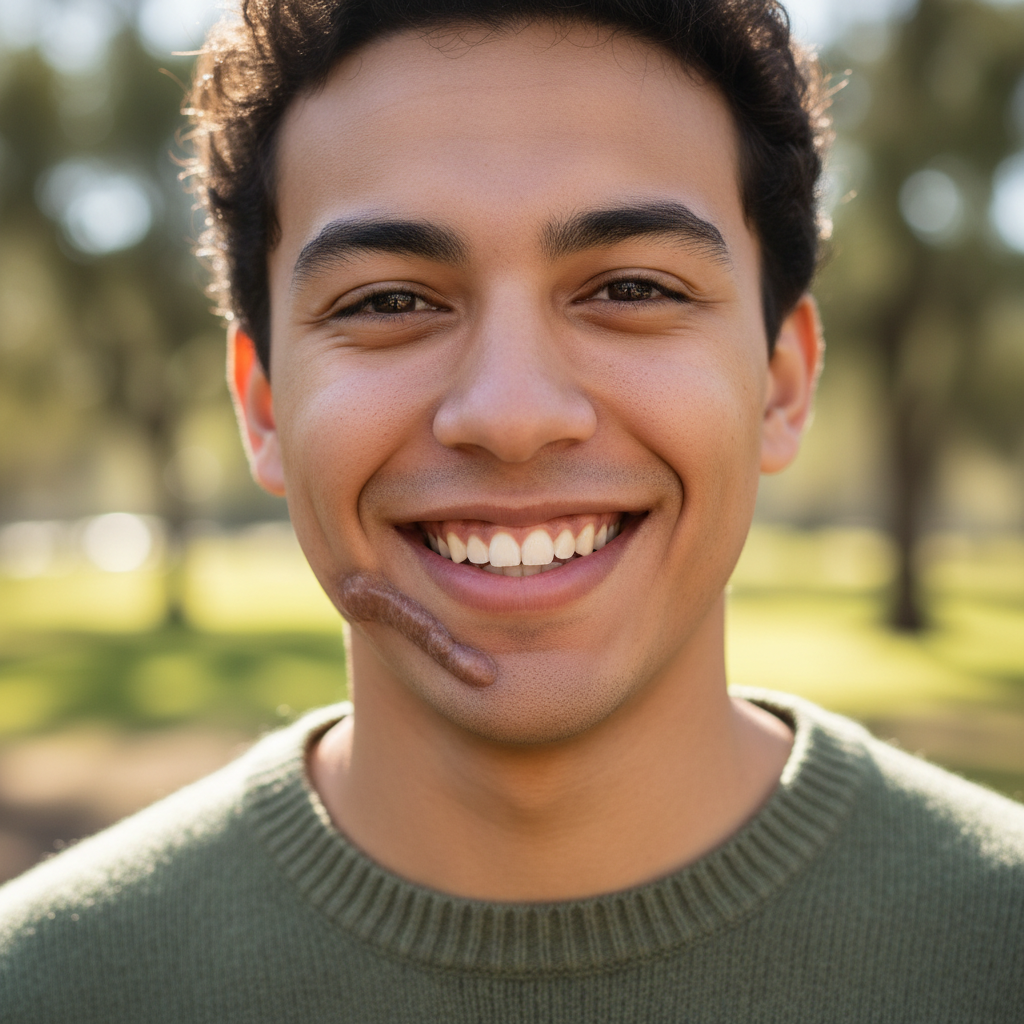
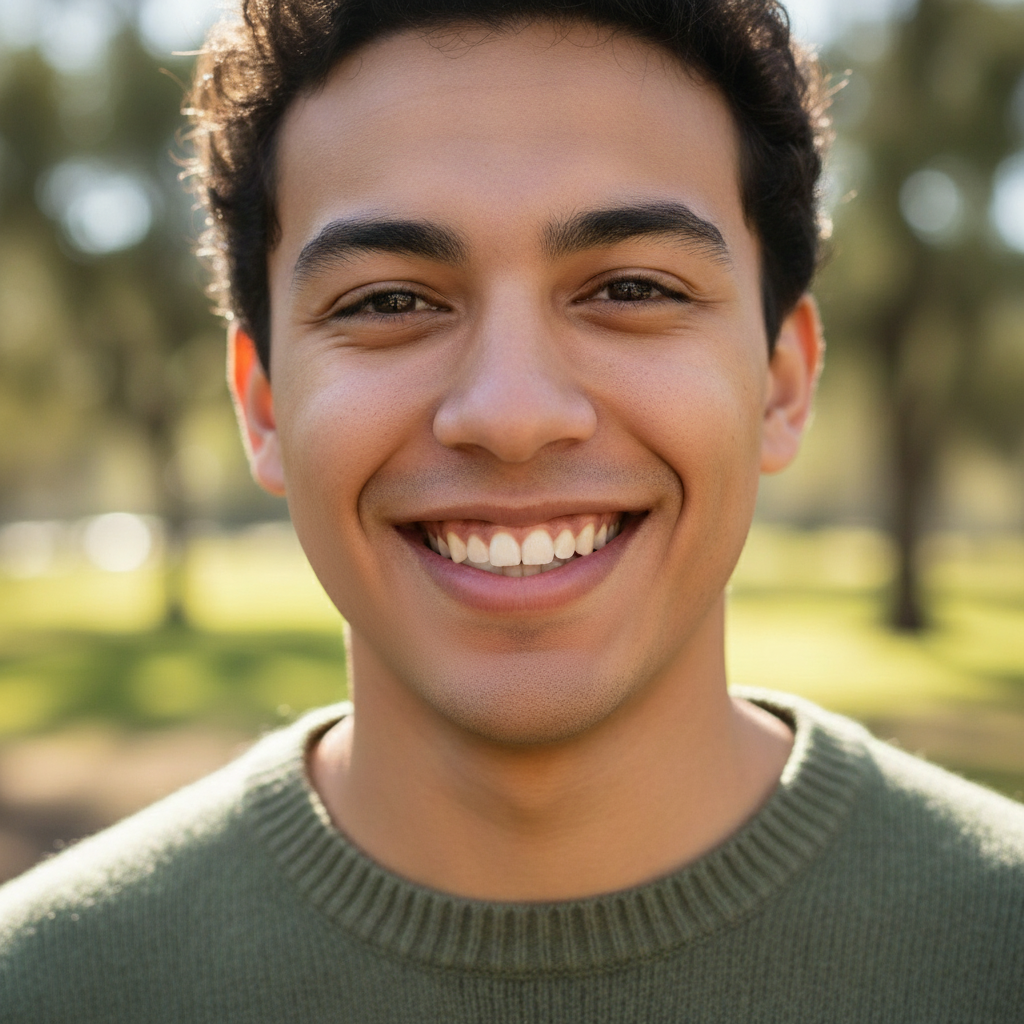
Acne scarring smoothed on chin

Textured acne scars created uneven skin surface. Prompt smoothed the texture while keeping natural pores visible.

Prompt: smooth acne scarring on the chin area while keeping natural skin texture and pores visible
Advertisement

If something looks off

AI changed the wrong area or blurred unrelated skin

Why: The AI couldn't locate the specific scar from description alone, especially if the photo has multiple marks, wrinkles, or skin features that could be confused with scars.

Try: Tap a marker directly on the scar you want removed, then regenerate with 'remove the scar at this marker only, preserve surrounding skin exactly as is'

Tip: Markers are essential for precision when the photo has multiple skin features. They tell the AI 'work on THIS mark specifically.'

Skin looks too smooth or plastic after scar removal

Why: The AI over-corrected the texture trying to blend the scar, removing natural pores and skin detail in the process. This happens when the scar is in a highly textured area.

Try: Regenerate with a prompt that preserves texture: 'remove the scar while keeping visible pores and natural skin texture' or 'blend scar subtly, don't smooth the surrounding skin'

Tip: Always specify texture preservation in your prompt: 'keep pores visible', 'preserve skin texture', 'maintain natural detail'.

Skin tone doesn't match after scar removal

Why: The scar had significantly different pigmentation than surrounding skin (darker, redder, or lighter), and the AI's color correction didn't match perfectly.

Try: Be specific about color: 'blend the darker scar with the lighter surrounding skin tone' or 'match the reddish scar to the natural beige skin color'

Tip: Describe the color difference you see. This helps the AI understand the exact color correction needed.

Raised or textured scar still looks 3D/bumpy after removal

Why: Raised scars have shadows and highlights that create a 3D appearance. The AI may have blended the color but not addressed the lighting/shadow that makes it look raised.

Try: Use 'flatten the raised scar and remove shadows' or 'eliminate the 3D appearance of the scar, make it level with skin'

Tip: For keloid or raised scars, explicitly mention 'flatten' or 'remove 3D appearance' to address the lighting/shadow issue.

Large surgical scar only partially removed

Why: Very long scars (several inches) are challenging for AI to process in one pass, especially if they cross different skin areas or lighting zones.

Try: Work in sections: mark one portion of the scar, generate, then mark the next section and generate again. Or use 'remove the scar on the left side first' then 'now remove the remaining scar on the right side'

Tip: Break long scars into 2-3 segments for better results. Process each segment separately for consistent blending.

Acne scarring (pockmarks) remains visible or only partially smoothed

Why: Multiple small indented scars across a larger area require the AI to reconstruct significant skin texture, which is complex when there are many individual marks.

Try: Try two passes: first 'smooth the overall texture of acne scarring' broadly, then mark the most visible remaining pockmarks and 'fill these specific indented scars'

Tip: Widespread acne scarring works best with a two-step approach: overall smoothing first, then targeted touch-ups on stubborn marks.

Quick answers

Do I need to mark the scar before describing?

No! Just describe which scar to work on: 'reduce the scar on the cheek' or 'remove surgical scar on forehead.' The AI understands scar descriptions and locations. Only use markers when you need precision—like specifying which mark in a photo with multiple scars, or for complex textured scarring that needs targeted work.

How do I remove scars from photos for free?

EditThisPic offers free AI scar removal. Upload your photo, type 'reduce the scar on [location]' or 'remove the scar and blend with skin,' and the AI processes it in 15-25 seconds. No account needed, no watermark. Works on facial scars, surgical scars, and acne scarring with natural-looking skin texture preservation.

Can it remove acne scars or just injury scars?

It works on both. Fresh injury scars and surgical scars (linear marks with color difference) typically blend well in one pass. Textured acne scars (pockmarks, indented marks) need more specific prompts like 'smooth acne scarring while keeping natural pores visible' and may require a second refinement for complex cases.

What's the best free tool for removing scars from portrait photos?

EditThisPic's AI Scar Remover is designed specifically for portrait scar reduction. It's free, requires no login, and preserves natural skin texture while blending scars. Unlike generic smoothing tools that blur everything, it understands skin context and maintains realistic pores, lines, and tone while reducing scar visibility.

Will it look natural or obviously Photoshopped?

When you include texture preservation in your prompt ('keep natural skin texture', 'preserve pores', 'blend softly'), the AI maintains realistic skin detail. The key is using 'reduce' or 'blend softly' for subtle results rather than aggressive removal, and always specifying texture preservation to avoid over-smoothing.

Does it work on raised scars or keloids?

Yes, but you need to address the 3D appearance. Use prompts like 'flatten the raised scar and blend with skin level' or 'remove the 3D appearance and shadows of the keloid scar.' This tells the AI to address the lighting/shadow that makes it look raised, not just the color difference.

Ready to remove scars from your photos?

Free to try. No signup required.

Try it free