Free • No signup Place Accessory · Free

AI Accessory Placement Tool

← Browse all creative effects

Last updated

Upload model photo + accessory product photo. AI places the exact belt, bracelet, scarf, or tie on the model — product details 100% preserved.

Model in olive midi dress with no belt, waist area clearly visible, warm indoor light Same model with cognac leather belt cinching the waist, silver buckle centered, lighting preserved

Upload photo to place accessory

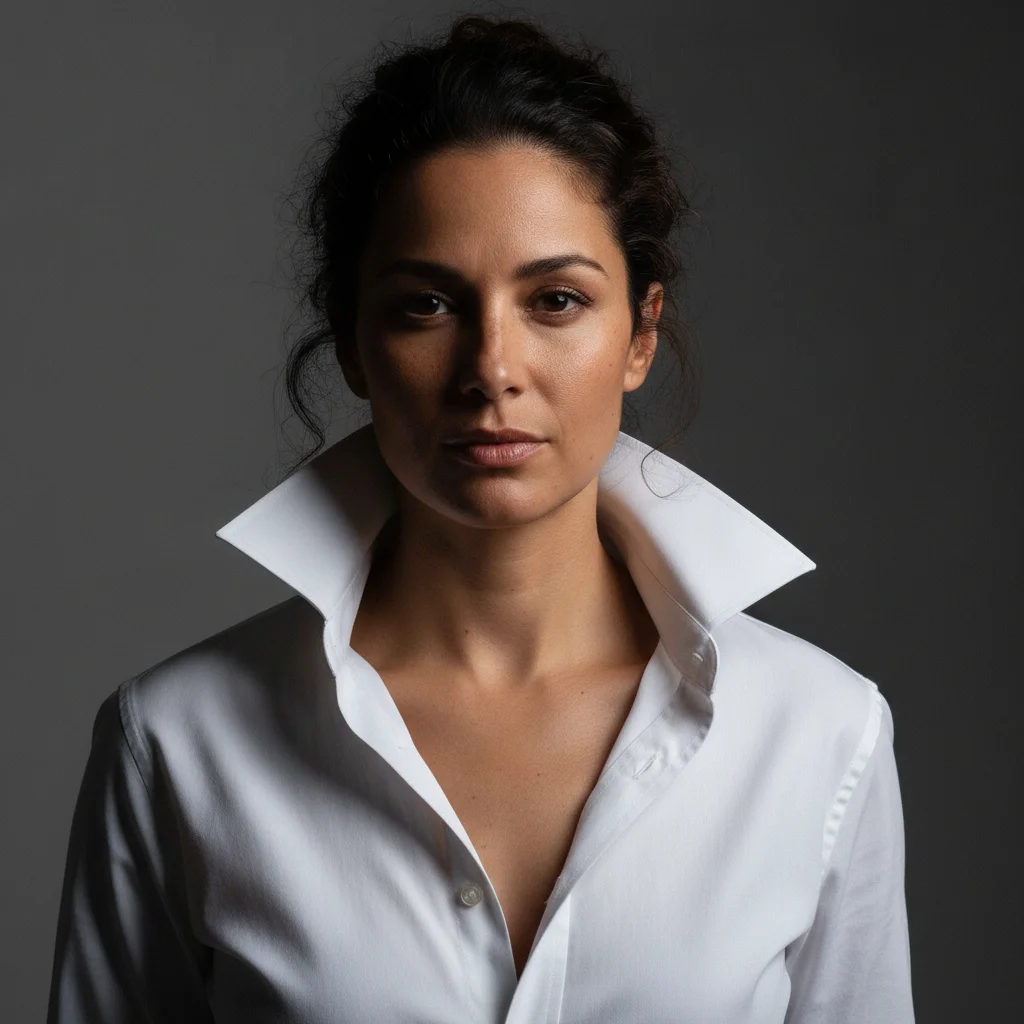
"Place the silk scarf from the reference image loosely around the model's neck. The scarf should drape naturally with one longer end falling over the right shoulder and the remaining fabric gathered softly at the neck. Keep the pattern and color 100% identical to the reference. The silk should have a natural sheen matching the existing warm studio light."

Release to upload

50,000+photos edited
<30stypical edit
1 freeedit weekly

1 free edit·then from $4.99

How it works

  1. Upload your model photo

    Drop a clean model photo into EditThisPic where the placement area is clearly visible. For belt placement, use a full-body or waist-up shot. For scarf placement, the neck and shoulder area should be visible. For bracelet placement, the wrist should be unobstructed. JPG, PNG, or WebP up to 7MB.

    Expect: Clean studio or lifestyle shots where the accessory placement area is clearly visible: 20-30 seconds. Shots where the placement area is partially obscured by other clothing or props may need one refinement pass.
  2. Add your accessory product photo as a reference image

    Click '+ Add reference image' and upload a clear product photo of your accessory. A flat-lay on white background or a close-up product shot works best. The reference image is what the AI reads to replicate your exact product — without it, the AI generates a generic accessory in the described style rather than your specific SKU.

    Tip: For accessories with distinctive patterns (printed scarves, embossed leather belts, woven textiles), use a reference photo that clearly shows the full pattern. A zoomed-out or blurry product photo causes pattern loss in the final composite.

    Copy one of these to get started:

    Leather belt on model — Shopify listing Place this exact leather belt on the model using the reference image. The belt should encircle the waist with the buckle centered at the front. Keep the leather texture, buckle shape, stitching, and color 100% identical to the reference. The belt should follow the natural curve of the waist with a slight cinching effect. Match the existing studio lighting.
    Silk scarf around neck — lookbook styling Place the silk scarf from the reference image loosely around the model's neck. The scarf should drape naturally with one longer end falling over the right shoulder and the remaining fabric gathered softly at the neck. Keep the pattern and color 100% identical to the reference. The silk should have a natural sheen matching the existing warm studio light.
    Bracelet on wrist — e-commerce listing Place the bracelet from the reference image on the model's left wrist. Keep the bracelet design 100% identical to the reference — same bead pattern, clasp type, and color. The bracelet should sit naturally just above the wrist bone, with slight contact with the skin creating a natural flat area beneath it. Add highlights matching the warm studio light.
    Tie on model — business lookbook Place the tie from the reference image on the model, hanging from a collar with a Windsor knot. Keep the tie pattern and color 100% identical to the reference. The tie should have appropriate length — the tip should reach to the waistband of the trousers. Match the natural drape and any slight diagonal angle of a naturally worn tie. Match the cool studio lighting.
    4 more prompts
    Printed scarf as head wrap — editorial Place the scarf from the reference image as a head wrap on the model. Wrapped turban-style with the knot centered at the top front. Keep the entire print and color of the scarf identical to the reference — the pattern should be visible on all wrapped surfaces. Match the warm natural daylight in the model photo.
    Woven bracelet or friendship bracelet — artisan listing Place the woven bracelet from the reference image on the model's right wrist. Keep the weave pattern, thread colors, and tassel ends identical to the reference. The bracelet should fit snugly at the wrist with natural slight looseness — not tight, not sagging. The tassel ends should fall naturally to the outer wrist. Match the soft outdoor daylight.
    Belt bag or fanny pack — waist positioning Place this exact belt bag on the model using the reference image. Worn at the waist with the bag positioned at the front center. The belt strap should encircle the waist naturally with the buckle hidden at the back. Keep all design details identical — zippers, hardware, logo, and material. Add a shadow under the bag where it rests against the clothing.
    Gloves on model — winter accessories Place the gloves from the reference image on both of the model's hands. Keep the color, knit texture, and cuff style 100% identical to the reference. The gloves should fit naturally with visible finger outlines showing through the knit. The cuffs should sit at the wrist where the sleeve ends. Match the cold outdoor light already in the model photo.
  3. Describe placement, styling, and lighting

    Type your instruction specifying what to place, where it goes, and how it should look. For belts: 'buckle centered at the front, leather following the waist curve.' For scarves: 'loosely wrapped around the neck with one end draped over the left shoulder.' Include a lighting match so the accessory integrates naturally rather than looking composited.

  4. Refine with markers if drape or position needs adjustment

    If a belt buckle is off-center, a scarf end drapes the wrong direction, or a bracelet sits too high on the wrist, tap a marker on the problem area and regenerate with a focused correction. Accessories that wrap around the body (belts, scarves) benefit most from markers when one side looks natural but the other needs adjustment.

    Tip: Markers are for precision refinement only. Try without them first. For belts, a marker on the buckle center ensures it lands exactly at the model's midline. For scarves, a marker on the draping end guides direction.

See it in action

Model in olive midi dress with no belt, waist area clearly visible, warm indoor light
Before
->
Same model with cognac leather belt cinching the waist, silver buckle centered, lighting preserved
After

Leather belt — Shopify fashion listing

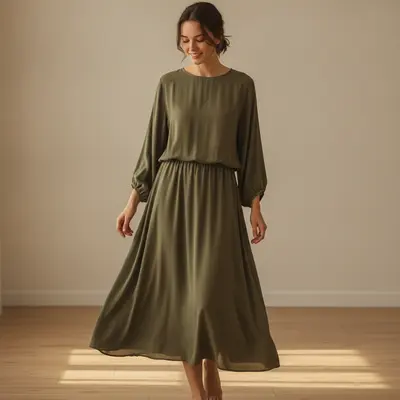
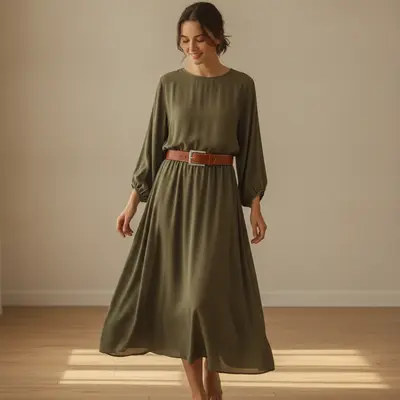
A fashion accessories brand needed product listing photos for a new cognac leather belt. Rather than booking a model for a belt-only shoot, they used an existing wardrobe shot as the base.

Prompt: Place this exact leather belt on the model's waist using the reference image. The buckle should be centered at the front of the waist. Keep the cognac leather color, rectangular silver buckle, and single-stitch edges identical to the reference. Natural waist cinching with the leather following the body curve. Add a subtle shadow beneath the belt where it sits against the dress fabric. Match the warm indoor light.
Model in white open-collar shirt, bare neck, strong left editorial light
Before
->
Same model with printed silk scarf draped at neck, pattern preserved, silk sheen matching side light
After

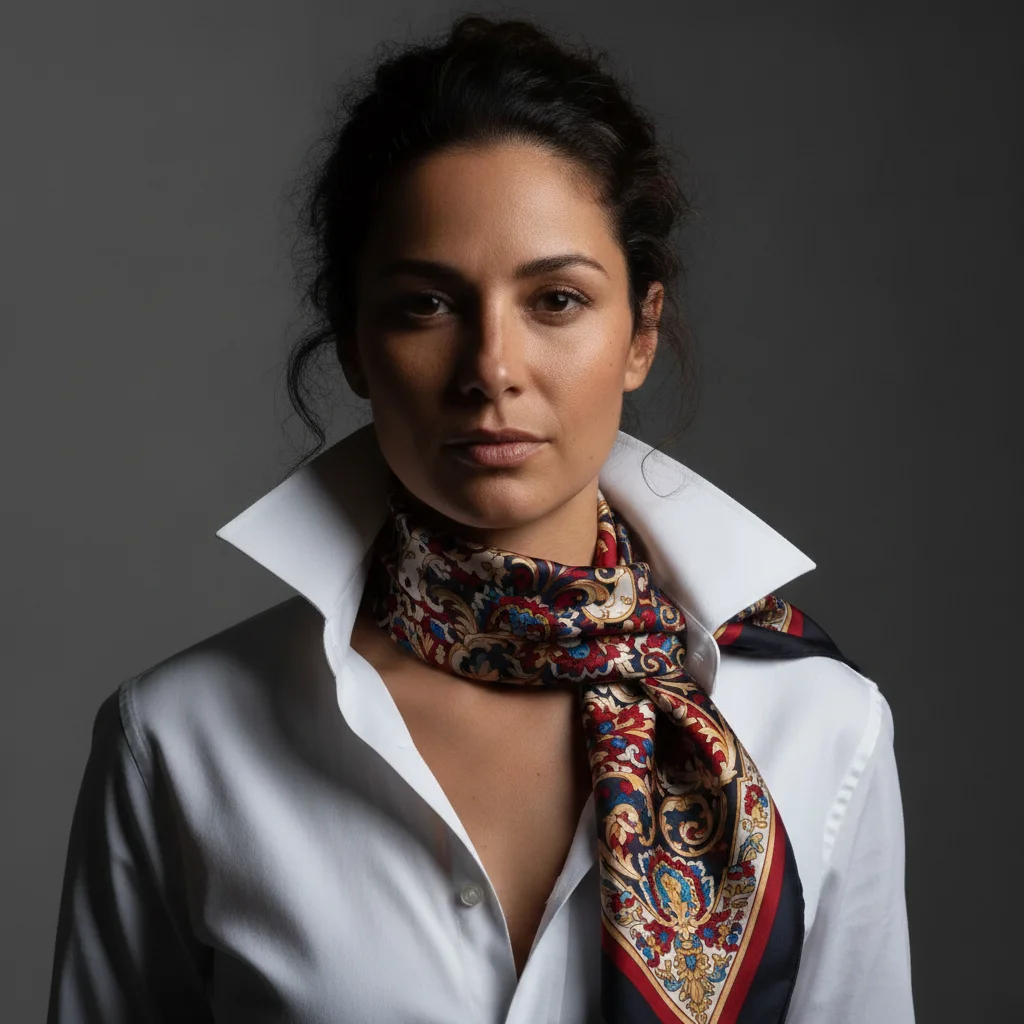
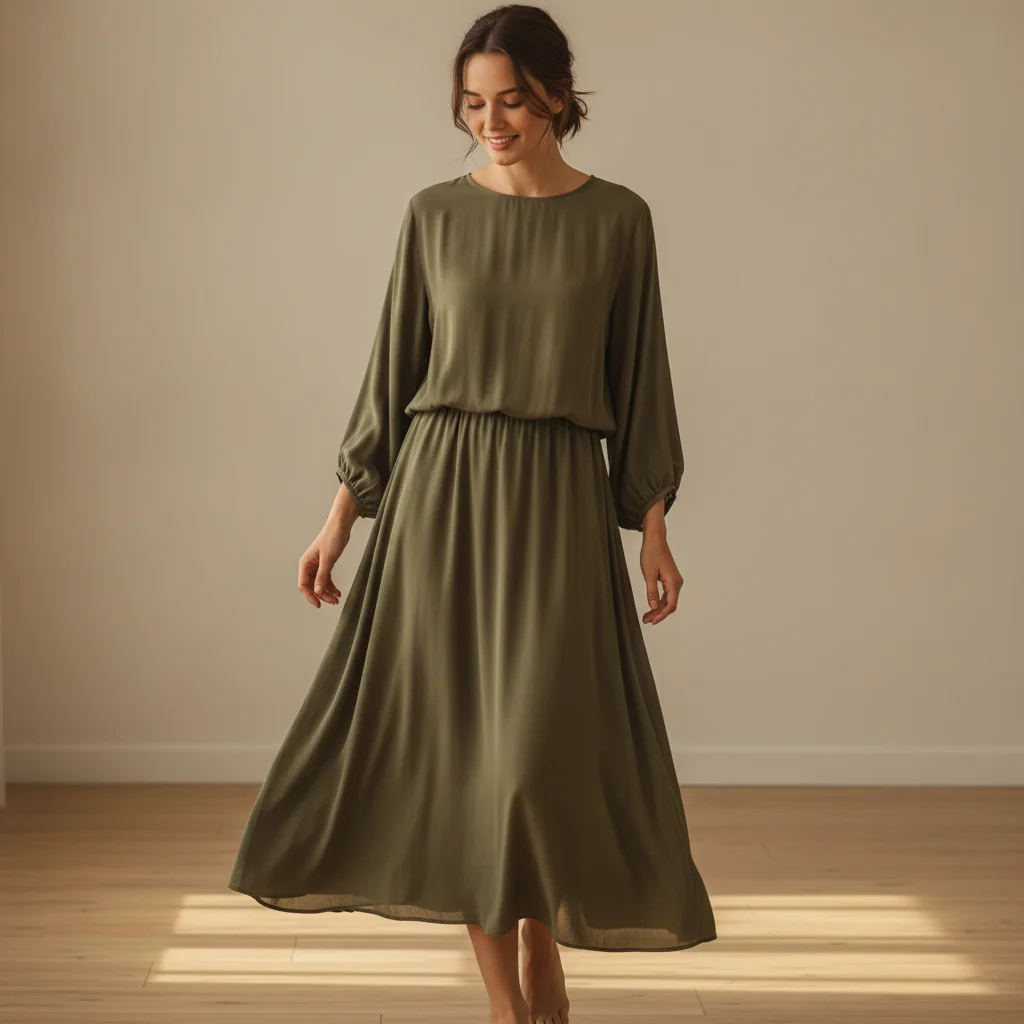
Printed silk scarf — editorial lookbook

A luxury accessories brand needed editorial shots for their new printed silk scarf collection. The prints required product-accurate pattern replication — no two scarves in the line had the same print.

Prompt: Place the printed silk scarf from the reference image loosely around the model's neck in an effortless drape. One end should fall over the left shoulder and the other should gather softly at the collarbone. The entire print must be visible and identical to the reference — same colors, same pattern layout. The silk should have a subtle sheen catching the cool editorial side lighting.
Woman's wrist in linen sleeve, no bracelets, warm window light from left
Before
->
Same wrist with three-piece bracelet stack: gold cuff, beaded bracelet, and charm chain, warm highlights preserved
After

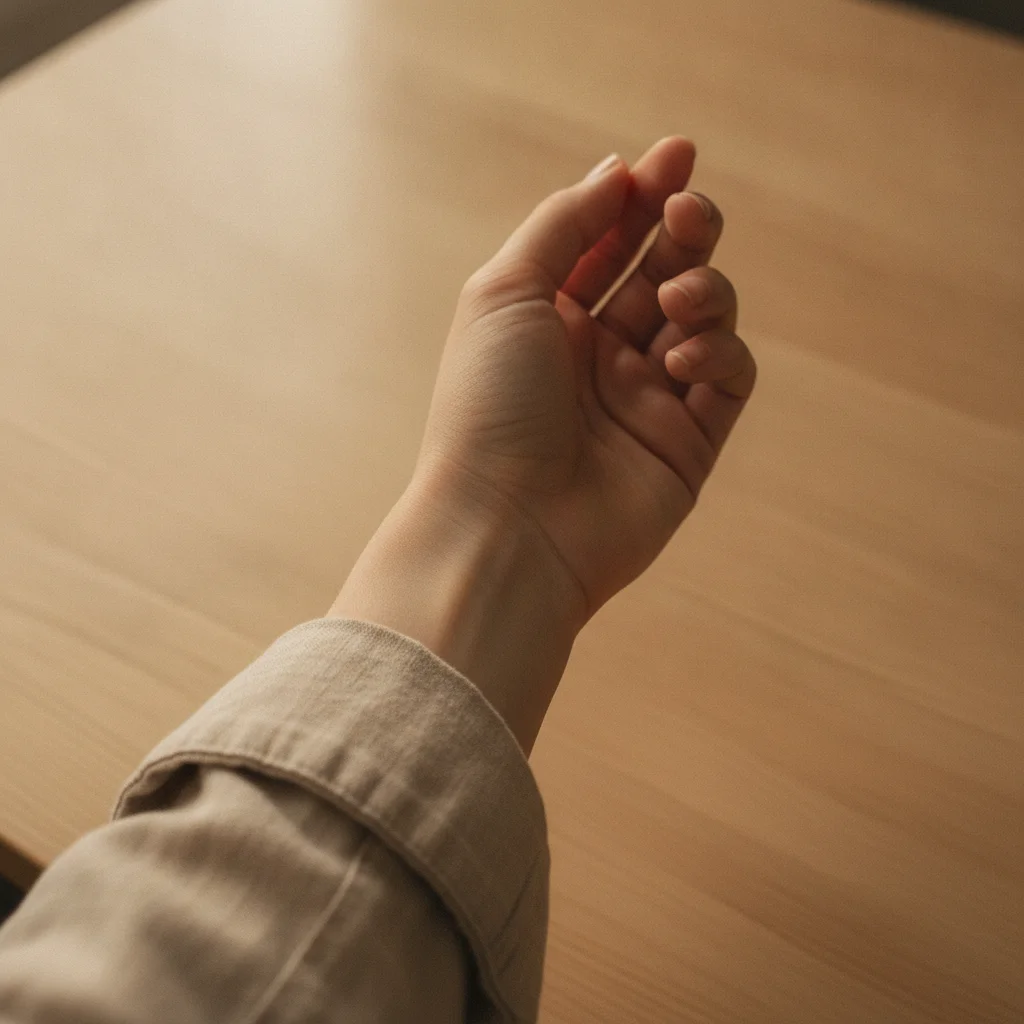
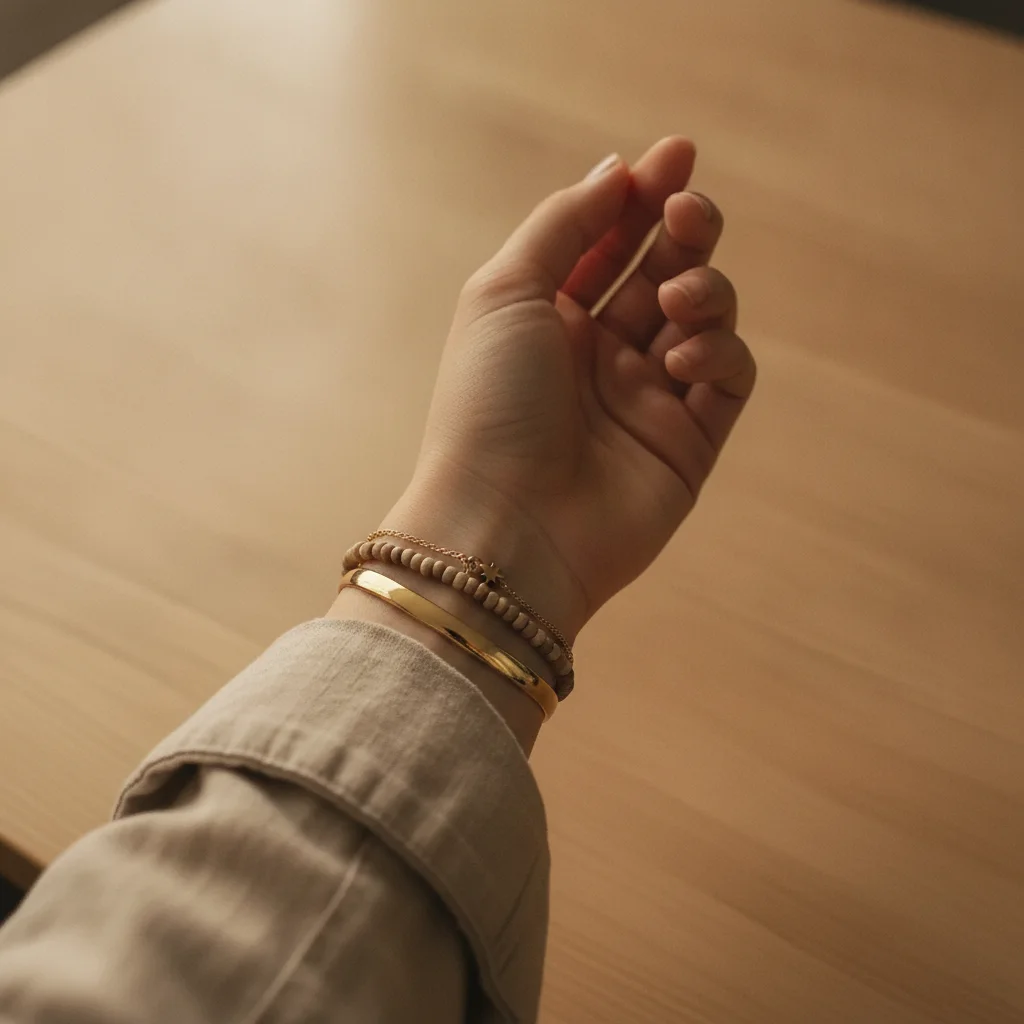
Stacked bracelets — artisan Etsy listing

An Etsy artisan bracelet seller needed on-model photos for her stacked-bracelet sets. She photographed her hand once and generated model photos for three different stack combinations from the same wrist shot.

Prompt: Place the three-bracelet stack from the reference image on the model's right wrist. The stack consists of: a gold cuff at the bottom near the wrist bone, a beaded stretch bracelet in the middle, and a fine chain with a charm at the top. Keep every element identical to the reference. The stack should have natural slight looseness — not rigid. Add warm highlights on the gold cuff matching the existing indoor light.

Quick answers

Do I need to mark the placement area before adding the accessory?

No. Upload your model photo, add the accessory product photo as a reference image, and describe the placement: 'Place this exact belt on the model's waist using the reference image. Match the lighting.' The AI finds the placement area without marking. Use markers only if placement needs precise anchoring — like belt buckle center position or an exact wrist location for a bracelet.

How do I upload the reference accessory product photo?

After uploading your model photo, click '+ Add reference image' in the editor and upload your accessory product photo. A flat-lay on white background or close-up product shot showing the full accessory works best. The AI reads this reference to replicate your exact product. For patterned accessories like scarves, use a flat-lay that shows the complete print clearly.

What accessories can I place on a model with this tool?

Belts (leather, woven, chain), scarves (neck drape, head wrap, pocket square), bracelets and bangles, watches, ties and bow ties, gloves, belt bags, hair accessories, and any other worn non-clothing item. For earrings and necklaces specifically, the dedicated AI Earring Placement Tool and AI Necklace Placement Tool offer more targeted workflows.

How do I place an accessory on a model for an Etsy or Shopify listing for free?

Upload your model photo to EditThisPic, click '+ Add reference image' and upload your accessory product photo, then type: 'Place this exact accessory on the model using the reference image. Keep it 100% identical. Match the lighting.' Free, no account required, no watermark. Results in 30 seconds per image.

Will the AI keep my accessory product identical, or will it change the design?

With the right prompt and a clear reference image, the AI replicates your exact product. Always include 'Keep it 100% identical to the reference — same pattern, color, material, and hardware. Do not modify any design element.' Without this instruction, the AI may generate a similar-looking accessory rather than your specific product. High-resolution reference photos improve accuracy significantly.

Is there a free AI accessory placement tool with no login required?

Yes. EditThisPic places accessories on model photos for free — no account, no login, no watermark on results. Upload your model photo plus your accessory reference image, describe the placement, and download the result. Works in any browser on desktop or mobile without any app installation.

How much does EditThisPic cost?

You get 1 free edit per week — no account needed. After that, credit packs start at $1.99 for 3 edits. Monthly plans start at $4.99/mo for 20 edits with unused credits rolling over. All edits are full resolution with no watermark.

Ready to place your accessory on a model?

Free to try. No signup required. No watermark.

1 free edit included·Credit packs from $4.99