AI Drip Art Maker
← Browse all creative effectsLast updated
Describe the melting effect you want and AI creates realistic paint drips.
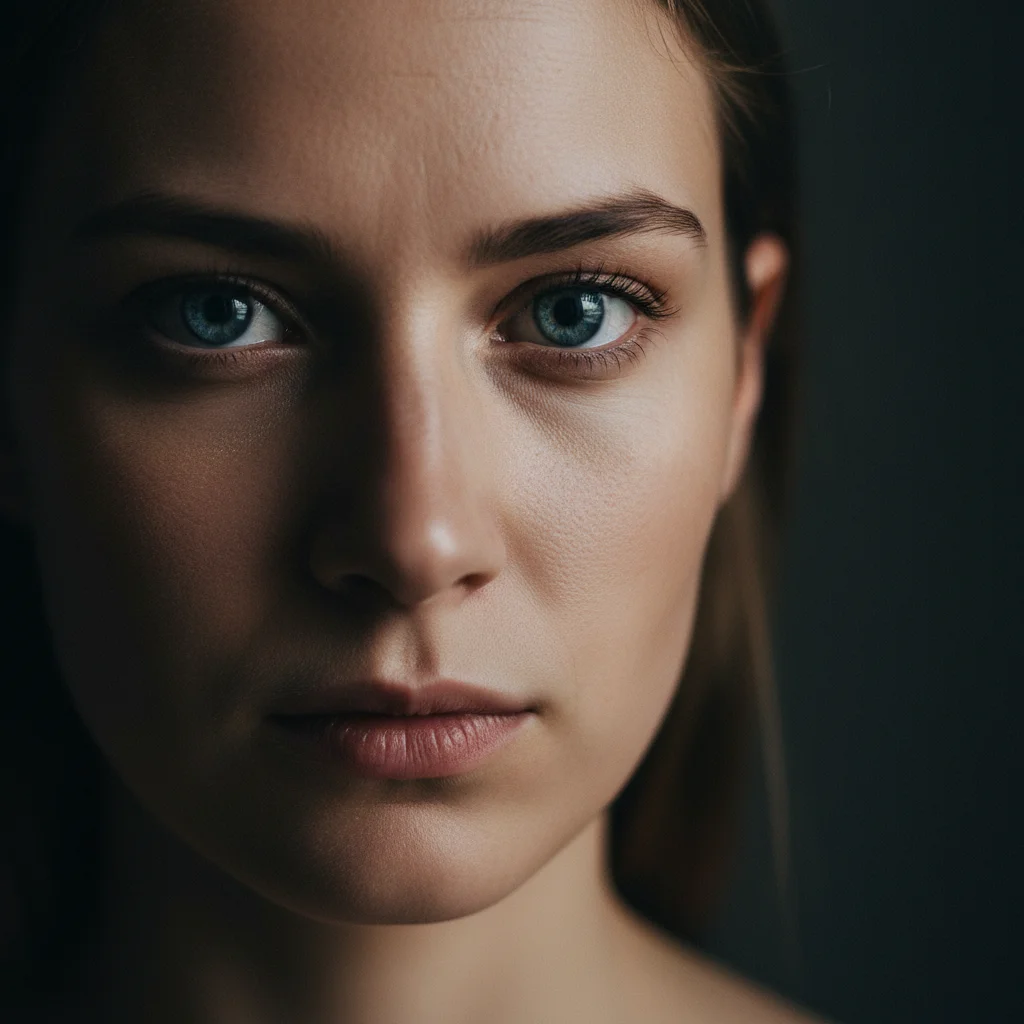
Upload photo to apply drip art
"add thick black ink drips starting from both eyes and flowing down the face, with natural gravity and slightly uneven flow patterns"
Release to upload
50,000+photos edited
<30stypical edit
1 freeedit weekly
How it works
See it in action
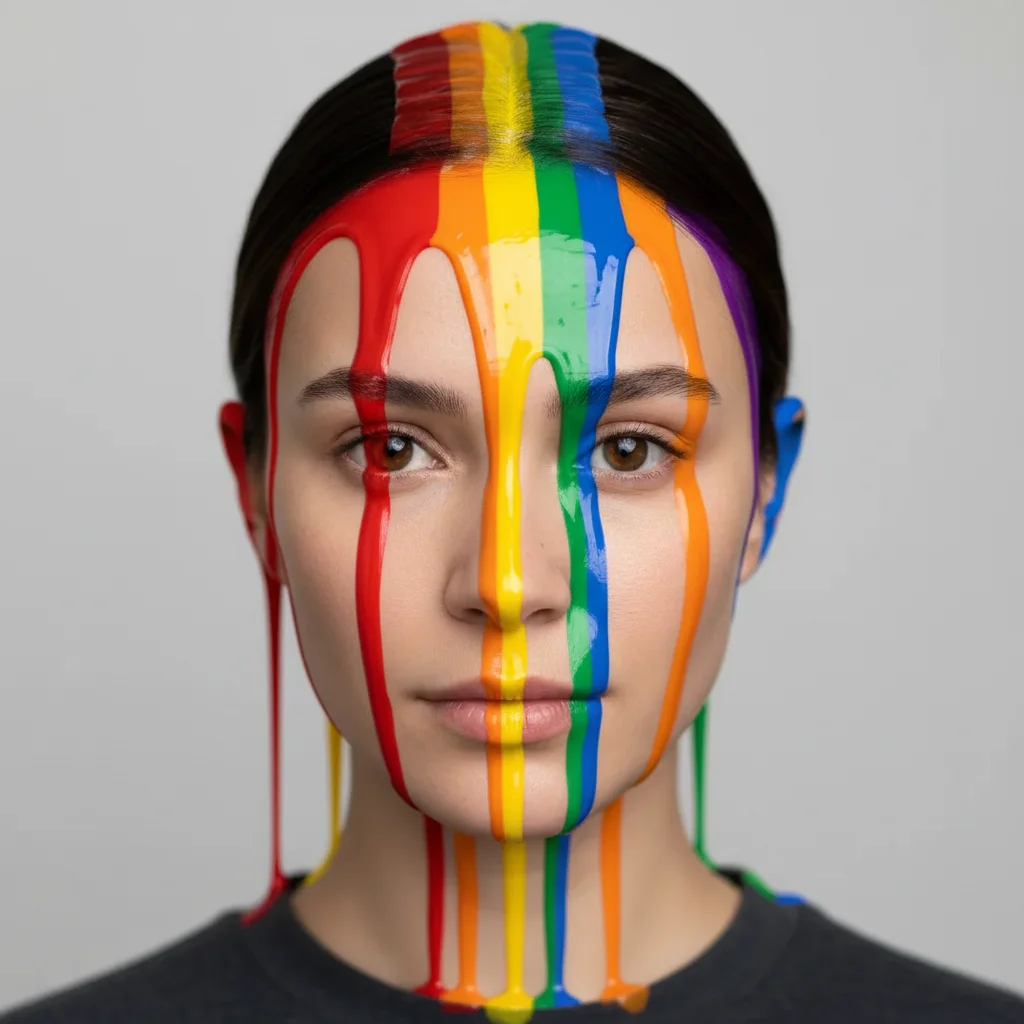
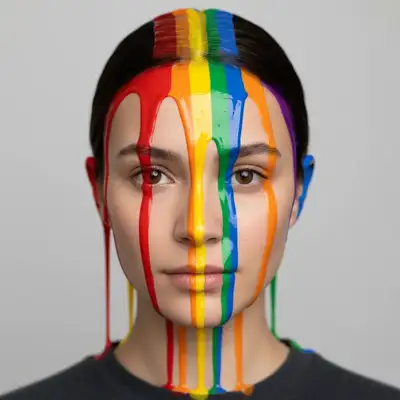
Rainbow paint portrait
Portrait transformed with rainbow paint drips melting from the top. Each color flows at different speeds, creating a dynamic multi-colored effect with glossy paint texture.
Prompt:
apply rainbow-colored paint drips melting down from the top of the image, thick glossy paint texture with each color flowing at slightly different speeds
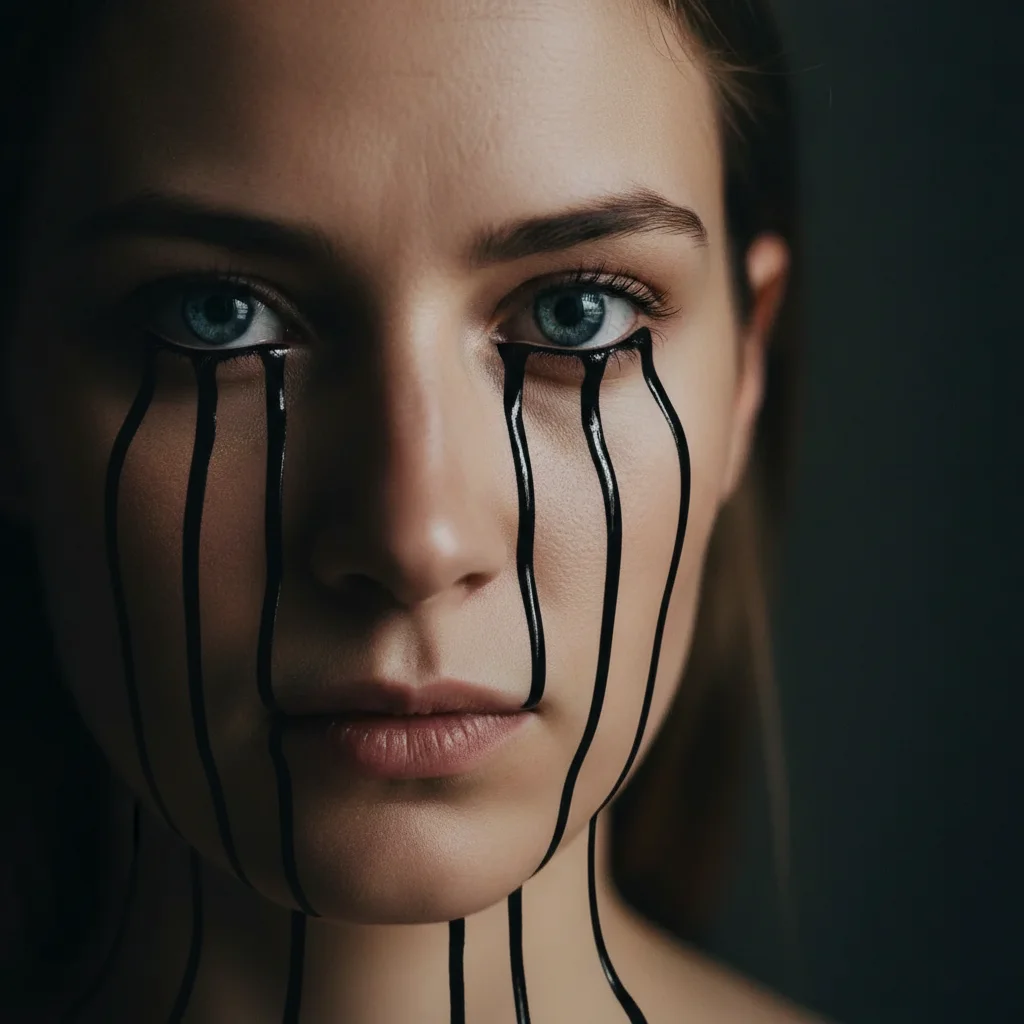
Black ink eye drips
Surreal portrait with thick black ink dripping from both eyes down the face. Uneven flow creates emotional, artistic impact with realistic gravity and texture.
Prompt:
add thick black ink drips starting from both eyes and flowing down the face, with natural gravity and slightly uneven flow patterns
Quick answers
Popular use cases
Ready to create drip art?
Free to try. No signup required.