Free • No signup Apply Noir style · Free

AI Noir Filter

Transform photos into classic film noir with one simple description.

Color urban street scene at night
Before
Dramatic noir black-and-white street scene with high contrast
After

Apply Noir Filter to Photos

Upload photo to apply noir style

Free • Results in 30 seconds • No signup

Release to upload

FreeNo signupNo watermark
Popular use cases:
  • photography portfolios
  • artistic portraits
  • urban photography
  • film projects
  • Instagram posts
  • creative edits

Cost
Free No signup required
Time
Instant results in 15-30 seconds
Works on
Any device - browser, phone, tablet, desktop
Powered by
AI-powered photo editing
Scenario Prompt Time
Classic film noir apply noir filter with high contrast, dramatic shadows, and classic film grain 20s
Soft noir portrait convert to noir style with soft shadows and subtle gradients for a portrait 15s
Urban noir cityscape apply noir filter with deep blacks and bright highlights on the city lights 20s

How it works

  1. Upload your photo

    Upload any photo you want to transform. Clear subjects with good contrast convert best for noir style style effects. JPG, PNG, WebP up to 7MB.

    Expect: Simple noir conversions: 15-30 seconds. Complex adjustments: may need 1-2 refinements for perfect contrast.
  2. Describe what you want

    Type your instruction: 'apply noir filter with high contrast and dramatic shadows' or 'convert to classic film noir style with deep blacks.' Be specific about contrast level and mood. No marking needed—the AI understands film noir aesthetics.

    Tip: Mention 'hard shadows' or 'soft gradients' to control the noir intensity and dramatic effect.

    Copy one of these to get started:

    Classic film noir apply noir filter with high contrast, dramatic shadows, and classic film grain
    Soft noir portrait convert to noir style with soft shadows and subtle gradients for a portrait
    Urban noir cityscape apply noir filter with deep blacks and bright highlights on the city lights
    Dramatic character portrait convert to noir style with hard shadows across the face and bright rim lighting
    1 more prompts
    Vintage noir with grain apply noir filter with heavy film grain, vignette, and high contrast for vintage detective film look
  3. Generate and review

    Click Generate and the AI applies noir styling with classic black-and-white conversion, high contrast, and dramatic lighting. Review the contrast levels and shadow detail at full zoom.

  4. Refine with markers if needed

    If specific areas need more shadow or highlight control, tap markers on those spots and regenerate with adjusted instructions. This is optional—most noir filters work without markers.

    Tip: Markers are for precision refinement, not required. Try without them first.
Try it free

Apply Noir Filter to Photos

Upload photo to apply noir style

Free • Results in 30 seconds • No signup

Release to upload

Free • No signup

"The noir filter nailed the classic film look perfectly. Exactly what I wanted for my portfolio." @photoartist

See it in action

Color urban street scene at night
Before
->
Dramatic noir black-and-white street scene with high contrast
After

Urban street noir transformation

Converted modern street photo into classic film noir with dramatic shadows and bright highlights.

Prompt: apply noir filter with high contrast, dramatic shadows, and classic film grain
Color portrait with side lighting
Before
->
Noir portrait with dramatic shadows and rim lighting
After

Portrait with noir lighting

Transformed portrait into classic detective-style noir with hard shadows and bright rim light.

Prompt: convert to noir style with hard shadows across the face and bright rim lighting

Detailed Guides by Scenario

📷

Design Visualization

Preview noir style changes on your actual photo before committing — make confident design decisions backed by visuals.

Common Scenarios

  • Simulating noir style on a room, outfit, or space to evaluate the look
  • Creating client-ready mockups that visualize noir style in their specific context
  • Comparing multiple noir style options side by side using the same source photo

Best Practices

  • Upload a clear, well-lit photo from the angle you'd naturally view the subject
  • Be specific about the noir style — color, material, size, and placement all matter
  • Generate 2-3 variations to have meaningful options to compare
📷

Professional Proposals

Win client approval with realistic noir style previews that show exactly what the finished result will look like.

Common Scenarios

  • Building a presentation deck with noir style visualizations for a client pitch
  • Showing stakeholders noir style options before ordering materials or starting work
  • Creating before-and-after comparisons of noir style for a project proposal

Best Practices

  • Use the client's own photos for the most persuasive previews
  • Label each option clearly (Option A, B, C) for easy discussion
  • Note that noir style previews are approximations — set expectations about final results
📷

Personal Decision-Making

Try before you buy — preview noir style on your own photos to make smarter purchasing and lifestyle decisions.

Common Scenarios

  • Previewing noir style before making an expensive purchase
  • Testing how noir style looks in your actual space or on your actual person
  • Sharing noir style previews with family or friends to get opinions before deciding

Best Practices

  • Upload a photo of the actual space/item/person — generic stock images won't help you decide
  • Try the most different options first (bold vs. subtle) to narrow down your noir style preference
  • Save each preview so you can flip between them when comparing

If something looks off

AI changed the wrong area or something I didn't want changed

Why: The AI couldn't determine exactly which area you meant from description alone. This happens with ambiguous requests.

Try: Tap a marker on the specific area you want to change, then regenerate with the same prompt

Tip: Markers tell the AI 'I mean THIS one specifically.' Use them when description alone is ambiguous.

Contrast is too harsh and loses detail

Why: Classic noir uses extreme contrast which can crush shadows or blow out highlights if applied uniformly.

Try: Try: 'apply noir filter with medium contrast and preserved shadow detail'

Tip: Specify 'preserved detail' or 'medium contrast' to reduce harshness while keeping noir aesthetics.

Photo looks flat or doesn't have noir feel

Why: Insufficient contrast or missing dramatic lighting elements needed for authentic noir style.

Try: Add specifics: 'apply noir filter with deep blacks, bright highlights, and hard shadows'

Tip: Noir needs strong contrast. Use phrases like 'deep blacks' and 'hard shadows' for dramatic effect.

Film grain is too heavy or distracting

Why: Heavy grain was applied uniformly instead of subtly throughout the image.

Try: Specify grain intensity: 'apply noir filter with subtle film grain' or 'light grain'

Tip: Control grain level by adding 'subtle,' 'medium,' or 'heavy' to your grain request.

Quick answers

Do I need to mark areas before applying the noir filter?

No! Just describe what you want: 'apply noir filter with high contrast' or 'convert to classic film noir style.' The AI understands noir aesthetics and applies the filter to the entire image. Only use markers when you need precision control over specific areas like shadow intensity on a face.

How do I apply a noir filter to my photo for free?

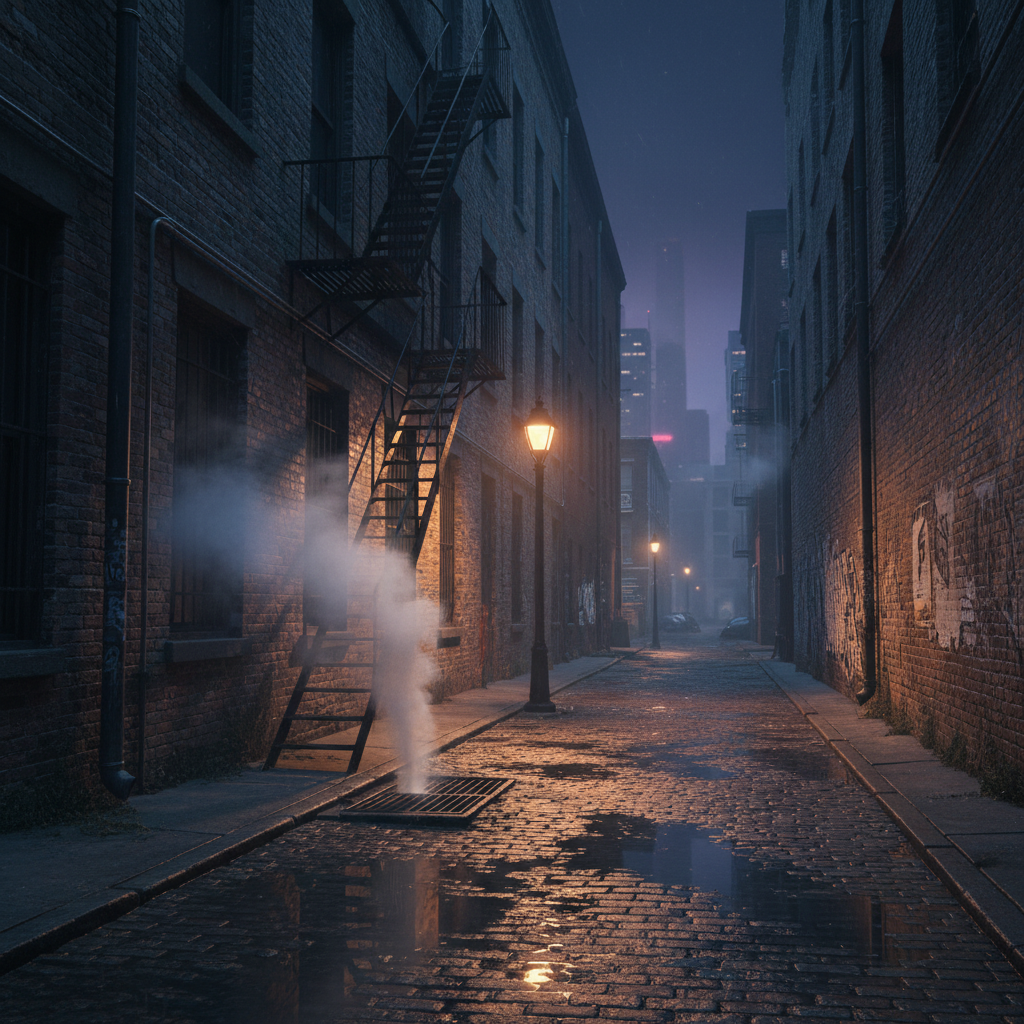
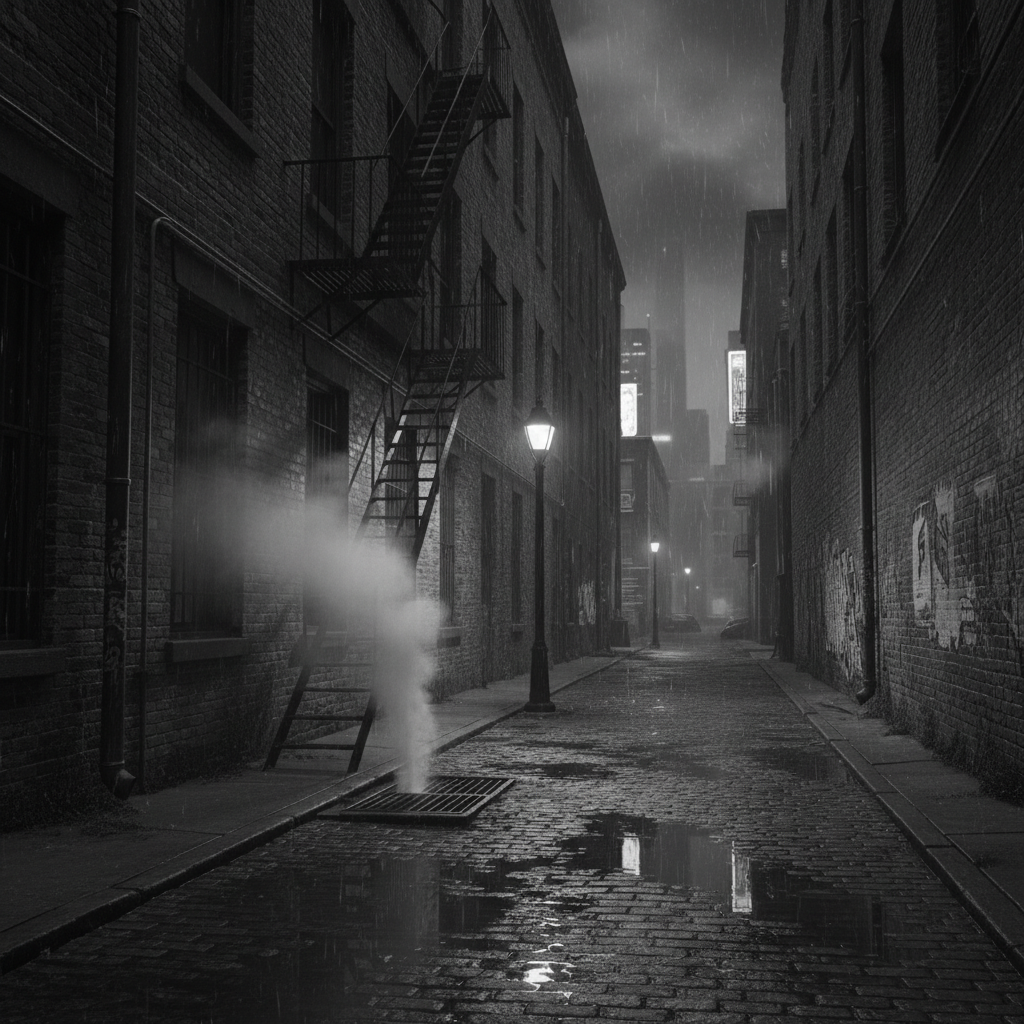
Upload your photo to EditThisPic and type 'apply noir filter with high contrast and dramatic shadows.' The AI converts your image to black-and-white with classic film noir styling in 15-30 seconds. Free to use, no account required, no watermark on downloads.

What's the difference between noir filter and regular black-and-white conversion?

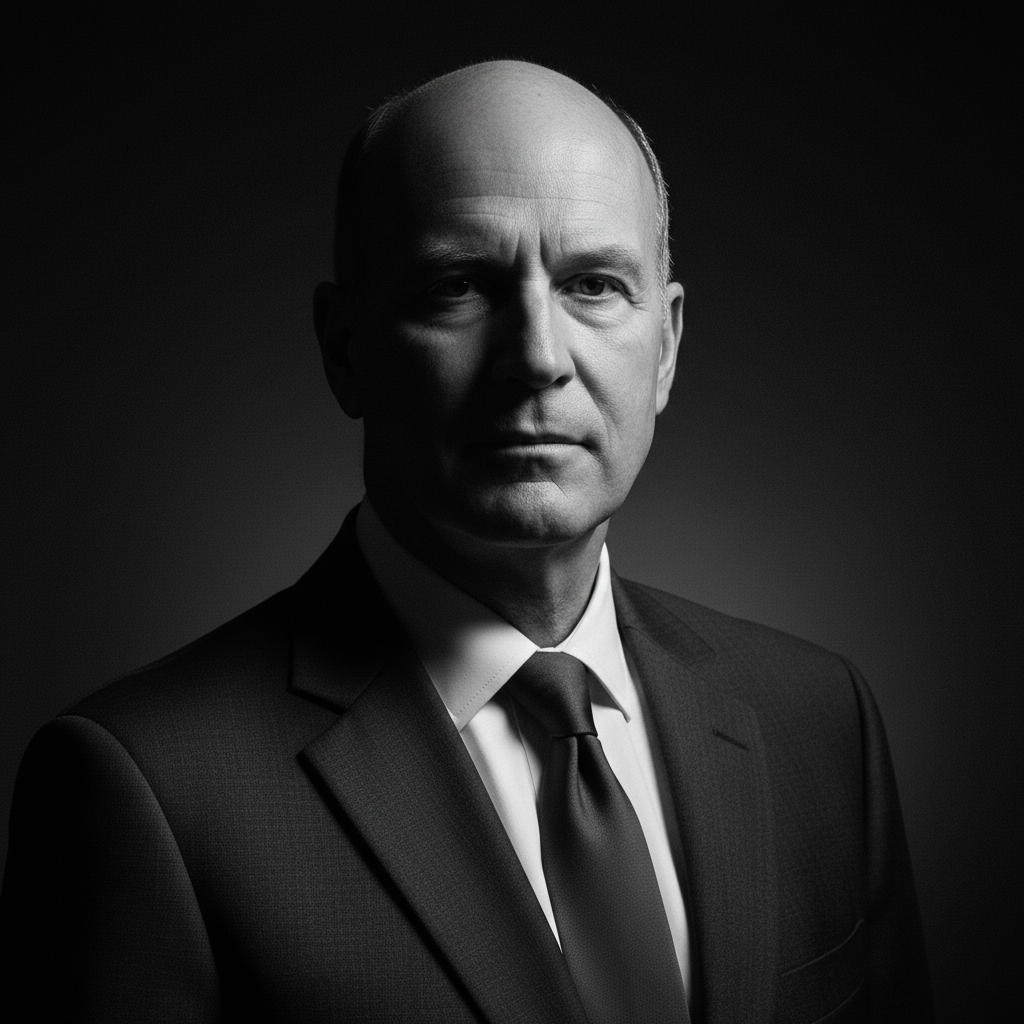
Noir filter emphasizes dramatic contrast, hard shadows, and bright highlights to recreate 1940s detective film aesthetics. Regular black-and-white conversion simply removes color. Noir adds mood, grain, and cinematic lighting typical of classic Hollywood crime films.

Can I control how dramatic the noir effect is?

Yes, specify contrast level in your prompt. Use 'soft noir with subtle shadows' for gentle effect, 'medium contrast noir' for balanced look, or 'high contrast noir with deep blacks and hard shadows' for dramatic classic film style. The AI adjusts intensity based on your description.

Is EditThisPic's AI noir style applyer really free?

Yes — you get 1 free edit per week, no account needed. For unlimited edits, plans start at $3.99/month.

Can I apply noir style on my phone?

Yes. EditThisPic works in any mobile browser — iPhone, Android, tablet. No app download needed.

What photo formats does the AI noir style applyer support?

JPG, PNG, WebP, and HEIC. Upload any common photo format and EditThisPic handles the rest.

How long does it take to apply noir style?

Usually 15-30 seconds. Upload your photo, describe what you want, and the AI delivers the result.

Ready to apply noir style to your photos?

Free to try. No signup required.