Free • No signup Add Light leak · Free

AI Light Leak Adder

Just describe the light leak style you want and AI creates it instantly.

Clean portrait without light leak effect
Before
Portrait with warm orange light leak from top left
After

Add Light Leak to Photo

Upload photo to add light leak

Free • Results in 30 seconds • No signup

Release to upload

FreeNo signupNo watermark
Popular use cases:
  • Instagram photos
  • vintage photography
  • film aesthetic
  • lifestyle photos
  • portrait photography
  • aesthetic edits

Cost
Free No signup required
Time
Instant results in 15-30 seconds
Works on
Any device - browser, phone, tablet, desktop
Powered by
AI-powered photo editing
Scenario Prompt Time
Warm vintage add warm orange light leak from the top left corner with soft edges and natural fade 15s
Pink dreamy add soft pink light leak across the bottom edge with subtle glow 15s
Golden hour add golden yellow light leak from the right side with warm hazy glow 20s
Cinematic blue add cool blue light leak from top right corner with medium intensity 20s

How it works

  1. Upload your photo

    Upload a clear photo showing the area you want to edit. Good lighting and sharp focus help the AI deliver better light leak results. JPG, PNG, WebP up to 7MB.

    Expect: Simple light leaks: 15-30 seconds. Complex multi-colored leaks: may need 2-3 refinements for perfect placement.
  2. Describe the light leak you want

    Type your instruction: 'add warm orange light leak from top left corner' or 'add soft pink light leak across bottom edge.' Be specific about color, position, and intensity. No marking needed—the AI understands directional language like 'from top left' and 'across bottom.'

    Tip: Specify warmth and intensity: 'subtle golden glow' vs 'intense red-orange leak' creates very different effects.

    Copy one of these to get started:

    Classic warm vintage look add warm orange light leak from the top left corner with soft edges and natural fade
    Dreamy pink aesthetic add soft pink light leak across the bottom edge with subtle glow
    Golden hour effect add golden yellow light leak from the right side with warm hazy glow
    Cinematic blue light add cool blue light leak from top right corner with medium intensity
    2 more prompts
    Retro rainbow leak add multicolor rainbow light leak from left edge with vintage film grain
    Subtle ambient glow add very subtle warm amber light leak in the upper corners with minimal intensity
  3. Generate and review

    Click Generate and watch the AI add realistic light leak effects that mimic vintage film exposure. Check the blend and color accuracy—light leaks should feel natural, not like a simple overlay.

  4. Refine with markers if needed

    If the light leak position needs adjustment or the intensity isn't quite right, tap markers on the areas where you want more or less effect, then regenerate. This is optional—most light leaks work without markers.

    Tip: Markers are for precision refinement, not required. Try without them first.
Try it free

Add Light Leak to Photo

Upload photo to add light leak

Free • Results in 30 seconds • No signup

Release to upload

Free • No signup

"Finally found a tool that makes authentic-looking light leaks without the fake overlays. Just described what I wanted and it nailed it." @vintagephoto

See it in action

Clean portrait without light leak effect
Before
->
Portrait with warm orange light leak from top left
After

Warm Orange Vintage Light Leak

Added classic warm orange light leak to portrait for authentic film camera aesthetic.

Prompt: add warm orange light leak from the top left corner with soft edges and natural fade
Flat lay coffee photo without light leak
Before
->
Coffee photo with pink light leak across bottom edge
After

Pink Dreamy Light Leak

Added soft pink light leak across bottom for Instagram-worthy aesthetic.

Prompt: add soft pink light leak across the bottom edge with subtle glow

Detailed Guides by Scenario

📷

Home & Interior Design

Preview how light leak would look in a room or space before committing to a purchase or renovation.

Common Scenarios

  • Visualizing light leak in a living room, bedroom, or office before buying
  • Creating client mockups that show light leak in their actual space
  • Comparing different placements of light leak in renovation plans

Best Practices

  • Upload a well-lit, straight-on photo of the room for the most realistic result
  • Specify the size and position — e.g., 'add a large light leak on the left wall'
  • Match the room's lighting in your prompt: 'warm lighting' for evening shots, 'natural daylight' for window-lit rooms
📷

Creative & Social Content

Use light leak to create eye-catching content for social media, digital art, or personal projects.

Common Scenarios

  • Adding light leak to photos for unique social media posts that stand out in feeds
  • Creating fantasy or composite images that incorporate light leak for art projects
  • Making holiday or themed content by placing light leak in seasonal photos

Best Practices

  • Be specific about the style — 'realistic light leak' vs. 'illustrated light leak' gives very different results
  • Use reference images when you want the AI to match a particular look
  • For social content, try unusual placements that create a surreal or humorous effect
📷

Professional & Marketing Use

Incorporate light leak into marketing materials, presentations, and product catalogs without expensive photo shoots.

Common Scenarios

  • Adding light leak to product mockups and marketing banners
  • Creating presentation slides that show light leak in context
  • Building a catalog of variations that feature light leak in different settings

Best Practices

  • Use high-resolution source images — marketing materials demand sharp details
  • Keep brand guidelines in mind: specify colors and style that match when adding light leak
  • Generate multiple versions and A/B test which placement performs best in ads

If something looks off

Light leak looks fake or too harsh

Why: The AI may have interpreted 'light leak' as a solid overlay rather than a natural film effect. This happens when intensity isn't specified.

Try: add subtle [color] light leak from [position] with soft edges and natural fade

Tip: Words like 'subtle,' 'soft edges,' and 'natural fade' help the AI create authentic-looking film leaks instead of harsh overlays.

Light leak is in the wrong position

Why: Directional language might have been ambiguous. 'Top' could mean top edge or top corner.

Try: add [color] light leak from the top left corner [or be more specific with position]

Tip: Use specific corner positions: 'top left corner,' 'bottom right edge,' 'along right side' instead of vague 'top' or 'side.'

Color is wrong or too intense

Why: Generic color names like 'red' can be interpreted as bright primary red instead of warm red-orange film leaks.

Try: add warm orange light leak [instead of just 'red'] with medium intensity

Tip: Describe color with warmth/coolness: 'warm orange,' 'cool blue,' 'golden yellow' instead of simple color names.

AI changed the wrong area or added effect where I didn't want it

Why: The AI couldn't determine exactly which area you meant from description alone. This happens with ambiguous requests.

Try: Tap a marker on the specific area where you want the light leak to begin, then regenerate with the same prompt

Tip: Markers tell the AI 'I mean THIS corner specifically.' Use them when description alone is ambiguous.

Quick answers

Do I need to mark where the light leak should appear before describing?

No! Just describe what you want: 'add warm orange light leak from top left corner' or 'add pink glow across bottom.' The AI understands these directional descriptions. Only use markers when you need precision—like fine-tuning exact position or intensity after your first attempt.

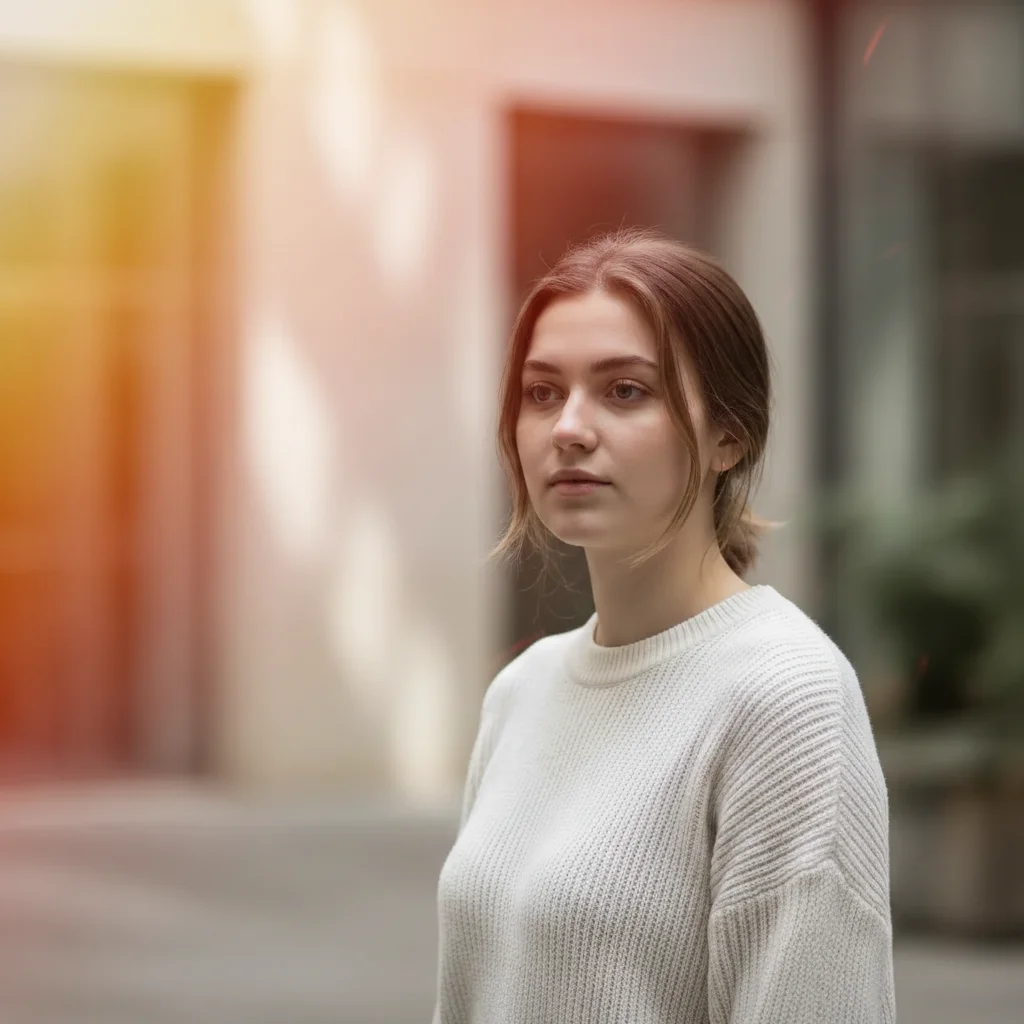
How do I create authentic-looking film light leaks that don't look fake?

Use descriptive language about warmth, softness, and natural fade. Say 'add warm orange light leak with soft edges and natural fade' instead of just 'add orange.' Include words like 'subtle,' 'hazy,' 'glow,' and 'vintage film' to guide the AI toward realistic film camera effects instead of harsh digital overlays.

What's the best free tool for adding light leaks to photos?

EditThisPic's AI Light Leak Adder creates realistic film-style light leaks without Photoshop or manual overlay placement. Unlike pre-made overlay packs that never quite fit your photo, our AI generates custom light leaks that blend naturally with your image's lighting and colors.

Can I add multiple light leaks to the same photo?

Yes! Generate your first light leak, then use the result as your starting image and add another one. For example, add a warm orange leak from the top, then add a subtle pink glow on the bottom edge in a second pass.

Is EditThisPic's AI light leak adder really free?

Yes — you get 1 free edit per week, no account needed. For unlimited edits, plans start at $3.99/month.

Can I add light leak on my phone?

Yes. EditThisPic works in any mobile browser — iPhone, Android, tablet. No app download needed.

What photo formats does the AI light leak adder support?

JPG, PNG, WebP, and HEIC. Upload any common photo format and EditThisPic handles the rest.

How long does it take to add light leak?

Usually 15-30 seconds. Upload your photo, describe what you want, and the AI delivers the result.

Ready to add light leaks to your photos?

Free to try. No signup required.