AI Scratched Photo Fixer
← Browse all fix & restore toolsLast updated
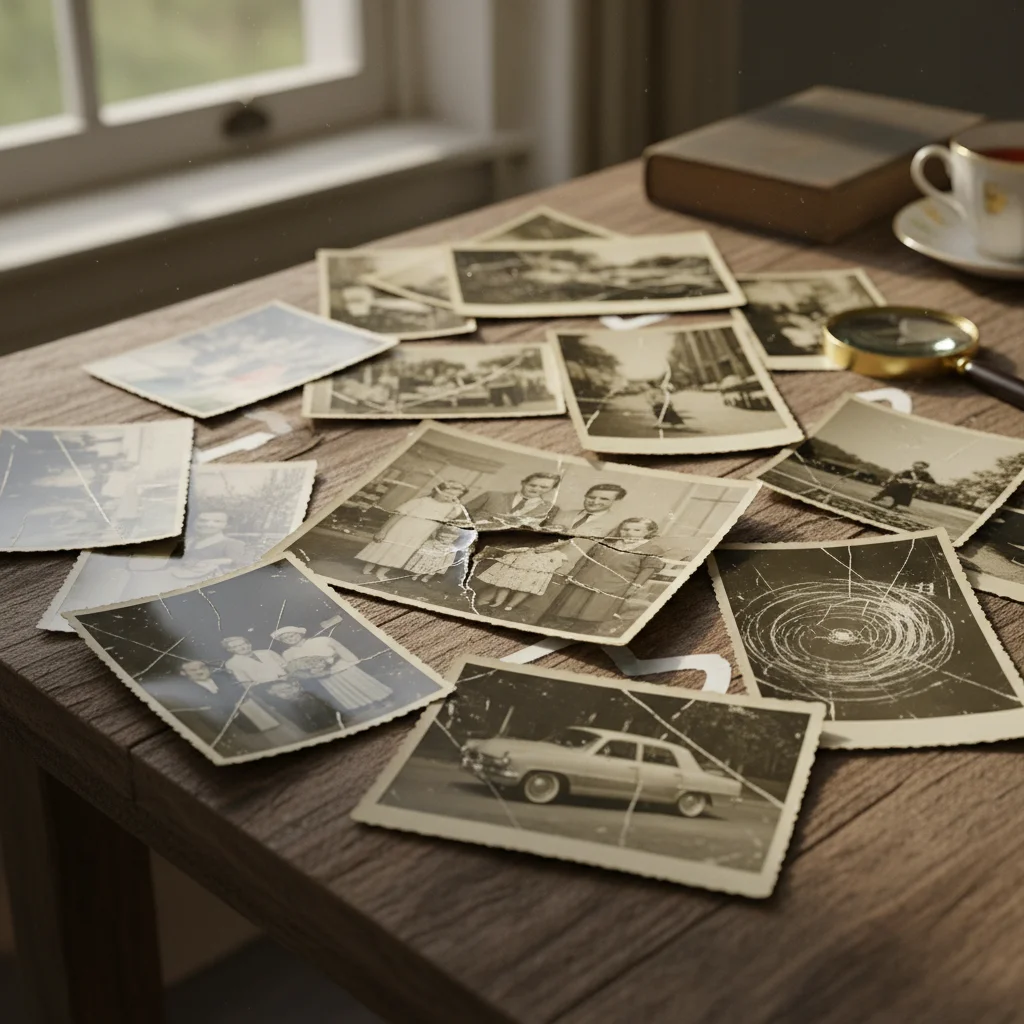
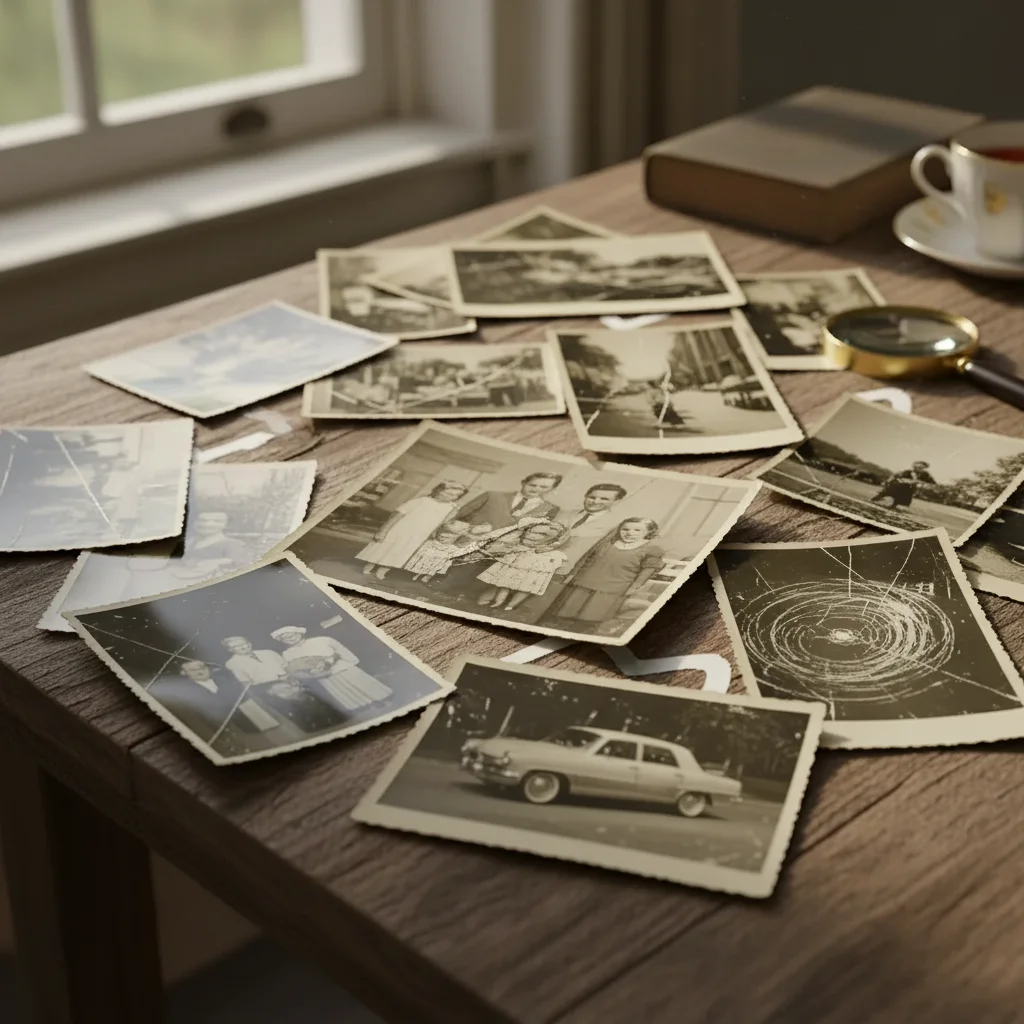
Remove scratch marks and surface damage from old prints in seconds.

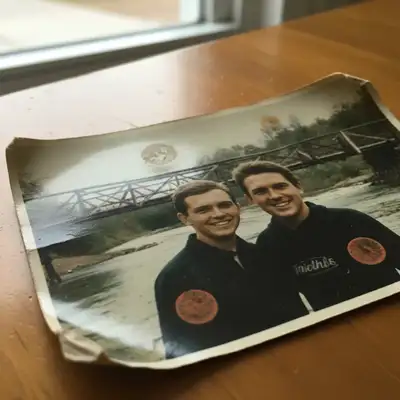
Upload photo to fix scratched photo
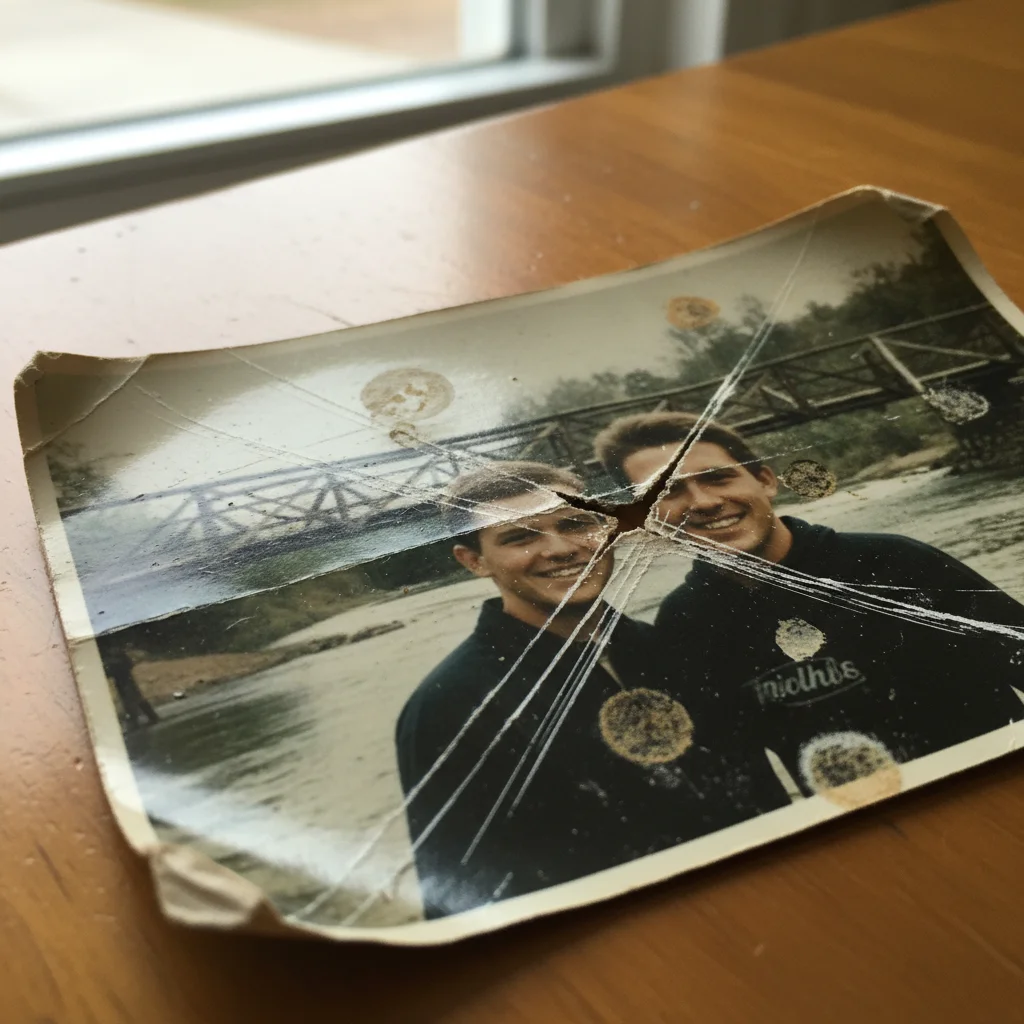
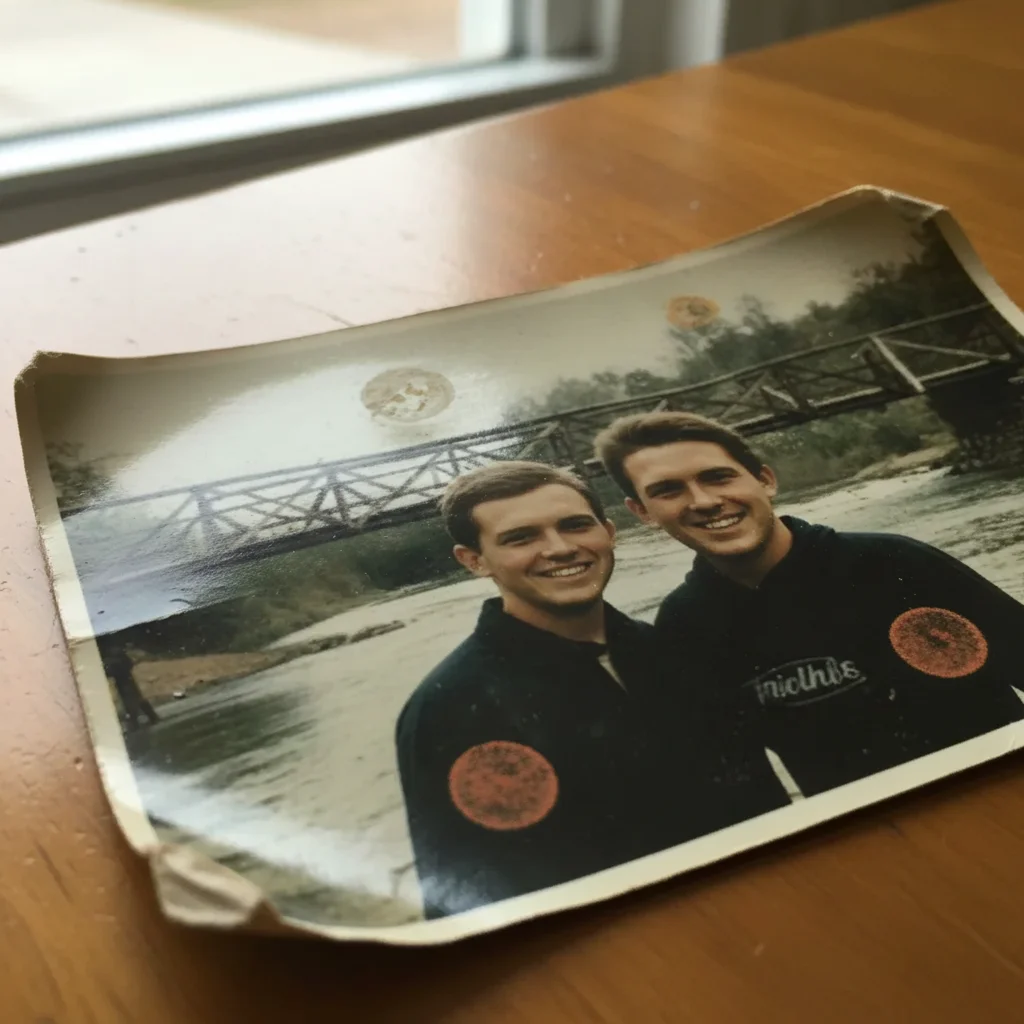
"remove the scratches crossing the face, carefully reconstruct the facial features underneath"
Release to upload
50,000+photos edited
<30stypical edit
1 freeedit weekly
How it works
See it in action
Family portrait with diagonal scratches repaired
Deep scratches from storage had damaged this 1980s family portrait. The AI removed all scratches while preserving facial details.
Prompt:
remove all the scratches and surface damage, restore the photo to clean condition
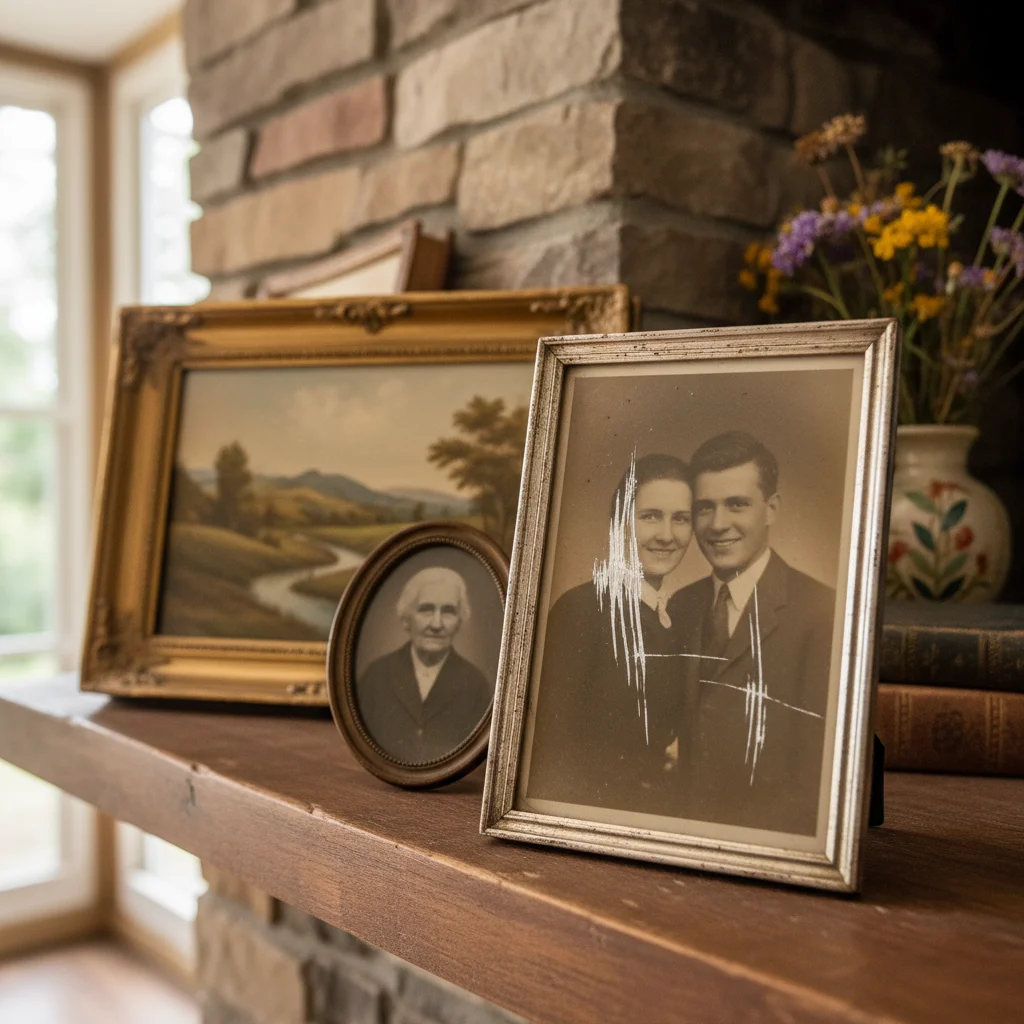

Wedding photo with deep gouge fixed
A deep scratch had gouged across the bride's dress. The AI reconstructed the dress fabric seamlessly.
Prompt:
repair the deep scratches and gouges, fill in the missing areas to match the surrounding image
Vintage car photo with multiple scratches cleaned
Years of handling had left fine scratches all over this car photo. The AI cleaned the entire surface.
Prompt:
remove the fine scratches and surface wear, clean up the photo while preserving all original detail
Quick answers
Popular use cases
Ready to fix your scratched photos?
Free to try. No signup required.