Layer Photos Together
Last updated
Upload two photos and describe the layering effect. No Photoshop skills needed.

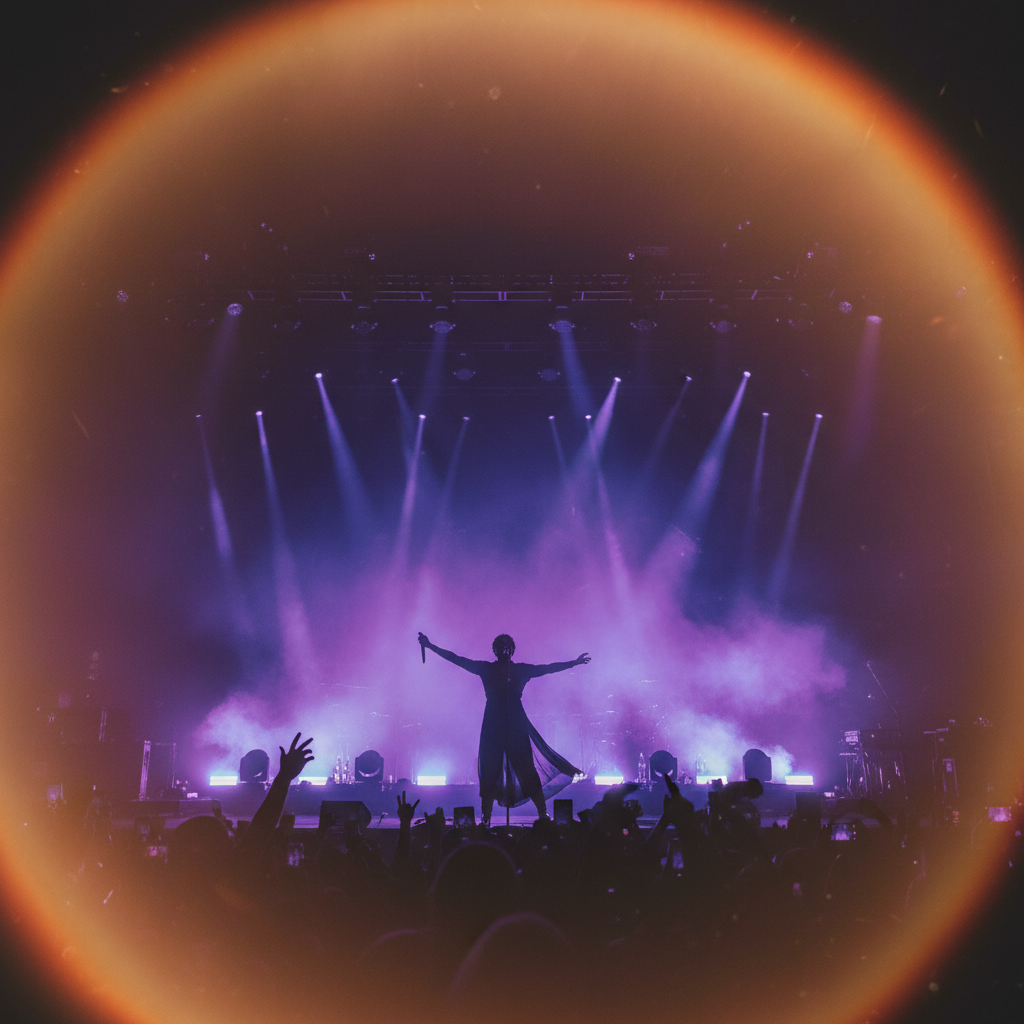
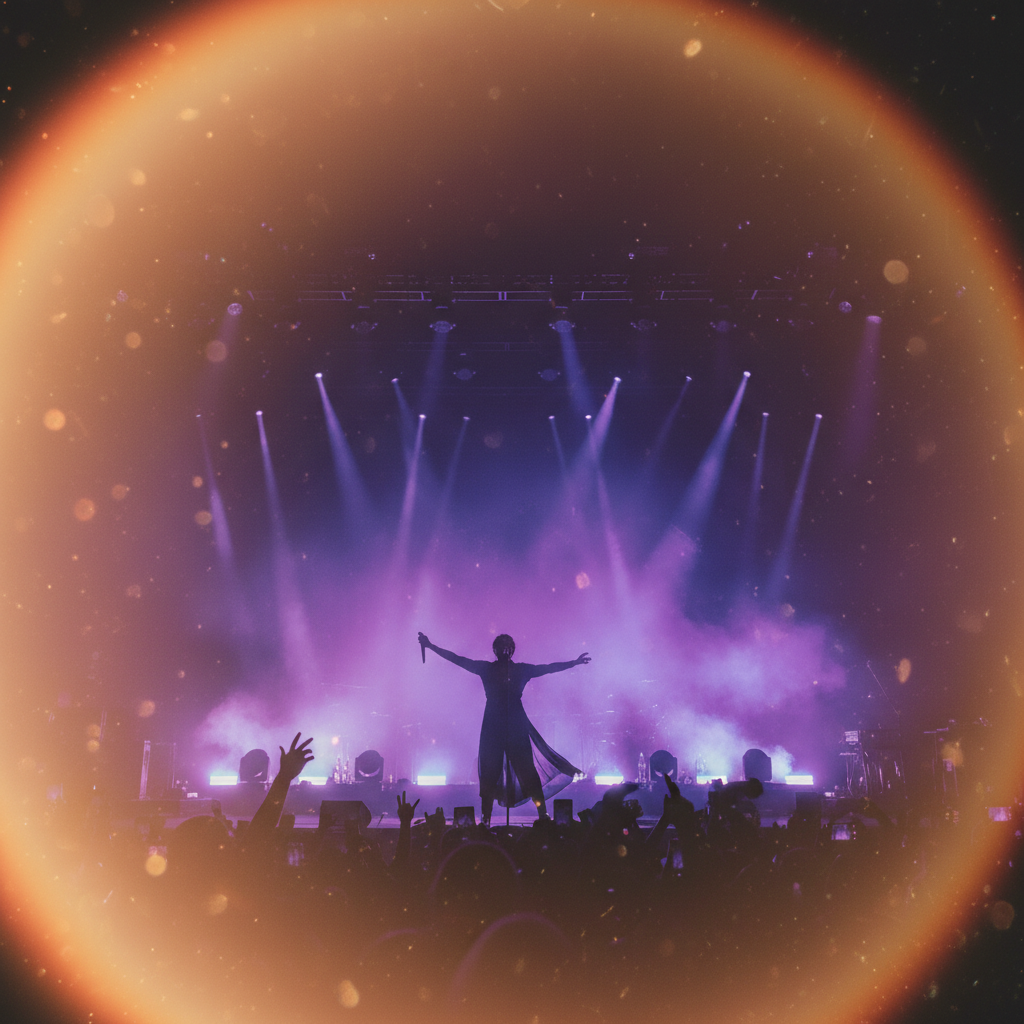
Upload photo to layer photos
"layer the light leak over the photo using screen blend mode, positioned in the upper right corner"
Release to upload
50,000+photos edited
<30stypical edit
1 freeedit weekly
How it works
See it in action
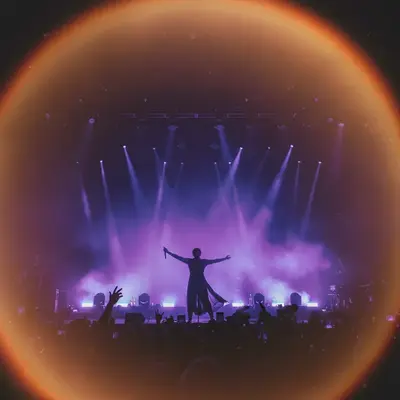
Light leak effect layer
Concert photo enhanced with light leak layer for dreamy, nostalgic feel. The warm light adds energy and vintage vibes.
Prompt:
layer the light leak over the concert photo using screen blend mode, positioned coming from the upper left corner

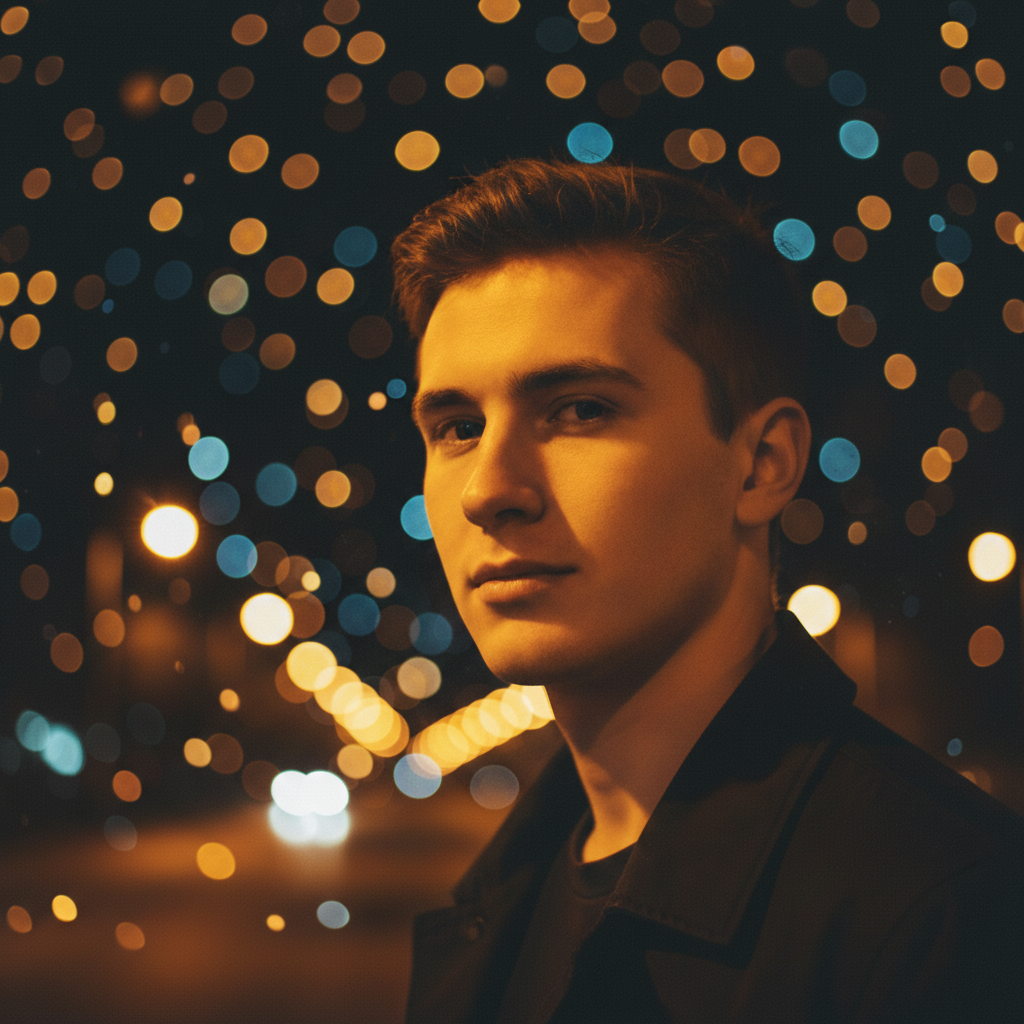
Bokeh background layer
Night portrait enhanced with bokeh lights layered behind the subject. Creates a dreamy city night atmosphere.
Prompt:
layer the bokeh lights behind the subject in the dark background areas, using screen blend mode at 70% opacity
Quick answers
Popular use cases
Ready to edit your photos?
Free to try. No signup required.