Free โ€ข No signup Fix Photo too dark ยท Free

Your photo came out too dark?

We've all been there. Indoor shots, event photos, bad lighting - the photo's too dark to see anything. AI can fix it in seconds without making it look artificial.

Nearly black birthday party photo with only candle flames visible
Before
โ†’
Same party with visible faces, cake details, and natural lighting
After

Your Photo Came Out Too Dark? Fix It in Seconds (2026) |

Drop your photo here

or click to browse

Release to upload

Free โ€ข No signup

Advertisement
Popular use cases:
  • Indoor party photos
  • Event photography
  • Birthday photos
  • Wedding reception photos
  • Restaurant dinner photos
  • Concert photos
  • Family gatherings
  • Backlit photos
  • Low-light photography

Cost
Free No signup required
Time
Instant results in 15-30 seconds
Works on
Any device - browser, phone, tablet, desktop
Powered by
AI-powered photo editing
Scenario Prompt Time
General too-dark photo my photo is too dark, brighten it and show the details 15s
Indoor group/party photo came out too dark, brighten everyone's faces 20s
Window backlight too dark because of window, brighten people not background 25s
Event/dinner photo my event photo is too dark, brighten while keeping the mood 20s

How it works

  1. Upload your too-dark photo

    Drop your image into EditThisPic. JPG, PNG, and WebP up to 7MB work best. Even if your photo looks almost black, the AI can often recover surprising detail from the shadows.

    Expect: Simple dark photos: 15-30 seconds. Complex mixed-lighting scenes: may need 2-3 refinements over 1-2 minutes.
  2. Describe the problem

    Type what's wrong: 'my photo is too dark, brighten it' or 'the photo came out too dark, show the details in the shadows.' Be specific if needed - like 'brighten the faces in my group photo.' The AI understands natural language without you marking anything.

    Tip: Mention what you want to see: 'brighten the people' or 'show the room details' helps the AI prioritize what matters most.

    Copy one of these to get started:

    General too-dark photo my photo is too dark, brighten it and show the details
    Indoor group photo or party the photo came out too dark, brighten everyone's faces so I can see them clearly
    Event photography (wedding, concert, etc.) my event photo is too dark to see anything, brighten it while keeping the atmosphere
    Indoor shot with window creating backlight my photo is too dark because of the window behind the subject, brighten the person without blowing out the window
    3 more prompts
    Restaurant or dinner photo my dinner photo came out too dark, brighten the food and people while maintaining the warm ambiance
    Real estate or room interior the room is too dark to see, brighten the entire space including all the corners
    Outdoor photo in heavy shade my photo is too dark because we were in shade, brighten the shaded areas to match the sunny background
  3. Generate and review

    Check that dark areas are now visible and the photo doesn't look washed out or artificial. Verify skin tones still look natural and any bright areas haven't blown out. Good exposure correction should look like it was shot in better light, not obviously edited.

    Tip: Compare before and after side-by-side. If it still looks too dark or got too bright, you can refine with a new prompt.
  4. Refine with markers if needed

    If the AI didn't brighten the right area or left some parts too dark, tap markers on those specific spots and regenerate. This is optional - most dark photo fixes work without markers.

    Tip: Markers help with mixed lighting - like when faces are dark but background is fine, or one side of the photo needs more brightening than the other.
Try it free โ†“

Your Photo Came Out Too Dark? Fix It in Seconds (2026) |

Drop your photo here

or click to browse

Release to upload

Free โ€ข No signup

"My birthday party photos were way too dark. Typed 'brighten the photo' and suddenly I could see everyone's faces." @PartyPhotographer

See it in action

Nearly black birthday party photo with only candle flames visible
Before
->
Same party with visible faces, cake details, and natural lighting
After

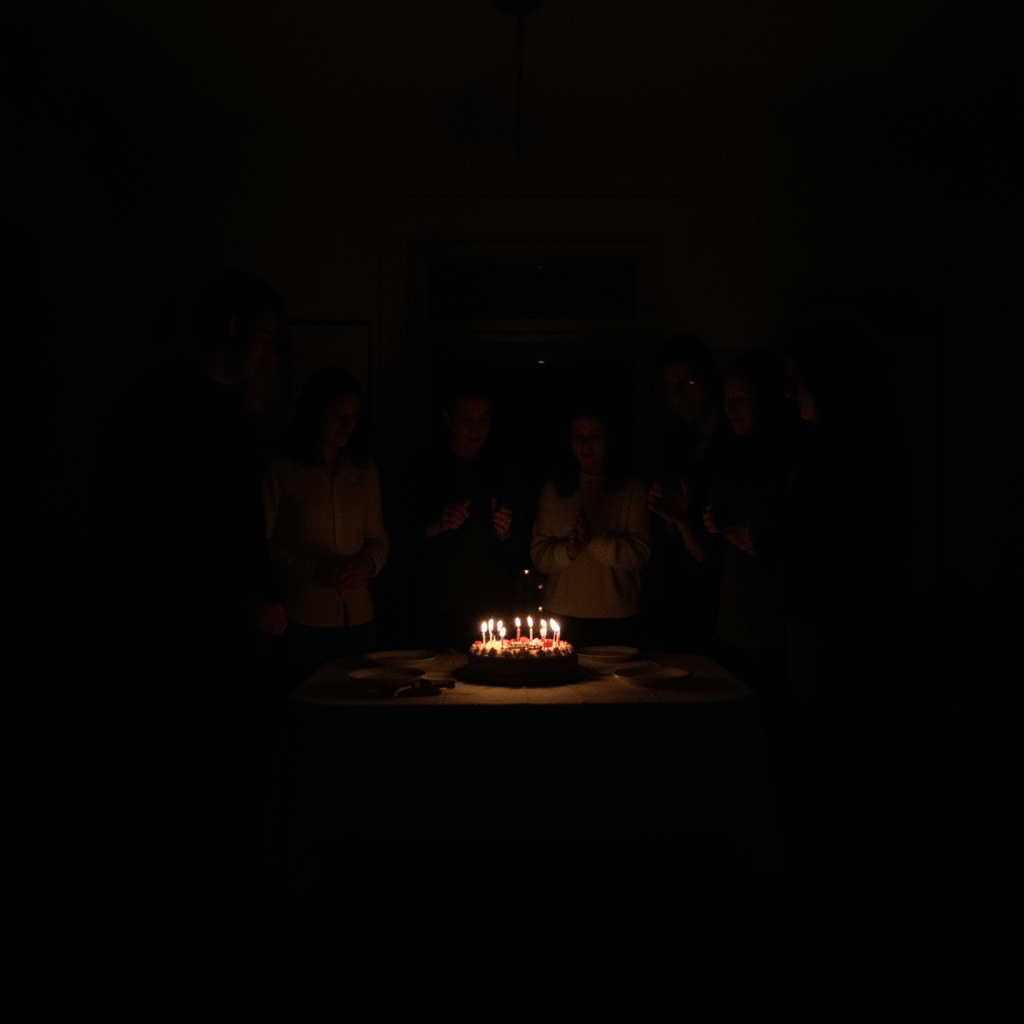
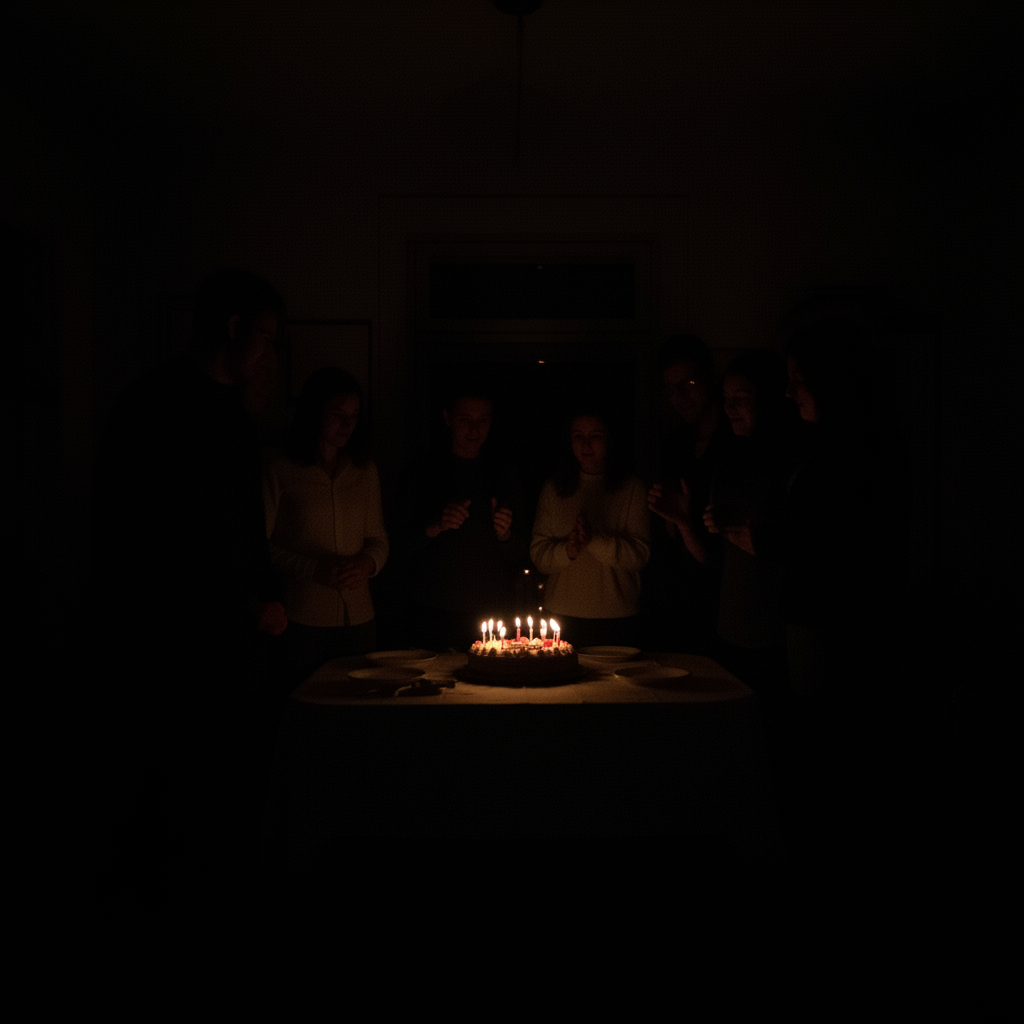
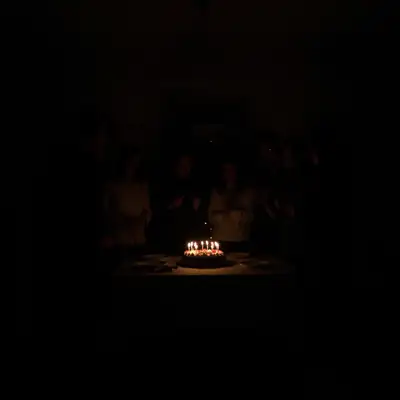
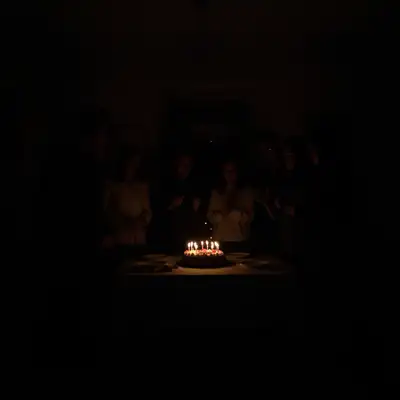
Birthday party indoors

Indoor birthday celebration shot too dark to see faces. AI brought everyone into view while keeping the cake candles from blowing out.

Prompt: my photo is too dark, brighten everyone's faces so I can see them
Silhouettes of family against bright window, faces too dark to see
Before
->
Same family with properly lit faces and balanced window exposure
After

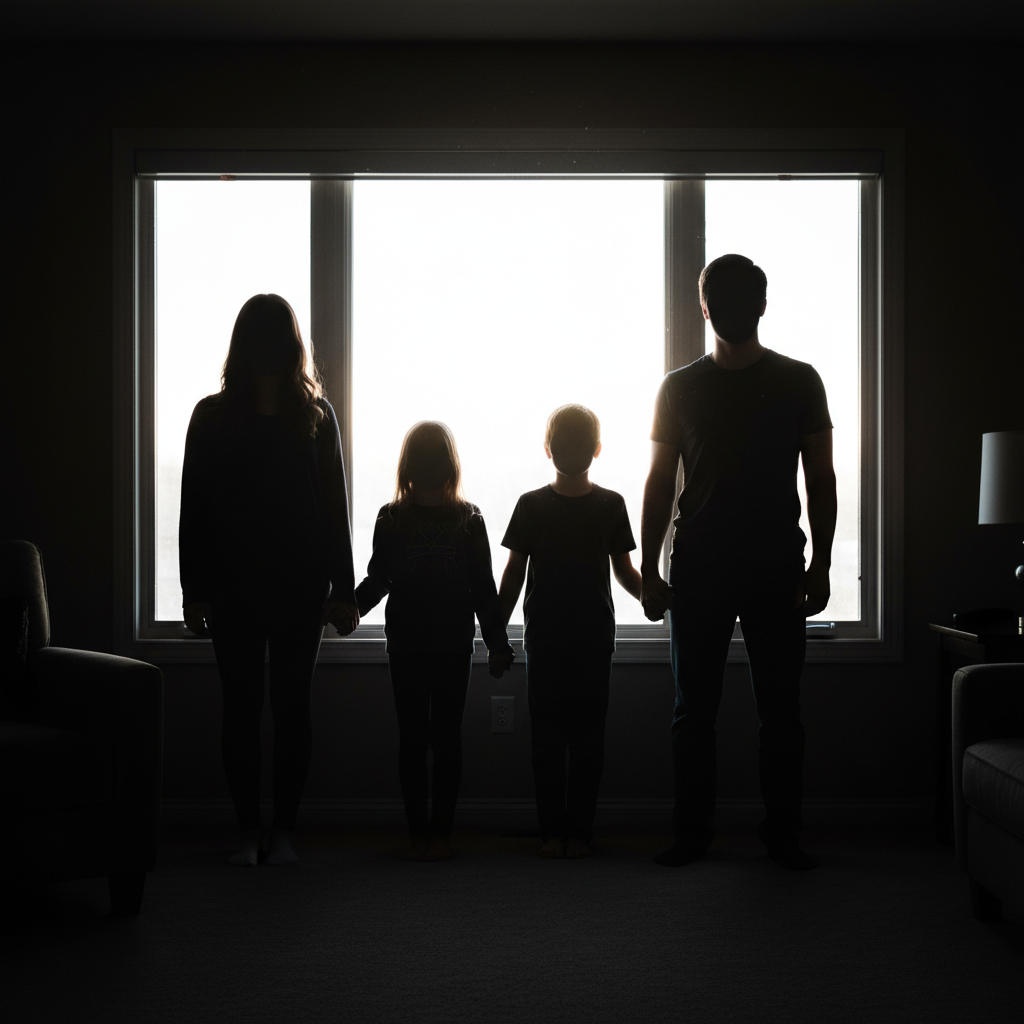
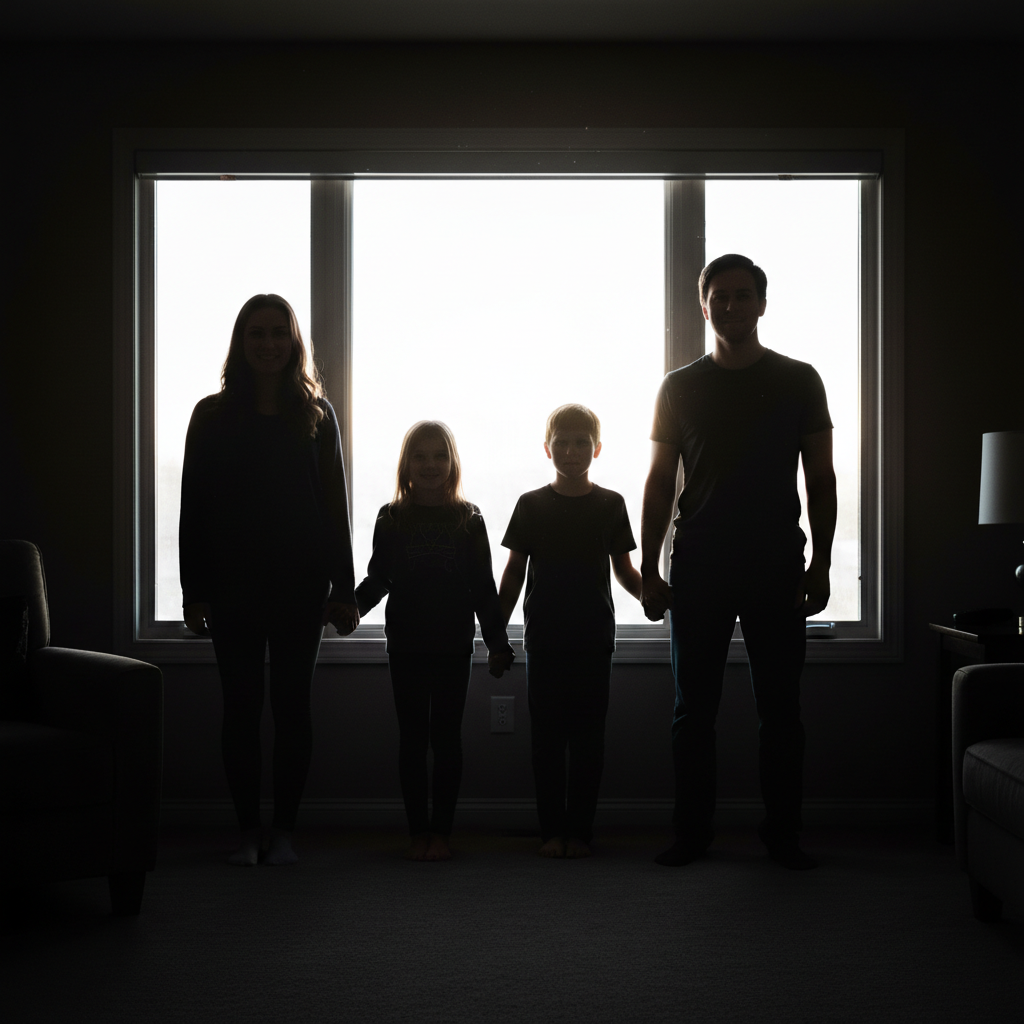
Window backlight making subjects dark

Family photo by a window came out with everyone as dark silhouettes. AI brightened the people while keeping the window light natural.

Prompt: my photo is too dark because of the window, brighten the people without making the window too bright
Nearly black restaurant photo with only small candles visible
Before
->
Same dinner scene with visible food and faces, warm ambient lighting
After

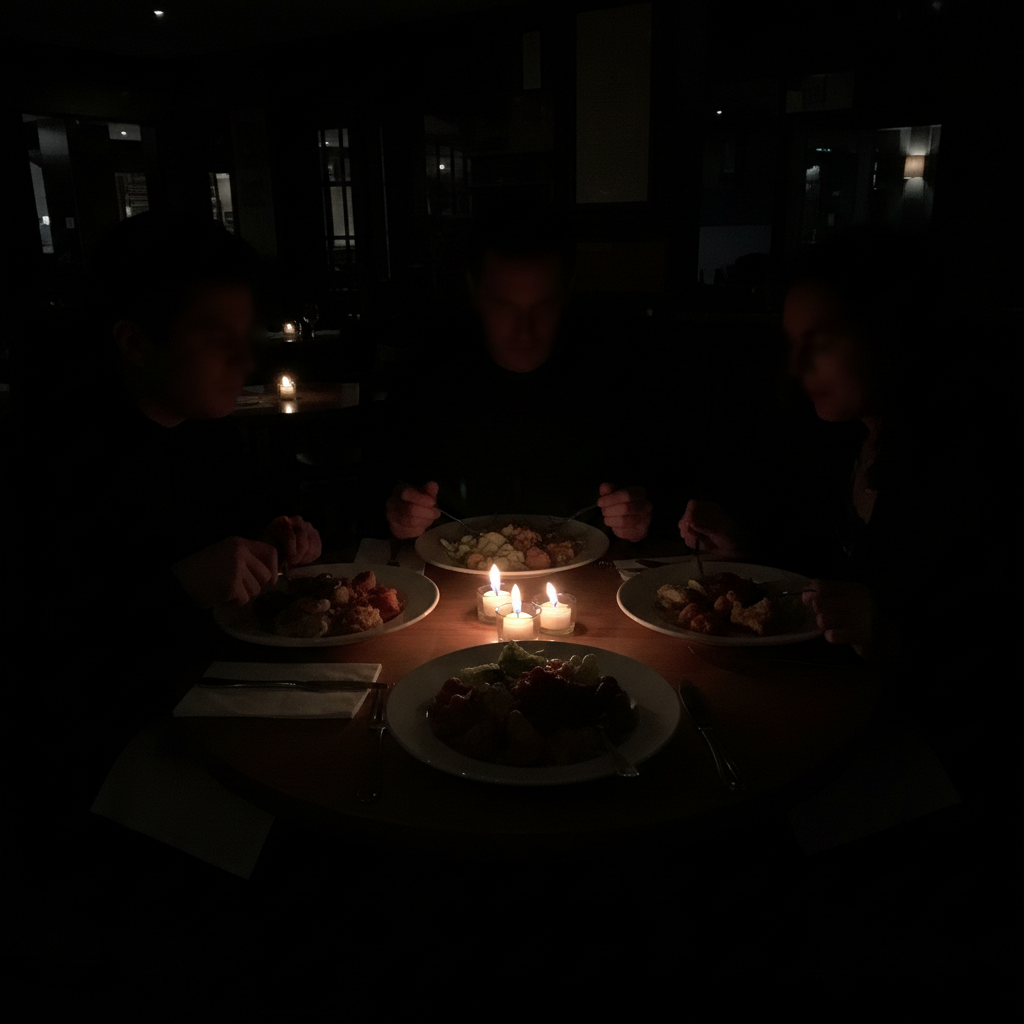
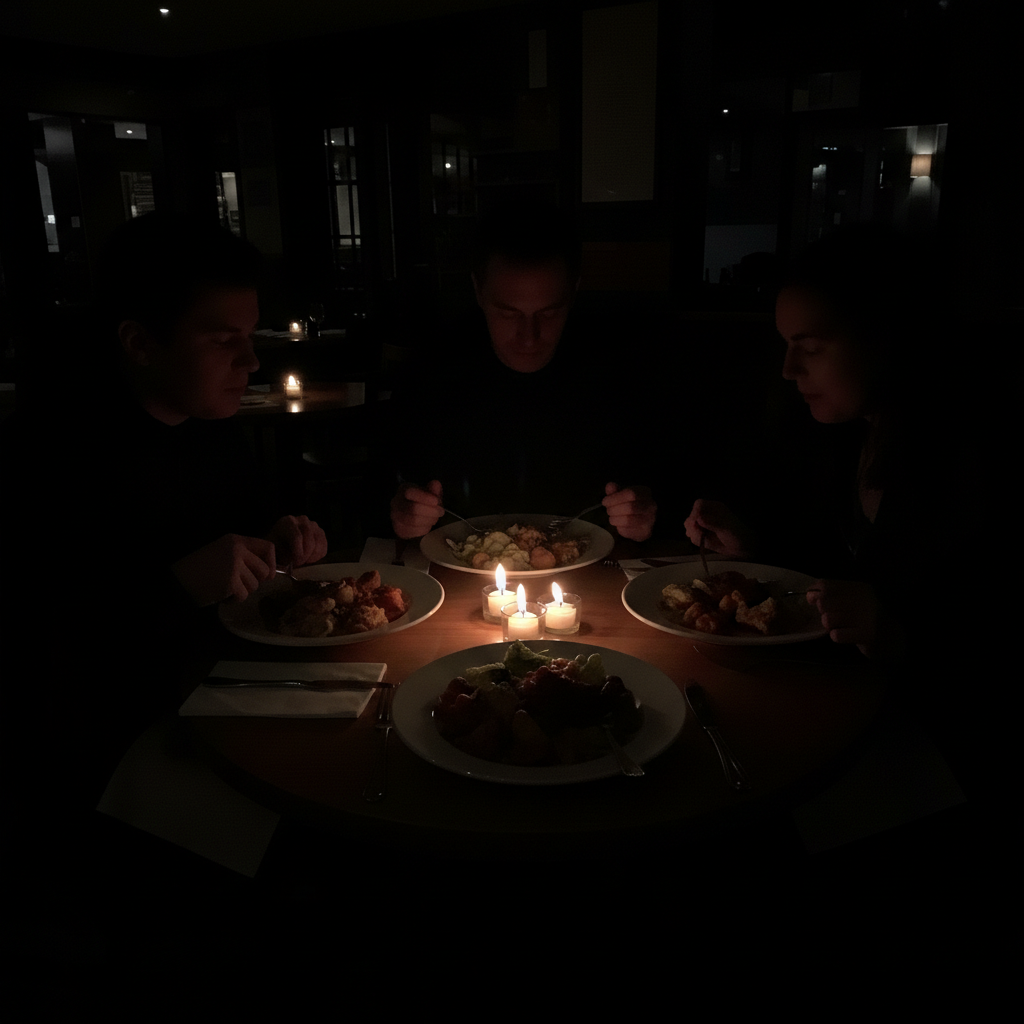
Restaurant dinner too dark

Evening dinner photo almost completely dark except candlelight. AI recovered the food and companions while maintaining the intimate atmosphere.

Prompt: my dinner photo came out too dark, brighten it while keeping the cozy mood
Advertisement

If something looks off

Photo looks washed out or fake after brightening

Why: The AI lifted exposure too aggressively, removing natural contrast. This creates a flat, over-processed look.

Try: brighten my too-dark photo but keep natural contrast and avoid making it look fake

Tip: Words like 'natural' and 'keep contrast' help prevent the artificial, washed-out appearance.

Bright areas got too bright (blown out)

Why: The AI brightened the entire photo instead of just the dark parts. Mixed lighting scenes need selective correction.

Try: my photo is too dark in the shadows only, brighten the dark areas while keeping bright areas unchanged

Tip: Be explicit about protecting highlights when you have windows, lamps, or other bright elements.

Grain or noise appeared after brightening

Why: Lifting dark areas reveals noise that was hidden in the shadows. Common with phone cameras and high-ISO photos.

Try: my photo is too dark, brighten it and reduce the noise for a clean result

Tip: Mentioning noise reduction alongside brightening handles both problems at once.

Colors look weird or unnatural

Why: Aggressive brightening can shift color balance. Some photos have poor color data in very dark areas.

Try: my photo is too dark, brighten it and fix the colors to look natural

Tip: Adding 'natural colors' or 'correct color balance' helps restore proper hues.

Still too dark after one attempt

Why: Very dark photos may need incremental adjustment. The AI is conservative on first pass to avoid over-correction.

Try: brighten my photo much more, it's still too dark and I need to see all the details

Tip: Words like 'much more' or 'significantly brighter' tell the AI to be more aggressive.

AI brightened the wrong part of the photo

Why: The AI couldn't determine from description alone which area you meant. This happens with complex scenes.

Try: Tap a marker on the too-dark area you want to brighten, then regenerate with 'brighten this area'

Tip: Markers tell the AI exactly where to apply brightening when descriptions are ambiguous.

Quick answers

Do I need to mark anything before describing the problem?

No! Just type naturally: 'my photo is too dark' or 'the photo came out too dark, brighten it.' The AI understands these plain-language descriptions without you having to select or mark anything. Only use markers when you need precision - like when only part of the photo is too dark.

Can AI fix a photo that's almost completely black?

Often yes! Most 'black' photos actually contain hidden shadow detail that cameras capture but screens can't display. Upload it and try - you might be surprised how much the AI can recover. If there's truly zero data (pure black), nothing can recover it, but this is rare.

Will brightening my dark photo make it look fake?

Not if you prompt it right. Add words like 'natural' or 'keep it realistic' to your prompt. Good AI brightening should look like the photo was taken in better light, not obviously edited. Avoid asking to 'make it very bright' which can create an artificial look.

How is this different from just turning up brightness on my phone?

Phone brightness sliders affect the whole image equally, often blowing out any bright spots. EditThisPic's AI intelligently lifts dark areas while protecting highlights, similar to professional exposure correction. It's like HDR processing but smarter.

My photo is only too dark in one area, not the whole thing

Perfect for AI editing! Describe it: 'the left side of my photo is too dark, brighten just that area' or tap markers on the dark spots. The AI can selectively brighten parts while leaving other areas alone.

Ready to fix your too-dark photo?

Free to try. No signup required.

Try it free โ†’