Free • No signup Preview Stone veneer · Free

AI Stone Veneer Preview Tool

← Browse all exterior renovation tools

Last updated

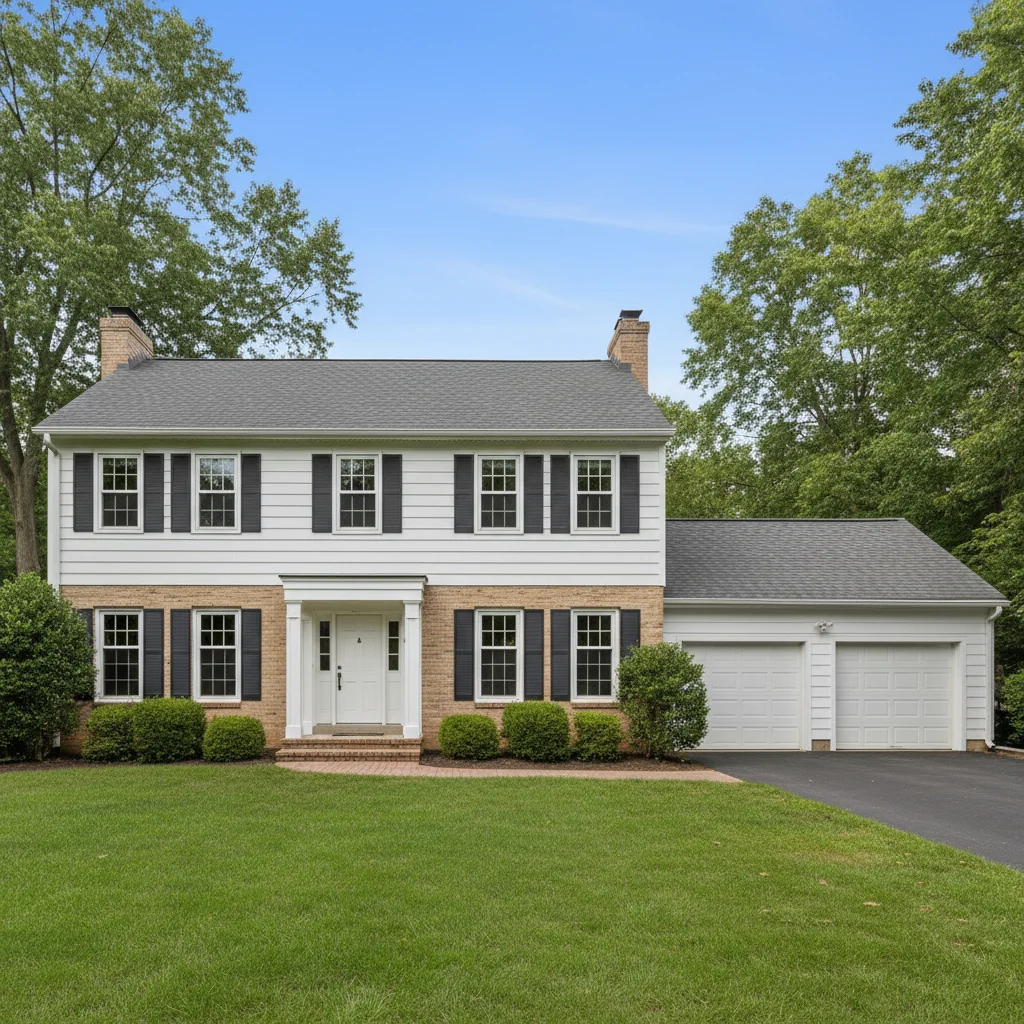
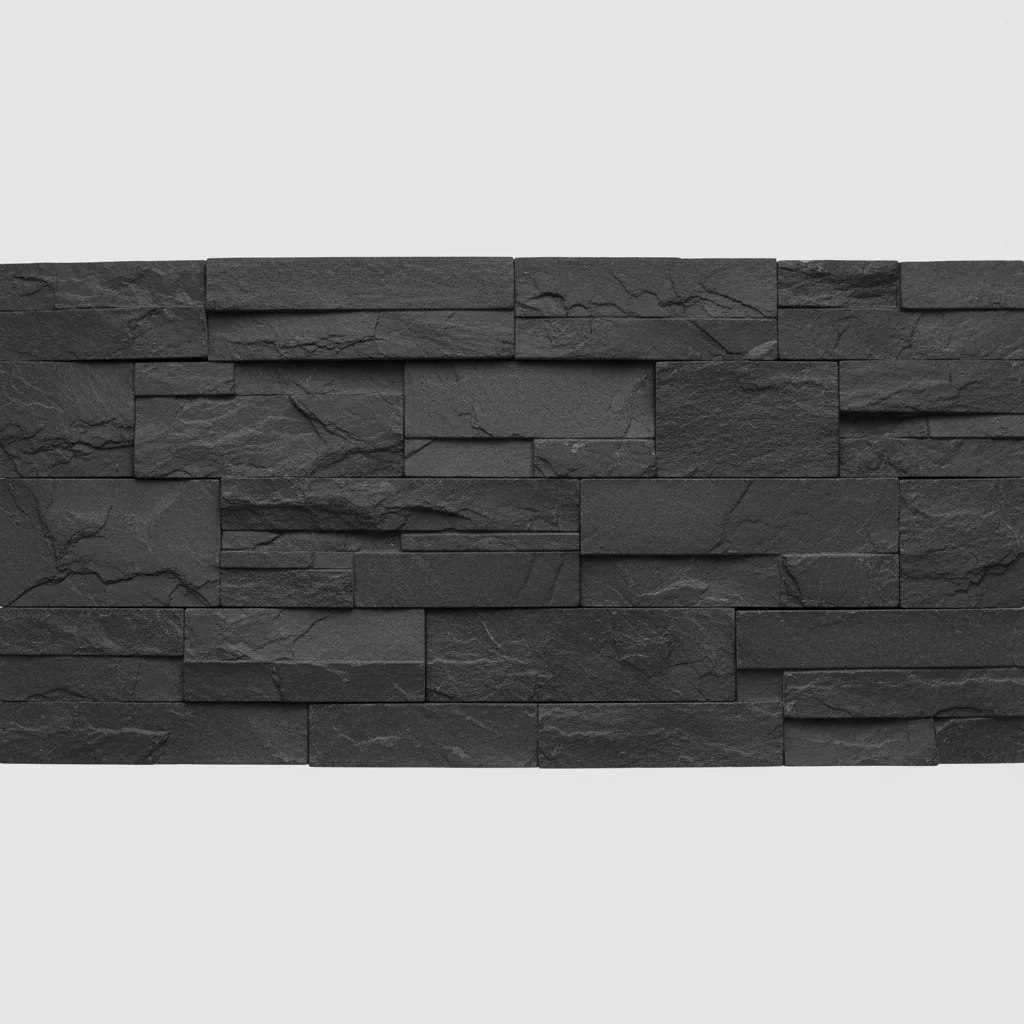
Upload your house photo and a stone veneer reference sample to see the finished exterior before installation day.

01Photo 1
Ranch house with plain stucco foundation and no stone veneer accents
02Photo 2
Stacked ledgestone veneer product sample photo
03Result
Same ranch house with stacked ledgestone veneer applied to foundation and column bases from reference

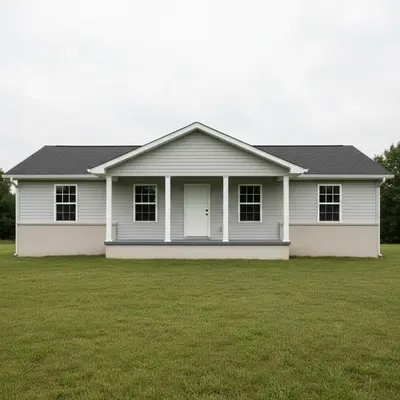
Upload photo to preview stone veneer

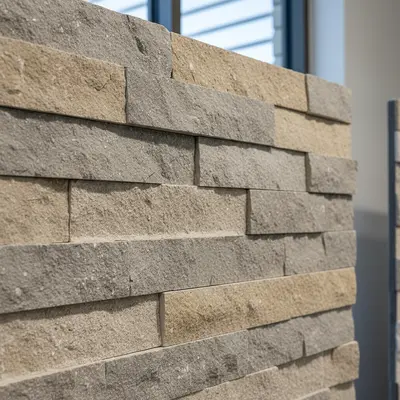
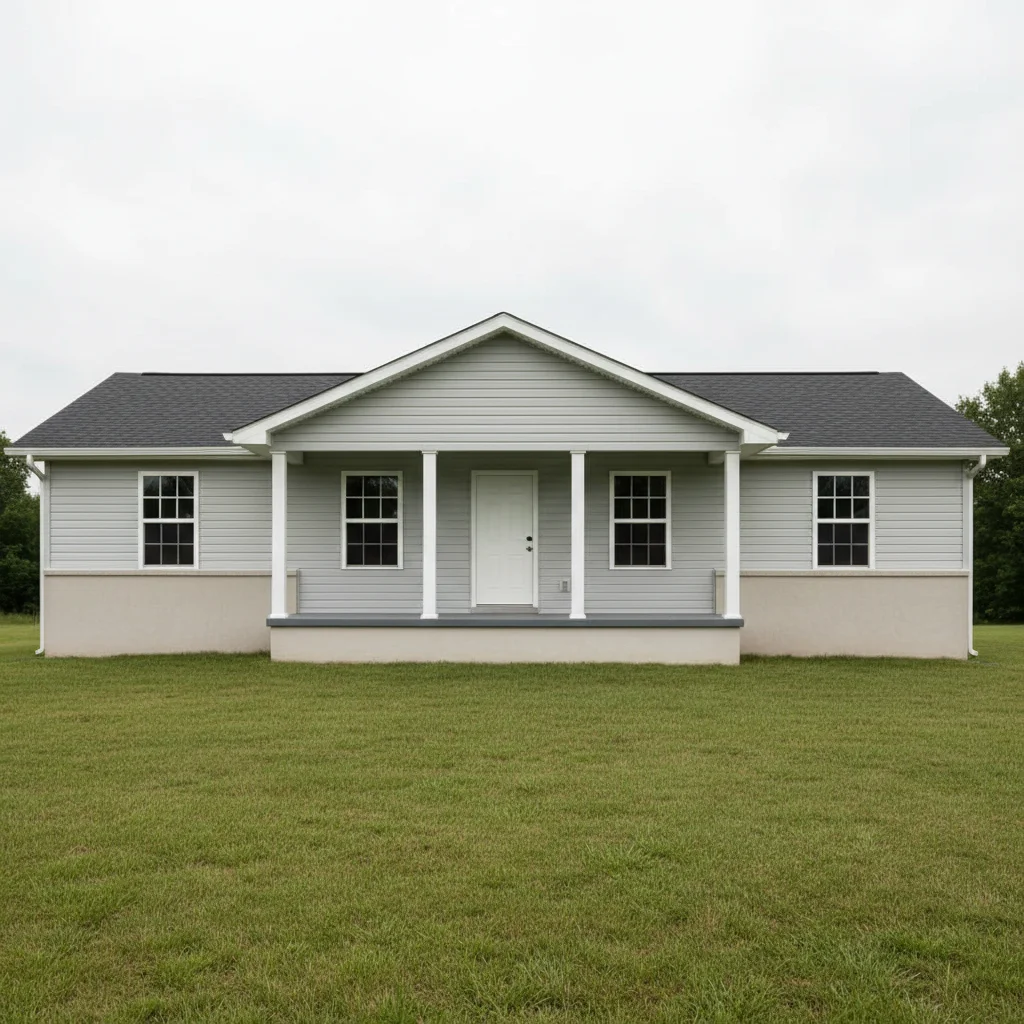
"apply the reference stone veneer to the entire front facade of the house from foundation to roofline, replacing the existing siding — show the full stone exterior look"

Release to upload

1 free edit·then from $4.99

Popular use cases:
  • stone veneer visualizer
  • preview stone veneer before installing
  • masonry contractor proposal tool
  • cultured stone preview
  • natural stone veneer comparison
  • exterior renovation planning
  • curb appeal improvement tool

1Your photo
+
2Reference
=
Result
House with plain stucco foundation and no stone accents Your house photo
Ledgestone veneer product sample photo Stone veneer reference
House with ledgestone veneer applied to foundation and porch columns Result

"Apply this ledgestone veneer to the foundation and column bases"

Cost
Free No signup required
Time
Instant results in 15-30 seconds
Works on
Any device - browser, phone, tablet, desktop
Powered by
AI-powered photo editing
Scenario Prompt Time
Foundation accent apply stone veneer to foundation below siding line with visible mortar joints 25s
Column wrap apply stone veneer to wrap porch columns and column bases 25s
Full facade apply stone veneer to entire front facade from foundation to roofline 35s

How it works

  1. Upload your two photos

    Upload your house exterior photo into EditThisPic first. Then click '+ Add reference photo' and upload a photo of the stone veneer product or sample swatch. Use a manufacturer's product image, a masonry supply sample photo, or a photo of an actual stone panel. The better the reference, the more accurate the stone pattern and color will render. JPG, PNG, WebP up to 7MB each.

    Expect: The AI maps the stone texture, color variation, and joint pattern from your reference onto the specified exterior areas of your house.
  2. Specify the stone placement area

    Tell the AI exactly where you want the stone veneer applied: 'apply this stone veneer to the front foundation area below the siding line' or 'add the reference stone to the porch columns and column bases' or 'cover the entire front facade with this stacked stone pattern.' Be specific about zones — foundation, columns, accent wall, full facade, or chimney.

    Tip: Stone veneer accent zones (foundation, columns, accent wall) look more architecturally intentional than full-facade coverage on most residential styles.

    Copy one of these to get started:

    Foundation and column accent apply the stone veneer from the reference photo to the foundation band below the siding line and wrap the front porch columns with the same stone pattern — leave the upper siding unchanged
    Full front facade coverage apply the reference stone veneer to the entire front facade of the house from foundation to roofline, replacing the existing siding — show the full stone exterior look
    Masonry contractor proposal preview this stone veneer sample on the house for a masonry contractor proposal — photorealistic quality showing the client exactly what the finished installation will look like
    Accent wall only add the reference stone veneer as an accent to the wall area between the garage and the front entry — just that section, not the full facade
    2 more prompts
    Natural stone vs cultured stone comparison apply this natural fieldstone veneer reference to the foundation area — I want to compare this to a cultured stone option, so keep the rest of the house exactly as-is
    Chimney stone wrap apply the reference stone veneer to the exterior chimney — wrap the full chimney column in the stone pattern from foundation to above the roofline
  3. Evaluate the stone pattern and scale

    Check that individual stone pieces appear at realistic scale — ledgestone pieces are typically 2-4 inches tall, fieldstone varies more. Verify that mortar joints are visible and that shadow lines under horizontal stone courses look natural given the sun position in the photo.

  4. Compare stone product alternatives

    Download the result and run a second stone veneer reference photo on the same house to compare natural stone vs. cultured stone, or light vs. dark stone colors. Masonry contractors often test 3-4 options for client presentations.

    Tip: For client proposals, label each result with the manufacturer name, product line, and SKU so the homeowner can request specific quotes.

See it in action

Ranch house with plain stucco foundation and no stone veneer accents
Main Photo
Stacked ledgestone veneer product sample photo
Reference
Same ranch house with stacked ledgestone veneer applied to foundation and column bases from reference
Result

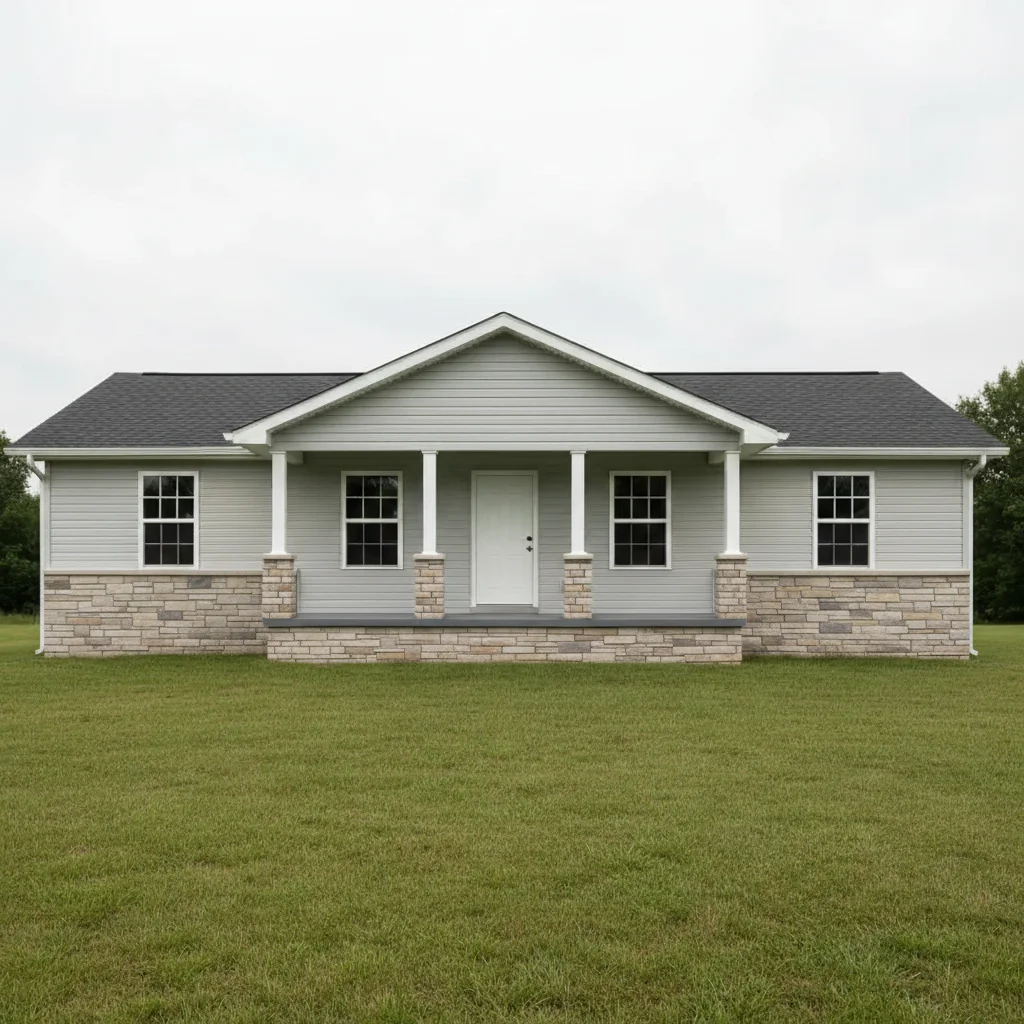
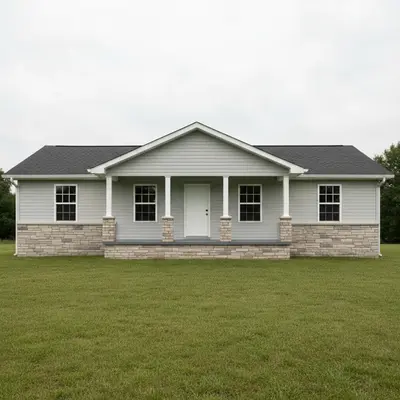
Foundation accent for curb appeal upgrade

A homeowner previewed a ledgestone veneer product on their foundation before approving a masonry contractor's quote.

Prompt: apply the stacked ledgestone veneer from the reference photo to the foundation area below the siding, wrapping the porch column bases — photorealistic preview for homeowner approval
Craftsman bungalow with green painted siding before stone veneer preview
Main Photo
Reference image for AI Stone Veneer Preview Tool
Reference
Same craftsman home with natural fieldstone veneer applied to full facade from reference sample
Result

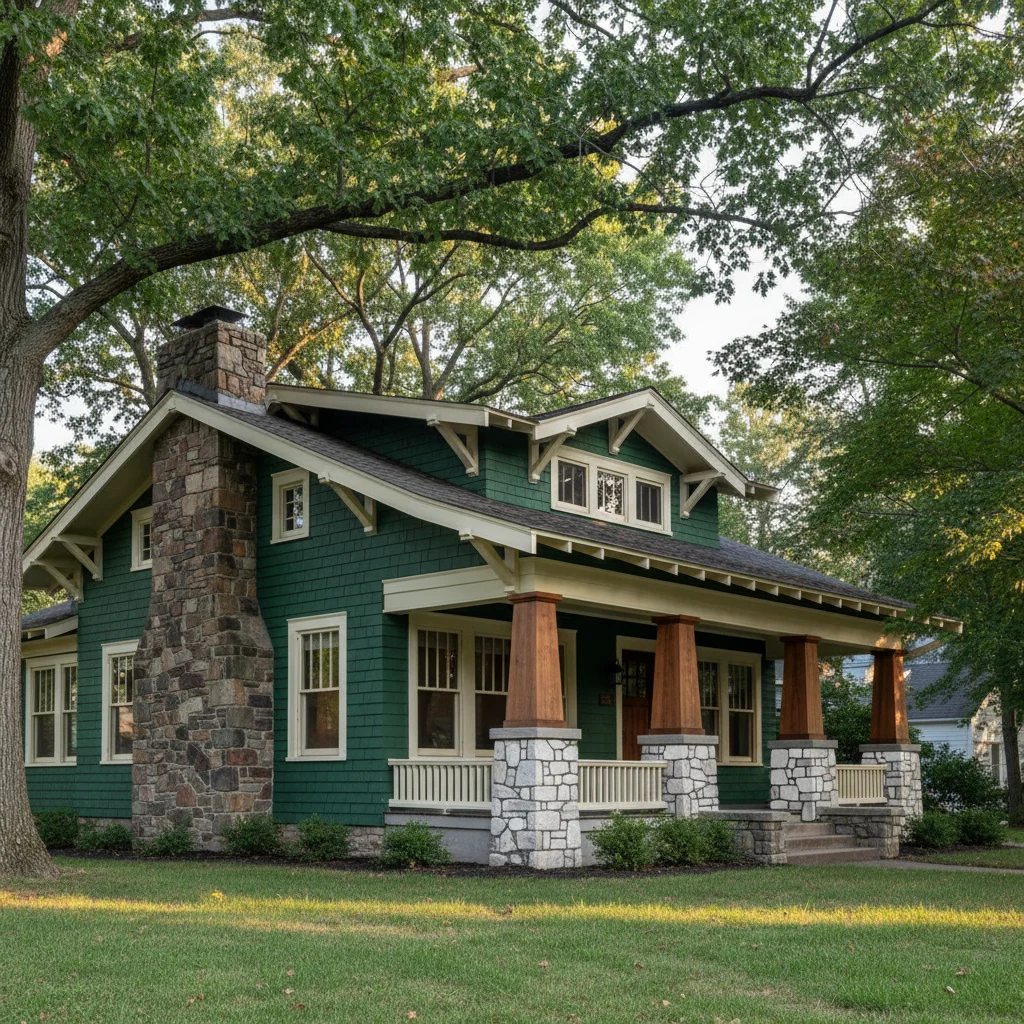
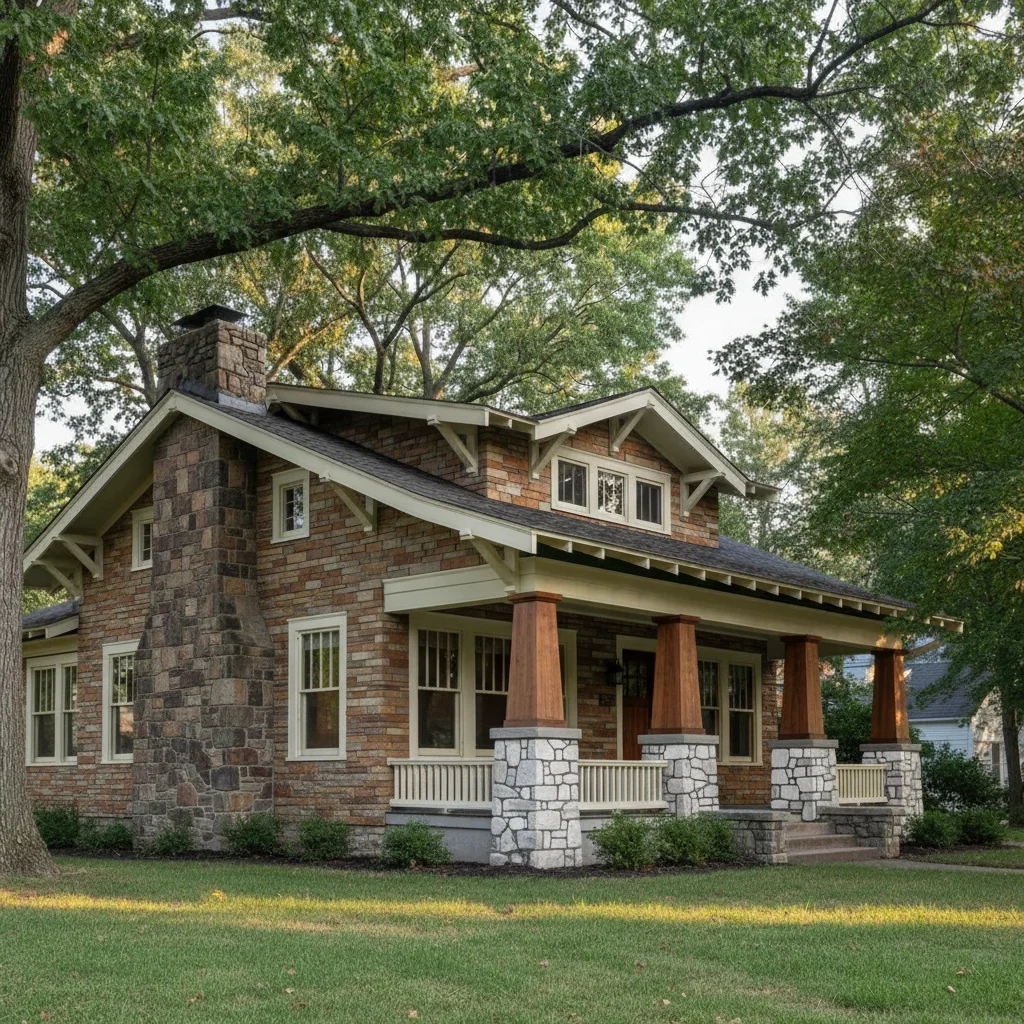
Craftsman home full facade comparison

A designer tested full-facade stone veneer on a craftsman home before recommending the product to a client considering a major exterior renovation.

Prompt: apply the reference fieldstone veneer to the entire front facade of this craftsman home, covering the siding from foundation to roofline with natural stone pattern
Colonial house with beige brick lower half before stone veneer comparison
Main Photo
Reference image for AI Stone Veneer Preview Tool
Reference
Same colonial house with dark charcoal stacked stone applied from contractor's reference sample
Result

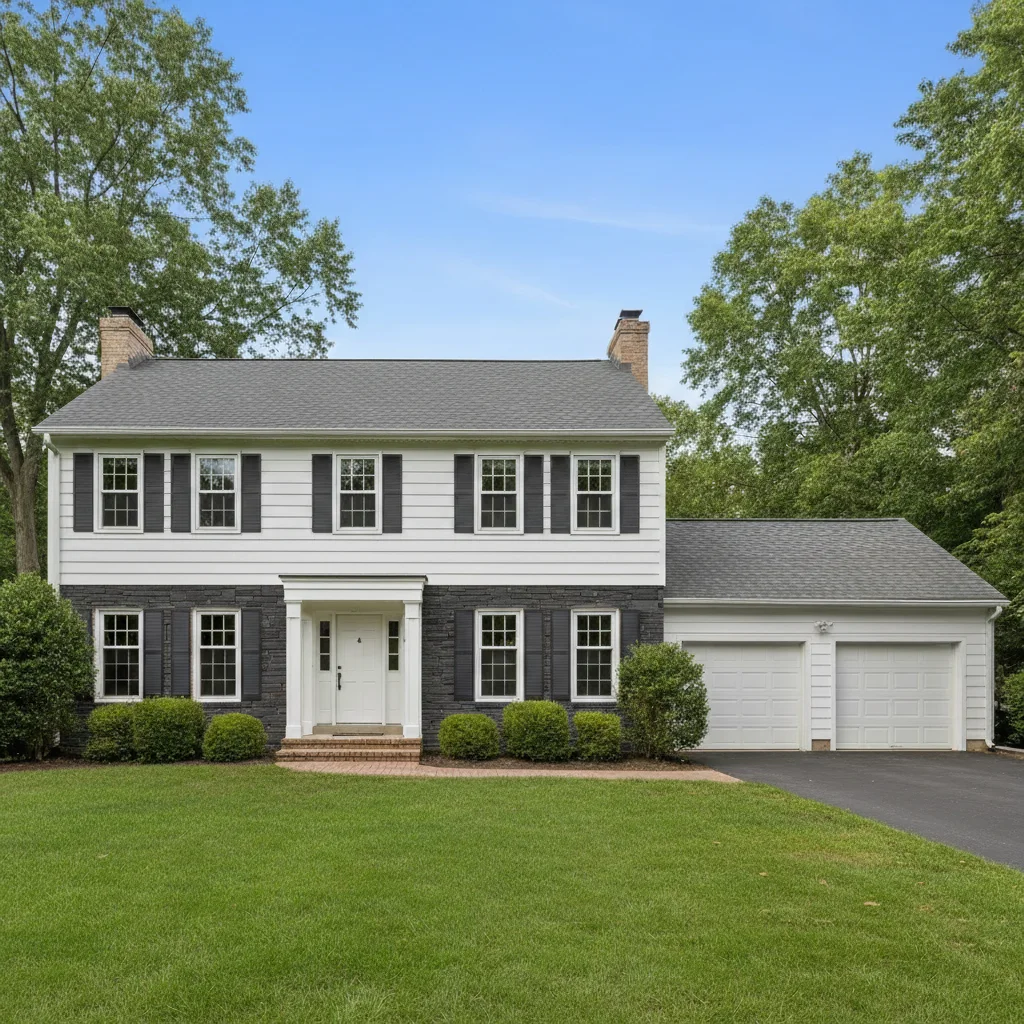
Contractor multiple option proposal

A masonry contractor presented two stone veneer options — a dark stacked stone and a warm ledgestone — to a homeowner comparing products from two different manufacturers.

Prompt: Apply the dark charcoal stacked stone from the reference photo to the lower brick half of my house. Show me what this would look like for a contractor proposal.

Detailed Guides by Scenario

Masonry & Siding Contractors

Contractors upload a client's house photo alongside a stone veneer product sample to generate a realistic proposal visual before any work begins. It removes the guesswork from client approvals and shortens the sales cycle.

Homeowners Planning an Exterior Remodel

Homeowners use the tool to compare how different stone veneer products will look on their actual house before spending money on samples or committing to an installer. Seeing it on their own exterior is far more convincing than a showroom display.

Landscape & Hardscape Designers

Designers presenting outdoor living proposals use the tool to visualize stone veneer on retaining walls, outdoor fireplaces, or planter bases within a client's actual yard photo, making the design feel tangible before fabrication.

If something looks off

Stone pattern looks like wallpaper — no depth or 3D texture

Why: The AI rendered a flat stone texture without the mortar shadow lines and dimensional depth of real stone veneer.

Try: apply the stone veneer with realistic 3D depth — show individual stone piece shadows, visible mortar joints, and the natural variation in stone size and color

Tip: Natural stone variation is what makes stone veneer look real. Asking for 'natural variation in stone size and color' produces a more convincing result than a uniform pattern.

Stone scale is wrong — pieces too large or too small

Why: Without scale context, the AI may generate stones at an incorrect size relative to the house dimensions.

Try: apply the stone veneer at realistic residential scale — individual stones should be approximately 3-6 inches tall

Tip: Including real-world stone dimensions (e.g., 'ledgestone pieces 2-4 inches tall') gives the AI accurate scale guidance.

Mortar joints are absent or invisible

Why: The AI merged stone pieces without the joint lines that define real stone veneer installation.

Try: add the stone veneer with clearly visible mortar joints between each stone — use [color] mortar to match the reference

Tip: Dark grout between light stones, or light mortar between dark stones, makes joints crisply visible in visualizations.

Quick answers

Do I need TWO photos — my house photo AND a stone veneer reference?

Yes. This tool uses two photos: (1) your house exterior photo showing the area where stone veneer would go, and (2) a reference photo of the stone veneer product or sample you're evaluating. Upload your house photo first, then click '+ Add reference photo' for the stone sample. The AI reads the stone texture, color variation, and joint pattern from your reference to place it accurately on your house.

How do I preview stone veneer on my house photo for free?

Upload your house exterior photo and a reference photo of the stone veneer product to EditThisPic. Describe where to apply it: 'apply this stone veneer to the foundation area below the siding line.' The AI places it with realistic texture and mortar joints in 20-30 seconds. Free to use, no account required, no watermark.

Can masonry contractors use this to win more jobs?

Yes. Masonry contractors upload a homeowner's house photo and stone product samples to generate photorealistic proposal visuals on the spot. Homeowners who can see their specific house with the stone applied are significantly more likely to approve the project. Include 'photorealistic, for masonry contractor proposal' in your prompt and run 2-3 product options for a complete proposal package.

What's the difference between natural stone and cultured stone veneer previews?

Natural stone samples show more color variation and irregular sizing — upload a photo of the actual stone product for the most accurate representation. Cultured stone has more uniform sizing and controlled color patterns — manufacturer product photos work perfectly as references. Both types work in the tool; the key is using a clear, well-lit reference photo of the specific product.

Can I preview multiple stone veneer options on the same house?

Yes. Run the tool with your first stone reference, download the result, then run it again with a different stone product reference on the same house photo. Homeowners typically compare 2-4 products before making a final selection. One free edit per week, or buy credits for back-to-back comparisons.

Is this preview accurate enough to use for HOA approval or permits?

The visualization gives a realistic sense of color, texture, and coverage zone — useful for HOA boards to evaluate proposed changes. For permit applications, some jurisdictions accept photorealistic renderings alongside material specifications. Always include the manufacturer name, product line, and color alongside the visualization for any official submission.

How much does EditThisPic cost?

You get 1 free edit per week — no account needed. After that, credit packs start at $1.99 for 3 edits. Monthly plans start at $4.99/mo for 15 edits with unused credits rolling over. All edits are full resolution with no watermark.

Ready to preview your stone veneer?

Free to try. No signup required.

1 free edit included·Credit packs from $4.99