Free β€’ No signup Transform Photo into a horror scene Β· Free

Scary Photo Editor

Upload any photo and describe the horror you want β€” the AI adds demons, haunted lighting, eerie fog, or full horror-movie atmosphere in seconds. Perfect for pranking friends or building your Halloween content.

Young woman smiling outdoors in bright daylight
Before
β†’
The same woman with full black demon eyes, ashen grey skin, and dark mist curling around her shoulders
After

Scary Photo Editor

Upload photo to transform photo into a horror scene

Free β€’ Results in 30 seconds β€’ No signup

Release to upload

FreeNo signupNo watermark

1 free edit·then from $1.99

Popular use cases:
  • scary photo editor
  • horror photo filter
  • Halloween photo prank
  • haunted photo maker
  • demon photo editor
  • creepy photo effects
  • AI horror photo

Cost
Free No signup required
Time
Instant results in 15-30 seconds
Works on
Any device - browser, phone, tablet, desktop
Powered by
AI-powered photo editing
Scenario Prompt Time
Demonic possession Black sclera, grey skin, dark mist rising from below 30s
Haunted room Shadowy figure in doorway, cold flickering light, handprints on window 30s
Horror movie lighting 1980s slasher palette, deep shadows, single harsh backlight, film grain 15s
Lurking creature Tall dark figure with long arms just visible in shadows behind subject 30s

How it works

  1. Upload your photo

    Any photo works β€” a portrait, a room, a group shot, even a pet. The best horror edits tend to come from ordinary photos where the contrast with the terror is strongest. A cheerful family photo turned haunted hits harder than something already dark.

    Expect: Upload takes a few seconds. The AI processes your image in about 15-30 seconds depending on the complexity of the horror effects you request.
  2. Describe the horror

    Type exactly what you want in plain language. Be specific about the type of scare: demonic possession, haunted house atmosphere, horror movie lighting, ghostly apparition, or creature lurking in the background. The more vivid your description, the more terrifying the result.

    Tip: Describe both the visual element AND the mood together. Instead of just 'make it scary,' try 'add demonic red eyes and fill the background with dark fog like a 1980s horror movie still.' Layering effects in one prompt produces more cohesive results.

    Copy one of these to get started:

    Demonic possession portrait Give me fully black demon eyes with faint red veins around the irises, darken the skin to an ashen grey tone, and add a faint dark mist curling around the shoulders like smoke from below
    Haunted living room Transform this room into a haunted scene β€” add a shadowy figure half-visible in the doorway at the back, turn the lighting cold and flickering like a faulty bulb, and put faint handprints on the window glass
    Horror movie poster lighting Relight this photo like a classic 1980s slasher film still β€” deep shadows, a single harsh backlight creating a halo effect, desaturate the colors to near-black-and-white except for a sickly green tint, add grain
    Creature behind the subject Add a tall dark figure with long pale arms just visible in the shadows directly behind the person, close enough that it looks like it could reach them, face completely obscured in darkness
    4 more prompts
    Cursed childhood photo Make this look like a genuinely cursed old photograph β€” add heavy scan artifacts and yellowing, put a faint smeared face in the background that looks accidentally captured, darken the eyes of the main subject to pitch black
    Eerie fog and dead forest backdrop Replace the background with a dead winter forest filled with dense low fog, add one distant lit lantern hanging from a bare branch, shift the entire image to a cold blue-grey palette with light vignetting at the edges
    Glitching digital horror Apply a digital glitch effect over the whole image β€” horizontal scan-line tearing across the face, chromatic aberration spreading red and blue fringe from the eyes, corrupted pixel blocks in the lower corner
    Blood moon outdoor scene Change the sky to a deep crimson blood moon with heavy cloud cover, cast red-tinted light across the entire scene below, add silhouettes of bare tree branches overhead, and put a faint second face reflected in any nearby windows or water
  3. Send it

    Download the image and send it to your target. Works best when sent casually β€” as a profile photo update, dropped into a group chat without explanation, or texted as a 'found this old photo' to a sibling. The less context you give, the bigger the reaction.

Try it free ↓

Scary Photo Editor

Upload photo to transform photo into a horror scene

Free β€’ Results in 30 seconds β€’ No signup

Release to upload

Free β€’ No signup

See it in action

Young woman smiling outdoors in bright daylight
Before
->
The same woman with full black demon eyes, ashen grey skin, and dark mist curling around her shoulders
After

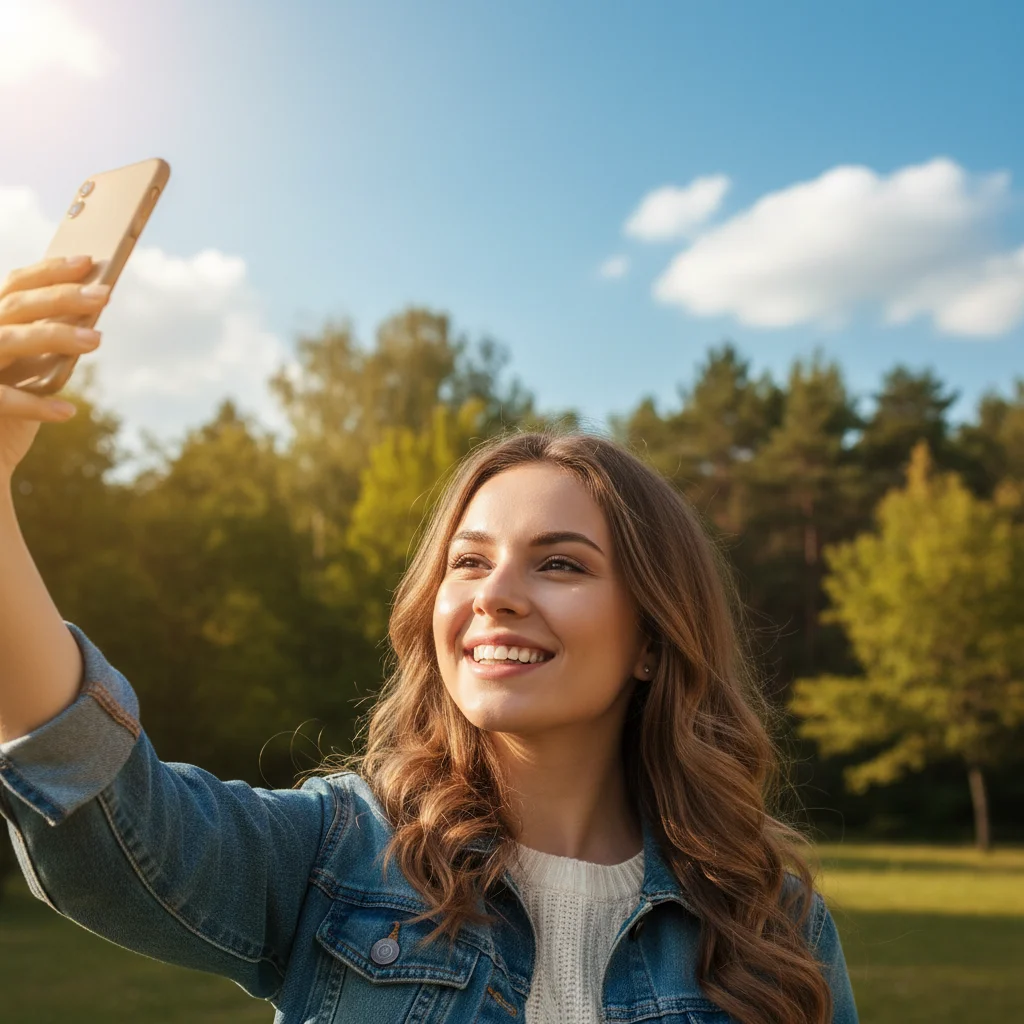
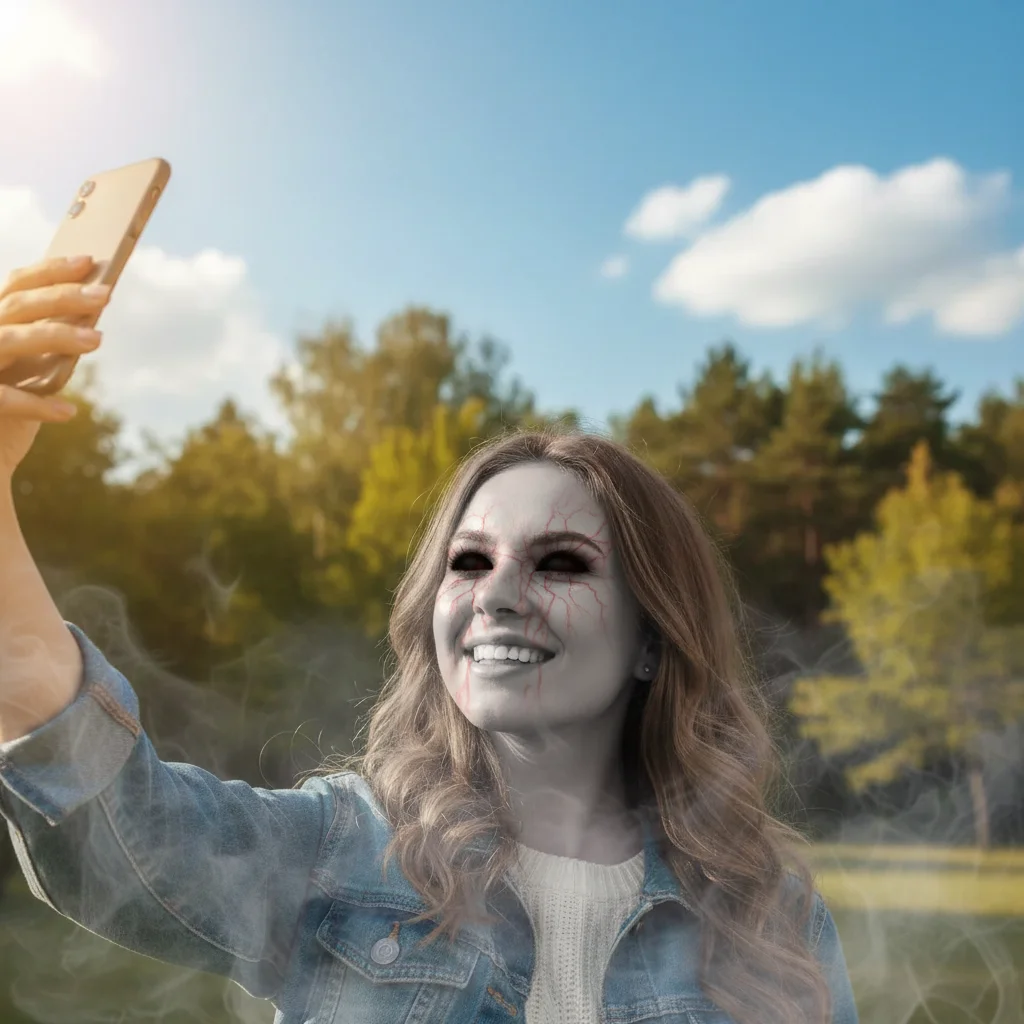
Cheerful selfie turned demonic

A bright outdoor selfie was transformed into a possession-style horror portrait. The AI added full black sclera, a grey-green pallor to the skin, and a dark fog rising from below β€” same composition, completely different energy.

Prompt: Give me fully black demon eyes with faint red veins around the irises, darken the skin to an ashen grey tone, and add a faint dark mist curling around the shoulders like smoke from below
A normal cozy living room with warm lighting and a visible doorway at the back
Before
->
The same living room with a shadowy figure half-visible in the doorway, cold flickering light, and faint handprints on the window
After

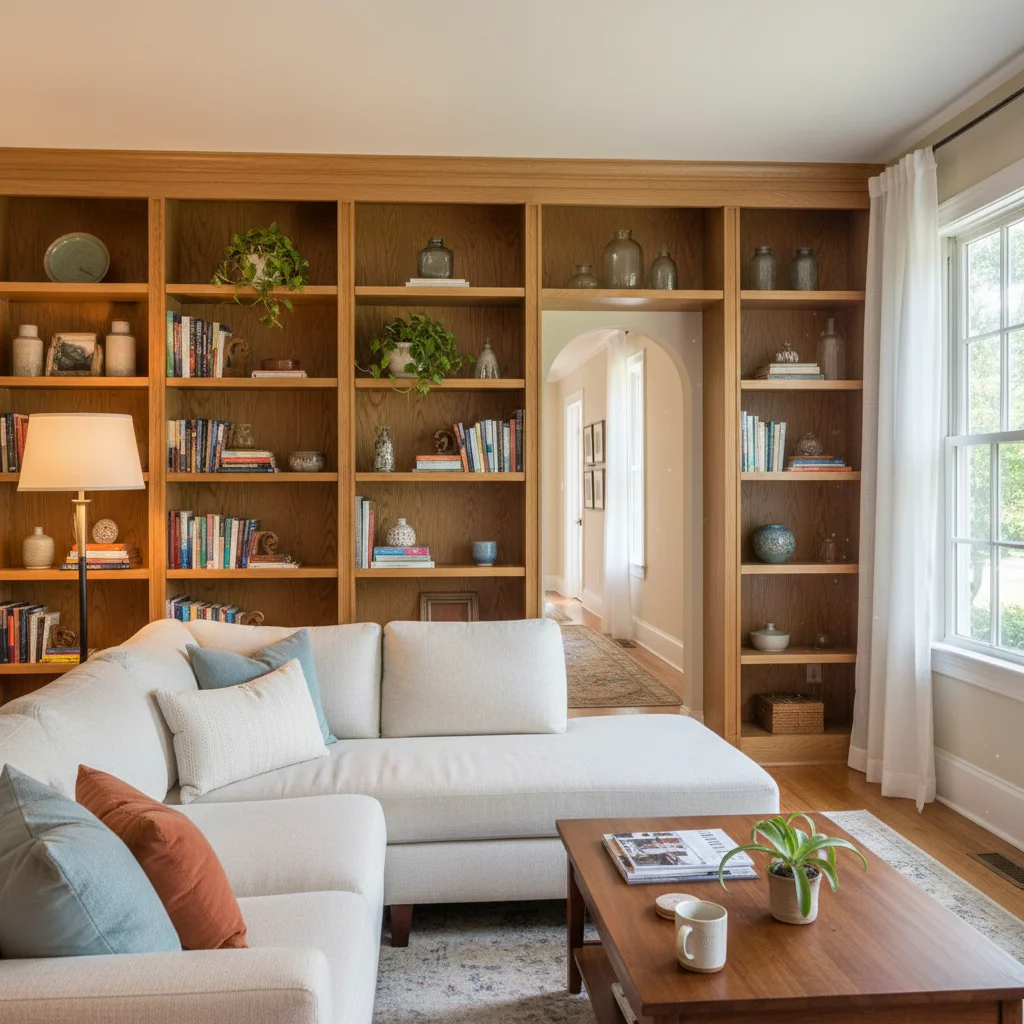
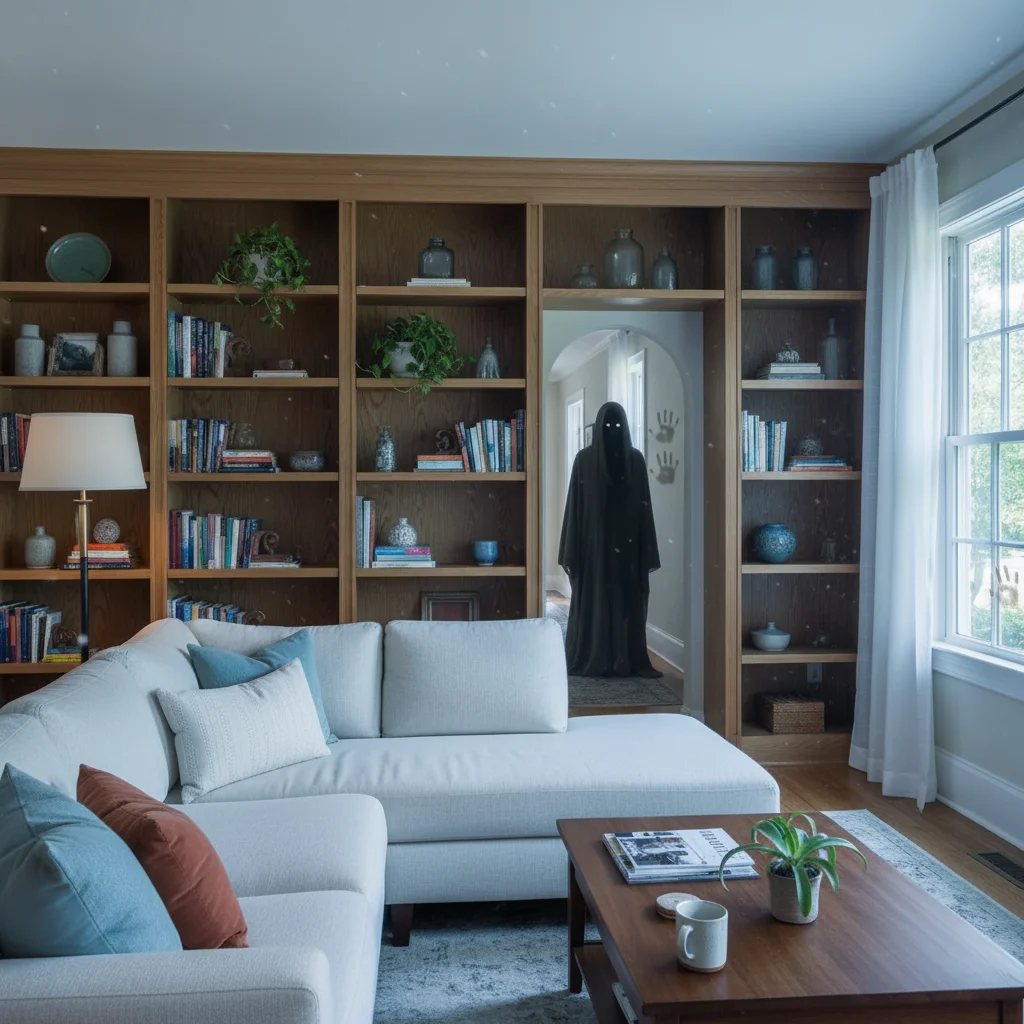
Normal living room becomes a haunted scene

An everyday living room photo with a couch and bookshelf got the full treatment β€” a shadowy figure appeared in the doorway at the back, the lighting shifted cold and unstable, and handprints materialized on the window. Sent to the homeowner's partner as 'just took this photo in the apartment,' it worked immediately.

Prompt: Transform this room into a haunted scene β€” add a shadowy figure half-visible in the doorway at the back, turn the lighting cold and flickering like a faulty bulb, and put faint handprints on the window glass
Four friends laughing together at a dinner table
Before
->
The same group photo with a tall dark figure with long pale arms standing in the shadowed corner behind them
After

Group photo with hidden creature

A group of four friends at a dinner table. The AI added a tall dark figure standing just behind them in the corner of the room β€” long pale arms partially visible, face in darkness. Nobody in the photo is reacting to it. Sent to the group chat, responses were immediate.

Prompt: Add a tall dark figure with long pale arms just visible in the shadows directly behind the group, close enough that it looks like it could reach them, face completely obscured in darkness

If something looks off

The horror effects look too subtle β€” the photo still looks normal

Why: Vague prompts like 'make it scary' give the AI too much latitude and it often produces mild adjustments rather than committed horror.

Try: Resubmit with extreme specificity: 'Make the eyes pitch black with no iris visible, add cracked dark veins across the cheeks, drain all warmth from the skin to a corpse-grey, and thicken the shadows around the subject to near-black'

Tip: Telling the AI to go further than you think is necessary usually lands closer to the right level β€” it defaults conservative on disturbing imagery.

The face got distorted or unrecognizable

Why: Heavy effects around the face can cause the AI to alter the underlying structure, especially if you asked for dramatic transformations to facial features.

Try: Try: 'Apply the horror effects to the lighting, background, and atmosphere only β€” keep the facial structure identical but add black sclera and pale skin tone'

Tip: Separating face structure from atmospheric effects gives you more control. Ask for environment-level horror first, then layer face details in a second edit.

The creature or figure I asked for isn't there or barely visible

Why: Figures in shadows or corners can get lost if the prompt doesn't specify enough contrast or placement.

Try: Be explicit about position and lighting: 'Place a dark humanoid figure in the upper right corner of the background, give its outline a faint sickly green rim light so it's just visible against the dark wall'

Tip: A hint of light (rim light, glowing eyes, pale skin against dark background) makes partially hidden figures register as threatening rather than just dark noise.

The result looks stylized or cartoony instead of realistic

Why: Some horror prompts can push the AI into an illustrative direction, especially if words like 'horror' or 'creepy' evoke graphic novel aesthetics.

Try: Add realism anchors: 'Realistic photography style only β€” no illustration, no digital art. This should look like a real photo where something is genuinely wrong'

Tip: Anchoring the edit to 'real photograph' or 'photo-realistic' keeps the output in the uncanny valley rather than tipping into obviously fake.

The photo is too dark after the horror edit β€” hard to see what's in it

Why: Horror edits often reduce exposure and saturation heavily, which can make details disappear on phone screens.

Try: Add: 'Keep enough ambient light to clearly see the subject β€” the horror should come from atmosphere and what's in the shadows, not from the photo just being underexposed'

Tip: The scariest horror movies are well-lit enough that you can see exactly what's there. Darkness that hides everything isn't scary β€” it's just dark.

Quick answers

Do I need to mark areas of the photo before describing what I want?

No. Just describe what you want in plain text and the AI figures out where to apply it. For horror edits, you can say 'add a figure in the doorway behind her' or 'change the eyes to solid black' without marking anything. Use markers only if you want to isolate a specific area β€” for example, marking the subject's face if you want horror effects only on them and not on the background.

Is this free?

Yes. EditThisPic gives you 1 free edit per week with no account needed. If you want more edits, paid plans start at $1.99. Horror edits can take one or two attempts to get right, so having a few credits available helps.

Will the horror edit look realistic enough to actually scare someone?

Yes, with the right prompt. The AI produces photo-realistic results β€” possession effects, atmospheric horror, and shadowy figures all maintain photographic quality rather than looking like obvious filters. The most convincing edits are ones that are specific and grounded: exact eye changes, precise lighting adjustments, and carefully placed figures rather than generic 'make it scary' prompts.

What types of photos work best for scary edits?

Ordinary, well-lit photos in familiar settings produce the most effective horror β€” the contrast between the mundane original and the terrifying result is what creates the impact. Portraits, family photos, interior room shots, and outdoor candids all work well. Very dark or low-quality photos have less room for dramatic transformation.

Can I add specific horror elements like demons, ghosts, or monsters?

Yes. Describe whatever you want in the prompt: demonic figures, ghostly apparitions, shadowy creatures, horror movie lighting, cursed photo aesthetics, possessed eyes, eerie mist, or background monsters. The AI interprets natural language descriptions, so you can be as specific or as broad as you want.

Is my photo stored anywhere after I edit it?

Photos are processed to generate your edit and not stored long-term. EditThisPic doesn't build image databases from user uploads. If you create an account, you can optionally save edits to your own gallery, but that's your choice β€” not automatic.

How is this different from a regular horror filter app?

Filter apps apply one preset effect to every photo the same way. EditThisPic uses AI that reads your specific description and applies it to your specific photo β€” so you can ask for a shadowy figure in a particular corner, or possession effects only on one person in a group shot, or horror movie lighting that matches the existing room. The difference is control: you describe what you want, not which preset to pick.

Can I use this on group photos to scare just one person's face?

Yes. Describe which person you want affected: 'Give the person on the left fully black eyes and darken their skin, but leave everyone else in the photo unchanged.' The AI handles selective edits based on your description. For precision, you can also use the marker tool to tap the specific face you want changed.

How much does EditThisPic cost?

You get 1 free edit per week β€” no account needed. After that, credit packs start at $1.99 for 3 edits. Monthly plans start at $4.99/mo for 15 edits with unused credits rolling over. All edits are full resolution with no watermark.

Ready to transform your photos?

Free to try. No signup required.

1 free edit included·Credit packs from $1.99