Free • No signup Enhance Photo · Free

AI Photo Enhancer

Describe the improvement you want and AI enhances your photo instantly. No filters to adjust.

Dull blurry phone photo of a flower garden
Before
Same flower garden enhanced with vivid colors and sharp details
After

AI Photo Enhancer

Drop your photo here

or click to browse

Release to upload

Free • No signup

Advertisement
Popular use cases:
  • phone photo improvement
  • social media photo quality
  • product photo enhancement
  • real estate photo fix
  • portrait retouching
  • landscape photo improvement
  • old photo sharpening
  • compressed image recovery

Cost
Free No signup required
Time
Instant results in 15-30 seconds
Works on
Any device - browser, phone, tablet, desktop
Powered by
AI-powered photo editing
Scenario Prompt Time
General enhancement enhance this photo, sharpen and improve colors 20s
Fix blurry photo sharpen this photo and bring out fine details 25s
Professional portrait enhance portrait with better skin tones and sharp eyes 30s

How it works

  1. Upload your photo

    Drop your image into EditThisPic. JPG, PNG, WebP up to 7MB. Works with any photo that needs improvement—phone snapshots, scanned prints, screenshots, or compressed images.

    Expect: Standard enhancements: 20-30 seconds. Multi-issue fixes (blur + color + exposure): 30-45 seconds and may need refinements.
  2. Describe the enhancement you want

    Type what you need: 'enhance this photo, sharpen details and improve colors' or 'make this photo brighter and more vibrant.' Be specific about what to fix—sharpness, color, exposure, or all three. No filters or sliders needed—the AI understands natural language.

    Tip: Stack multiple improvements in one prompt: 'sharpen details, boost colors, and fix the dark shadows' gets everything done at once.

    Copy one of these to get started:

    General photo improvement enhance this photo, sharpen details, improve colors, and fix the exposure for a professional look
    Sharpen a blurry photo sharpen this photo and bring out the fine details, make it look crisp and clear
    Fix washed-out colors boost the colors in this photo to make them vibrant and rich without looking oversaturated
    Professional portrait touch-up enhance this portrait photo with better skin tones, sharper eyes, and soft professional lighting
    3 more prompts
    Landscape photo pop enhance this landscape photo with richer greens, deeper sky blue, and sharper foreground details
    Fix underexposed photo brighten this dark photo, lift the shadows, and recover the detail in the darker areas
    Social media ready enhance this photo for Instagram with punchy colors, good contrast, and a clean sharp look
  3. Review the enhancement

    Compare before and after using the slider. Check sharpness at full zoom, verify colors look natural, and ensure no artifacts were introduced. Look at faces, text, and edges for quality.

  4. Refine with markers if needed

    If specific areas need more or less enhancement—like a face that got over-sharpened or a sky that needs more color—tap markers on those spots and describe the adjustment. Most enhancements work perfectly on the first try.

    Tip: Markers are for precision refinement only. Try without them first—you usually won't need them.
Try it free

AI Photo Enhancer

Drop your photo here

or click to browse

Release to upload

Free • No signup

"I had blurry vacation photos I thought were ruined. Typed 'enhance and sharpen this photo' and the AI brought out details I didn't know were there. My phone photos look like they came from a DSLR now." @TravelSnaps_Jess

See it in action

Dull blurry phone photo of a flower garden
Before
->
Same flower garden enhanced with vivid colors and sharp details
After

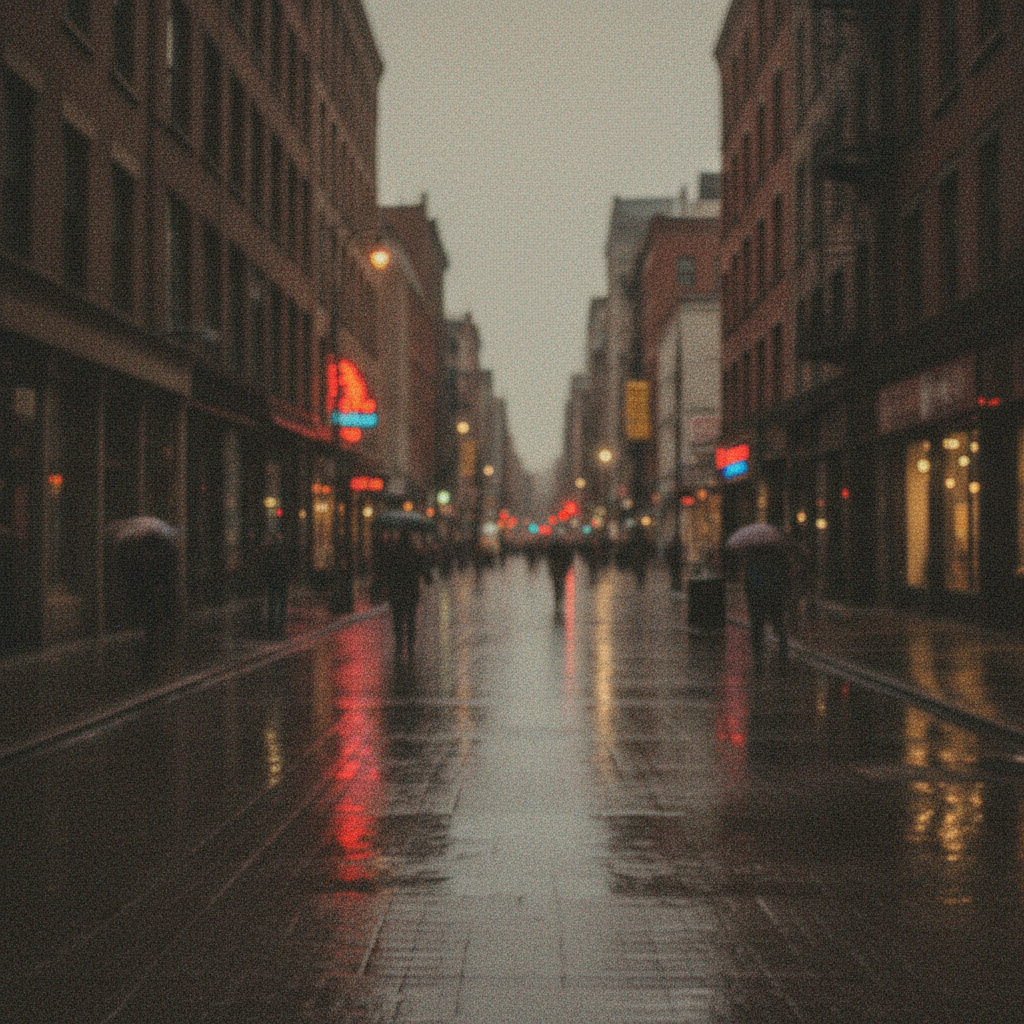
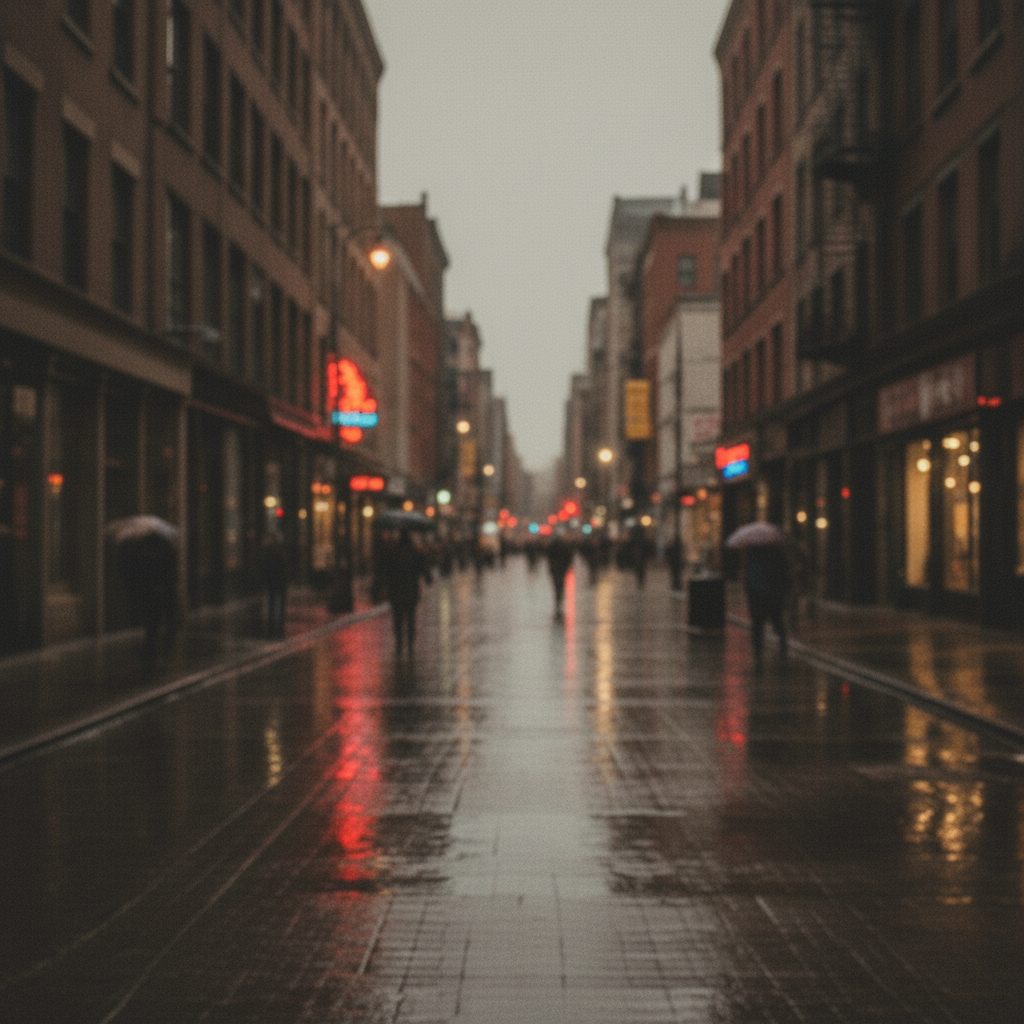
Phone snapshot to professional quality

A dull, slightly blurry phone photo enhanced to sharp, vibrant professional quality with one prompt.

Prompt: enhance this photo, sharpen details, improve colors, and fix the exposure for a professional look
Dark underexposed portrait with muddy skin tones
Before
->
Same portrait enhanced with natural skin tones and sharp details
After

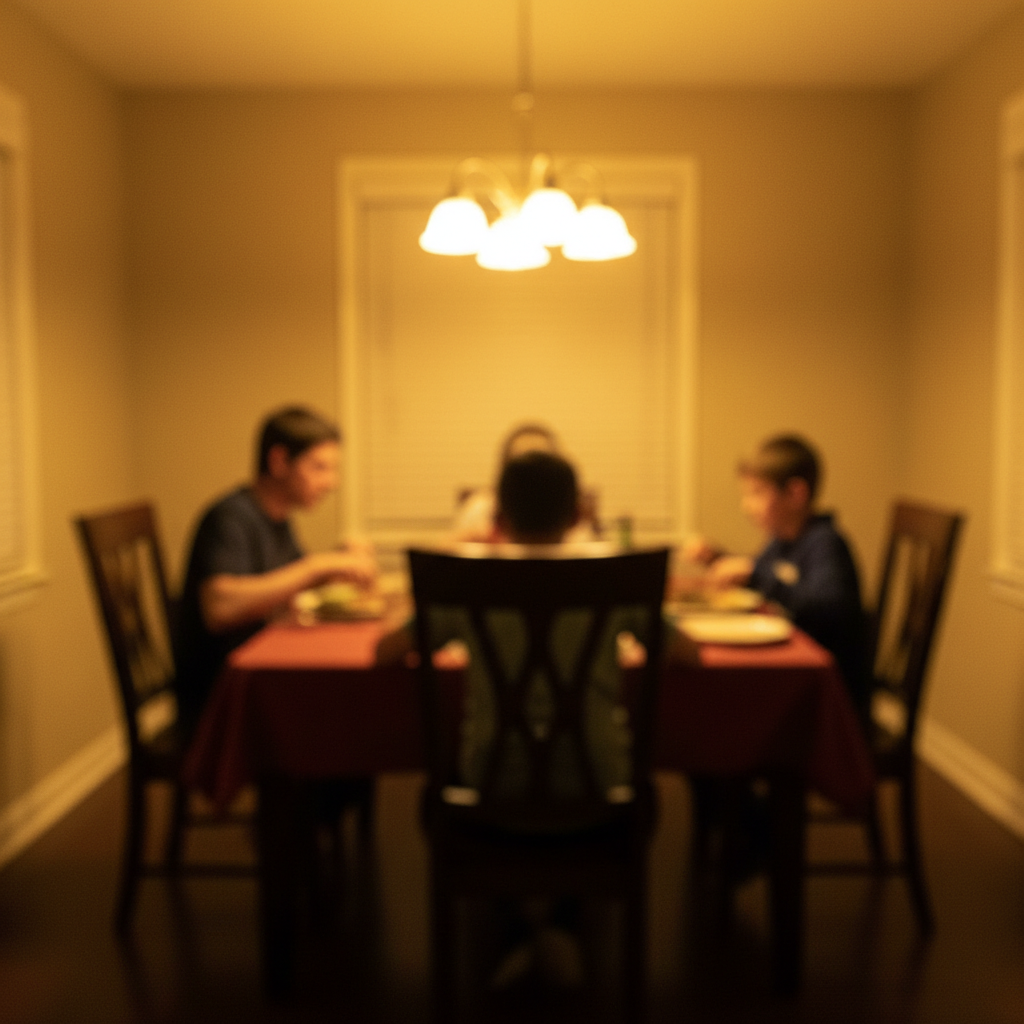
Dark portrait brightened and sharpened

An underexposed indoor portrait enhanced with better exposure, skin tones, and sharpness.

Prompt: enhance this portrait photo with better skin tones, sharper eyes, and soft professional lighting
Advertisement

If something looks off

AI changed the wrong area or something I didn't want changed

Why: The AI couldn't determine exactly which area you meant from description alone. This happens when you want selective enhancement on part of the image.

Try: Tap a marker on the specific area you want enhanced, then regenerate with the same prompt

Tip: Markers tell the AI 'I mean THIS area specifically.' Use them when description alone is ambiguous.

Photo looks over-processed or artificial

Why: The AI applied too much enhancement, pushing sharpening or color beyond natural levels. This often happens with vague prompts.

Try: enhance this photo subtly, keep it natural looking with gentle sharpening and slight color improvement

Tip: Adding 'subtle' or 'natural looking' prevents the AI from overdoing the enhancement.

Colors look oversaturated or unnatural

Why: Color boosting went too far, making skin tones orange or skies neon. This happens when the AI interprets 'vibrant' too aggressively.

Try: improve the colors in this photo but keep skin tones natural and colors realistic

Tip: Mention 'natural skin tones' explicitly when enhancing portraits to prevent color casts on faces.

Sharpening created noise or grain in smooth areas

Why: Aggressive sharpening amplifies existing noise, especially in shadow areas or uniform surfaces like sky and skin.

Try: sharpen the details in this photo while keeping smooth areas like sky and skin noise-free

Tip: Specifying 'keep smooth areas clean' tells the AI to sharpen edges without amplifying noise.

Enhancement made the photo look too bright or washed out

Why: Exposure correction lifted shadows and highlights equally, losing contrast and making the image look flat.

Try: brighten the dark areas of this photo but keep the highlights and contrast intact

Tip: 'Keep contrast intact' tells the AI to preserve the tonal range while lifting only the shadows.

Quick answers

Do I need to select areas before enhancing my photo?

No! Just describe the enhancement you want: 'sharpen this photo and improve the colors' or 'make this brighter.' The AI enhances the entire image intelligently. Only use markers if you want to enhance just one specific area—like sharpening only a face while leaving the background soft.

How do I enhance a blurry photo for free?

Upload your blurry photo to EditThisPic and type 'sharpen this photo and bring out the fine details.' The AI analyzes the image and recovers sharpness in 20-30 seconds. Works on motion blur, soft focus, and compression artifacts. Free to use, no account required.

Is there a free AI photo enhancer that doesn't require login?

Yes, EditThisPic enhances photos for free with no account needed. Upload your image, describe what you want improved, and download the enhanced result. No watermarks on outputs. Works for sharpening, color correction, exposure fixes, and overall quality improvement.

What's the best free AI tool for improving photo quality?

EditThisPic offers free AI photo enhancement with natural language prompts. Unlike apps with preset filters, you describe exactly what you want: 'sharpen details and boost colors' or 'fix the dark exposure.' This gives you precise control over the enhancement without adjusting sliders. No signup or watermarks.

Ready to enhance your photos?

Free to try. No signup required.

Try it free