AI Photo Editor for Reverb Photos
Turn messy studio shots into professional Reverb listings. Remove reflections, enhance fret details, clean backgrounds.

Drop your photo here
or click to browse
Release to upload
Free • No signup
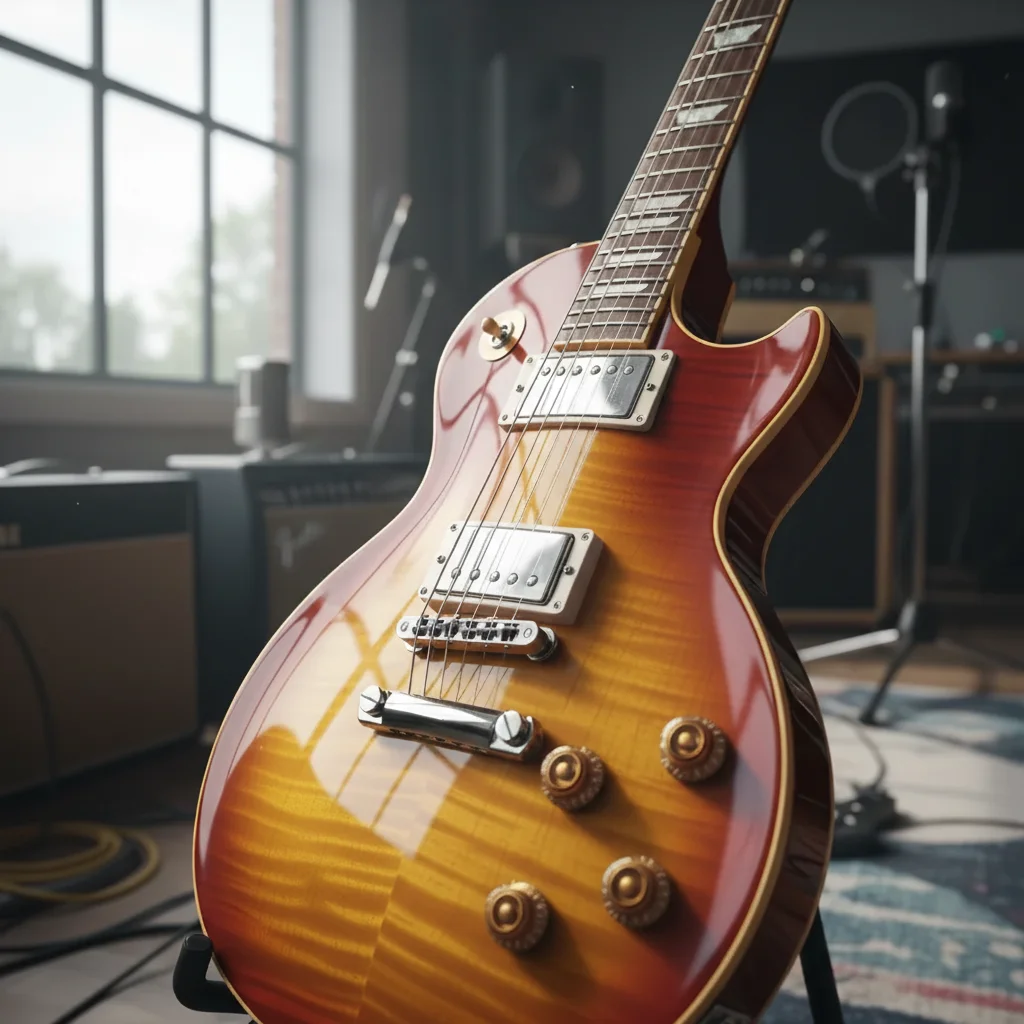
"Reflections on my Les Paul made it look cheap in photos. One prompt gave me clean, professional shots that show the actual flame maple. My Reverb listings sell faster now." @VintageGuitarDealer
Built for Reverb Sellers
Reverb buyers need to see exact condition—every scratch, every fret wear mark, every finish detail. Reflections and messy backgrounds distract from what matters. EditThisPic removes reflections from glossy finishes, enhances critical details like fret condition, and cleans up studio clutter. Show honest condition in professional-looking photos.
Tools Music Gear Sellers Use Most
Remove Reflection
Clean reflections from glossy guitar finishes, polished brass, chrome hardware
Enhance Details
Show fret wear, finish checking, hardware condition clearly
Blur Background
Keep the instrument sharp while cleaning up messy studio background
Remove Background
Replace cluttered studio with clean white or neutral background
Create Professional Reverb Listing Photos
-
Upload your gear photo
Drop your instrument or gear image into EditThisPic. JPG, PNG, WebP up to 7MB. Phone photos work great if you have decent lighting. Natural window light is ideal for showing true finish color and condition.
Simple edits like background blur: 15-20 seconds. Reflection removal on complex finishes: may need 2-3 refinements for perfect results. -
Describe what you want to fix
Type 'remove reflections from guitar body and show true finish' or 'blur messy studio background behind the amplifier.' The AI understands music gear terminology. Be specific about what to preserve: 'show all fret wear and dings accurately' ensures honest condition photos.
For vintage gear, add 'preserve natural aging and patina' to keep authentic vintage character visible. -
Review details at full zoom
Zoom in to check critical areas: fret condition, finish checking, serial numbers, wear patterns. Verify reflections are gone and true finish color is visible. Check that all honest wear is still shown—buyers need to see real condition.
Compare before/after to ensure no condition details were accidentally enhanced or hidden. -
Refine specific areas if needed
If reflections remain in some spots or edge details need work, tap markers on those areas and regenerate. Complex finishes like flame maple or sunburst sometimes need edge refinement. Most gear photos work perfectly on first try.
For intricate hardware (tuners, bridges), tap markers on those areas to preserve fine details during background cleanup.
Copy-Paste Prompts for Music Gear
remove reflections from guitar body, show true finish color and wood grain clearly
This is the most common Reverb photo fix. Works on Les Pauls, Strats, glossy acoustics.
enhance details to show fret condition, fret wear, and honest instrument condition accurately
Critical for used gear. Buyers need to see real wear—this makes details visible without hiding damage.
blur messy studio background with cables and gear, keep the instrument sharp and in focus
Keeps your gear sharp while hiding the cluttered studio behind it. Fast and natural-looking.
replace background with clean neutral gray backdrop, preserve vintage patina and aging, professional vintage dealer look
Gray works better than white for vintage gear. Feels authentic and doesn't compete with the instrument.
Show 3 more prompts
remove reflections from synthesizer panel and keys, show accurate LED colors and panel graphics
Adding 'preserve LED colors' keeps vintage synth displays and indicator lights accurate.
replace background with pure white studio backdrop, enhance pedal graphics and condition details
White works well for pedals and small gear. 'Enhance graphics' keeps custom art and logos sharp.
remove reflections from amplifier tolex and chrome hardware, show true condition and wear
Tolex and chrome both pick up reflections. This cleans them while preserving honest condition.
| Edit Type | Prompt | Time | |
|---|---|---|---|
| Remove reflections | remove reflections from guitar body, show true finish color |
20s | Try This → |
| Enhance details | enhance details to show fret condition accurately |
15s | Try This → |
| Clean background | blur messy studio background, keep instrument sharp |
15s | Try This → |
| Neutral backdrop | replace background with clean neutral gray, vintage gear style |
20s | Try This → |
Real Reverb Photo Examples
Les Paul reflections removed
Gibson Les Paul with heavy window reflections on glossy finish. One prompt revealed the true flame maple and sunburst color.
remove reflections from guitar body, show true finish color and wood grain clearly
Vintage Strat with enhanced fret detail
Well-worn Fender Stratocaster. Enhanced to show honest fret wear and finish checking—critical for vintage buyers.
enhance details to show fret condition, fret wear, and honest instrument condition accurately
Common Music Gear Photo Issues
Reflections still visible on glossy finish after first attempt
Why: Complex reflections on curved surfaces or highly reflective finishes sometimes need refinement. The AI may have preserved some for realism.
remove all reflections from guitar body completely, show perfectly clean glossy finish
Adding 'completely' or 'all reflections' tells the AI to be more aggressive. May need markers on stubborn spots.
Fret wear or scratches look too enhanced or unnatural
Why: Heavy detail enhancement can exaggerate wear. The AI amplified texture across the whole instrument.
enhance fret condition details moderately, preserve natural appearance and accurate wear
Use 'moderately' or 'subtle enhancement' for more natural-looking detail boost.
Background blur made the instrument edges soft too
Why: The AI couldn't distinguish the instrument edge from the background, especially on dark instruments against dark backgrounds.
blur only the background behind the instrument, keep the entire instrument perfectly sharp
Tap markers on the instrument body areas that went soft, then regenerate.
Finish color looks different after reflection removal
Why: Removing heavy reflections changes how colors appear. The original color was influenced by the reflection's brightness.
remove reflections from guitar body, preserve original accurate finish color exactly
If color still drifts, add 'vintage tobacco sunburst' or your specific finish name to the prompt.
Serial number or small text on headstock is blurry
Why: The AI over-smoothed during background processing. Small text is vulnerable to blur.
replace background with clean neutral gray, preserve all headstock text and serial numbers with maximum sharpness
Shoot serial numbers at higher resolution when possible. Sharper source = better preservation.
AI changed the wrong area or affected the instrument itself
Why: The AI couldn't determine exactly which area you meant from description alone. This happens with ambiguous requests.
Tap a marker on the specific area you want to change, then regenerate with the same prompt
Markers tell the AI 'I mean THIS area specifically.' Essential for complex finishes or mixed materials.
Reverb Seller Questions
Do I need to mark the reflection or background before describing?
No! Just type 'remove reflections from guitar body' and the AI handles it. EditThisPic understands what 'reflection' and 'background' mean without any selection. Only use markers if you need precision—like preserving specific hardware details during background cleanup, or targeting stubborn reflection spots after your first attempt.
Will this hide honest wear and condition issues?
No. EditThisPic removes reflections, clutter, and distractions—not condition issues. When you use prompts like 'enhance details to show fret condition accurately,' it makes wear MORE visible, not less. The goal is honest, clear photos that show true condition without distractions. Always compare before/after to verify condition is preserved.
How do I handle reflections on curved glossy finishes like Les Pauls?
Start with 'remove reflections from guitar body, show true finish color.' Curved glossy finishes are tricky and may need 2-3 refinements. If reflections remain after first try, tap markers on those spots and regenerate. Adding 'completely' to your prompt makes the AI more aggressive: 'remove all reflections completely from guitar finish.'
What's the best way to photograph guitars for Reverb to get clean edits?
Natural window light works best—indirect daylight near a window without direct sun. Avoid overhead lights that create harsh reflections. Shoot against a simple, uncluttered background if possible. Even messy backgrounds can be cleaned, but simple backgrounds make edits faster and more accurate.
Can I use phone camera photos or do I need professional equipment?
Phone photos work great. The key is good lighting when you shoot—natural daylight near a window is ideal. The AI can remove reflections, clean backgrounds, and enhance details, but it cannot fix extremely blurry or dark originals. If you can see the details clearly on your phone screen, EditThisPic can work with it.
Is EditThisPic's AI photo editor for reverb photos really free?
Yes — you get 1 free edit per week, no account needed. For unlimited edits, plans start at $3.99/month.
Can I reverb photos on my phone?
Yes. EditThisPic works in any mobile browser — iPhone, Android, tablet. No app download needed.
What photo formats does the AI photo editor for reverb photos support?
JPG, PNG, WebP, and HEIC. Upload any common photo format and EditThisPic handles the rest.
Ready to upgrade your Reverb listings?
Free to try. No signup required. Show your gear's true condition.
Start Editing