AI Photo Relighter
← Browse all creative effectsLast updated
Just describe the lighting you want and AI relights your entire photo.
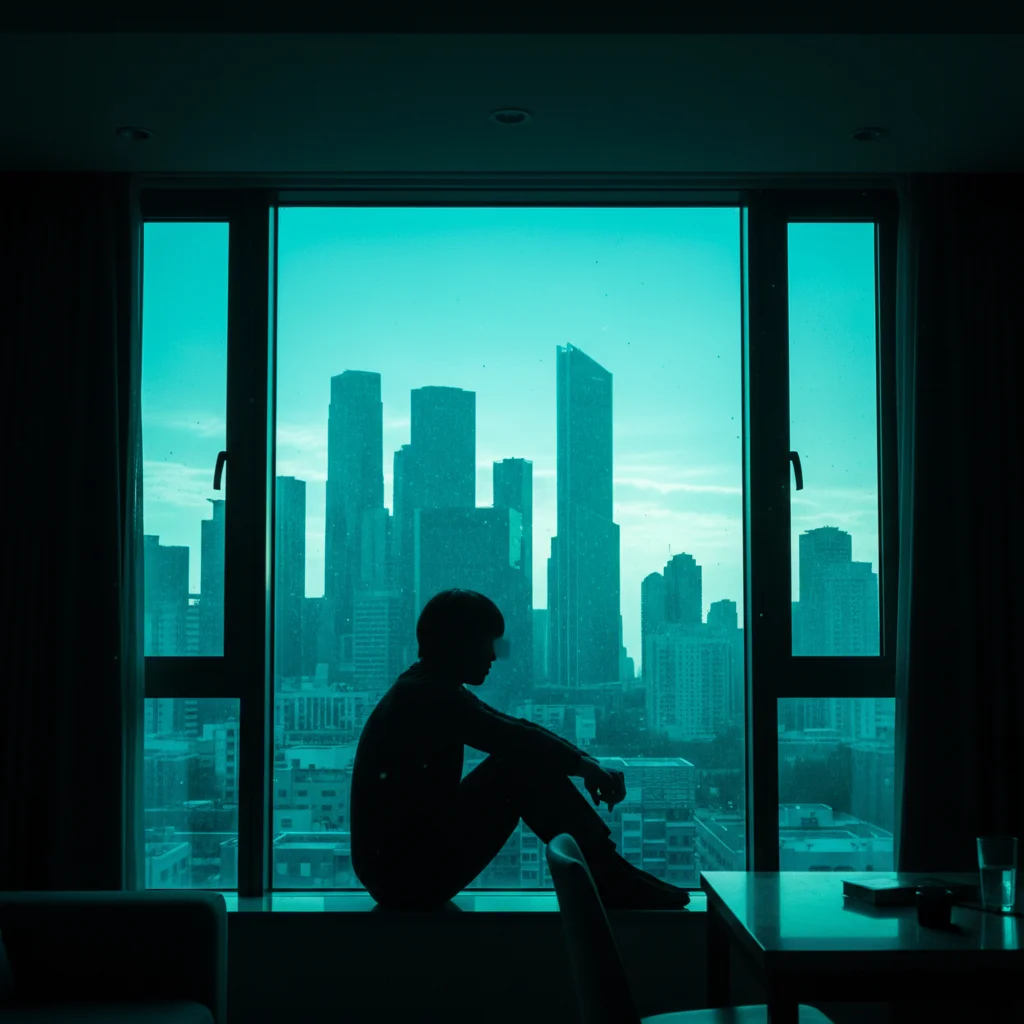
Upload photo to relight photo lighting
"relight with soft diffused window light from upper right, gentle shadows and natural flattering glow"
Release to upload
50,000+photos edited
<30stypical edit
1 freeedit weekly
How it works
See it in action

Flat Portrait to Dramatic Lighting
Evenly-lit selfie with no direction or drama. One prompt added cinematic side lighting with strong shadows and dimension.
Prompt:
add dramatic side lighting from the left with strong shadows and highlighted edges, cinematic portrait look

Product Photo Studio Lighting
Product shot with basic lighting. AI added professional studio spotlight with dark background and focused highlight.
Prompt:
relight with focused studio spotlight from above, dark dramatic shadows and bright central highlight
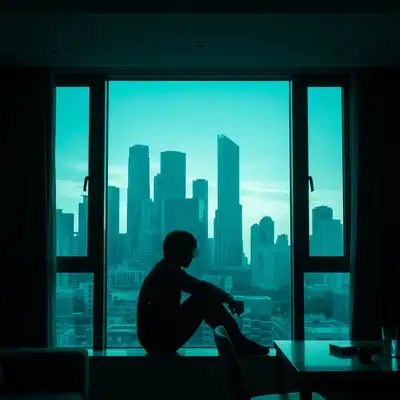
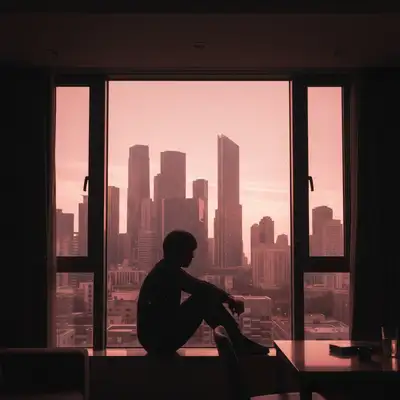
Add Window Light to Portrait
Indoor photo with overhead lighting. AI added soft natural window light from the side for a flattering professional look.
Prompt:
relight with soft diffused window light from upper right, gentle shadows and natural flattering glow
Quick answers
Popular use cases
Ready to edit your photos?
Free to try. No signup required.