Free β€’ No signup Simulate Portrait mode Β· Free

AI Portrait Mode Simulator

Just describe what you want - the AI creates professional portrait mode blur.

Regular outdoor portrait with everything in focus
Before
β†’
Portrait with simulated portrait mode showing blurred background
After

Simulate Portrait Mode from Photo

Upload photo to simulate portrait mode

Free β€’ Results in 30 seconds β€’ No signup

Release to upload

FreeNo signupNo watermark
Popular use cases:
  • iPhone portrait mode
  • DSLR depth of field
  • professional headshots
  • product photography
  • social media portraits
  • pet photography
  • bokeh backgrounds
  • profile pictures

Cost
Free No signup required
Time
Instant results in 15-30 seconds
Works on
Any device - browser, phone, tablet, desktop
Powered by
AI-powered photo editing
Scenario Prompt Time
Basic portrait mode add portrait mode blur effect with the person in sharp focus and background naturally blurred 15s
Dramatic bokeh create dramatic bokeh blur in the background like f/1.4 aperture while keeping the subject sharp 20s
Subtle depth add subtle depth of field blur to background, keep subject crisp like shot on professional camera 15s
Product depth simulate portrait mode for product photo with item in focus and surroundings softly blurred 20s

How it works

  1. Upload your photo

    Drop any photo into EditThisPic. Works best with clear subjects against distinct backgrounds - portraits, product shots, or pet photos. Supports JPG, PNG, WebP up to 7MB.

    Expect: Simple portraits: 15-30 seconds for natural bokeh. Complex scenes with multiple subjects: may need 1-2 refinements for perfect focus.
  2. Describe what you want

    Type your instruction: 'add portrait mode blur with subject in sharp focus and blurred background' or 'simulate DSLR depth of field effect.' Be specific about how strong the blur should be - subtle, medium, or dramatic. No marking needed - the AI identifies your subject automatically.

    Tip: For best results, specify the blur intensity: 'add subtle portrait mode blur' or 'create dramatic bokeh background blur like f/1.4 aperture'

    Copy one of these to get started:

    Classic portrait mode effect add portrait mode blur effect with the person in sharp focus and background naturally blurred
    Dramatic bokeh background create dramatic bokeh blur in the background like f/1.4 aperture while keeping the subject sharp
    Subtle professional depth add subtle depth of field blur to background, keep subject crisp like shot on professional camera
    Product photography depth simulate portrait mode for product photo with item in focus and surroundings softly blurred
    2 more prompts
    Pet portrait mode add portrait mode effect with the dog in sharp focus and background blurred like iPhone portrait mode
    Cinematic depth blur create cinematic depth of field with strong background blur and subject in perfect focus like f/1.2 lens
  3. Generate and review

    Click Generate and watch the AI apply natural depth-of-field blur. Check that your subject stays sharp while the background blurs naturally. Zoom in to verify edges around hair or complex details look realistic.

  4. Refine with markers if needed

    If the AI blurred your subject or kept the wrong areas sharp, tap markers to indicate 'keep this sharp' or 'blur this area' and regenerate. This is optional - most portrait mode effects work perfectly without markers.

    Tip: Markers are for precision refinement on complex subjects. Try without them first - the AI usually gets it right.
Try it free ↓

Simulate Portrait Mode from Photo

Upload photo to simulate portrait mode

Free β€’ Results in 30 seconds β€’ No signup

Release to upload

Free β€’ No signup

"Made my phone photo look like it was shot on a professional camera. The blur looks so natural!" @photo_enthusiast

See it in action

Regular outdoor portrait with everything in focus
Before
->
Portrait with simulated portrait mode showing blurred background
After

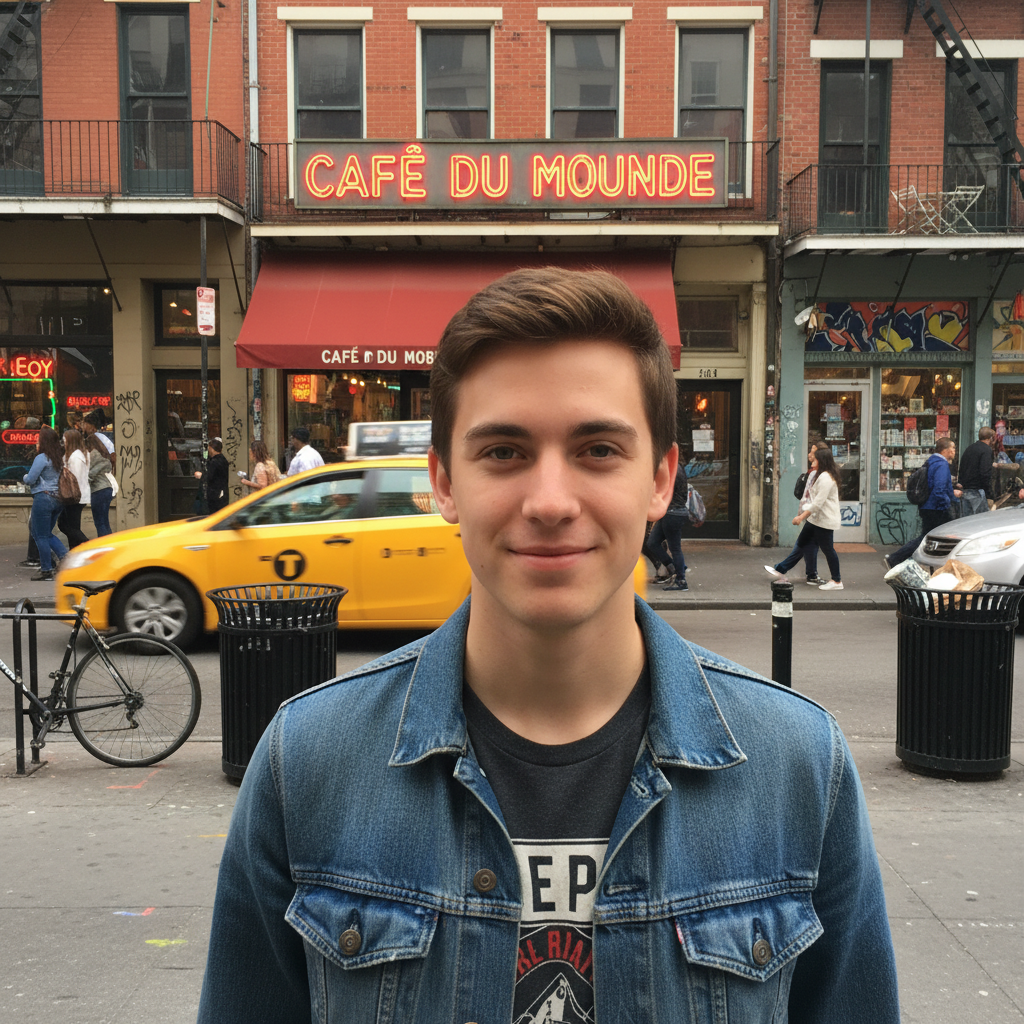
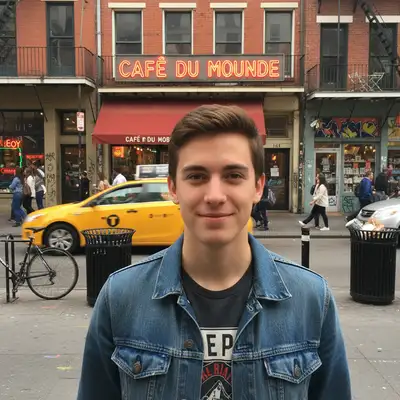
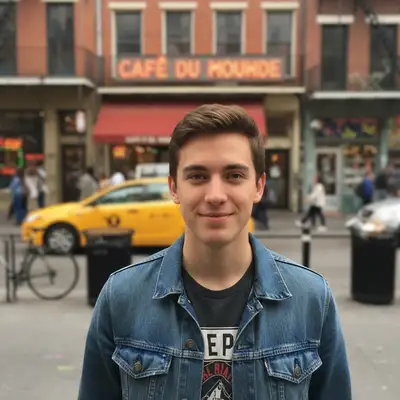
Portrait with Natural Bokeh

Transformed a regular outdoor portrait into a professional-looking shot with smooth background blur and the subject in sharp focus.

Prompt: add portrait mode blur effect with the person in sharp focus and background naturally blurred
Product photo with all elements in sharp focus
Before
->
Product photo with portrait mode depth blur on background
After

Product Photo with Depth

Added professional depth-of-field to a product shot, making the item stand out with a beautifully blurred background.

Prompt: simulate portrait mode for product photo with item in focus and surroundings softly blurred

Detailed Guides by Scenario

πŸ“·

Design Visualization

Preview portrait mode changes on your actual photo before committing β€” make confident design decisions backed by visuals.

Common Scenarios

  • Simulating portrait mode on a room, outfit, or space to evaluate the look
  • Creating client-ready mockups that visualize portrait mode in their specific context
  • Comparing multiple portrait mode options side by side using the same source photo

Best Practices

  • Upload a clear, well-lit photo from the angle you'd naturally view the subject
  • Be specific about the portrait mode β€” color, material, size, and placement all matter
  • Generate 2-3 variations to have meaningful options to compare
πŸ“·

Professional Proposals

Win client approval with realistic portrait mode previews that show exactly what the finished result will look like.

Common Scenarios

  • Building a presentation deck with portrait mode visualizations for a client pitch
  • Showing stakeholders portrait mode options before ordering materials or starting work
  • Creating before-and-after comparisons of portrait mode for a project proposal

Best Practices

  • Use the client's own photos for the most persuasive previews
  • Label each option clearly (Option A, B, C) for easy discussion
  • Note that portrait mode previews are approximations β€” set expectations about final results
πŸ“·

Personal Decision-Making

Try before you buy β€” preview portrait mode on your own photos to make smarter purchasing and lifestyle decisions.

Common Scenarios

  • Previewing portrait mode before making an expensive purchase
  • Testing how portrait mode looks in your actual space or on your actual person
  • Sharing portrait mode previews with family or friends to get opinions before deciding

Best Practices

  • Upload a photo of the actual space/item/person β€” generic stock images won't help you decide
  • Try the most different options first (bold vs. subtle) to narrow down your portrait mode preference
  • Save each preview so you can flip between them when comparing

If something looks off

AI blurred the subject instead of the background

Why: The AI couldn't determine which element was the intended subject from description alone. This happens when there are multiple focal points or the subject isn't clearly defined.

Try: Tap a marker on your subject's face or main focal point, then regenerate with the same prompt to tell the AI 'keep THIS sharp'

Tip: Markers tell the AI 'this is the subject.' Use them when your photo has multiple people or complex composition.

Background blur looks artificial or too strong

Why: The AI applied too much blur or created unnatural transitions. This can happen when you request 'dramatic' effects without specifying gradual falloff.

Try: Try 'add subtle portrait mode blur with natural bokeh transition' or specify a less extreme aperture like 'f/2.8' instead of 'f/1.4'

Tip: Start with subtle blur and increase gradually. It's easier to add more blur than to reduce overly dramatic effects.

Edges around hair or subject look weird

Why: Complex edges like hair are challenging for depth estimation. The AI struggles to separate fine details from the background.

Try: Tap markers along the problematic edges showing where to maintain sharpness, then regenerate. Or try 'add portrait mode with natural edge blending around hair'

Tip: For complex hair or transparent elements, photos with simpler backgrounds work better than busy, detailed backgrounds.

No visible depth effect or blur is too weak

Why: The AI applied minimal blur, possibly because your photo already had some depth or the instruction wasn't specific enough about blur strength.

Try: Be more explicit: 'create strong portrait mode blur like iPhone portrait mode' or 'add dramatic depth of field with very blurred background'

Tip: Reference specific apertures (f/1.4, f/1.8) or camera types (iPhone portrait mode, DSLR f/2.8) to guide blur intensity.

Quick answers

Do I need to mark the subject before describing?

No! Just describe what you want: 'add portrait mode blur with person in focus' or 'simulate depth of field on product.' The AI automatically detects your subject. Only use markers if the AI can't tell which element should stay sharp - like photos with multiple people or complex scenes.

How do I simulate iPhone portrait mode on any photo?

Upload your photo and type 'add portrait mode blur effect like iPhone portrait mode with subject in sharp focus.' The AI replicates the same depth-of-field blur that iPhone cameras create, making regular photos look professionally shot. Works on photos from any camera or phone.

Can I control how blurred the background gets?

Yes. Specify blur intensity in your prompt: 'subtle blur' for natural depth, 'dramatic blur' for strong bokeh, or reference aperture values like 'blur like f/1.4' for maximum blur or 'f/4' for moderate blur. The AI adjusts the depth effect accordingly.

What's the best free tool to add portrait mode blur to existing photos?

EditThisPic's AI Portrait Mode Simulator is completely free with no signup required. Unlike manual blur tools that need precise masking, just describe the effect you want and the AI handles subject detection and natural blur gradients automatically. Works on portraits, pets, and products.

Is EditThisPic's AI portrait mode simulater really free?

Yes β€” you get 1 free edit per week, no account needed. For unlimited edits, plans start at $3.99/month.

What photo formats does the AI portrait mode simulater support?

JPG, PNG, WebP, and HEIC. Upload any common photo format and EditThisPic handles the rest.

How long does it take to simulate portrait mode?

Usually 15-30 seconds. Upload your photo, describe what you want, and the AI delivers the result.

Do I need to create an account to simulate portrait mode?

No. You can try your first edit without signing up. An account is only needed to save edits and manage a subscription.

Ready to edit your photos?

Free to try. No signup required.