Free • No signup Open Editor

Remove Mole from Photo

Clean skin in seconds. Just tap the spot and describe - no selection tools needed.

Tap a marker on the mole you want removed and type 'clean smooth skin matching the surrounding area.' EditThisPic's AI seamlessly blends the spot away in 10-20 seconds. Works on portraits, selfies, and professional headshots. The result looks natural because the AI matches skin tone and texture. Free to try, no account needed.

Professional headshot with visible dark mole on right cheek
Before
Same headshot with clean smooth skin where mole was removed
After

How it works

1

Upload your photo

Drop your portrait into EditThisPic. JPG, PNG, or WebP up to 7MB. Higher resolution photos give better skin texture matching, so use the original if you have it.

⏱ Simple mole removal: 10-20 seconds. Multiple spots or tricky areas near eyes/lips: may need 2-3 refinements.
2

Tap the mole and describe

Tap directly on the mole to place a marker, then type 'remove the mole and replace with clean smooth skin.' For moles in specific locations, be precise: 'remove the mole on my left cheek and blend with surrounding skin.' The AI needs to know exactly which spot to fix.

💡 For the most natural result, add 'matching the surrounding skin tone and texture' to your prompt.

Copy one of these to get started:

Standard mole removal on face remove the mole and replace with clean smooth skin matching the surrounding area
Mole near the eye or delicate area carefully remove the mole near my eye and blend with the natural skin, preserving the eye area
Multiple moles to remove remove all visible moles and replace with smooth natural skin matching the surrounding texture
Professional headshot retouching remove the mole for a polished professional headshot, keep skin texture natural and realistic
2 more prompts
Raised or textured mole remove the raised mole and blend to flat smooth skin matching the surrounding area
Mole on neck or body remove the mole on my neck and replace with matching skin tone and texture
3

Review the result

Zoom in to check the retouched area. Look for consistent skin texture and color matching. The edit should be invisible - no blurry patches, no obvious smoothing, no color mismatch.

4

Touch up if needed

If the skin texture looks slightly off or there's a visible edge, tap that specific spot and regenerate. Most mole removals work perfectly on the first try since the AI only needs to match a small area of skin.

💡 If removing multiple moles, do them one at a time for best results. Each pass lets the AI focus on matching one area precisely.
Try it free
"Finally got my headshot looking polished without expensive retouching. The mole on my cheek is gone and you can't even tell." @sarah_portraits

See it in action

Professional headshot with visible dark mole on right cheek
Before
Same headshot with clean smooth skin where mole was removed
After

Professional headshot cleanup

A corporate headshot with a prominent dark mole on the cheek. One prompt created clean, natural-looking skin.

Prompt: remove the mole and replace with clean smooth skin matching the surrounding area
Casual selfie with small mole visible on jawline
Before
Same selfie with smooth skin after mole removal
After

Selfie touch-up

A casual selfie with a small mole near the jawline. Quick removal for social media posting.

Prompt: remove the small mole near my jaw and blend with natural skin texture
Portrait with mole visible below left eye
Before
Portrait with natural skin after careful mole removal near eye
After

Delicate removal near eye

A portrait with a mole positioned near the eye. Careful prompt preserved the eye area while removing the spot.

Prompt: carefully remove the mole near my eye and blend with the natural skin, preserving the eye area

If something looks off

The skin looks blurry or too smooth after removal

Why: The AI over-smoothed the area, losing natural skin texture. This often happens with generic prompts.

Try: remove the mole and keep the natural skin texture and pores visible, not airbrushed

💡 Adding 'keep natural texture' or 'not airbrushed' prevents the plastic-skin look.

There's a visible color patch where the mole was

Why: The AI didn't perfectly match the surrounding skin tone, creating a noticeable lighter or darker spot.

Try: blend the area to match the exact skin tone around it, no visible color difference

💡 Tap directly on the mismatched patch and regenerate with a blending prompt.

The AI removed the wrong spot or changed other features

Why: Without a marker, the AI guessed which mole you meant. Or the description was ambiguous.

Try: Tap a marker directly on the mole you want removed, then regenerate with the same prompt

💡 Markers tell the AI 'I mean THIS spot specifically.' Always tap the exact mole first.

Edge artifacts or visible outline where mole was

Why: The blend between edited area and original skin isn't seamless, leaving a visible boundary.

Try: smooth and blend the edges around the removed mole to match surrounding skin seamlessly

💡 Place your marker slightly wider than the original mole to give the AI more blending room.

Quick answers

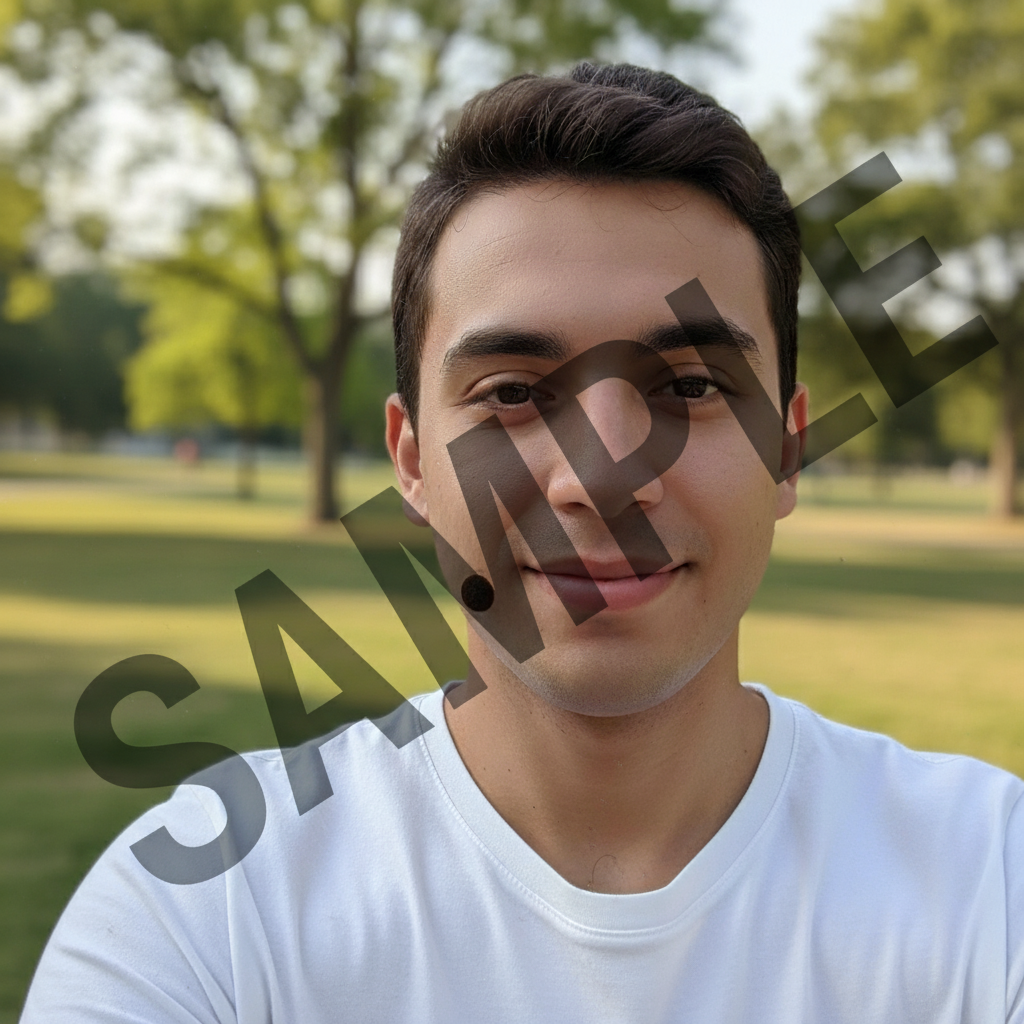
Do I need to mark the mole before describing what I want?

Yes - for mole removal, tap directly on the mole first. Unlike background changes where the AI knows what 'background' means, the AI needs you to show exactly which spot to fix. One tap creates a marker, then describe the edit.

Will the result look natural or obviously edited?

When done correctly, mole removal is undetectable. The AI matches surrounding skin tone, texture, and lighting. Zoom in to check - you should see natural pores and skin texture, not a smooth patch.

Can I remove multiple moles at once?

Yes - tap each mole to place markers on all of them, then use a prompt like 'remove all marked moles and replace with smooth natural skin.' For best results on faces with many moles, consider doing 2-3 at a time.

What about moles near eyes, lips, or other features?

These work well but need careful prompting. Add 'preserving the eye/lip area' to your prompt. The AI understands to be precise around delicate features. May take one refinement pass.

Ready to remove that mole?

Free to try. No signup required.

Try it free