Free • No signup Slim Waist · Free

AI Waist Slimmer

Describe how you want your waist to look and AI adjusts it naturally. No marking needed.

Woman in bright red dress with natural waist
Before
Same woman with 2-inch slimmer, more defined waist
After

AI Waist Slimmer

Drop your photo here

or click to browse

Release to upload

Free • No signup

Advertisement
Popular use cases:
  • outfit photos
  • social media selfies
  • dating profile pictures
  • before and after fitness
  • event photography
  • fashion lookbooks
  • online shopping photos
  • body positivity editing

Cost
Free No signup required
Time
Instant results in 15-30 seconds
Works on
Any device - browser, phone, tablet, desktop
Powered by
AI-powered photo editing
Scenario Prompt Time
Subtle definition (1-2 inches) slim the waist by 1-2 inches 30s
Moderate slimming (3 inches) make the waist 3 inches slimmer 35s
Hourglass enhancement slim the waist to create an hourglass figure 40s

How it works

  1. Upload your photo

    Drop your image into EditThisPic. JPG, PNG, WebP up to 7MB. Full body or upper body photos work best. Make sure the waistline is clearly visible in the photo.

    Expect: Simple waist adjustments: 30-40 seconds. Major reshaping: 45-60 seconds and may need refinements for natural proportions.
  2. Describe the waist change

    Type what you want: 'slim the waist by 2 inches' or 'make the waist more defined and fitted.' Be specific about how much adjustment you want. No marking needed—the AI understands what 'waist' means and where it is on the body.

    Tip: Specify amounts like '2 inches slimmer' or 'slightly more defined' for predictable results. Avoid extreme changes for the most natural look.

    Copy one of these to get started:

    Subtle waist definition slim the waist by 1-2 inches to create a more defined silhouette
    Moderate waist reduction make the waist slimmer and more fitted, reducing by about 3 inches
    Hourglass shape enhancement slim the waist to create an hourglass figure with defined curves
    Targeted side adjustment reduce the waist on both sides evenly, making it 2 inches slimmer overall
    3 more prompts
    Dress fit improvement slim the waist so the dress looks more fitted and tailored
    Natural waist toning make the waist appear more toned and athletic, slightly slimmer
    Post-meal photo fix flatten and slim the waist area to reduce any bloating appearance
  3. Review the result

    Check that the waist adjustment looks natural and proportional to the rest of the body. Look for smooth curves, realistic clothing fit, and proper body symmetry. Zoom in on the waistline and hips.

  4. Refine with markers if needed

    If the AI adjusted the wrong area or if you want to fine-tune specific sides, tap markers on those spots and regenerate. Most waist adjustments work perfectly on the first try.

    Tip: Markers are for precision refinement only. Try without them first—you usually won't need them.
Try it free

AI Waist Slimmer

Drop your photo here

or click to browse

Release to upload

Free • No signup

"I use this before posting outfit photos online. Just a subtle waist slim makes such a difference in how clothes look. Takes 30 seconds and looks completely natural." @StyleByJess
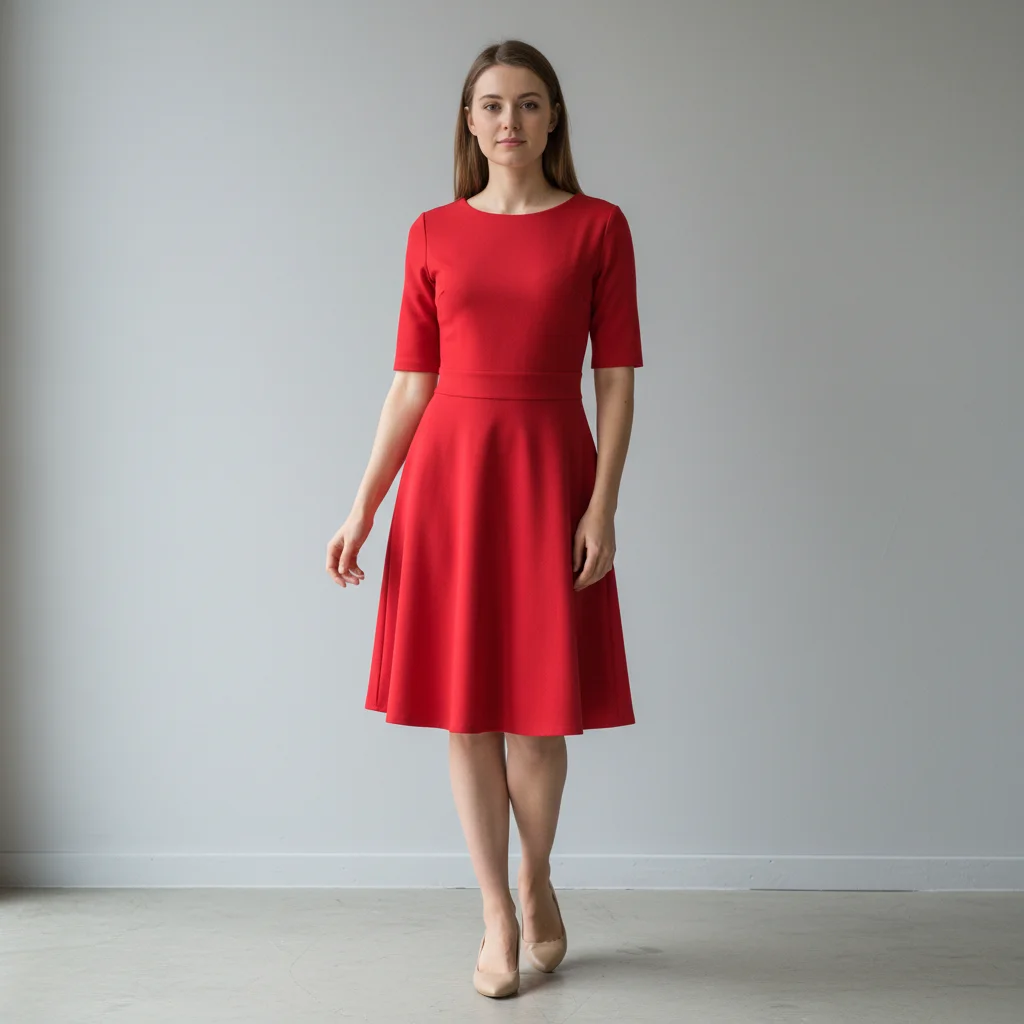
See it in action

Woman in bright red dress with natural waist
Before
->
Same woman with 2-inch slimmer, more defined waist
After

Subtle waist definition in dress

A casual dress photo enhanced with subtle waist slimming for a more defined silhouette.

Prompt: slim the waist by 1-2 inches to create a more defined silhouette
Woman in turquoise top with natural proportions
Before
->
Same woman with enhanced hourglass waist definition
After

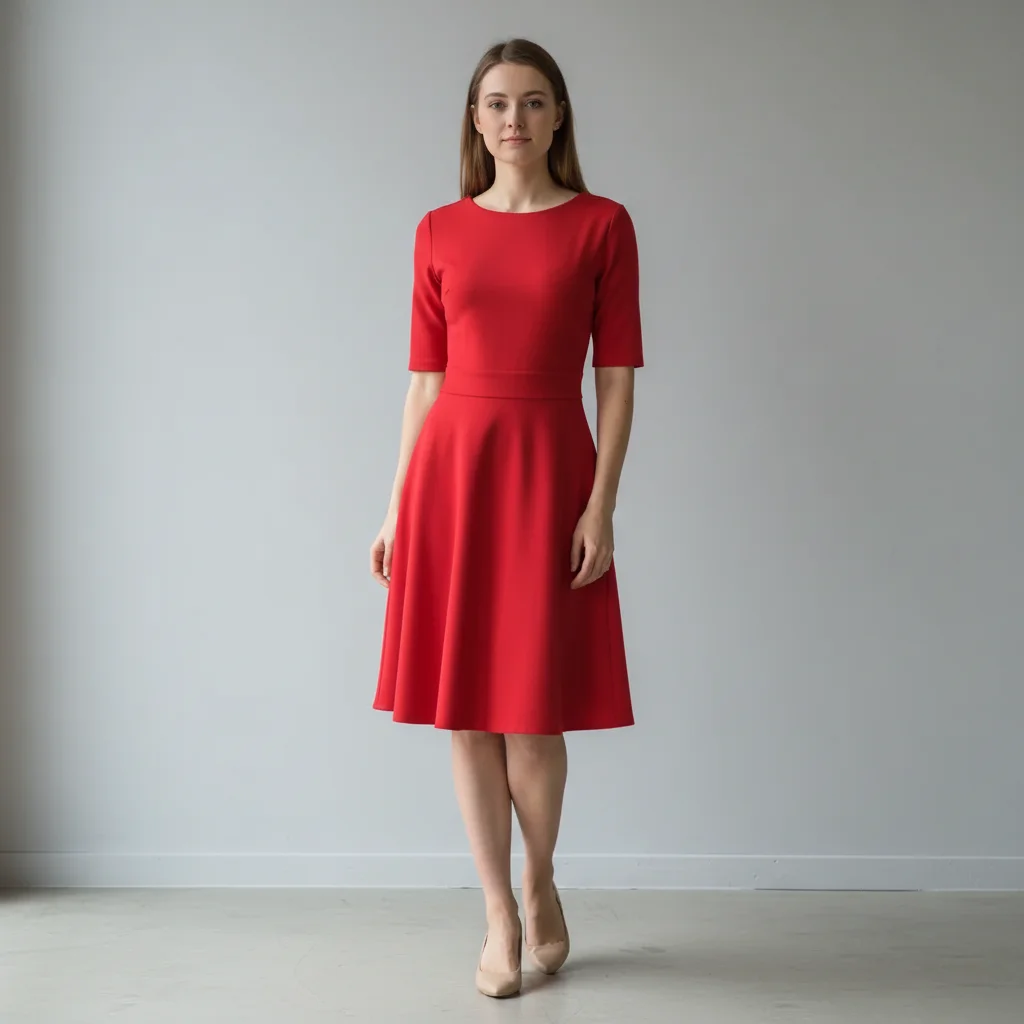
Hourglass figure enhancement

A fitted outfit transformed with waist slimming to create a more pronounced hourglass shape.

Prompt: slim the waist to create an hourglass figure with defined curves
Woman in yellow athletic wear with natural waist
Before
->
Same woman with more toned, defined athletic waist
After

Athletic waist toning

A fitness photo enhanced with waist slimming for a more toned, athletic appearance.

Prompt: make the waist appear more toned and athletic, slightly slimmer
Advertisement

If something looks off

AI changed the wrong area or adjusted hips instead of waist

Why: The AI couldn't determine exactly which part of the midsection you meant from description alone. This happens when the body position is angled or when clothing obscures the waistline.

Try: Tap a marker directly on the waist area (narrowest part between ribs and hips), then regenerate with the same prompt

Tip: Markers tell the AI 'I mean THIS exact area.' Use them when body position is not front-facing.

Waist looks unnatural or disproportionate

Why: The adjustment was too extreme relative to the rest of the body, or the AI over-corrected based on the prompt.

Try: Use a more moderate adjustment: 'slim the waist by just 1-2 inches for a natural look'

Tip: Start with subtle changes. You can always run a second edit to slim more if needed.

Clothing wrinkles or patterns look distorted

Why: The AI reshaped the body without properly adjusting the clothing texture and patterns to match.

Try: slim the waist while maintaining natural fabric wrinkles and clothing patterns

Tip: Mentioning 'natural fabric' tells the AI to preserve clothing details during reshaping.

One side of waist looks different from the other

Why: The AI adjusted asymmetrically, often because the original photo had uneven lighting or body angle.

Try: slim the waist evenly on both sides to maintain body symmetry

Tip: 'Both sides evenly' or 'symmetrically' ensures balanced results.

Background or nearby objects got warped

Why: The AI's reshaping affected not just the body but also pixels in the background near the waist area.

Try: slim the waist while keeping the background straight and undistorted

Tip: This is more common with busy backgrounds. Simple backgrounds produce cleaner results.

Result is too subtle or no visible change

Why: The prompt was vague or the specified amount was too small for the AI to apply confidently.

Try: Be more specific about the amount: 'reduce the waist by 3 inches for a noticeable change'

Tip: If you want dramatic changes, specify exact measurements or use words like 'significantly slimmer.'

Quick answers

Do I need to mark my waist before describing what I want?

No! Just describe the change: 'slim the waist by 2 inches' or 'make the waist more defined.' The AI knows where the waist is on the body. Only use markers if the AI adjusts the wrong area on first try—like if you're angled sideways and it can't tell which part is the waist.

How much can I slim my waist without it looking fake?

For natural-looking results, stick to 1-3 inches. Anything beyond 4 inches starts to look disproportionate unless you're working with a loose-fitting outfit where body shape is less defined. Start subtle—you can always run a second edit to slim more if needed.

Will the AI adjust my hips or other body parts too?

The AI focuses only on the waist area when you say 'waist' in your prompt. If you want hip adjustments too, mention them explicitly: 'slim the waist and slightly reduce the hips.' Otherwise, only the waist changes.

Does this work on photos where I'm sitting or angled?

Yes, but results are best when you're standing and facing the camera. Sitting or angled poses work, but you may need to use markers to show the AI exactly where your waist is. Side profiles and extreme angles are more challenging.

What's the best free AI waist slimmer tool?

EditThisPic offers free AI waist slimming with no signup required. Unlike apps that need you to trace your body outline, just describe the change you want. It handles fabric adjustment, lighting, and proportions automatically to create natural-looking results in seconds.

Ready to slim your waist in photos?

Free to try. No signup required.

Try it free