AI Photo Blender
← Browse all creative effectsLast updated
Blend multiple photos together with AI - create seamless transitions, composites, and artistic merges
Upload photo to blend photos
"Blend these two portrait photos together merging them at the center with seamless transition and matching skin tones and lighting between both sides"
Release to upload
50,000+photos edited
<30stypical edit
1 freeedit weekly
How it works
See it in action
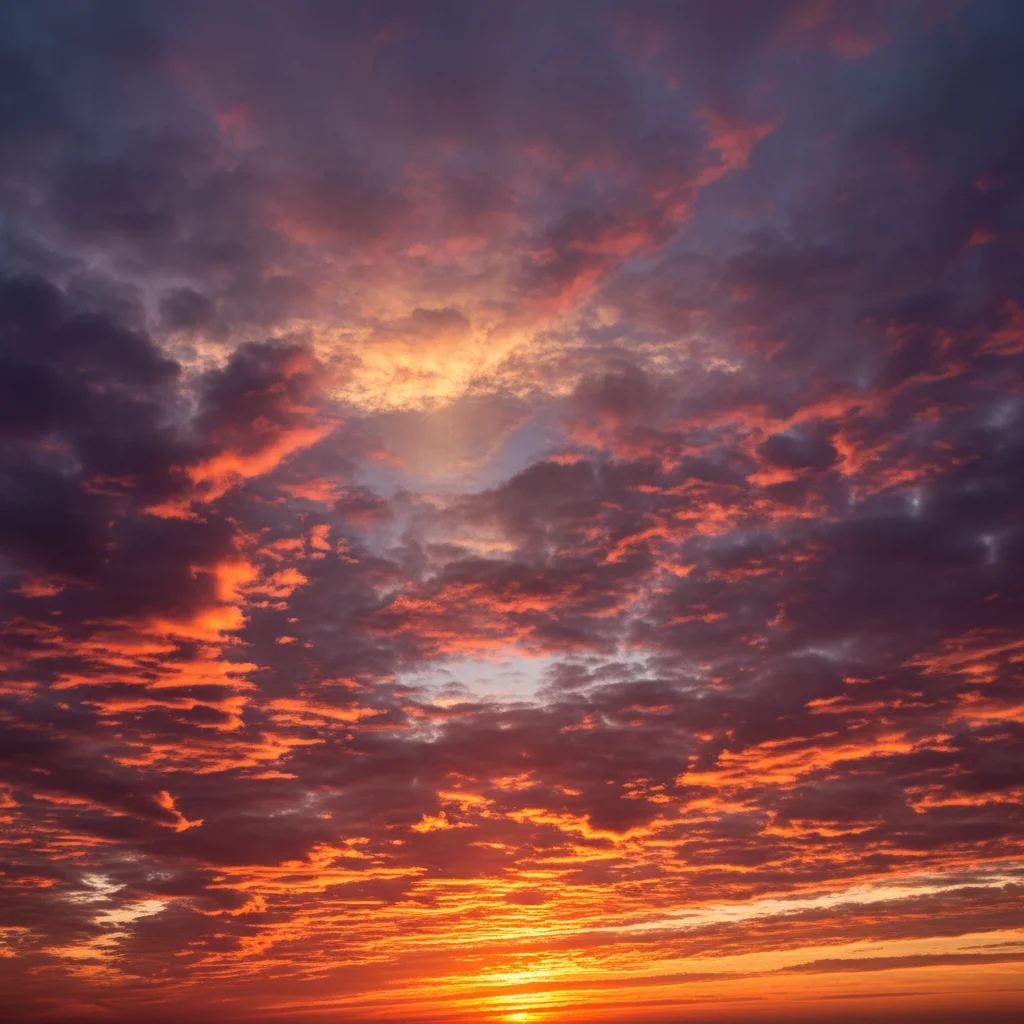
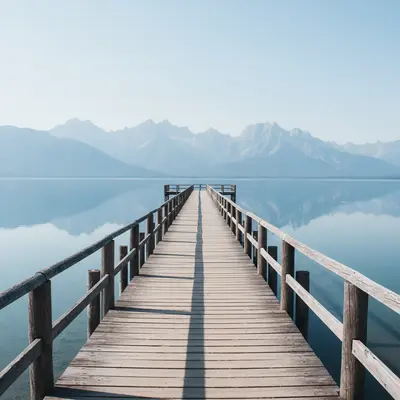
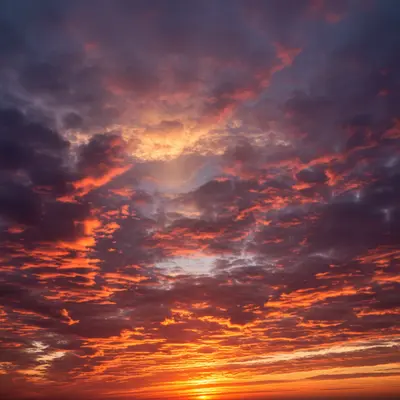
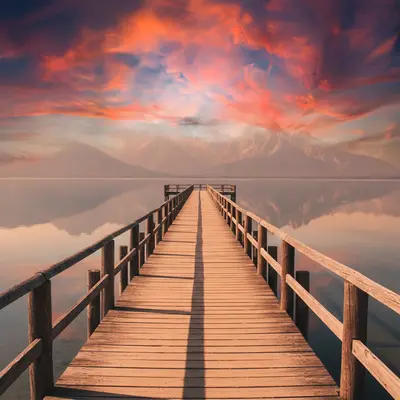
Dramatic sky blend
Boring daytime sky replaced with dramatic sunset while maintaining natural lighting on landscape
Prompt:
Replace the sky in my photo with the dramatic sunset sky from the reference photo. Please blend the lighting and colors so it looks natural.
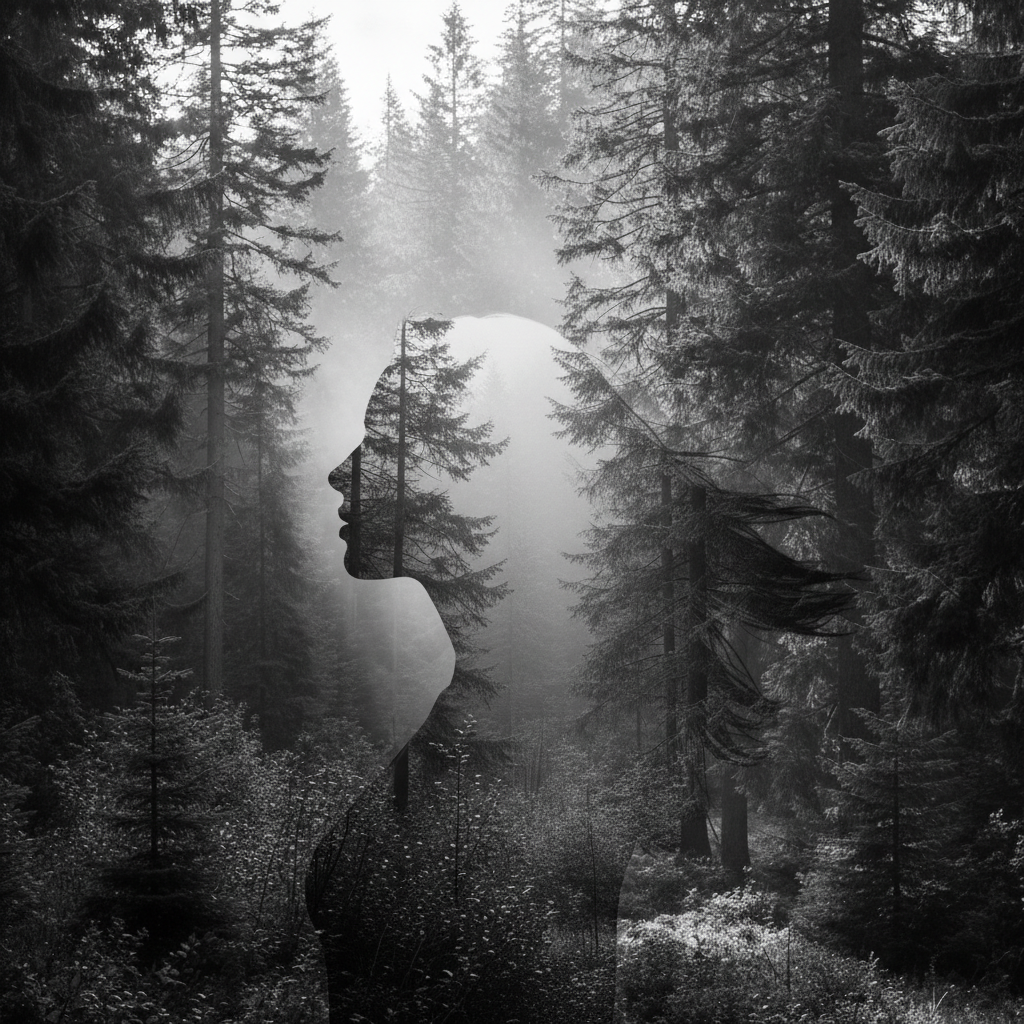
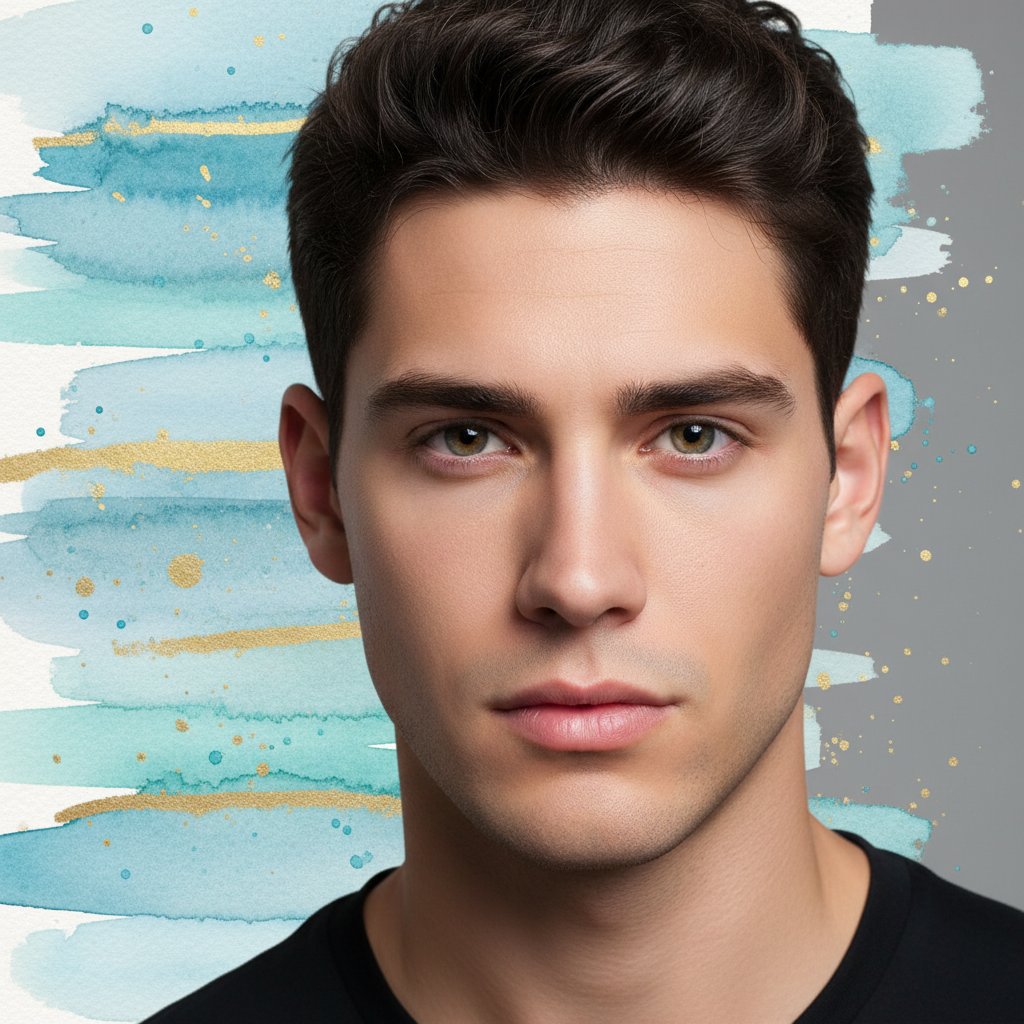
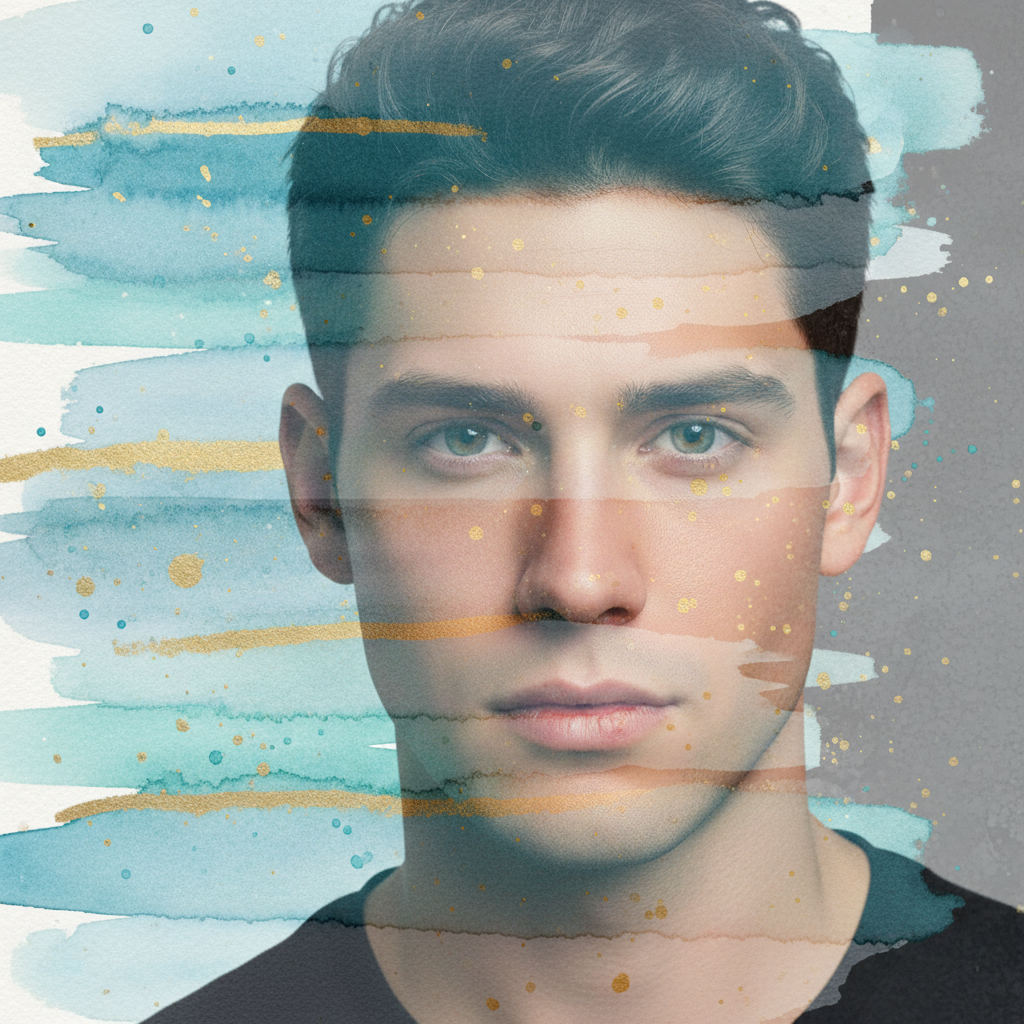
Portrait split blend
Two different portrait photos seamlessly merged down the center with matched skin tones
Prompt:
Blend these two portrait photos together merging them at the center with seamless transition and matching skin tones and lighting between both sides
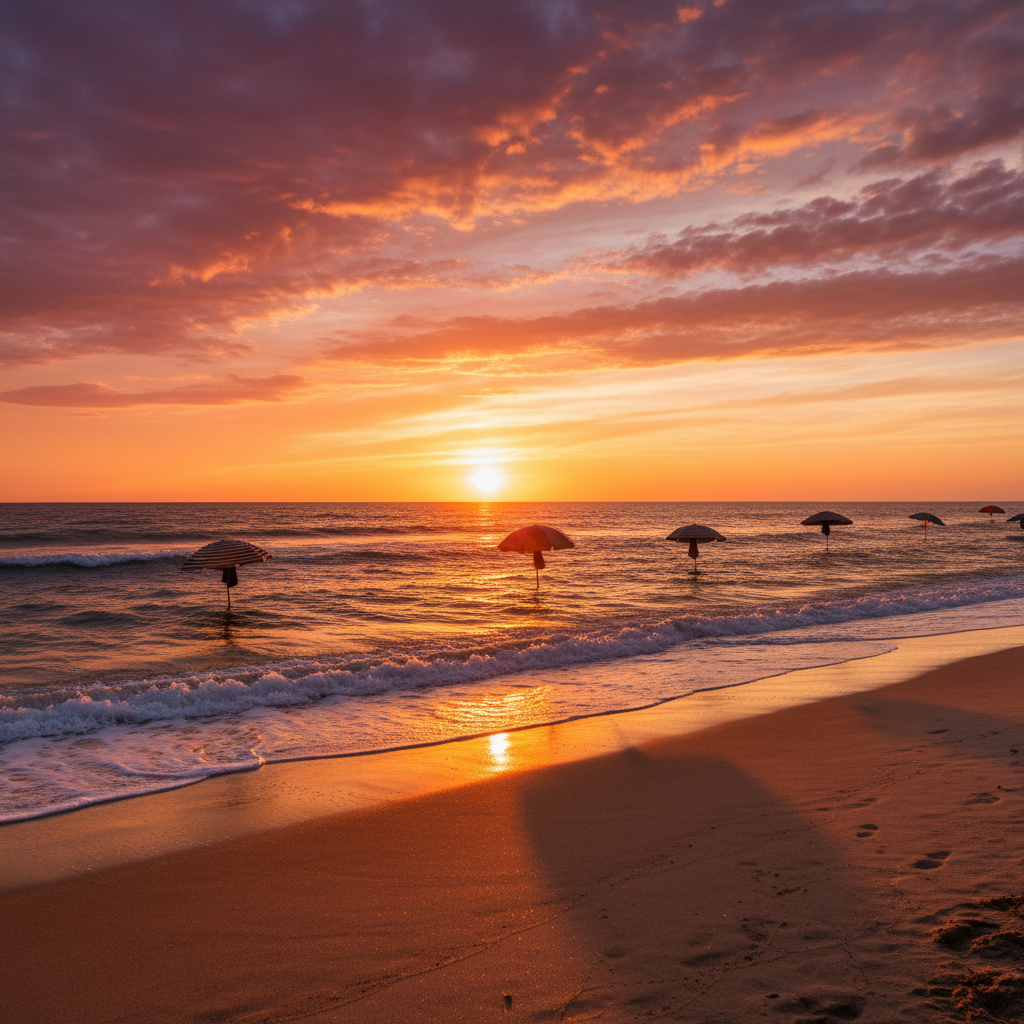
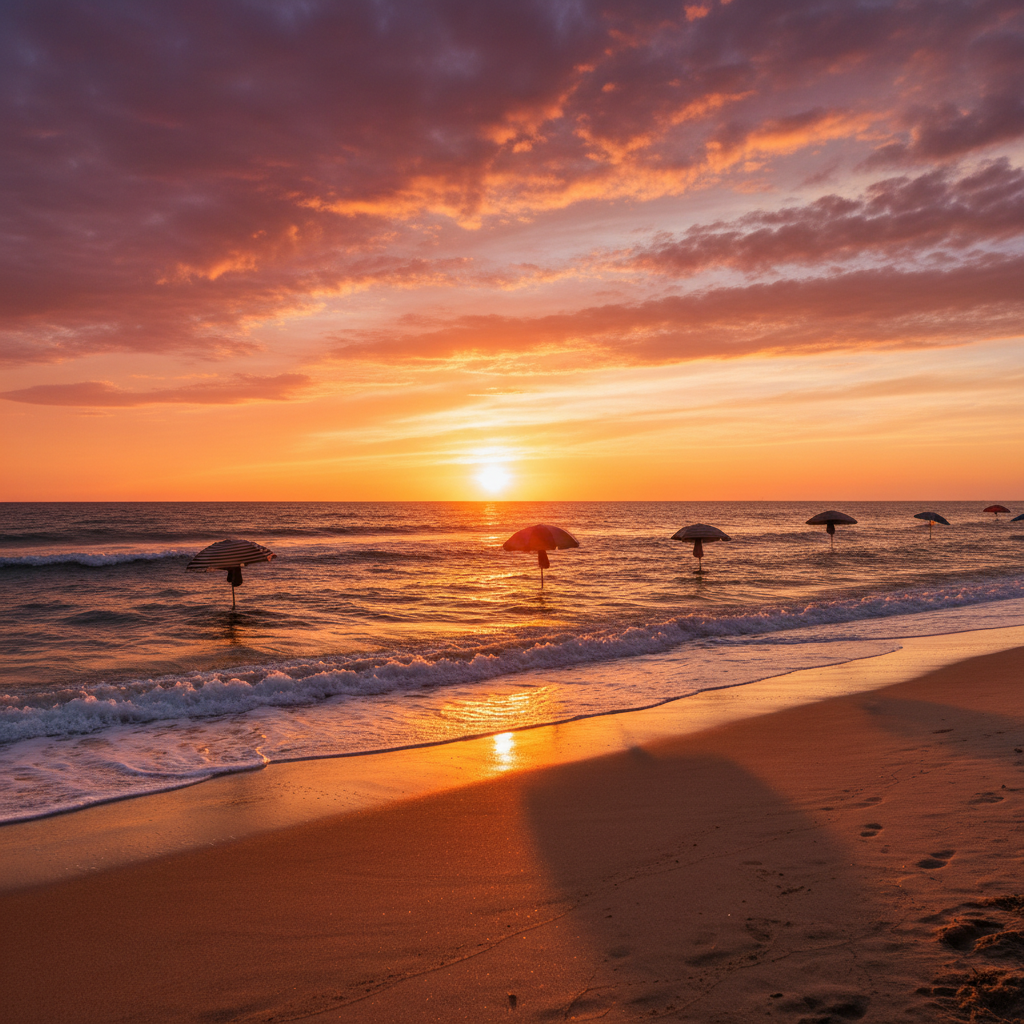
Gradient landscape blend
Desert landscape transitioning to forest scene with smooth gradient blend in center
Prompt:
Create a smooth gradient blend from the desert landscape on left to the forest scene on right transitioning seamlessly in the middle section with natural color and tone blending
Quick answers
Popular use cases
Ready to edit your photos?
Free to try. No signup required.