Free β€’ No signup Add Lens flare Β· Free

AI Lens Flare Adder

Add realistic sun flares and light streaks to any photo with AI in seconds.

Original photo before AI Lens Flare Adder
Before
β†’
Result after AI Lens Flare Adder with EditThisPic
After

Free AI Lens Flare Adder

Upload photo to add lens flare

Free β€’ Results in 30 seconds β€’ No signup

Release to upload

FreeNo signupNo watermark

Cost
Free No signup required
Time
Instant results in 15-30 seconds
Works on
Any device - browser, phone, tablet, desktop
Powered by
AI-powered photo editing

How it works

  1. Upload Your Photo

    Choose the image where you want to add lens flare effects. Works best with outdoor scenes, backlit subjects, and photos with bright light sources.

    Expect: Simple add: 20-30 seconds. Complex add: 30-45 seconds and may need refinements.
  2. Describe the Lens Flare

    Tell the AI what type of lens flare you want and where it should appear. Specify style (sun burst, subtle glow, cinematic streaks), intensity, and position relative to light sources.

    Copy one of these to get started:

    add Add subtle lens flare from the sun in the top right corner with warm golden rays and small hexagonal reflections extending toward the center
    add Add bright sun burst lens flare in the upper left with intense white light rays radiating outward and a series of circular rainbow reflections across the image
    add Add cinematic lens flare from a light source behind the subject creating a horizontal streak of warm orange light with multiple geometric reflections
    add Add anamorphic lens flare with characteristic horizontal blue streaks and oval-shaped reflections creating a sci-fi movie aesthetic
    3 more prompts
    add Add dramatic backlight lens flare where the sun peeks from behind the subject with bright white rays and scattered prismatic reflections throughout the frame
    add Add vintage lens flare effect with muted colors, rounded hexagonal aperture reflections, and soft rainbow halos mimicking older camera optics
    add Add complex multi-element lens flare with starburst rays, multiple ghosting artifacts in purple and green tones, and graduated glow simulating professional cinema lenses
  3. Review the Flare Effect

    Check that the lens flare looks natural and enhances your image. Verify it matches the lighting direction and doesn't obscure important subjects unnecessarily.

  4. Download Your Enhanced Photo

    Save your image with lens flare in high resolution with no watermark. The optical effect adds cinematic atmosphere and visual interest.

Try it free ↓

Free AI Lens Flare Adder

Upload photo to add lens flare

Free β€’ Results in 30 seconds β€’ No signup

Release to upload

Free β€’ No signup

"I use this for all my product photos now. Game changer." via Trustpilot

See it in action

Original photo before AI Lens Flare Adder
Before
->
Result after AI Lens Flare Adder with EditThisPic
After

Golden Hour Sun Flare

Add warm golden lens flare from the sun position with radiating rays and a string of circular hexagonal reflections extending diagonally across the frame enhancing the orange sunset atmosphere

Prompt: Add warm golden lens flare from the sun position with radiating rays and a string of circular hexagonal reflections extending diagonally across the frame enhancing the orange sunset atmosphere
Original photo before AI Lens Flare Adder
Before
->
Result after AI Lens Flare Adder with EditThisPic
After

Portrait Backlight Flare

Add cinematic lens flare from the magenta backlight source behind subject's head, creating bright white core with magenta-tinted hexagonal reflections and subtle horizontal streak

Prompt: Add cinematic lens flare from the magenta backlight source behind subject's head, creating bright white core with magenta-tinted hexagonal reflections and subtle horizontal streak
Original photo before AI Lens Flare Adder
Before
->
Result after AI Lens Flare Adder with EditThisPic
After

Urban Sci-Fi Flare

Add anamorphic lens flare from the brightest cyan neon light creating horizontal blue streaks and oval reflections for a futuristic sci-fi movie aesthetic matching the urban night scene

Prompt: Add anamorphic lens flare from the brightest cyan neon light creating horizontal blue streaks and oval reflections for a futuristic sci-fi movie aesthetic matching the urban night scene

Detailed Guides by Scenario

πŸ“·

Home & Interior Design

Preview how lens flare would look in a room or space before committing to a purchase or renovation.

Common Scenarios

  • Visualizing lens flare in a living room, bedroom, or office before buying
  • Creating client mockups that show lens flare in their actual space
  • Comparing different placements of lens flare in renovation plans

Best Practices

  • Upload a well-lit, straight-on photo of the room for the most realistic result
  • Specify the size and position β€” e.g., 'add a large lens flare on the left wall'
  • Match the room's lighting in your prompt: 'warm lighting' for evening shots, 'natural daylight' for window-lit rooms
πŸ“·

Creative & Social Content

Use lens flare to create eye-catching content for social media, digital art, or personal projects.

Common Scenarios

  • Adding lens flare to photos for unique social media posts that stand out in feeds
  • Creating fantasy or composite images that incorporate lens flare for art projects
  • Making holiday or themed content by placing lens flare in seasonal photos

Best Practices

  • Be specific about the style β€” 'realistic lens flare' vs. 'illustrated lens flare' gives very different results
  • Use reference images when you want the AI to match a particular look
  • For social content, try unusual placements that create a surreal or humorous effect
πŸ“·

Professional & Marketing Use

Incorporate lens flare into marketing materials, presentations, and product catalogs without expensive photo shoots.

Common Scenarios

  • Adding lens flare to product mockups and marketing banners
  • Creating presentation slides that show lens flare in context
  • Building a catalog of variations that feature lens flare in different settings

Best Practices

  • Use high-resolution source images β€” marketing materials demand sharp details
  • Keep brand guidelines in mind: specify colors and style that match when adding lens flare
  • Generate multiple versions and A/B test which placement performs best in ads

If something looks off

AI changed the wrong area or something I didn't want changed

Why: The AI couldn't determine exactly which area you meant from description alone.

Try: Tap a marker on the specific area you want to change, then regenerate with the same prompt

Tip: Markers tell the AI 'I mean THIS one specifically.' Use them when description alone is ambiguous.

Lens flare looks fake or pasted on
Try: Request 'realistic lens flare' or 'naturally integrated flare'. Mention that it should match the existing lighting direction and blend with the image atmosphere.

Tip: Include 'keep natural texture and detail' in your prompt to avoid over-processing.

Flare is in the wrong position
Try: Be specific about placement: 'from the sun in the top right', 'from the light source behind subject', 'originating from the street lamp on left'. Reference visible light sources.

Tip: Use markers to show exact placement and describe position relative to other elements.

Lens flare is too strong or too subtle
Try: Use intensity descriptors: 'subtle lens flare', 'moderate flare', 'intense bright flare', or 'dramatic lens flare'. Specify if you want just a glow or full optical artifacts.

Tip: Try adjusting your prompt wording if the first result isn't perfect β€” small changes make a big difference.

Flare obscures important subjects
Try: Request that the flare 'doesn't cover the subject' or 'passes through the background only'. Specify which areas should remain clear of optical effects.

Tip: Try adjusting your prompt wording if the first result isn't perfect β€” small changes make a big difference.

Flare style doesn't match the photo mood
Try: Specify flare style explicitly: 'warm golden flare', 'cool blue flare', 'vintage soft flare', 'modern cinematic flare', or 'sci-fi anamorphic flare'.

Tip: Try adjusting your prompt wording if the first result isn't perfect β€” small changes make a big difference.

Quick answers

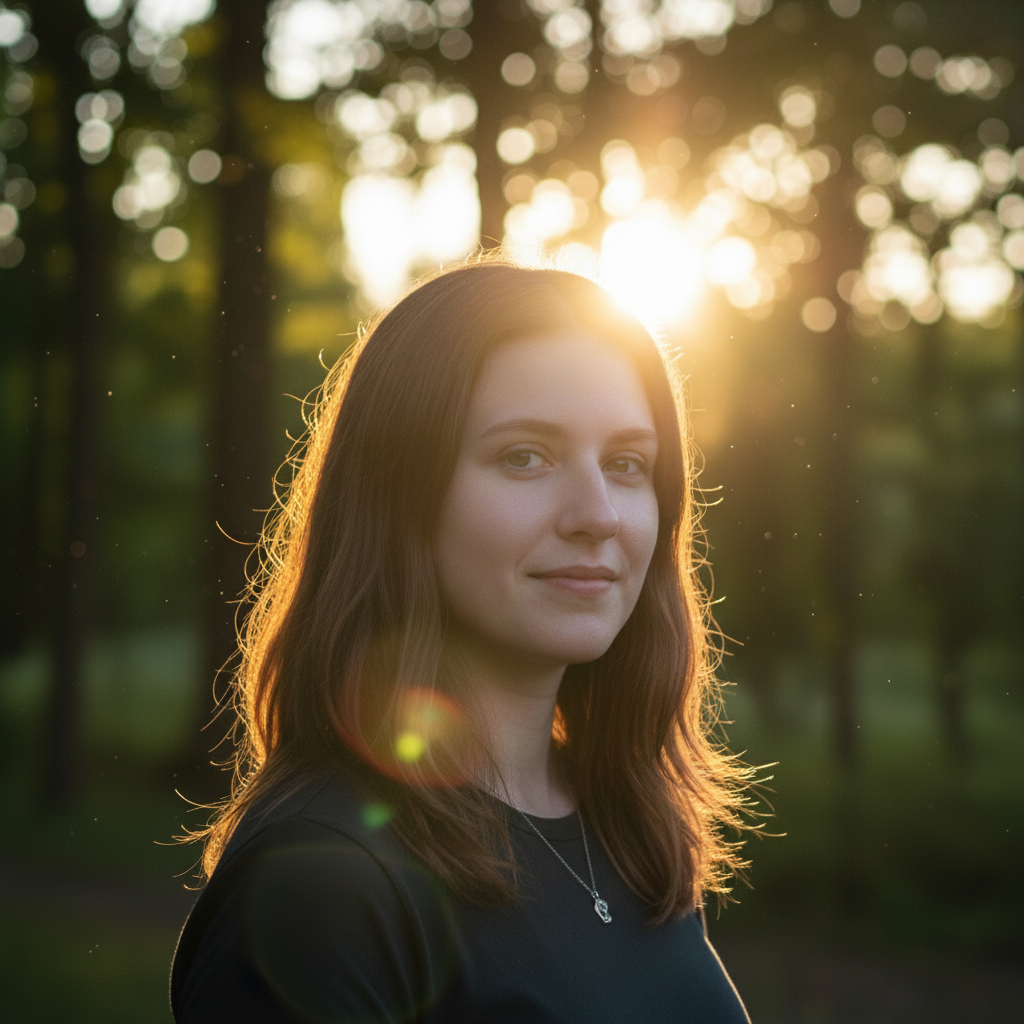
Do I need to mark where the lens flare should appear?

No marking needed. Just describe where the flare should originate from (top corner, behind subject, from the sun) and the AI will position it naturally. You can reference existing light sources in your photo for best placement.

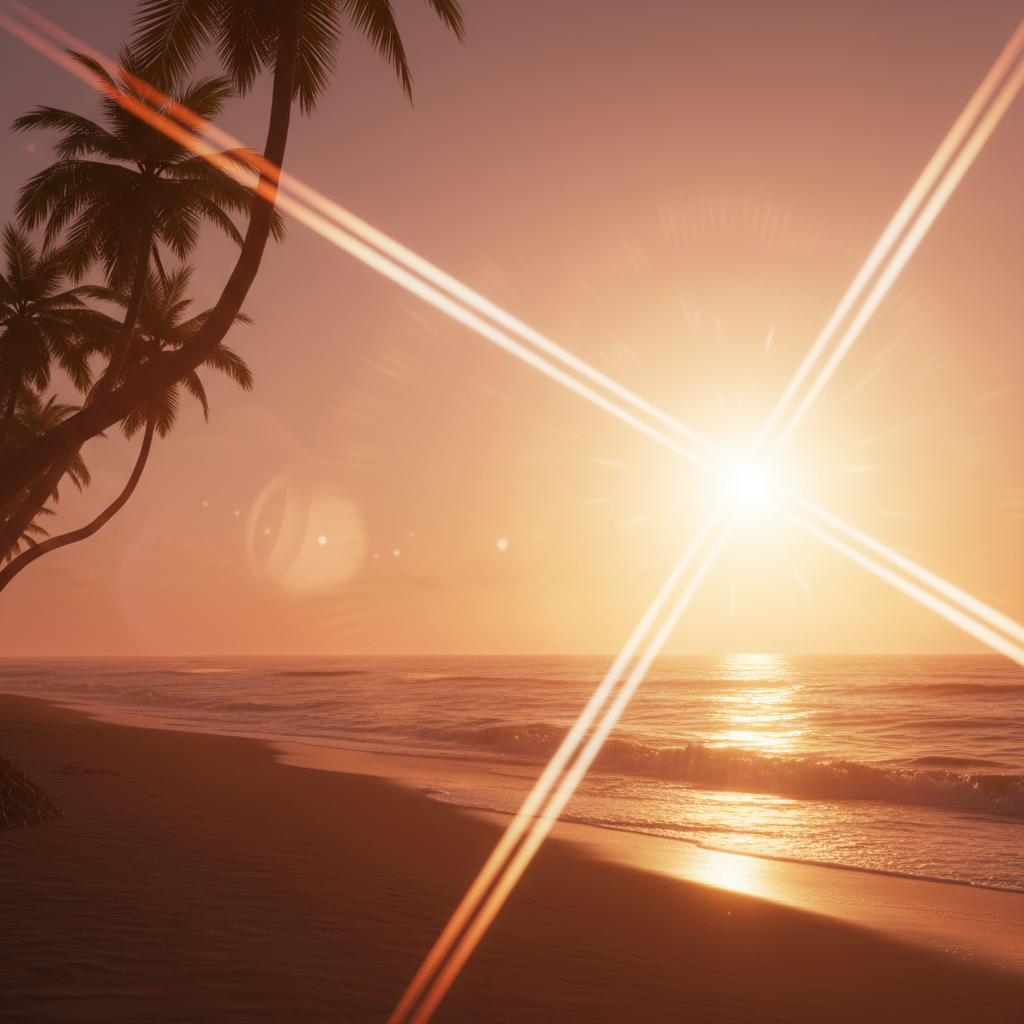
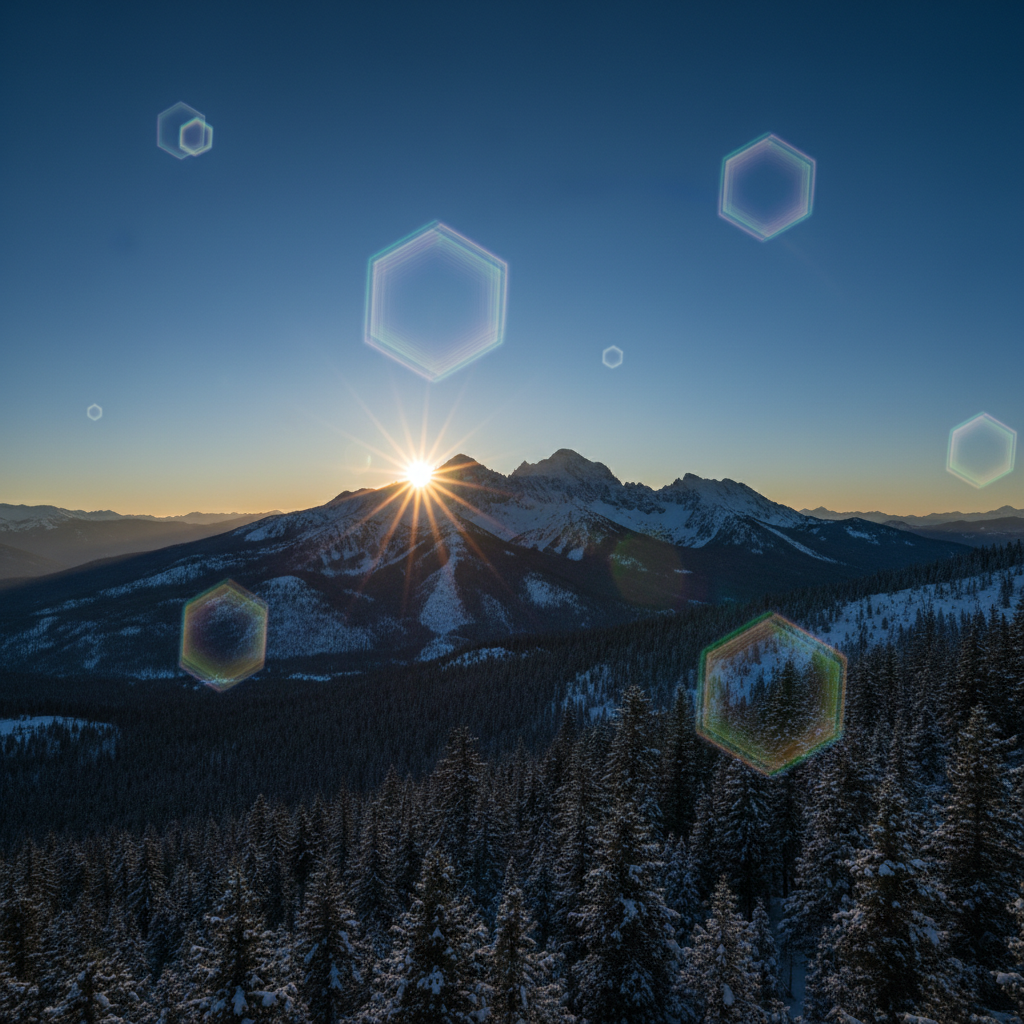
What types of lens flare can I add?

Options include sun burst flares (radiating rays), hexagonal reflection chains (aperture shapes), anamorphic streaks (horizontal lines), rainbow halos, cinematic glows, vintage soft flares, and complex multi-element optical artifacts. Describe the style you want.

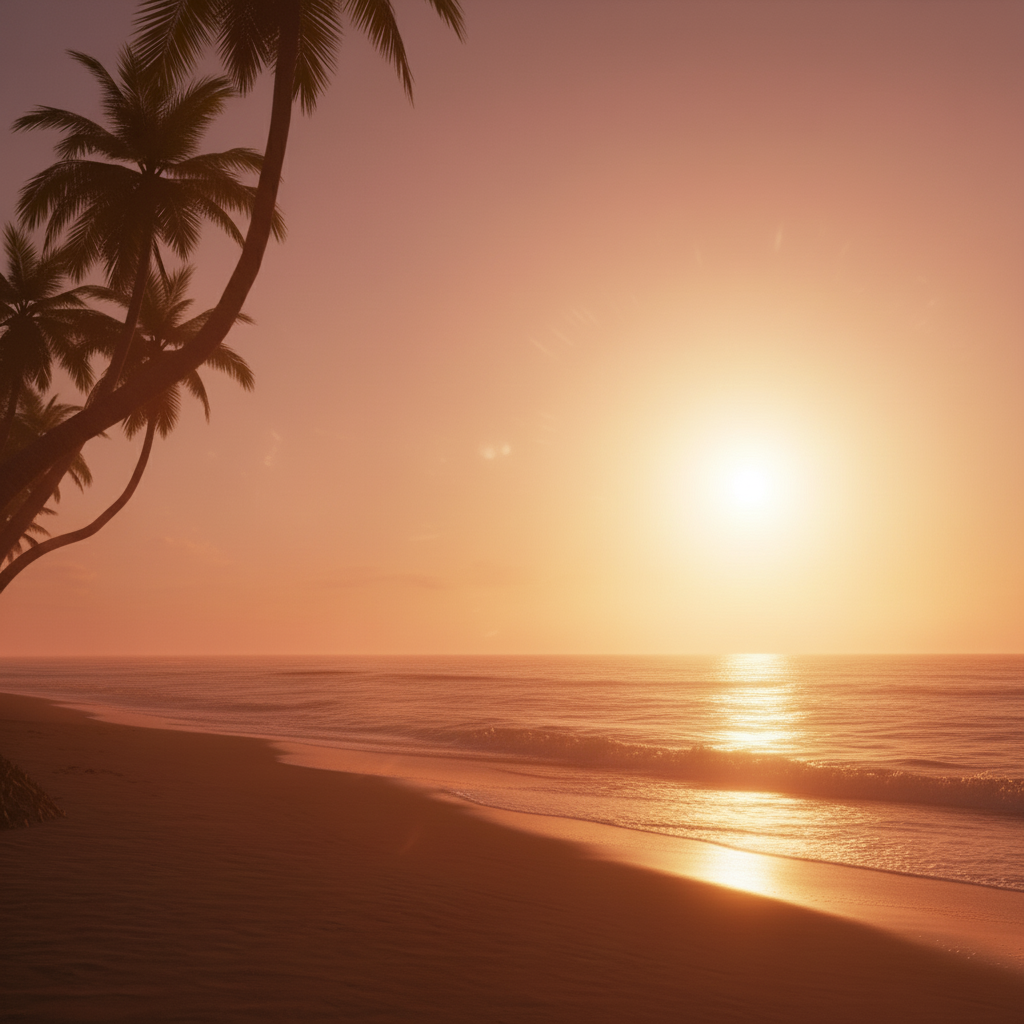
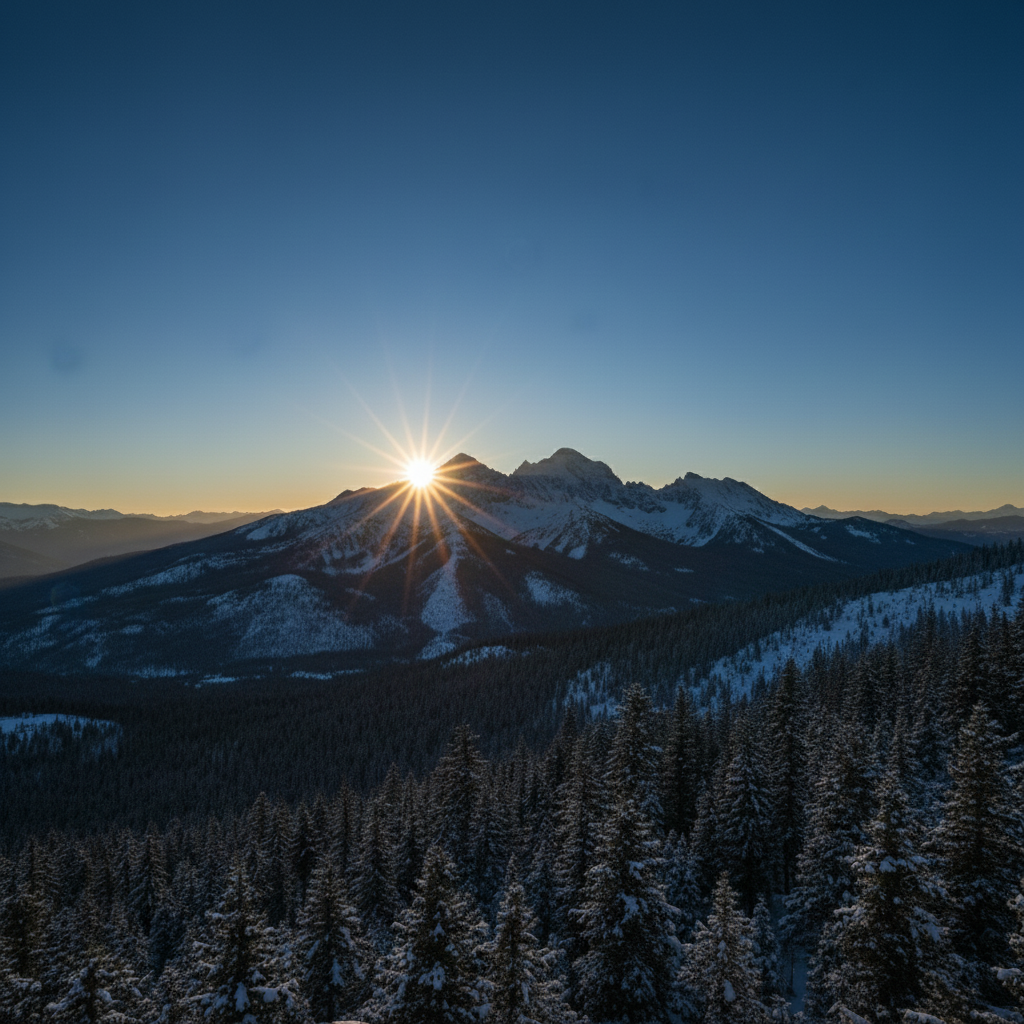
Will lens flare work on any type of photo?

Works best on photos with visible light sources or bright areas (sun, lamps, windows, backlit scenes). Adding flare to dark scenes without logical light sources may look unnatural. Photos with clear lighting direction produce most realistic results.

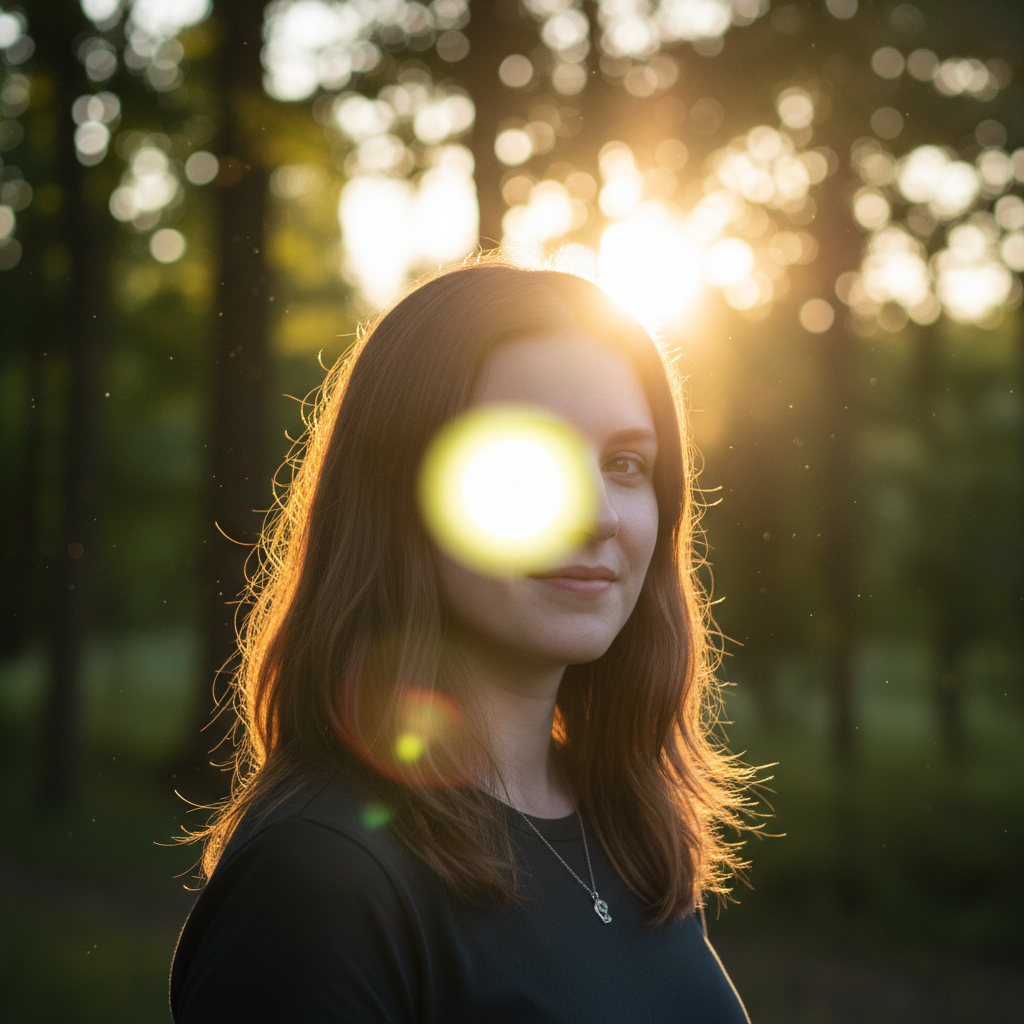
Can I control the color of the lens flare?

Yes, specify color in your prompt: 'warm golden flare', 'cool blue flare', 'rainbow prismatic reflections', or 'purple and green ghosting'. The AI will match flare colors to your specified tones.

How do I get cinematic or anamorphic lens flare?

Request 'anamorphic lens flare' specifically for horizontal blue streaks and oval reflections common in movies. Use terms like 'cinematic', 'sci-fi movie style', or reference specific looks (JJ Abrams style, Blade Runner aesthetic).

Is EditThisPic's AI lens flare adder really free?

Yes β€” you get 1 free edit per week, no account needed. For unlimited edits, plans start at $3.99/month.

What photo formats does the AI lens flare adder support?

JPG, PNG, WebP, and HEIC. Upload any common photo format and EditThisPic handles the rest.

How long does it take to add lens flare?

Usually 15-30 seconds. Upload your photo, describe what you want, and the AI delivers the result.

Ready to edit your photo?

Free to try. No signup required.