Free • No signup Fix Teeth alignment · Free

AI Teeth Straightener

Just describe what you want - AI straightens teeth naturally with no marking required.

Professional headshot with slightly crooked front teeth
Before
Same headshot with naturally straightened teeth
After

Straighten Teeth in Photos

Upload photo to fix teeth alignment

Free • Results in 30 seconds • No signup

Release to upload

FreeNo signupNo watermark
Popular use cases:
  • LinkedIn headshots
  • dating profile photos
  • professional portraits
  • social media selfies
  • job application photos
  • business headshots
  • yearbook photos
  • family portraits

Cost
Free No signup required
Time
Instant results in 15-30 seconds
Works on
Any device - browser, phone, tablet, desktop
Powered by
AI-powered photo editing
Scenario Prompt Time
Natural straightening straighten the teeth to look natural and even while maintaining realistic tooth shape and size 15s
Close gaps close the gaps between teeth and straighten them to create an even, natural-looking smile 20s
Front teeth only straighten the front teeth while keeping the natural smile curve and tooth proportions 15s
Subtle correction gently straighten the teeth with minimal changes, keeping the natural smile character intact 15s

How it works

  1. Upload your portrait photo

    Upload a clear, front-facing portrait. Good lighting on the face and visible facial features give the AI the best foundation for teeth alignment editing. JPG, PNG, WebP up to 7MB.

    Expect: Simple corrections: 15-30 seconds. Complex gaps or overlapping teeth: may need 2-3 refinements to look natural.
  2. Describe what you want

    Type your instruction: 'straighten the teeth to look natural and even' or 'fix crooked teeth while keeping natural smile shape.' Be specific about maintaining natural appearance. No marking needed—the AI understands what 'teeth' means in portraits.

    Tip: Add 'maintain natural tooth size and shape' to prevent the AI from making teeth look artificial or oversized

    Copy one of these to get started:

    Natural straightening for professional photos straighten the teeth to look natural and even while maintaining realistic tooth shape and size
    Fix crooked front teeth straighten the front teeth while keeping the natural smile curve and tooth proportions
    Close gaps and straighten close the gaps between teeth and straighten them to create an even, natural-looking smile
    Straighten bottom teeth straighten the bottom teeth visible in the smile while maintaining natural alignment with top teeth
    3 more prompts
    Subtle correction for slight crookedness gently straighten the teeth with minimal changes, keeping the natural smile character intact
    Fix overlapping teeth straighten overlapping teeth to create even spacing while maintaining natural tooth texture and color
    Professional headshot perfection create perfectly aligned teeth for a professional headshot while preserving authentic smile expression and natural tooth characteristics
  3. Generate and review at full zoom

    Click Generate and zoom in to check tooth alignment, gaps, and natural appearance. Verify the straightening looks realistic and teeth don't appear too uniform or fake. Check that gum line remains natural.

  4. Refine with markers if needed

    If specific teeth need more adjustment or the AI changed too much, tap markers on those teeth and regenerate. This is optional—most straightening works without markers.

    Tip: Markers are for precision refinement, not required. Try without them first. Use them to protect areas you want unchanged.
Try it free

Straighten Teeth in Photos

Upload photo to fix teeth alignment

Free • Results in 30 seconds • No signup

Release to upload

Free • No signup

"Fixed my crooked smile for LinkedIn in seconds. The results look completely natural - nobody can tell it's edited." @professionalheadshots

See it in action

Professional headshot with slightly crooked front teeth
Before
->
Same headshot with naturally straightened teeth
After

Professional headshot with natural straightening

Corporate headshot where slight crookedness was corrected while maintaining authentic smile character.

Prompt: straighten the teeth to look natural and even while maintaining realistic tooth shape and size
Selfie showing gap between front teeth and slight crookedness
Before
->
Same selfie with gap closed and teeth straightened naturally
After

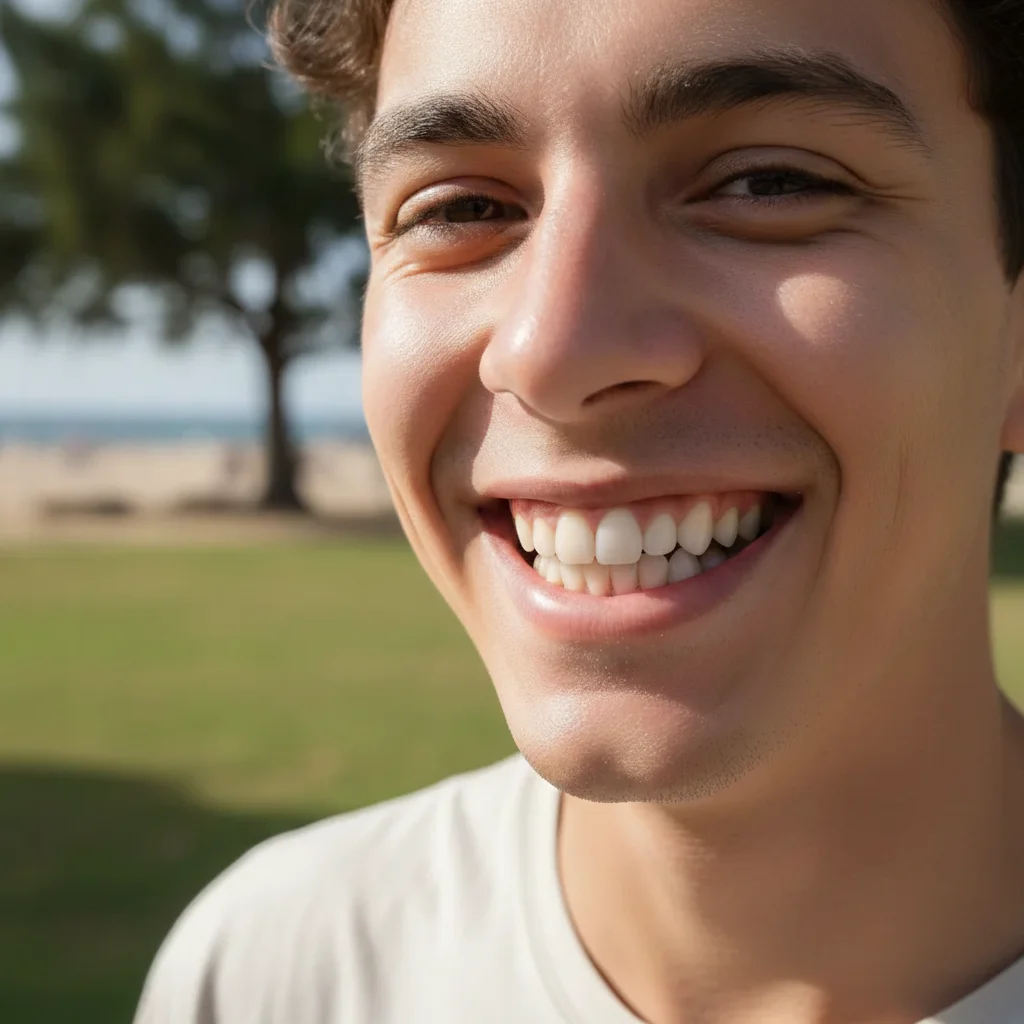
Selfie with gap reduction and straightening

Casual selfie where visible gaps between front teeth were closed and alignment was improved.

Prompt: close the gaps between teeth and straighten them to create an even, natural-looking smile

Detailed Guides by Scenario

📷

Photo Rescue & Restoration

Revive old, damaged, or poorly-shot photos with AI teeth alignment — bring new life to images you thought were unsalvageable.

Common Scenarios

  • Applying teeth alignment to old family photos that have degraded over time
  • Fixing a once-in-a-lifetime shot (wedding, graduation) that suffers from poor quality
  • Using teeth alignment on scanned prints to get crisp digital versions

Best Practices

  • Scan old photos at the highest DPI your scanner supports before uploading for best results
  • Describe the specific issue — 'this photo is too dark and blurry' gives better teeth alignment than a generic prompt
  • For severely damaged photos, work in stages: fix the biggest issue first, then refine
📷

Professional & Business Use

Ensure photos for websites, presentations, and marketing meet professional standards with teeth alignment.

Common Scenarios

  • Using teeth alignment on employee photos for a company website that need to look polished
  • Applying teeth alignment to event photos before sharing in a client presentation
  • Improving product images with teeth alignment for an online store or catalog

Best Practices

  • Process all images in a batch with the same enhancement settings for visual consistency
  • For web use, balance enhancement quality with file size — overly large images slow page loads
  • Always compare before and after to make sure teeth alignment looks natural, not over-processed
📷

Social Media & Personal Sharing

Make your personal photos look their best before sharing with friends, family, or followers using teeth alignment.

Common Scenarios

  • Quickly applying teeth alignment to vacation photos before posting on social media
  • Using teeth alignment on a selfie that has great composition but poor lighting
  • Batch-fixing a phone gallery of photos with teeth alignment before creating an album to share

Best Practices

  • Start with the photo you'd most like to share — fix that one first and use the same approach on the rest
  • For selfies, subtle enhancement always beats heavy processing — keep it natural
  • If the photo was shot in low light, mention it in the prompt so the AI tailors teeth alignment accordingly

If something looks off

AI changed the wrong area or affected the lips

Why: The AI couldn't determine exactly which area you meant from description alone, or interpreted 'teeth' too broadly and affected surrounding areas.

Try: Tap markers specifically on the teeth that need straightening, avoiding the lips and gums, then regenerate with the same prompt

Tip: Markers tell the AI 'I mean THESE teeth specifically.' Use them when the straightening affects areas beyond just the teeth.

Teeth look unnaturally white or perfect

Why: The AI over-corrected and created teeth that look artificial or like dentures. This happens when the prompt doesn't emphasize maintaining natural characteristics.

Try: Add 'maintain natural tooth color and slight imperfections' to your prompt: 'straighten teeth while keeping natural tooth color and texture'

Tip: Perfect uniformity looks fake. Natural teeth have slight color variation and aren't perfectly identical.

Gums or smile shape changed unexpectedly

Why: When straightening teeth, the AI sometimes adjusts surrounding areas to make the alignment look natural, which can affect the gum line or smile curve.

Try: Specify 'straighten only the teeth without changing gums or smile shape' or use markers to protect the gum area

Tip: Be explicit about what should NOT change when giving your prompt.

Some teeth look too big or small after straightening

Why: The AI adjusted tooth sizes to create alignment, which can make individual teeth look disproportionate to their neighbors.

Try: Add to your prompt: 'maintain consistent tooth size' or 'keep original tooth proportions while straightening'

Tip: Natural teeth have slight size variations, but dramatic differences look obviously edited.

Result looks good at normal size but weird when zoomed

Why: AI-generated corrections can have artifacts or blending issues at high magnification that aren't visible at typical viewing distances.

Try: Photos are viewed at normal sizes on screens and prints. If it looks natural at 100% zoom, that's what matters.

Tip: Don't pixel-peep. View your photo at the size it will actually be displayed (profile picture, print, etc.).

Straightening looks obvious or detectable

Why: Over-correction created perfectly uniform teeth that lack the natural variations present in real smiles.

Try: Try a gentler approach: 'gently straighten teeth with minimal changes, keeping slight natural variations' for more subtle results

Tip: Subtlety is key for believable results. Aim for 'improved' not 'perfect'.

Quick answers

Do I need to mark the teeth before describing what I want?

No! For most photos, just describe what you want: 'straighten the teeth to look natural and even.' The AI understands what teeth are in portraits. Only use markers when you need precision—like straightening specific teeth while leaving others unchanged, or if the AI affects the wrong area on your first try.

How do I straighten teeth in a photo for free?

Upload your portrait to EditThisPic, type 'straighten the teeth to look natural and even' in the prompt box, and generate. The AI automatically identifies and corrects tooth alignment while preserving natural appearance. Free to try with no signup required.

Is there a free teeth straightener that doesn't require login?

Yes. EditThisPic's AI teeth straightener is completely free to try with no account creation needed. Upload your photo, describe what you want, and download the result with no watermark.

Will the straightened teeth look natural or obviously fake?

When you include 'natural' and 'realistic' in your prompt, the AI preserves authentic tooth characteristics like slight color variation and individual tooth shape. The key is not over-correcting—subtle improvements look more believable than perfect uniformity.

Can I straighten teeth in old photos or low-quality images?

Yes, but results depend on tooth visibility. If teeth are clearly distinguishable in the original photo, the AI can straighten them. Blurry or low-resolution teeth may have less precise results. Best outcomes come from well-lit photos where teeth are in focus.

Is EditThisPic's AI teeth alignment fixer really free?

Yes — you get 1 free edit per week, no account needed. For unlimited edits, plans start at $3.99/month.

Can I fix teeth alignment on my phone?

Yes. EditThisPic works in any mobile browser — iPhone, Android, tablet. No app download needed.

What photo formats does the AI teeth alignment fixer support?

JPG, PNG, WebP, and HEIC. Upload any common photo format and EditThisPic handles the rest.

Ready to fix your photos?

Free to try. No signup required.