Free • No signup Fix Blurry photo of loved one · Free

The only photo of your loved one is blurry?

Upload your blurry photo and AI sharpens it. Works on motion blur, camera shake, and out-of-focus shots.

Severely blurry vintage photo of elderly woman, details barely visible
Before
Restored photo with clear facial features and recovered details
After

Only Have Blurry Photo Of Grandparent | EditThisPic

Upload photo to fix blurry photo of loved one

Free • Results in 30 seconds • No signup

Release to upload

FreeNo signupPrivate & secure

1 free edit·then from $1.99

Popular use cases:
  • Memorial photo restoration
  • Blurry grandparent photo
  • Only photo of loved one
  • Damaged family photograph
  • Funeral photo preparation
  • Genealogy photo restoration
  • Precious memory preservation
  • Irreplaceable photo repair

Cost
Free No signup required
Time
Instant results in 15-30 seconds
Works on
Any device - browser, phone, tablet, desktop
Powered by
AI-powered photo editing
Scenario Prompt Time
Blur restoration restore this blurry photo of my grandmother, sharpen her face 30s
Damage repair fix the tears and creases, remove stains, sharpen blur 45s
Memorial preparation restore for memorial service, fix all damage, make it look its best 60s
Restore + colorize restore clarity, fix damage, add natural realistic color 60s

How it works

  1. Upload your precious photo

    Upload the blurry or damaged photo. It can be a scan of an old print, a phone photo of a physical photograph, or a digital file. The AI works with severely degraded images—torn edges, water stains, creases, severe blur, and fading are all fixable. JPG, PNG, and WebP formats all work.

    Expect: Old damaged photos may take 30-60 seconds to restore. The AI analyzes damage patterns and applies multiple restoration techniques.
  2. Describe what you see

    Tell the AI what needs fixing. Say 'restore this blurry photo of my grandmother and fix the tear' or 'sharpen the blur and remove the stains.' Be specific about the damage: blur, tears, creases, fading, discoloration, water damage. The AI understands conversational language—describe it like you would to a photo restoration specialist.

    Tip: Mention who's in the photo and what damage you see: 'restore clarity to my grandfather's face, fix the crease across his shoulder, and remove the brown staining.' This helps the AI prioritize what matters most.

    Copy one of these to get started:

    The only photo I have of my grandmother is blurry restore this blurry photo of my grandmother, sharpen her face and bring back all the details
    Old photo is torn, creased, and faded restore this damaged photo, fix the tears and creases, remove stains, and sharpen the blurry parts
    Memorial photo preparation restore this photo for a memorial service, fix all damage, sharpen clarity, and make it look its best
    Want to add color to restored black and white photo restore the clarity of this old photo, fix damage, then add natural realistic color
    3 more prompts
    Faces are especially blurry sharpen the faces in this photo, especially my grandfather's face, restore all facial details
    Multiple types of damage this is the only photo of my parents together—restore the blur, fix the water damage, repair the crease, and enhance the details
    Preparing for framing or printing restore this family photo to print quality, fix all damage and blur, enhance resolution and clarity
  3. Review the restoration

    The AI will sharpen blurred areas, repair physical damage, remove stains, and enhance details. Zoom in on faces to see restored clarity. Check that tears and creases are seamlessly repaired. The goal is preserving the memory as clearly as possible while maintaining authenticity.

  4. Add more improvements if needed

    If the photo is black and white, try 'add natural color to this photo.' If faces still look soft, tap markers on the faces and say 'sharpen the details here.' If there's remaining damage, describe it specifically: 'remove the coffee stain in the bottom corner.'

    Tip: Restoration works best in layers. First fix damage and sharpen, then enhance color, then refine specific areas. Each step builds on the last.
Try it free

Only Have Blurry Photo Of Grandparent | EditThisPic

Upload photo to fix blurry photo of loved one

Free • Results in 30 seconds • No signup

Release to upload

Free • No signup

See it in action

Severely blurry vintage photo of elderly woman, details barely visible
Before
->
Restored photo with clear facial features and recovered details
After

Severely blurry vintage portrait

The only photo of a grandmother, severely out of focus with fading and discoloration. AI restored facial features, brought back detail in clothing and background, and enhanced overall clarity.

Prompt: restore this blurry photo of my grandmother, sharpen her face and bring back all the details
Torn wedding photo with major damage and blur
Before
->
Seamlessly repaired photo with restored clarity
After

Torn and damaged family photo

Only surviving photo from a wedding, with major tear through center, water stains, and blur. AI repaired the tear seamlessly, removed stains, and sharpened all faces.

Prompt: restore this damaged photo, fix the tears and creases, remove stains, and sharpen the blurry parts
Blurry black and white photo of man
Before
->
Sharp colorized photo with natural tones
After

Blurry and colorized

Blurry black and white photo of grandfather. AI restored clarity and added natural color based on context—skin tones, clothing, background elements all colored realistically.

Prompt: restore the clarity of this old photo, fix damage, then add natural realistic color

Detailed Guides by Scenario

📷

Photo Rescue & Restoration

Revive old, damaged, or poorly-shot photos with AI blurry photo of loved one — bring new life to images you thought were unsalvageable.

Common Scenarios

  • Applying blurry photo of loved one to old family photos that have degraded over time
  • Fixing a once-in-a-lifetime shot (wedding, graduation) that suffers from poor quality
  • Using blurry photo of loved one on scanned prints to get crisp digital versions

Best Practices

  • Scan old photos at the highest DPI your scanner supports before uploading for best results
  • Describe the specific issue — 'this photo is too dark and blurry' gives better blurry photo of loved one than a generic prompt
  • For severely damaged photos, work in stages: fix the biggest issue first, then refine
📷

Professional & Business Use

Ensure photos for websites, presentations, and marketing meet professional standards with blurry photo of loved one.

Common Scenarios

  • Using blurry photo of loved one on employee photos for a company website that need to look polished
  • Applying blurry photo of loved one to event photos before sharing in a client presentation
  • Improving product images with blurry photo of loved one for an online store or catalog

Best Practices

  • Process all images in a batch with the same enhancement settings for visual consistency
  • For web use, balance enhancement quality with file size — overly large images slow page loads
  • Always compare before and after to make sure blurry photo of loved one looks natural, not over-processed
📷

Social Media & Personal Sharing

Make your personal photos look their best before sharing with friends, family, or followers using blurry photo of loved one.

Common Scenarios

  • Quickly applying blurry photo of loved one to vacation photos before posting on social media
  • Using blurry photo of loved one on a selfie that has great composition but poor lighting
  • Batch-fixing a phone gallery of photos with blurry photo of loved one before creating an album to share

Best Practices

  • Start with the photo you'd most like to share — fix that one first and use the same approach on the rest
  • For selfies, subtle enhancement always beats heavy processing — keep it natural
  • If the photo was shot in low light, mention it in the prompt so the AI tailors blurry photo of loved one accordingly

If something looks off

Photo is sharper but faces still look soft or unclear

Why: Severe blur can't always be fully recovered in one pass. The AI needs targeted guidance to prioritize facial features.

Try: sharpen the faces specifically, especially the eyes and mouth, restore all facial details

Tip: Tap markers directly on each face before running this prompt. This focuses the AI's attention on the most important areas.

Tears or creases are still visible after restoration

Why: Complex damage may need explicit instructions about which areas to repair.

Try: remove the tear running across [describe location], blend it seamlessly with surrounding area

Tip: Tap a marker on the damaged area and describe its exact location: 'fix the crease across her shoulder' or 'remove the tear through his face.'

Colors look wrong or unnatural after colorization

Why: The AI makes educated guesses about colors. You may need to guide it toward more accurate tones.

Try: adjust the colors to look more natural, make skin tones warmer and clothing colors more muted

Tip: If you know actual colors, mention them: 'her dress was blue, his suit was dark gray, make the colors accurate.'

Some damage was fixed but other damage remains

Why: The AI may have focused on the most prominent damage first. You need to point out what still needs work.

Try: now fix the remaining stains in the corners and remove the discoloration at the bottom

Tip: Restoration often works best in stages: first fix major damage, then address smaller imperfections.

Photo looks over-processed or artificial

Why: Too much enhancement can make old photos look fake. You need to dial back the restoration intensity.

Try: restore the photo more subtly, keep it looking authentic and natural like a real vintage photograph

Tip: Use words like 'subtle,' 'natural,' 'authentic' to prevent over-restoration. The goal is clarity while maintaining character.

Quick answers

Can you really fix a photo that's severely blurry and damaged?

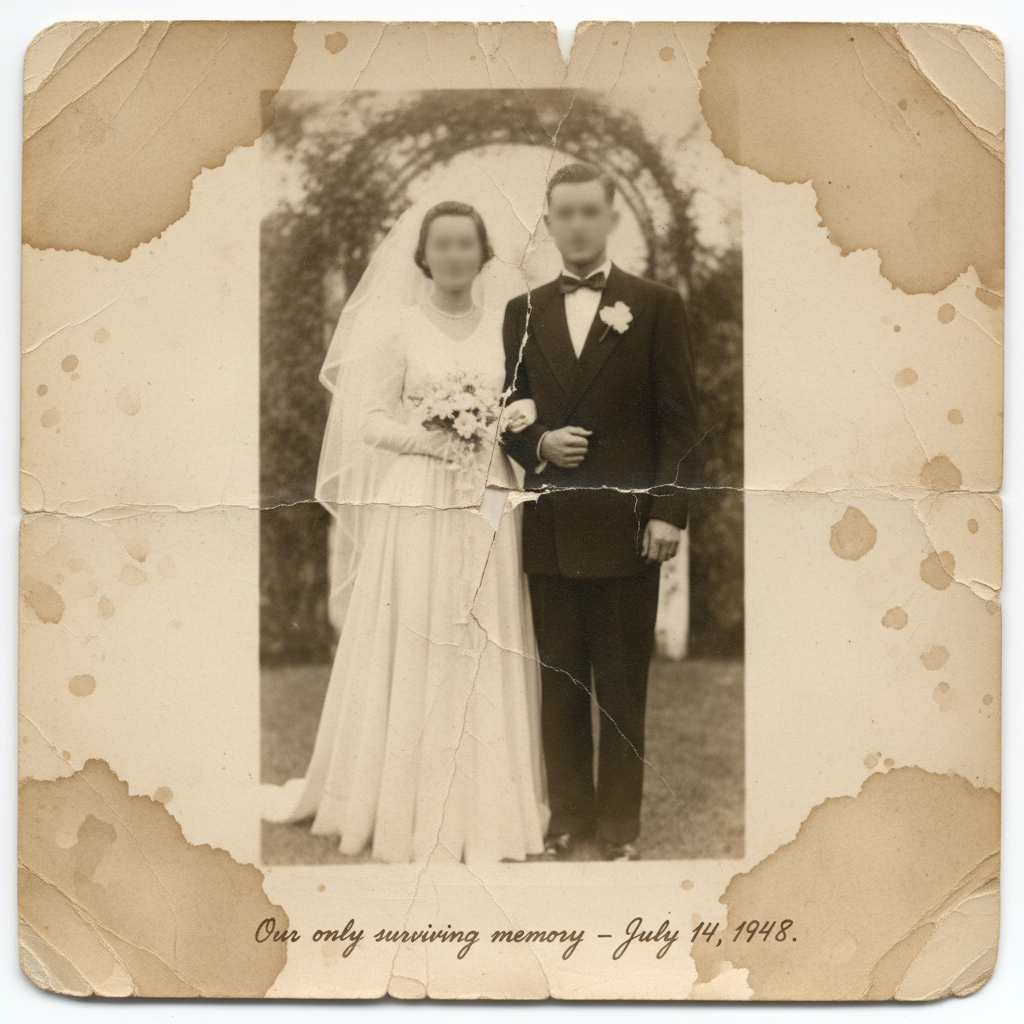
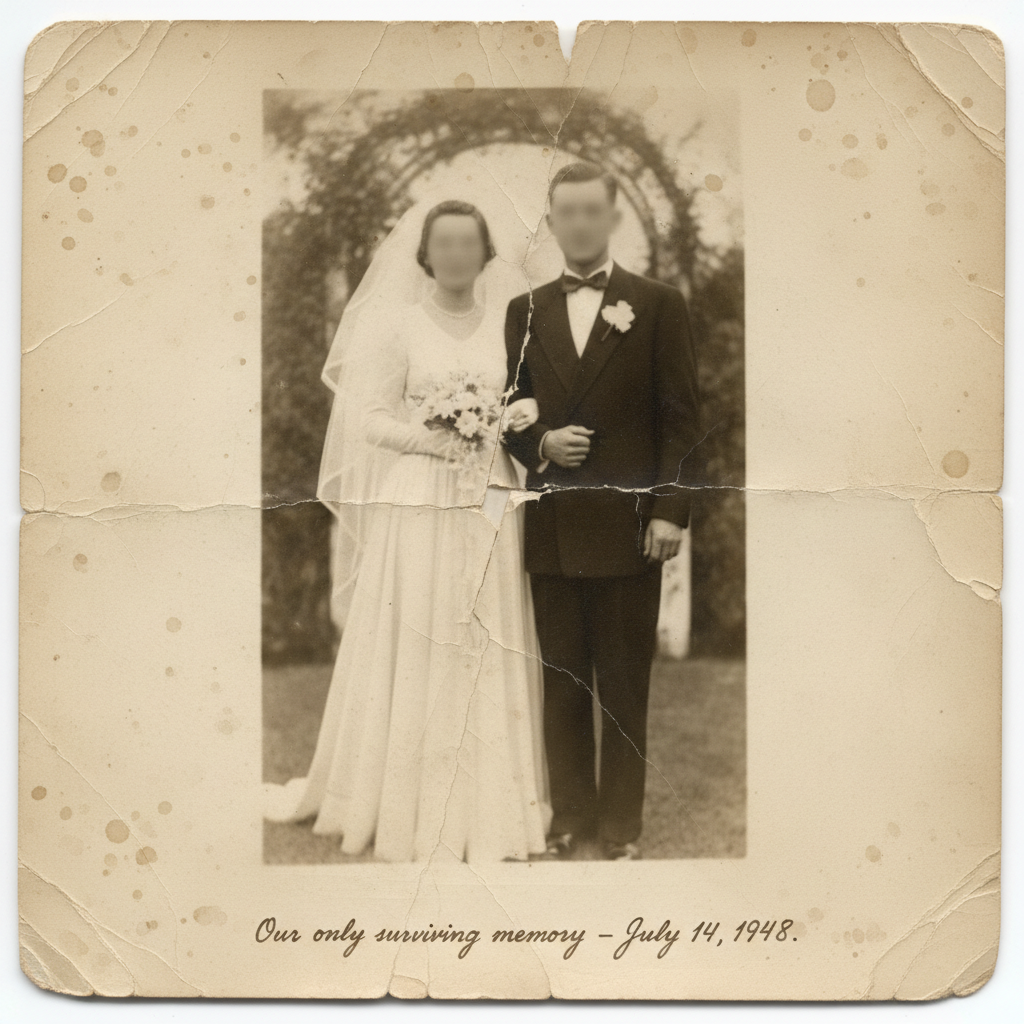
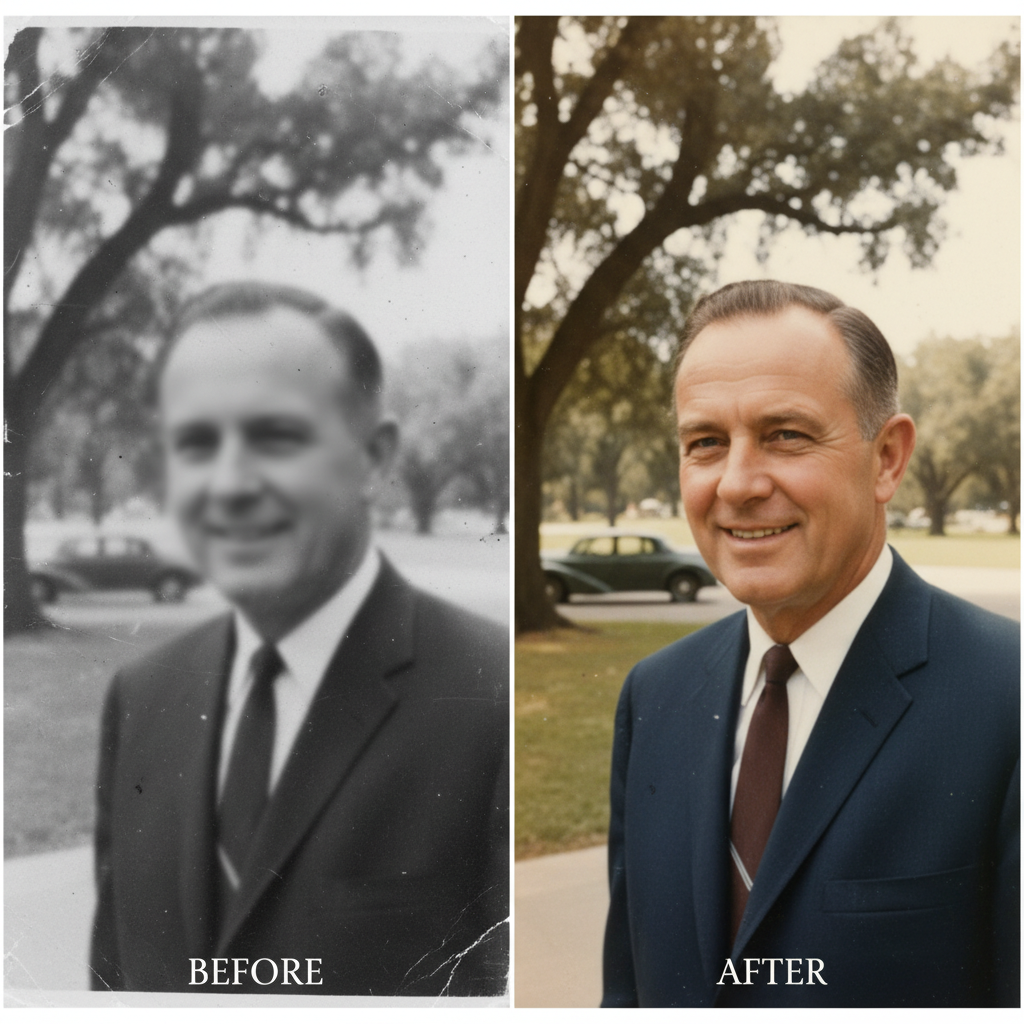
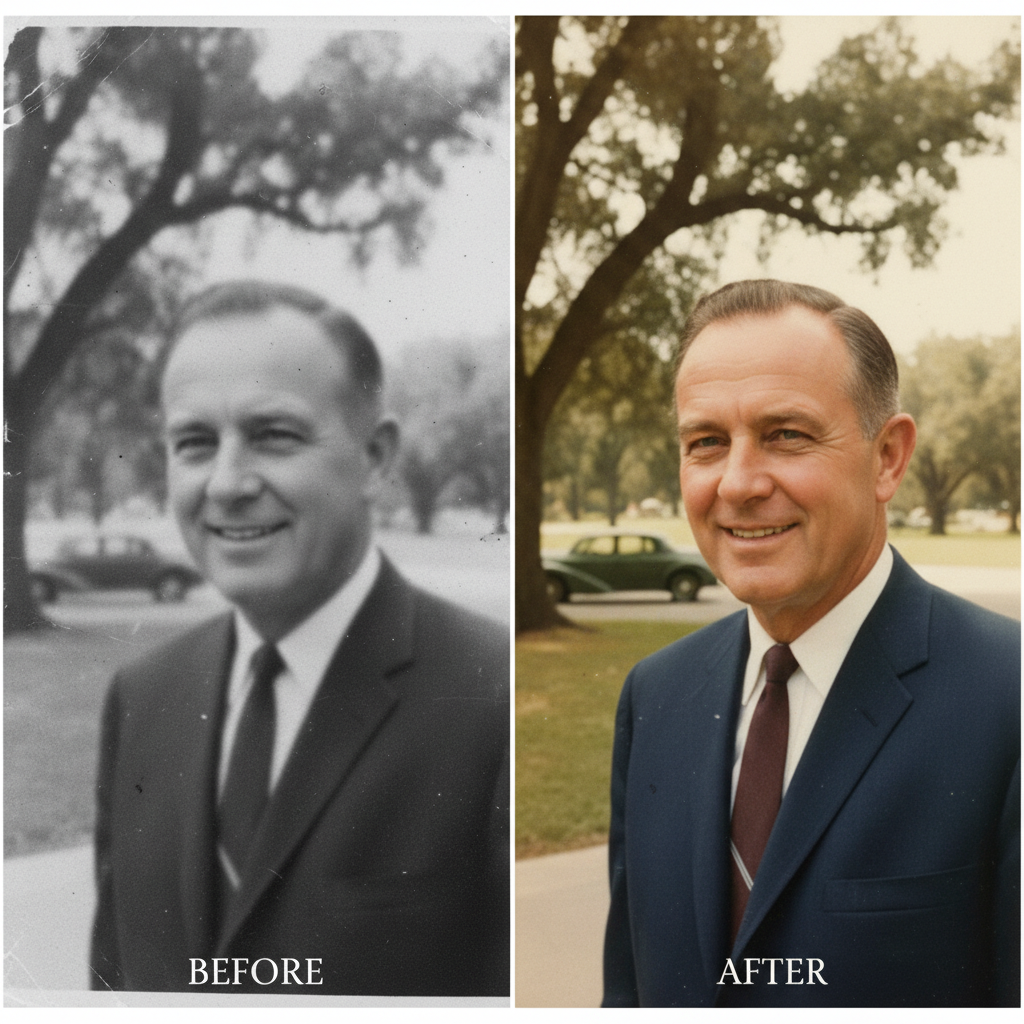
Yes. AI photo restoration has become remarkably capable. While results depend on how much detail remains in the original, the AI can sharpen blur, repair tears and creases, remove stains, fix fading, and even add realistic color to black and white photos. Photos that seemed beyond saving often yield surprising results. The AI analyzes patterns in the image to reconstruct missing or damaged details. It won't create details that aren't there, but it can recover far more than traditional editing tools.

Is my photo private and secure?

Yes. Your photo is processed securely and is not used for any other purpose. Photos are not stored permanently unless you choose to save them to your account. This is deeply personal work—your memories are treated with respect and privacy. No one else sees your photos, and they're not used to train AI models or shared in any way.

What if this is the only copy I have and I'm afraid to damage it?

The original photo is never modified. EditThisPic creates a new edited version, leaving your original exactly as it was. If you have a physical photo, take a picture of it with your phone or scan it—that's your working copy. Keep the original safe. The worst that can happen is the restoration doesn't look right, in which case you still have the original and can try different restoration approaches.

Should I restore blur first, or fix damage first?

For best results, fix physical damage first (tears, creases, stains), then sharpen blur, then add color if desired. Each restoration step builds on the previous one. You can also do everything in one prompt: 'fix the tear, sharpen the blur, add color'—the AI will handle steps in the right order. If you're not satisfied, you can always refine individual aspects afterward.

Can I print the restored photo for a memorial or funeral?

Yes. After restoration, download the high-resolution version and take it to a print shop or use an online printing service. The AI enhances resolution as part of restoration, making photos suitable for printing at reasonable sizes (8x10 or smaller typically works well). For very large prints, mention 'prepare for printing' in your restoration prompt.

What if I don't know how to describe what needs fixing?

Just describe what you see in plain language: 'this photo is really blurry and has a big tear down the middle.' The AI understands conversational descriptions. You don't need technical terms. Say 'the faces are too soft' instead of 'apply unsharp mask.' Say 'remove the brown stains' instead of 'color correction.' If you're not sure what to say, use one of the example prompts from this page—they're designed for common damage patterns.

How much does photo restoration cost?

You get one free restoration per week. Additional restorations use credits: simple restoration is 1 credit (Fast mode) or 4 credits (Pro mode for complex damage). Credit packs start at $4.99 for 10 edits, or subscribe for 25-250 edits per month. For precious family photos, most people find one or two attempts are enough. This is dramatically less expensive than professional photo restoration services, which often cost $30-100+ per photo.

Is EditThisPic's AI blurry photo of loved one fixer really free?

Yes — you get 1 free edit per week, no account needed. For unlimited edits, plans start at $3.99/month.

How much does EditThisPic cost?

You get 1 free edit per week — no account needed. After that, credit packs start at $1.99 for 3 edits. Monthly plans start at $4.99/mo for 15 edits with unused credits rolling over. All edits are full resolution with no watermark.

Ready to restore your precious memory?

Free to try. Private and secure. No technical skills needed.

1 free edit included·Credit packs from $1.99