AI Studio Lighting Simulator
Just name the studio setup and AI simulates professional lighting.
Simulate Studio Lighting in Photos
Drop your photo here
or click to browse
Release to upload
Free • No signup
- portrait photography
- professional headshots
- product photography
- beauty photography
- e-commerce photos
- portfolio photos
- selfie enhancement
- LinkedIn headshots
- Cost
- Free No signup required
- Time
- Instant results in 15-30 seconds
- Works on
- Any device - browser, phone, tablet, desktop
- Powered by
- AI-powered photo editing
| Scenario | Prompt | Time |
|---|---|---|
| Rembrandt lighting | simulate Rembrandt lighting setup with triangle of light under eye |
30s |
| Butterfly lighting | add butterfly lighting with key light above, butterfly shadow under nose |
30s |
| 3-point lighting | simulate professional 3-point lighting with key, fill, and rim lights |
35s |
| Loop lighting | add loop lighting with small nose shadow loop |
25s |
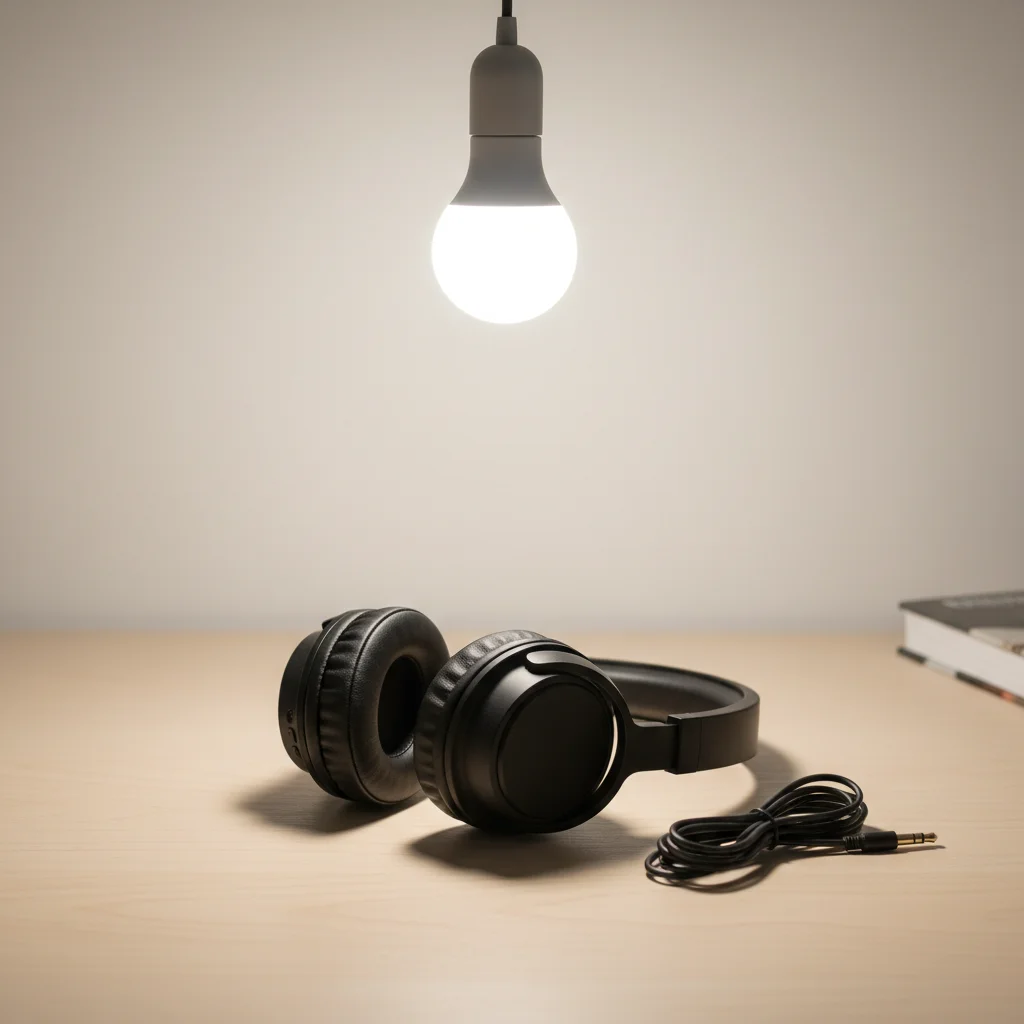
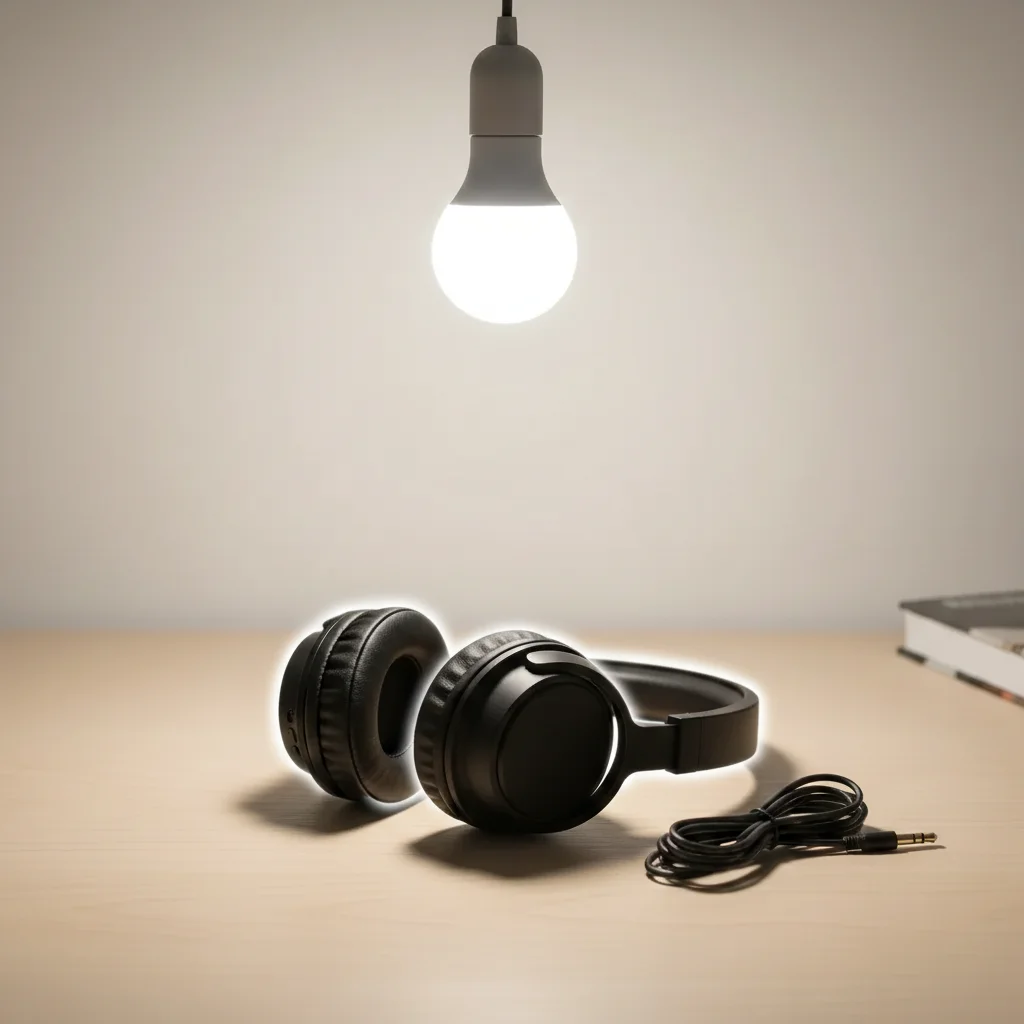
How it works
Simulate Studio Lighting in Photos
Drop your photo here
or click to browse
Release to upload
Free • No signup
"Got perfect butterfly lighting on my selfie without a studio. Looks like I hired a professional photographer." @headshot_pro
See it in action
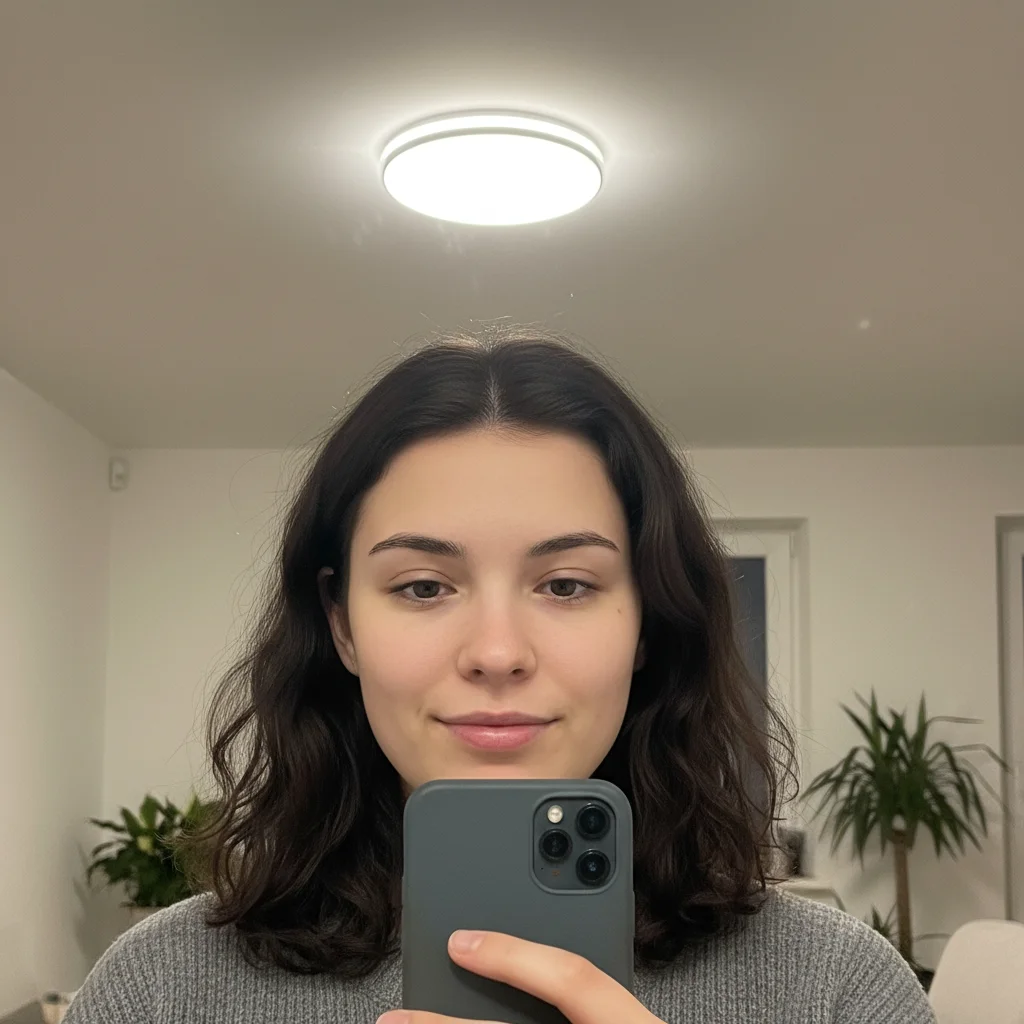
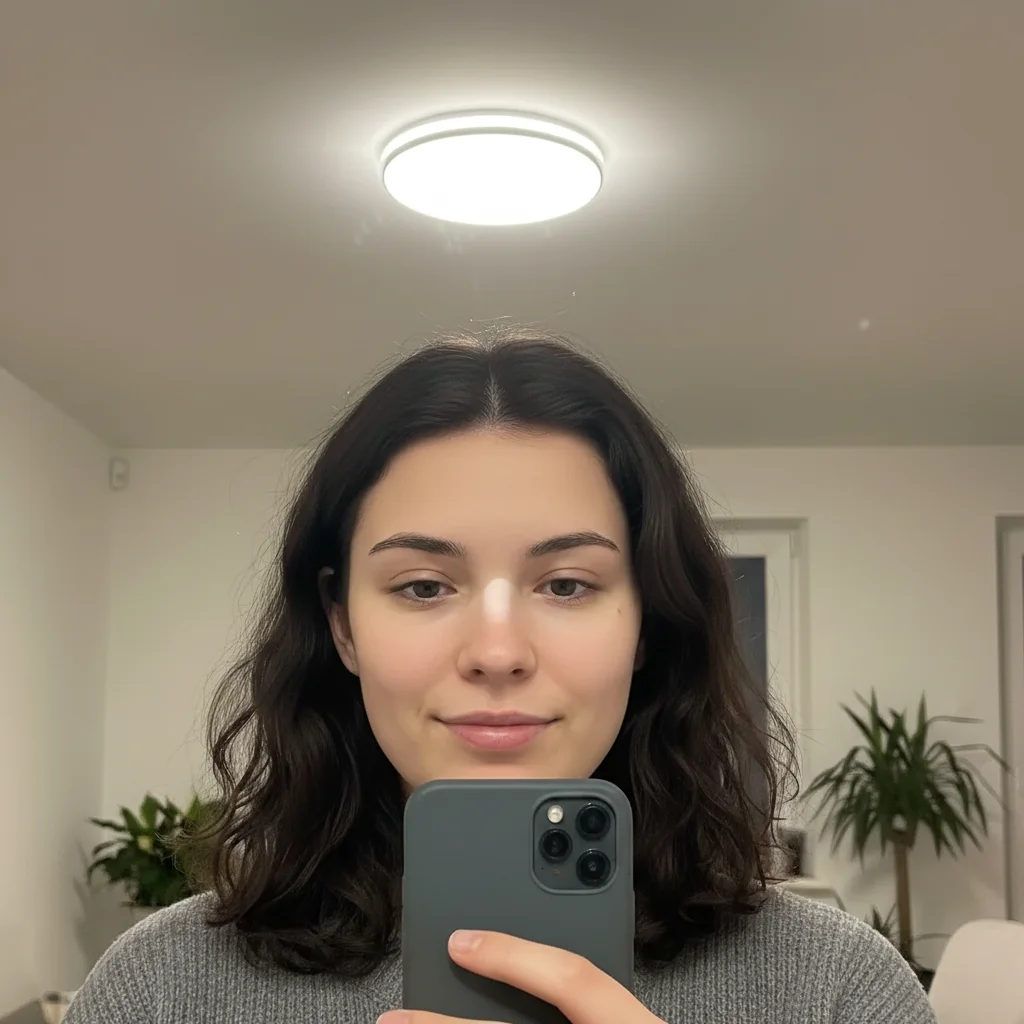
Rembrandt Lighting Added
Basic selfie with flat lighting. AI added classic Rembrandt setup with characteristic triangle of light under eye.
simulate Rembrandt lighting setup with key light at 45 degrees creating triangle of light under eye
3-Point Studio Setup
Product shot with single light source. AI added complete 3-point lighting with key, fill, and rim lights for professional depth.
simulate professional 3-point studio lighting with key light from left, fill from right, and rim light from behind


Butterfly Beauty Lighting
Outdoor portrait in natural light. AI simulated classic butterfly lighting setup for glamorous beauty look.
add butterfly lighting with key light directly above creating butterfly shadow under nose, soft and flattering


Loop Lighting Portrait
Indoor photo with window light. AI added classic loop lighting with perfect nose shadow placement.
add loop lighting setup with key light slightly to the side creating small nose shadow loop
If something looks off
Quick answers
Ready to simulate studio lighting?
Free to try. No signup required.