Free • No signup Apply Tilt shift · Free

AI Tilt Shift Maker

Describe where to keep sharp and AI creates the miniature world effect.

Normal city view before tilt-shift
Before
City view with tilt-shift making it look like miniature models
After

Apply Tilt Shift Effect

Upload photo to apply tilt shift

Free • Results in 30 seconds • No signup

Release to upload

FreeNo signupNo watermark
Popular use cases:
  • cityscape photography
  • aerial photography
  • drone footage
  • urban photography
  • toy town effect
  • miniature world
  • creative effects

Cost
Free No signup required
Time
Instant results in 15-30 seconds
Works on
Any device - browser, phone, tablet, desktop
Powered by
AI-powered photo editing
Scenario Prompt Time
Classic horizontal apply tilt-shift effect with horizontal focus band across the center, sharp middle with blurred top and bottom 20s
Cityscape miniature create miniature effect on this cityscape with center buildings in sharp focus and strong blur fading toward top and bottom edges 25s
Aerial view apply tilt-shift to this aerial view keeping a horizontal strip in focus with graduated blur above and below 25s
Street scene create toy town effect with middle ground in focus and foreground/background heavily blurred 30s

How it works

  1. Upload your photo

    Upload a clear photo showing the area you want to edit. Good lighting and sharp focus help the AI deliver better tilt shift results. JPG, PNG, WebP up to 7MB.

    Expect: Simple tilt-shift effects: 20-30 seconds. Complex scenes with specific focus zones: may need 2-3 refinements for perfect blur placement.
  2. Describe the tilt-shift effect

    Type your instruction: 'apply tilt-shift effect keeping center buildings in focus' or 'create miniature effect with sharp horizontal band across middle.' Specify what stays sharp and where the blur should fade in. The AI understands concepts like 'center strip in focus,' 'horizontal band,' 'top and bottom blur.'

    Tip: Mention blur intensity: 'strong blur' vs 'subtle miniature effect' vs 'extreme toy town look' helps the AI match your vision.

    Copy one of these to get started:

    Classic horizontal tilt-shift apply tilt-shift effect with horizontal focus band across the center, sharp middle with blurred top and bottom
    Cityscape miniature create miniature effect on this cityscape with center buildings in sharp focus and strong blur fading toward top and bottom edges
    Aerial tilt-shift apply tilt-shift to this aerial view keeping a horizontal strip in focus with graduated blur above and below
    Street scene miniature create toy town effect with middle ground in focus and foreground/background heavily blurred
    3 more prompts
    Wide focus band apply tilt-shift with wide focus band keeping most of center sharp and subtle blur at edges only
    Narrow focus strip create extreme miniature effect with narrow focus strip and very strong blur top and bottom
    Diagonal tilt-shift apply tilt-shift with diagonal focus plane from lower left to upper right with graduated blur
  3. Generate and review

    Click Generate and watch the AI apply selective focus and blur. Check that the focus band is positioned correctly and the blur transition feels natural. The effect should make the scene feel miniature, not just blurry.

  4. Refine with markers if needed

    If the focus zone needs adjustment—like keeping a specific building sharp or widening the focus band—tap markers on those areas and regenerate. This is optional; most tilt-shift effects work without markers.

    Tip: Markers help define custom focus zones. Try without them first to see the AI's default horizontal band placement.
Try it free

Apply Tilt Shift Effect

Upload photo to apply tilt shift

Free • Results in 30 seconds • No signup

Release to upload

Free • No signup

"Turned my drone footage into miniature toy town scenes. The tilt-shift effect looks exactly like a real tilt-shift lens." @aerialphoto

See it in action

Normal city view before tilt-shift
Before
->
City view with tilt-shift making it look like miniature models
After

Cityscape Miniature Effect

Classic tilt-shift applied to city view, making real buildings look like tiny models.

Prompt: apply tilt-shift effect with horizontal focus band across the center, sharp middle with blurred top and bottom
Aerial view before tilt-shift effect
Before
->
Aerial view with tilt-shift creating toy town miniature illusion
After

Aerial View Toy Town

Drone footage transformed into convincing miniature scene with tilt-shift blur.

Prompt: apply tilt-shift to this aerial view keeping a horizontal strip in focus with graduated blur above and below

Detailed Guides by Scenario

📷

Design Visualization

Preview tilt shift changes on your actual photo before committing — make confident design decisions backed by visuals.

Common Scenarios

  • Simulating tilt shift on a room, outfit, or space to evaluate the look
  • Creating client-ready mockups that visualize tilt shift in their specific context
  • Comparing multiple tilt shift options side by side using the same source photo

Best Practices

  • Upload a clear, well-lit photo from the angle you'd naturally view the subject
  • Be specific about the tilt shift — color, material, size, and placement all matter
  • Generate 2-3 variations to have meaningful options to compare
📷

Professional Proposals

Win client approval with realistic tilt shift previews that show exactly what the finished result will look like.

Common Scenarios

  • Building a presentation deck with tilt shift visualizations for a client pitch
  • Showing stakeholders tilt shift options before ordering materials or starting work
  • Creating before-and-after comparisons of tilt shift for a project proposal

Best Practices

  • Use the client's own photos for the most persuasive previews
  • Label each option clearly (Option A, B, C) for easy discussion
  • Note that tilt shift previews are approximations — set expectations about final results
📷

Personal Decision-Making

Try before you buy — preview tilt shift on your own photos to make smarter purchasing and lifestyle decisions.

Common Scenarios

  • Previewing tilt shift before making an expensive purchase
  • Testing how tilt shift looks in your actual space or on your actual person
  • Sharing tilt shift previews with family or friends to get opinions before deciding

Best Practices

  • Upload a photo of the actual space/item/person — generic stock images won't help you decide
  • Try the most different options first (bold vs. subtle) to narrow down your tilt shift preference
  • Save each preview so you can flip between them when comparing

If something looks off

The blur looks unnatural or too uniform

Why: True tilt-shift has graduated blur that increases gradually. Uniform blur looks like a simple filter, not optical lens effect.

Try: apply tilt-shift with GRADUATED blur that increases smoothly from focus zone to edges

Tip: The word 'graduated' helps the AI create natural falloff instead of hard transitions.

Focus band is in the wrong position

Why: Without specific guidance, the AI defaults to center. Your scene might need the focus higher or lower.

Try: apply tilt-shift keeping the [upper third/lower section/specific element] in focus

Tip: Be specific about vertical position: 'upper third,' 'lower portion,' 'just above center' instead of generic 'center.'

The miniature effect isn't convincing

Why: Weak tilt-shift with subtle blur doesn't create the miniature illusion. You need strong blur contrast.

Try: create strong miniature effect with sharp focus band and heavy blur at top and bottom edges

Tip: Words like 'strong,' 'heavy,' or 'extreme' blur help create convincing miniature effects. Subtle won't work.

Important elements got blurred out

Why: The default horizontal band might have cut through key subjects. Custom focus zones help.

Try: apply tilt-shift keeping [specific building/area] in sharp focus with blur around it

Tip: Name the specific element that must stay sharp instead of relying on generic placement.

AI changed the wrong area or blurred unexpected parts

Why: The AI couldn't determine exactly which zone you wanted in focus from description alone. This happens with ambiguous requests.

Try: Tap markers along the horizontal band where you want sharp focus, then regenerate with the same prompt

Tip: Markers define custom focus zones. Use them to show the AI exactly which horizontal band to keep sharp.

Quick answers

Do I need to mark the focus area before describing?

No! Just describe what you want: 'apply tilt-shift with center buildings in focus' or 'keep horizontal band across middle sharp.' The AI understands these concepts and creates the graduated blur automatically. Only use markers when you need precision—like defining a custom-shaped focus zone or adjusting where the focus band falls after your first attempt.

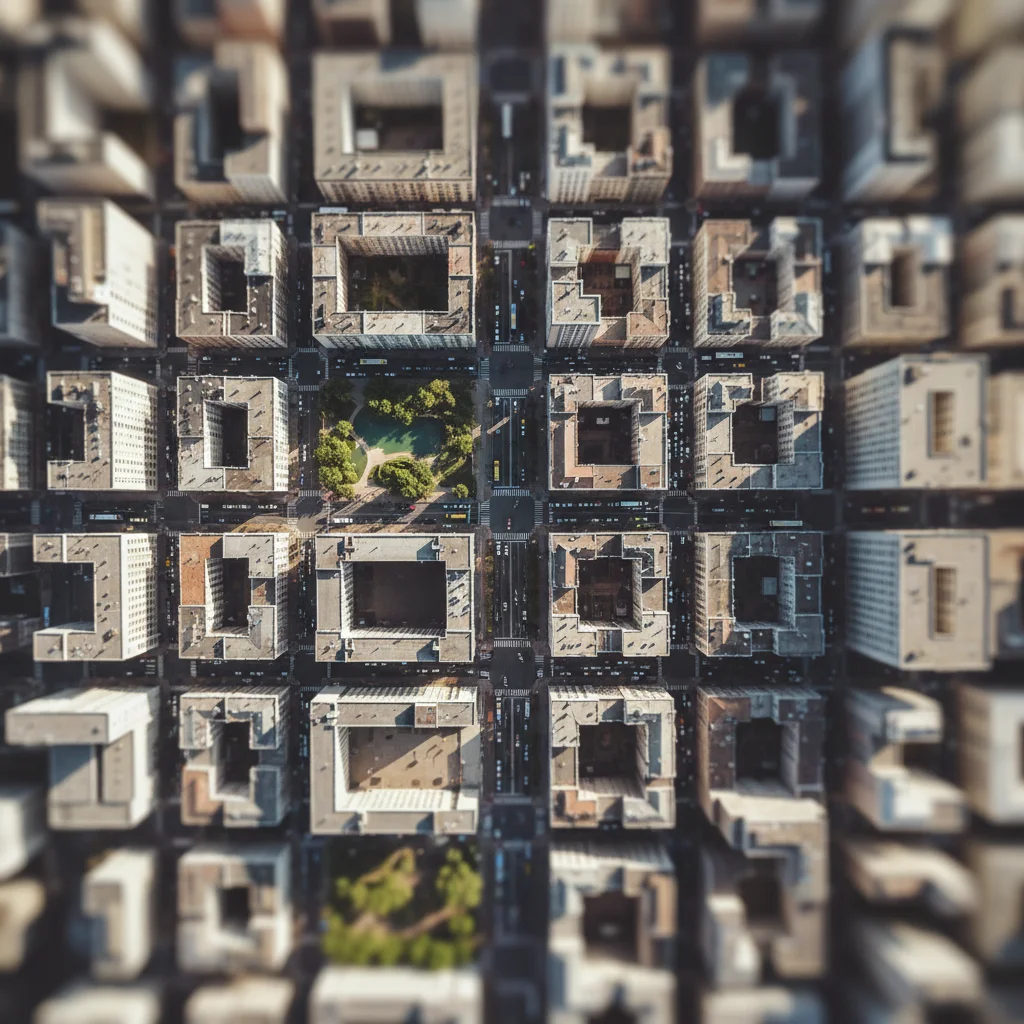
How do I make the miniature effect look realistic?

Strong blur contrast is key. Use language like 'strong blur,' 'heavily blurred,' or 'extreme toy town effect' rather than 'subtle.' Tilt-shift works best on elevated views—cityscapes, aerial shots, scenes with depth. The effect relies on shallow depth of field that mimics macro photography of actual miniatures. Also mention 'graduated blur' to ensure smooth transitions instead of hard-edged fake-looking blur zones.

What's the best free tool for tilt-shift effects?

EditThisPic's AI Tilt Shift Maker creates convincing miniature effects without Photoshop's lens blur filters or complex masking. Unlike simple blur overlays that look fake, our AI understands how real tilt-shift lenses work and creates graduated selective focus that mimics optical depth of field. Perfect for turning cityscapes and aerial views into toy town scenes.

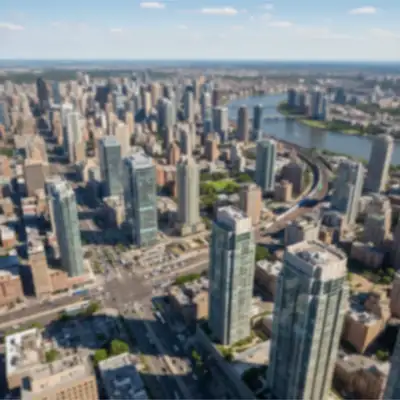
What types of photos work best for tilt-shift?

Elevated views work best—cityscapes from high buildings, aerial drone footage, street scenes from a few stories up. You need scenes with depth and scale that can be miniaturized. Ground-level portraits don't work well. Look for scenes that already resemble miniature dioramas when viewed from above: city blocks, highways, parks, harbors.

Can I create vertical or diagonal tilt-shift instead of horizontal?

Yes! While horizontal focus bands are classic, you can specify: 'apply tilt-shift with vertical focus plane' or 'diagonal focus from lower left to upper right.' Horizontal bands work for most cityscapes, but vertical or diagonal can create interesting creative effects for specific compositions.

Is EditThisPic's AI tilt shift applyer really free?

Yes — you get 1 free edit per week, no account needed. For unlimited edits, plans start at $3.99/month.

Can I apply tilt shift on my phone?

Yes. EditThisPic works in any mobile browser — iPhone, Android, tablet. No app download needed.

What photo formats does the AI tilt shift applyer support?

JPG, PNG, WebP, and HEIC. Upload any common photo format and EditThisPic handles the rest.

Ready to create miniature world effects?

Free to try. No signup required.