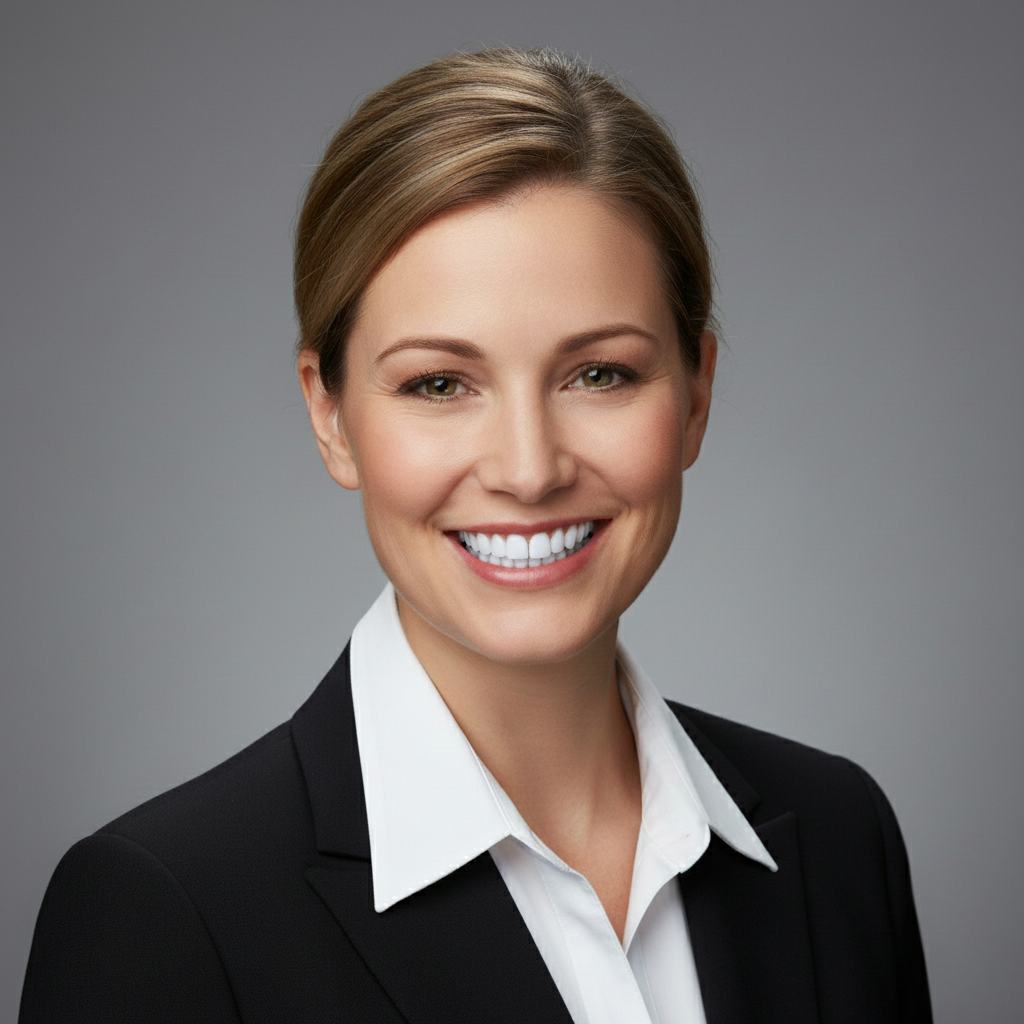
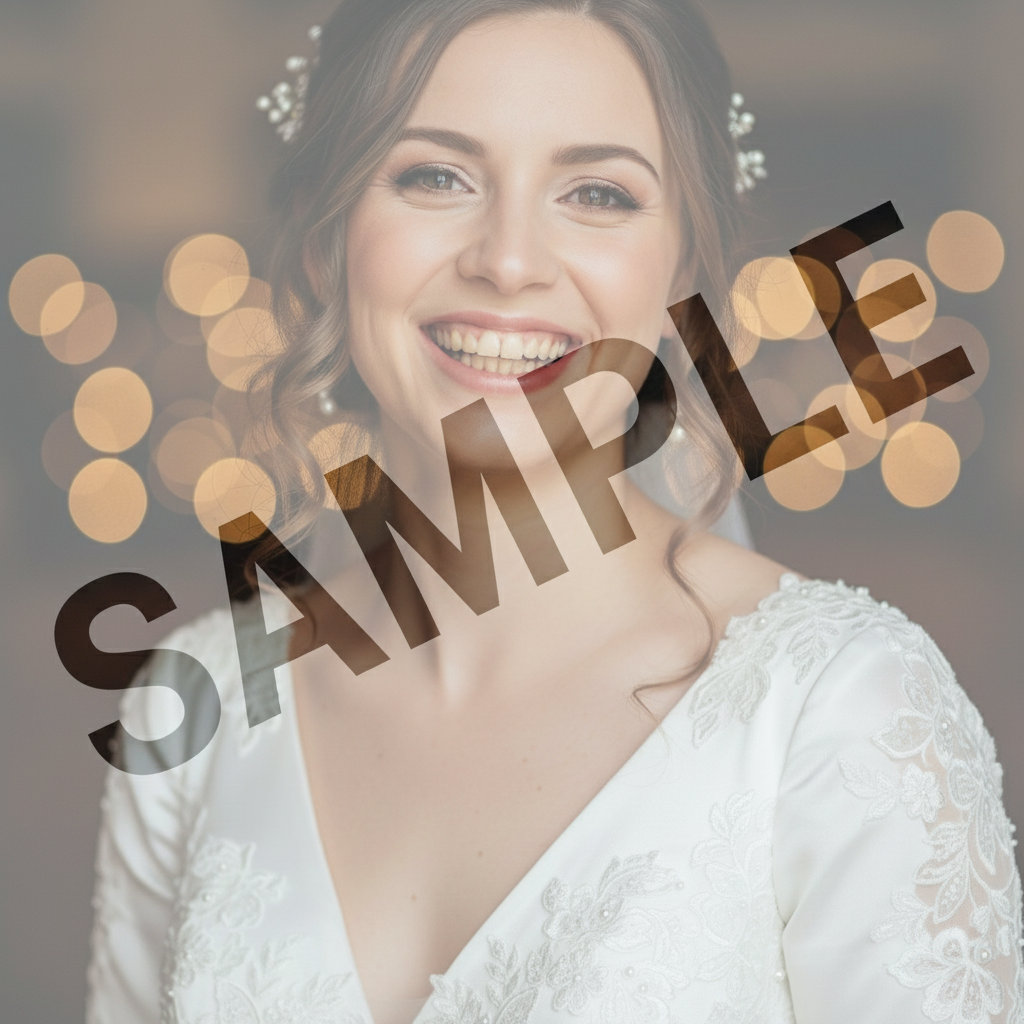
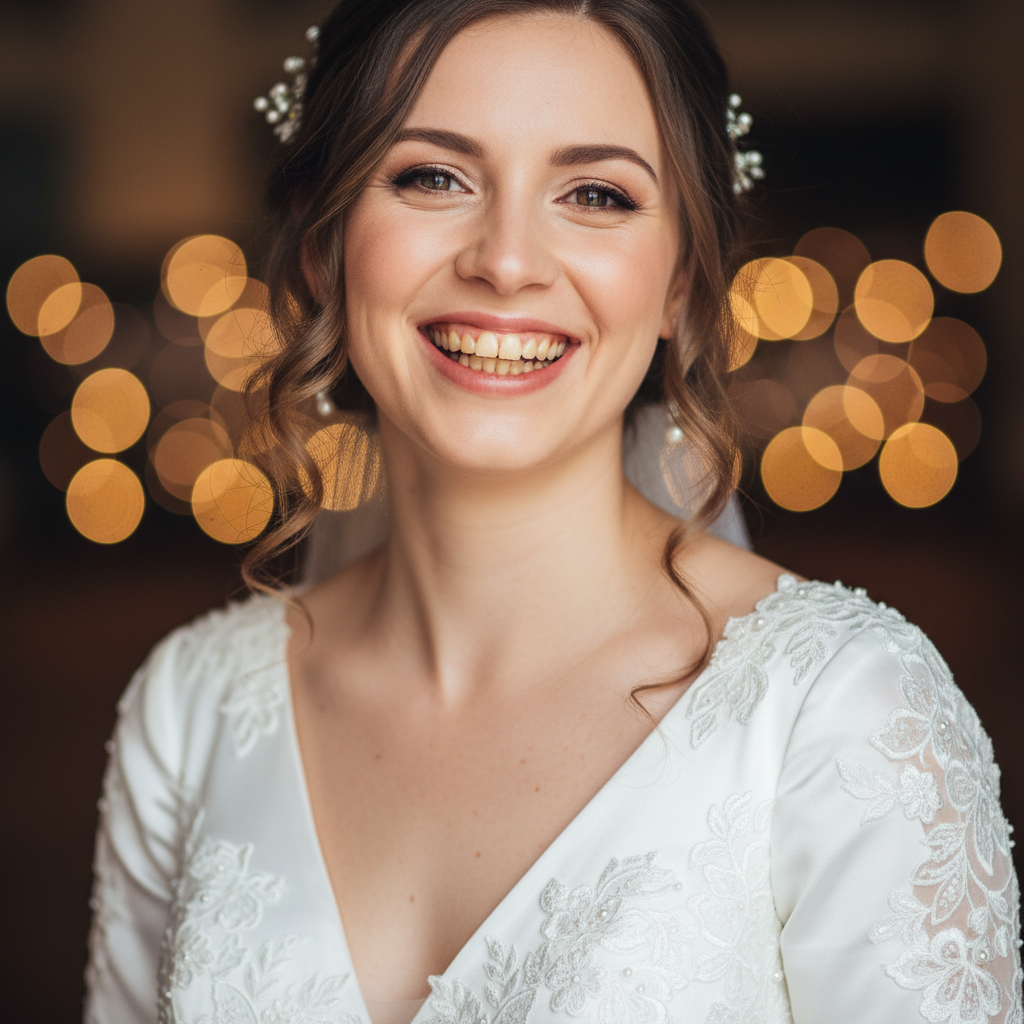
Does AI teeth whitening look natural?
Yes, when you use the right prompt. EditThisPic's AI preserves the slight warm tones that make real teeth look real, so the result reads as 'good lighting' instead of 'obviously edited.' The trick is to include 'subtle,' 'natural,' or 'keep the warmth' in your prompt — those words pull the model away from the bright blue-white look that gives photo edits away.
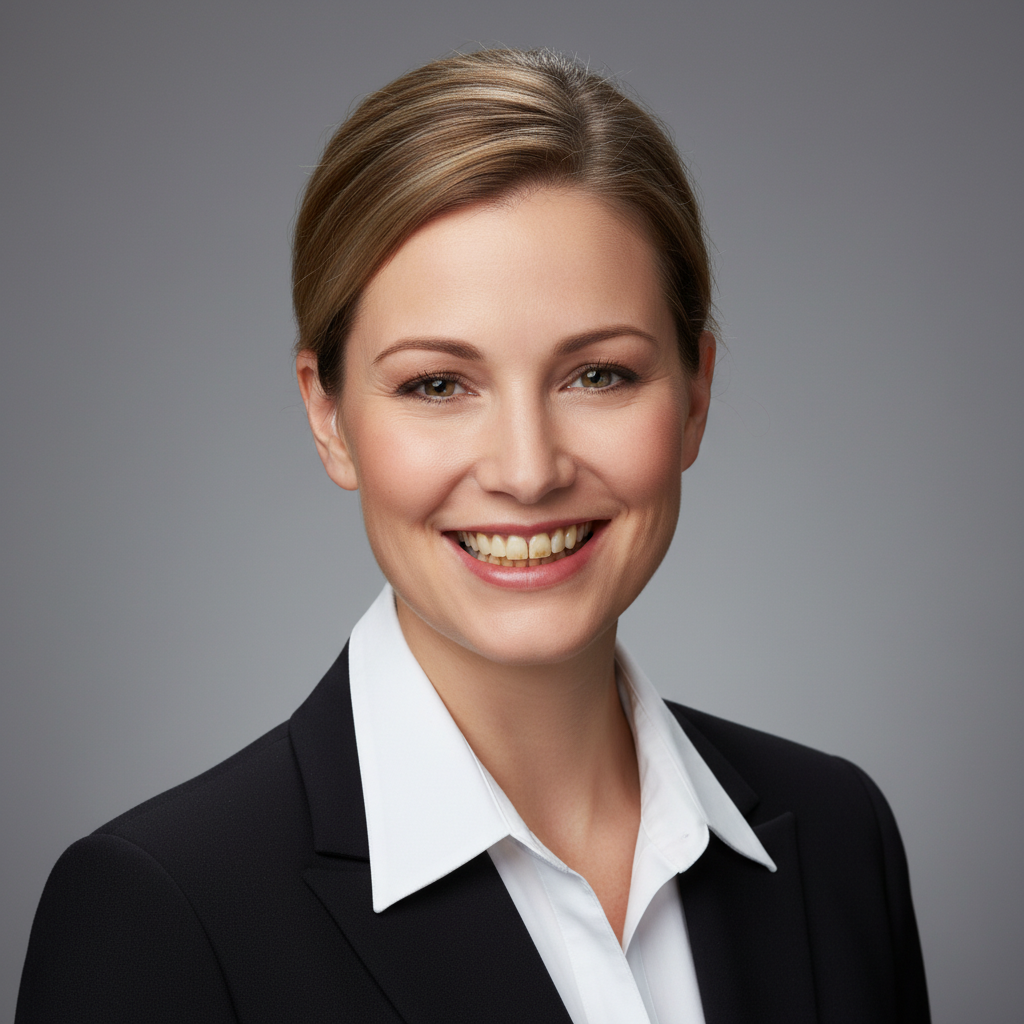
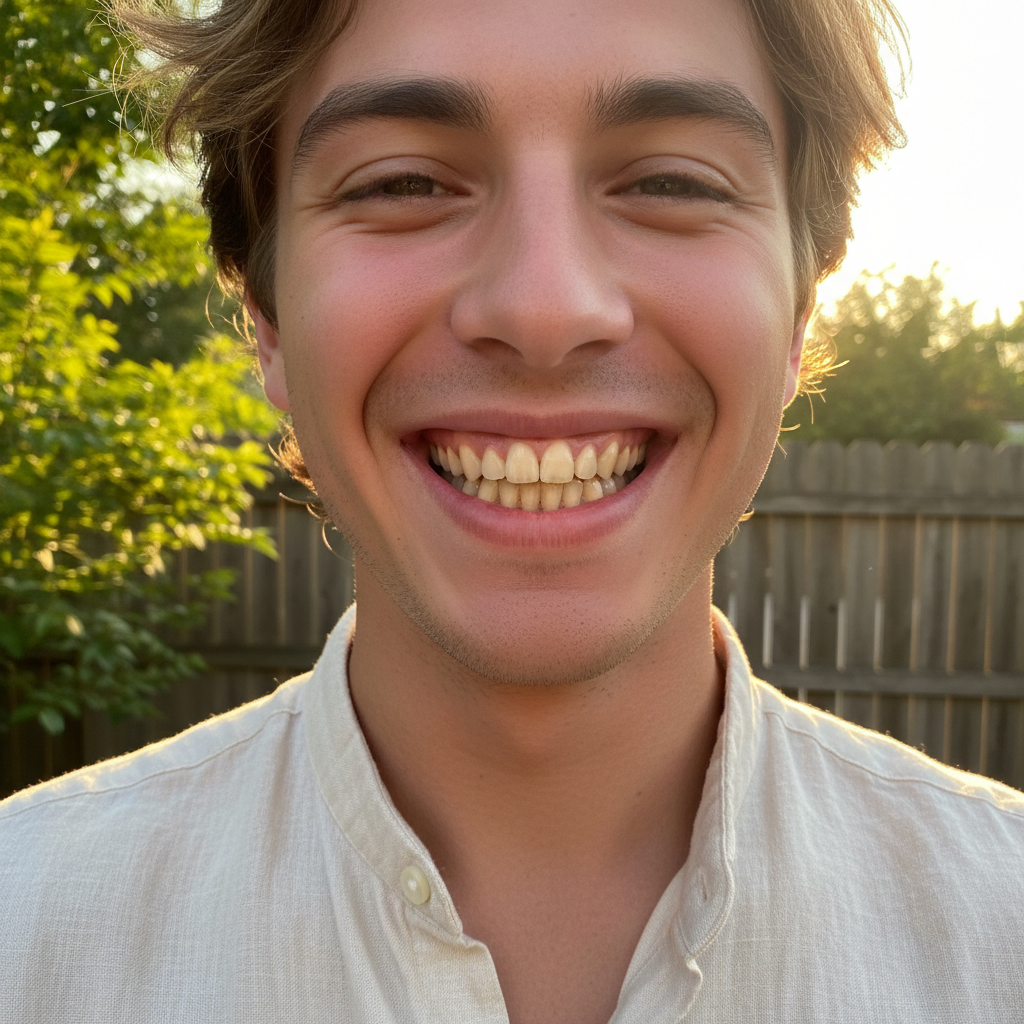
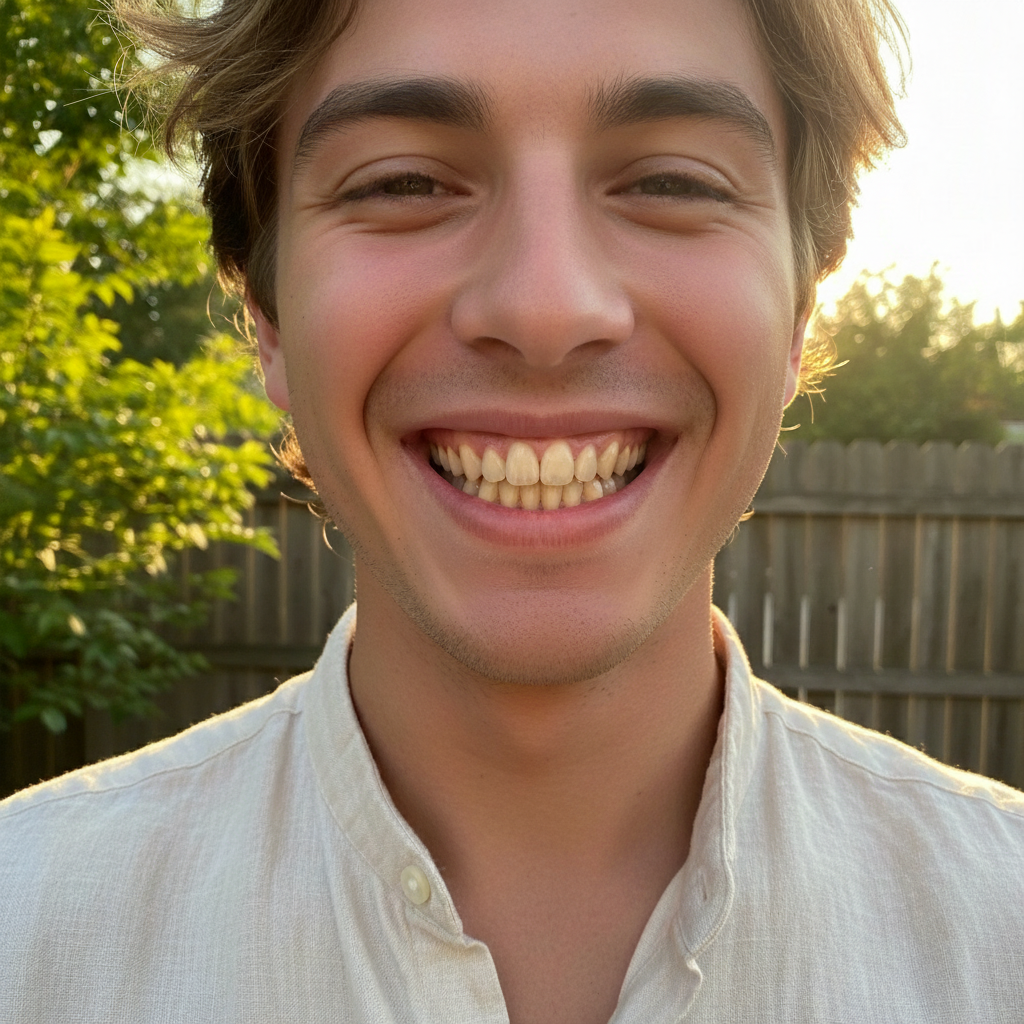
Can AI fix yellow teeth in photos?
Yes. EditThisPic specializes in removing yellow tints from coffee, tea, smoking, and aging. Type 'remove the yellow staining and restore a natural healthy white' and the AI targets the discoloration specifically rather than just brightening everything. It works on light yellowing, heavy stains, and uneven coloring — and you can keep refining until the smile matches what you wanted.
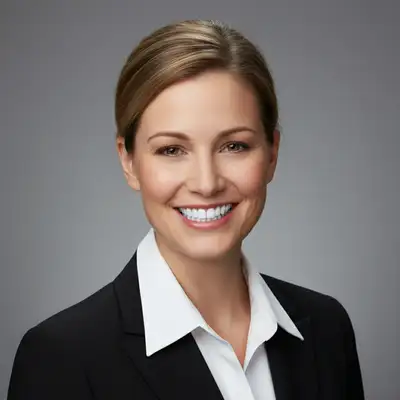
Will it whiten the teeth too much or look fake?
Only if you ask for it that way. The default failure mode of AI whiteners is going too far — over-bright, blue-tinted, plasticky. The fix is in the wording: 'whiten teeth subtly for a natural healthy smile, keep the warmth' produces conservative, believable results. If the first attempt is still too much, just regenerate with 'more subtle, less white.'
Can I whiten teeth in a group photo with multiple people?
Yes. Use 'whiten every visible smile in the photo naturally, keep the brightness even across all the teeth.' The AI processes everyone in one pass. For very large groups (8+ people), it's normal to do a second pass — tap markers on any smiles that got skipped and ask for 'matching brightness to the rest.'
Is there a free AI teeth whitener that doesn't require signup?
Yes. EditThisPic gives you one free Fast edit per week with no account, no card, and no watermark — enough to brighten a single dating profile photo or headshot. If you want to clean up a whole album (wedding photos, headshot session), the Lite plan is $4.99/month for 15 credits, or you can grab a 3-edit pack for $1.99 with no subscription.
Does it work on smile photos with lipstick or braces?
Yes to lipstick — tell the AI 'whiten only the teeth, keep the lipstick exactly the same' and it will protect the lip color. Braces are trickier: the AI can whiten the teeth around the brackets, but if you want the brackets themselves removed too, add 'remove the braces and show clean white teeth' as a second step.
How do I whiten teeth in a photo without making it look fake?
Three rules. First, use words like 'subtle,' 'natural,' and 'believable' — never 'pure white' or 'super bright.' Second, ask the AI to keep a hint of warmth ('keep the warmth so it stays believable'). Third, check the result both zoomed in and at normal viewing size — fake smiles usually look fine at 100% but jump out at thumbnail size. Iterate until both views look natural.
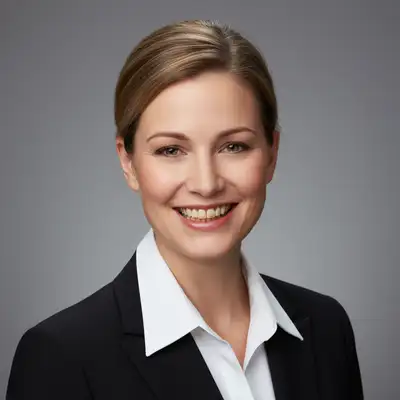
What is the best AI teeth whitener for dating profile photos?
EditThisPic is built for exactly this use case. Dating photos need to look authentically you, not photoshopped, and the model responds well to 'brighten the smile naturally, keep the teeth looking real not edited.' The result is a smile that pops in the thumbnail without setting off the 'this person edited their photos' alarm bells when someone looks closer.
Can I use the AI teeth whitener on my phone?
Yes. EditThisPic runs in any modern mobile browser — Safari on iPhone, Chrome on Android, tablets — so you can whiten teeth straight from your camera roll without installing anything. The result saves back to Photos at the same resolution. There's also a native iOS app on the App Store if you'd rather have a one-tap shortcut.
What photo formats does the AI teeth whitener support?
JPG, PNG, WebP, and HEIC up to 7MB — every format that modern phones and DSLRs export by default. iPhones in HEIC mode upload directly with no conversion, and the whitened photo comes back in the same format you uploaded so it stays compatible with your camera roll, dating app, or photo book service.
How much does EditThisPic cost?
You get 1 free edit per week — no account needed. After that, credit packs start at $1.99 for 3 edits. Monthly plans start at $4.99/mo for 15 edits with unused credits rolling over. All edits are full resolution with no watermark.