AI Hair Loss Tracker
← Browse all creative effectsLast updated
Upload scalp photos and let AI normalize lighting for accurate hair density comparison.
Upload photo to track hair loss progress
"normalize this hairline photo to bright even lighting, preserve the exact hairline position and all baby hairs"
Release to upload
How it works
See it in action


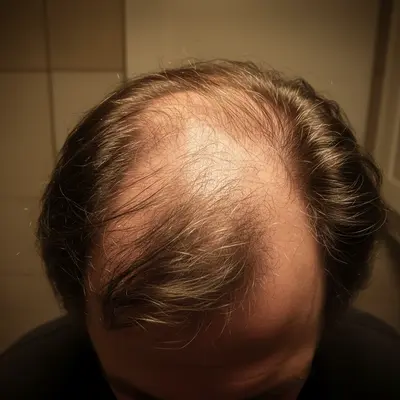
Crown thinning tracking
Normalizing a top-down crown photo to track minoxidil treatment results over 3 months.
Prompt:
normalize to bright even overhead lighting, show hair density and scalp visibility exactly as is


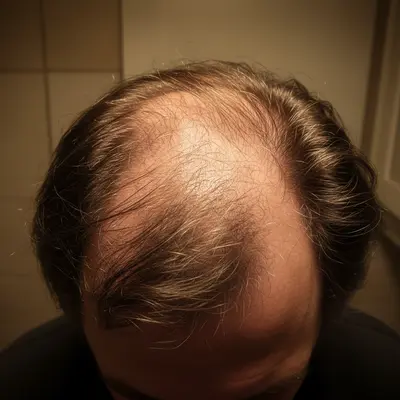
Hairline progress photo
Documenting hairline changes with normalized lighting to track finasteride treatment effectiveness.
Prompt:
normalize to bright even lighting, preserve exact hairline position and all fine hairs


Part-line comparison
Standardizing a part-line photo for width comparison across weekly check-ins.
Quick answers
You might also like
Popular use cases
Ready to track your hair progress?
Free to try. No signup required.