Pricing Visualize Patio · Free

AI Patio Visualizer

← Browse all real estate photography

Last updated

Upload a photo of your outdoor space, describe the patio material, and the AI renders the result in 30 seconds. Free, no account needed.
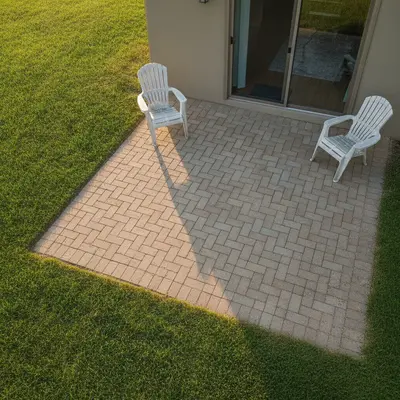
Cracked concrete patio with plastic chairs, sliding glass door, lawn edges Same space with herringbone tan pavers, sand grout, furniture preserved

Upload photo to visualize patio

"replace the grass area with large irregular flagstone pavers in a warm gray-brown tone, moss-fill grout joints, natural random pattern, keep existing garden beds and plants unchanged"

Free to try · no sign-up · photos are never shared

Release to upload

<30stypical edit
1 freeedit weekly
Photo on your phone? Scan to open this editor there — free edit works on your phone too.

1 free edit every week·packs from $4.99

How it works

  1. Upload a photo showing the existing patio or ground area

    Use a photo that shows the entire patio surface or the area where you want to install a patio. A photo taken from a slight elevated angle (from a doorway or deck step) shows the surface pattern more clearly than a ground-level shot. JPG, PNG, or WebP up to 7MB.

    Expect: Simple material swaps (concrete to pavers, grass to concrete): results in 25–35 seconds. Complex pattern rendering like herringbone or irregular flagstone may need one refinement pass for grout lines.
  2. Describe the patio material, pattern, and color

    Type your instruction: 'replace the concrete slab with herringbone tan paver stones, natural sand-colored grout.' The AI understands patio materials — pavers, flagstone, travertine, stamped concrete, porcelain tile, and natural stone. Include pattern (herringbone, running bond, random) and color for accurate rendering. No marking required.

    Tip: For paver patios, specifying grout width changes the visual scale significantly. 'Thin 1/4-inch gray grout' reads as premium, 'wide 1-inch sand grout' reads as traditional. Include grout color and width for the most accurate rendering.

    Copy one of these to get started:

    Herringbone pavers — most popular patio upgrade replace the concrete slab with herringbone-pattern tan paver stones, light sand-colored grout, keep the house, lawn edges, and furniture unchanged
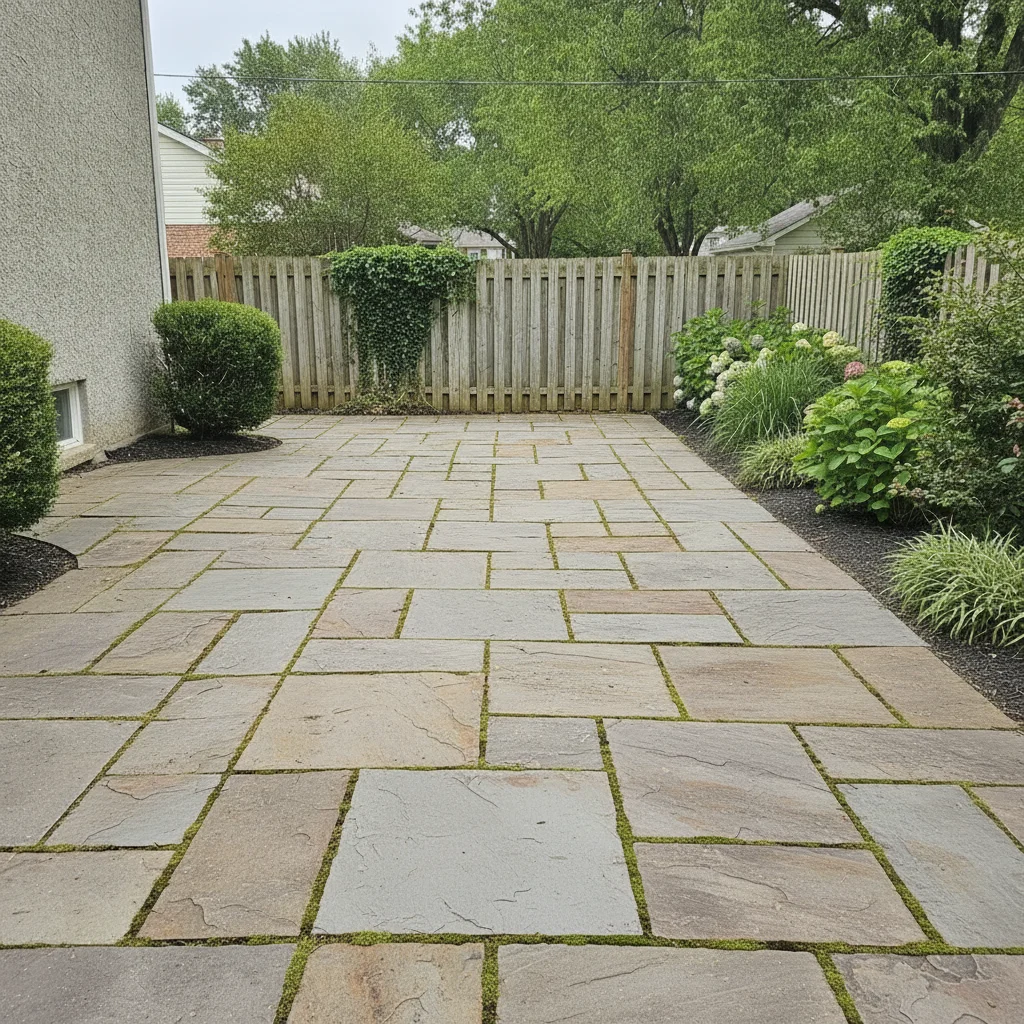
    Flagstone for natural rustic look replace the grass area with large irregular flagstone pavers in a warm gray-brown tone, moss-fill grout joints, natural random pattern, keep existing garden beds and plants unchanged
    Stamped concrete for budget-friendly upgrade replace the plain concrete slab with charcoal stamped concrete in a European cobblestone pattern, slightly textured surface, keep outdoor furniture and house unchanged
    Large-format porcelain tile for modern look replace the patio surface with 24x24 inch light gray porcelain tile in a grid pattern, thin gray grout, keep outdoor furniture, planters, and house wall unchanged
    3 more prompts
    Travertine for Mediterranean or pool patio replace the concrete with unfilled travertine pavers in warm ivory and tan tones, cross-cut finish with visible natural voids, running bond pattern, preserve pool edge and planters
    Contractor before/after for client quote replace the existing cracked concrete with herringbone tan pavers, clean grout joints, professional landscape photography lighting, keep the house facade and garden beds unchanged for a professional renovation rendering
    Add patio where there is only lawn add a rectangular herringbone paver patio in the center of the backyard lawn area, warm tan pavers with gray grout, natural edge transition to lawn, keep existing garden beds and house unchanged
  3. Check the surface pattern, edges, and transition to lawn

    Zoom to the patio edge where it meets the lawn or garden beds — this is the most likely area to show transition artifacts. Verify the stone pattern reads consistently across the whole surface, and check that outdoor furniture legs haven't been obscured or altered.

  4. Refine specific areas or adjust pattern detail with markers

    If a corner, step area, or the patio edge didn't render correctly, tap a marker on that zone and regenerate: 'fix the patio edge transition — the pavers should meet the lawn with a clean straight edge.' Markers constrain the fix to the problem area.

    Tip: If the pattern looks blurry or low-detail, add 'high detail, individual stone edges clearly defined' to your next prompt — this sharpens grout lines and stone texture.

See it in action

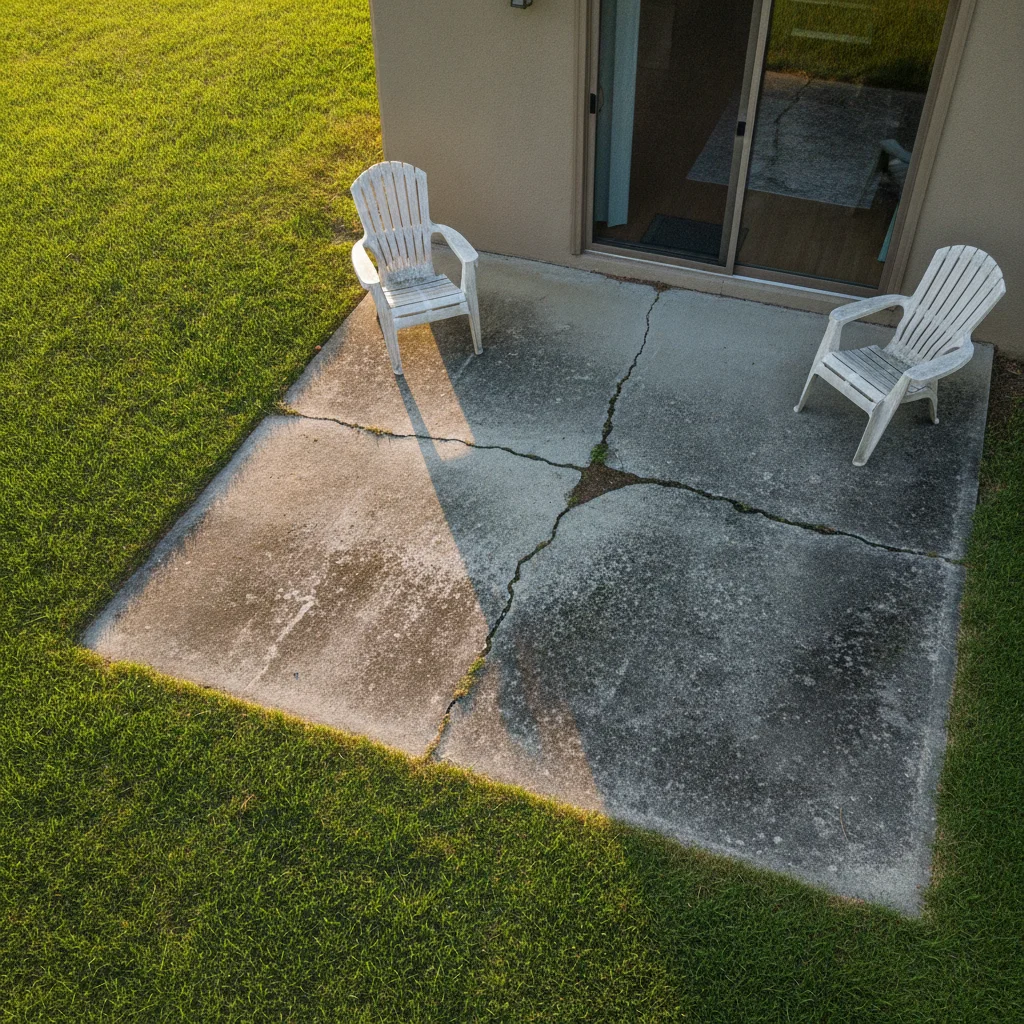
Cracked concrete patio with plastic chairs, sliding glass door, lawn edges
Before
->
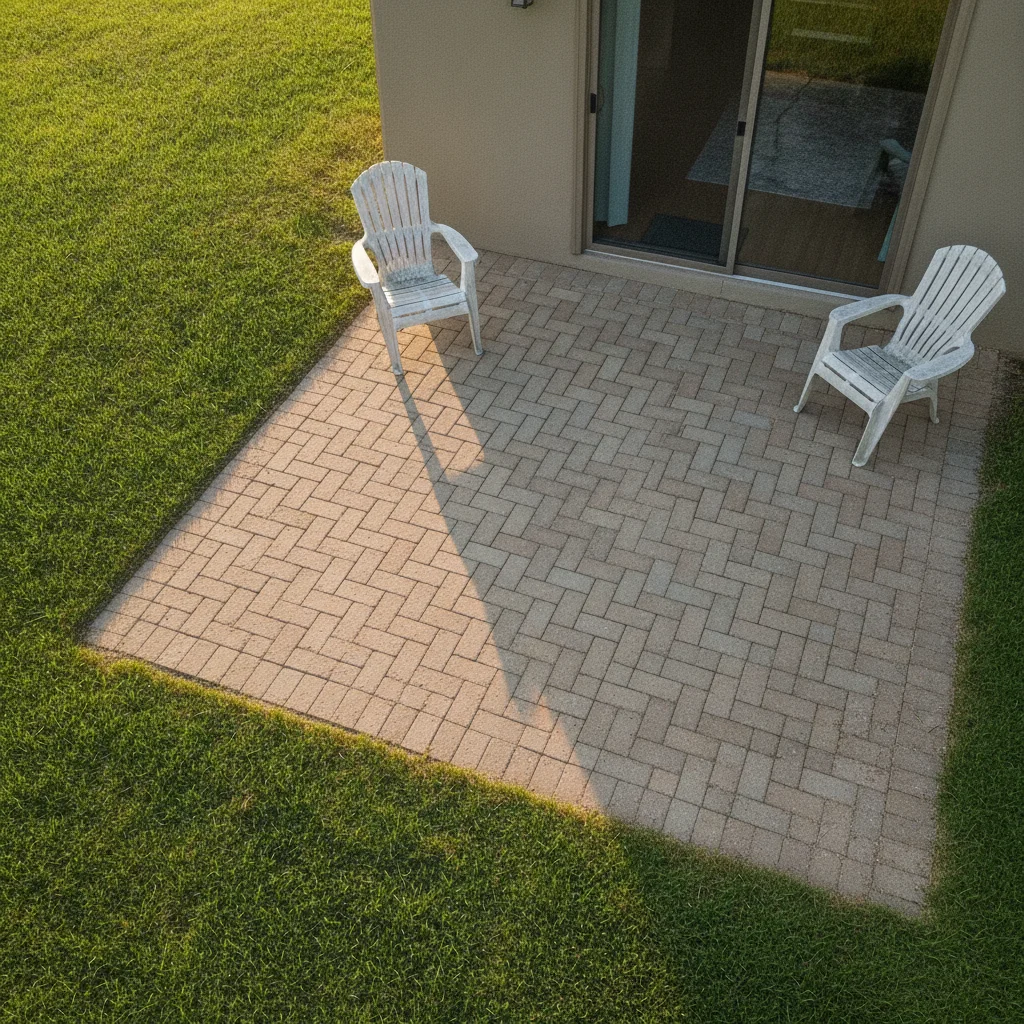
Same space with herringbone tan pavers, sand grout, furniture preserved
After

Cracked concrete to herringbone pavers — before/after for listing

Old cracked concrete patio adjacent to a house backdoor. Realtor needed a before/after visual to illustrate renovation potential in listing materials. Herringbone tan pavers rendered with consistent grout lines and natural stone color variation.

Prompt: replace the concrete slab with herringbone-pattern tan paver stones, light sand-colored grout, keep the house, lawn edges, and furniture unchanged
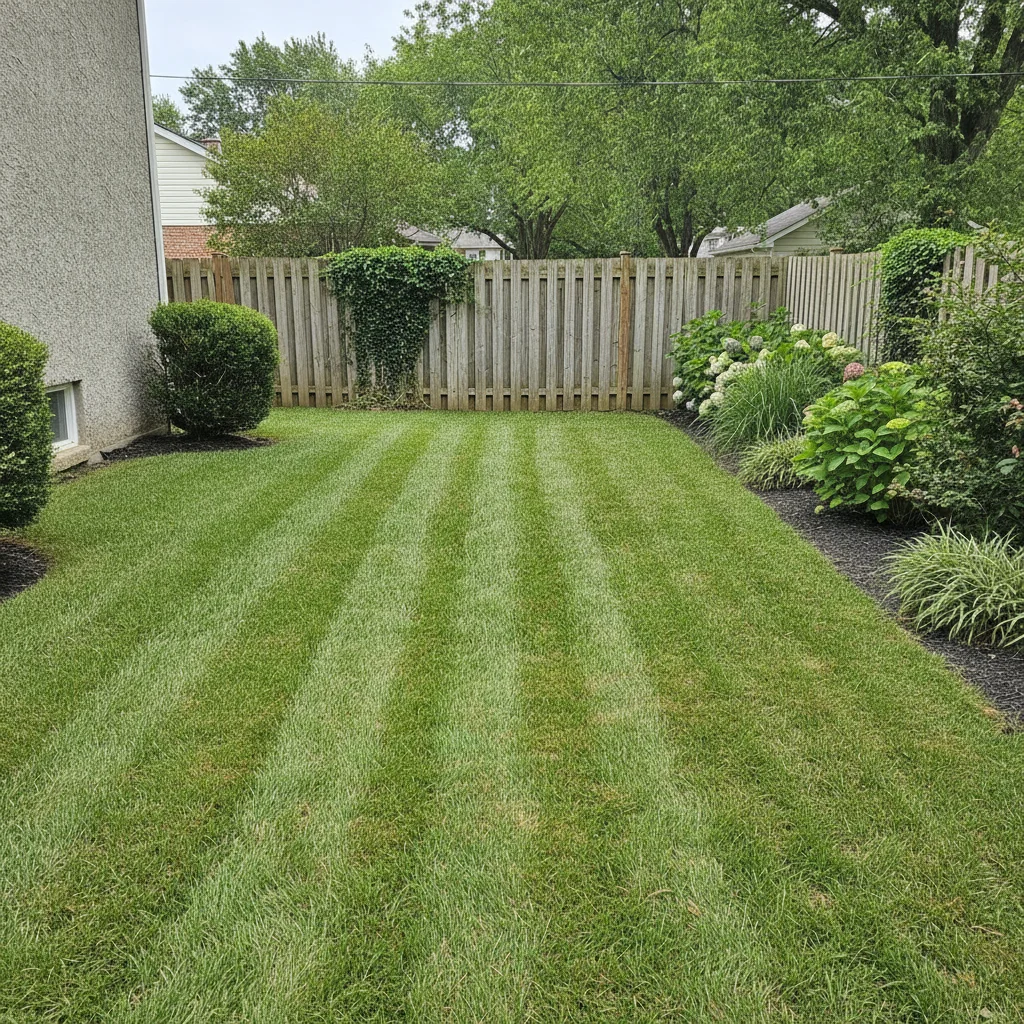
Flat rectangular lawn with garden beds, wooden fence at far end
Before
->
Same lawn area replaced with irregular flagstone, moss grout, garden beds preserved
After

Bare lawn to flagstone — contractor renovation quote

Flat backyard lawn area where the homeowner wanted to add a seating patio. Contractor used this to present the flagstone option alongside a pavers option before the homeowner committed to a material. Irregular flagstone rendered with natural color variation.

Prompt: replace the grass area with large irregular flagstone pavers in warm gray-brown, moss-fill grout joints, natural random pattern, keep existing garden beds and plants unchanged
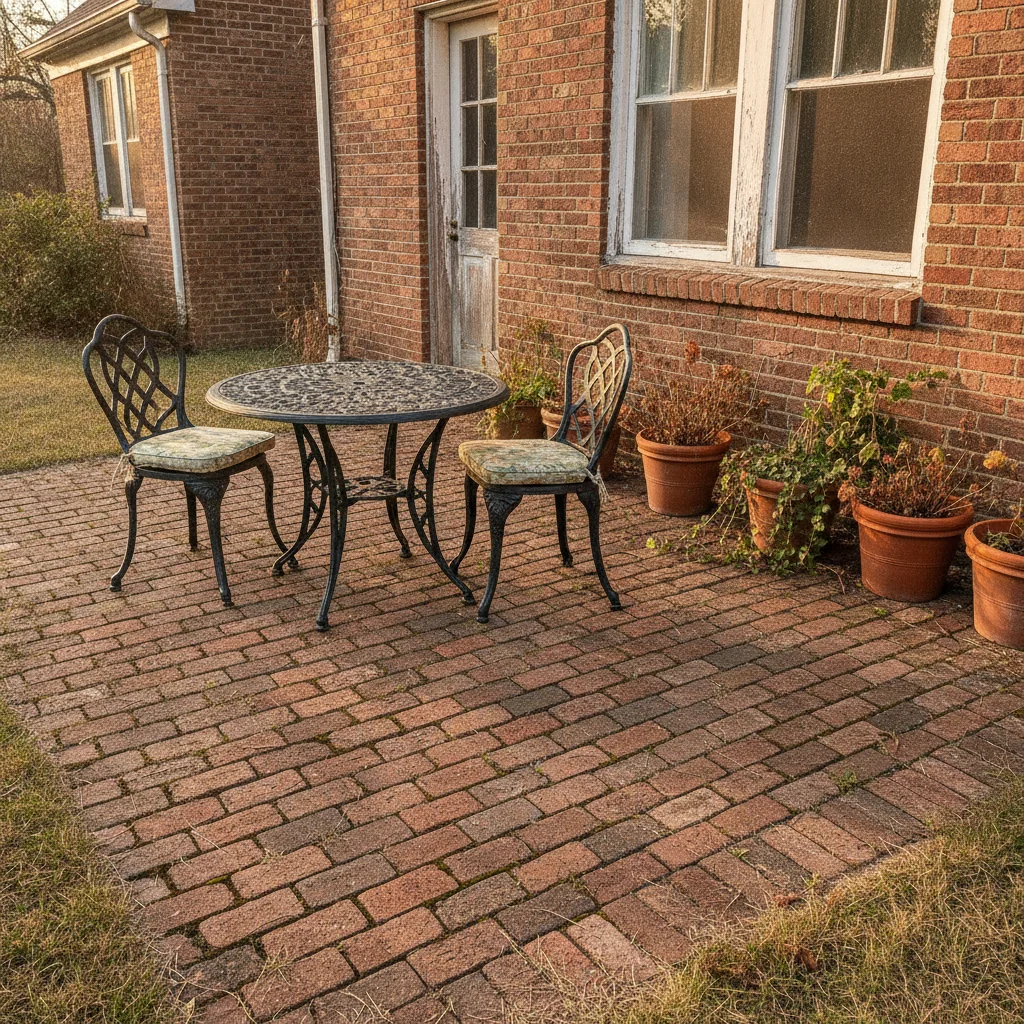
Red brick patio with outdoor table, chairs, terracotta planters, house facade
Before
->
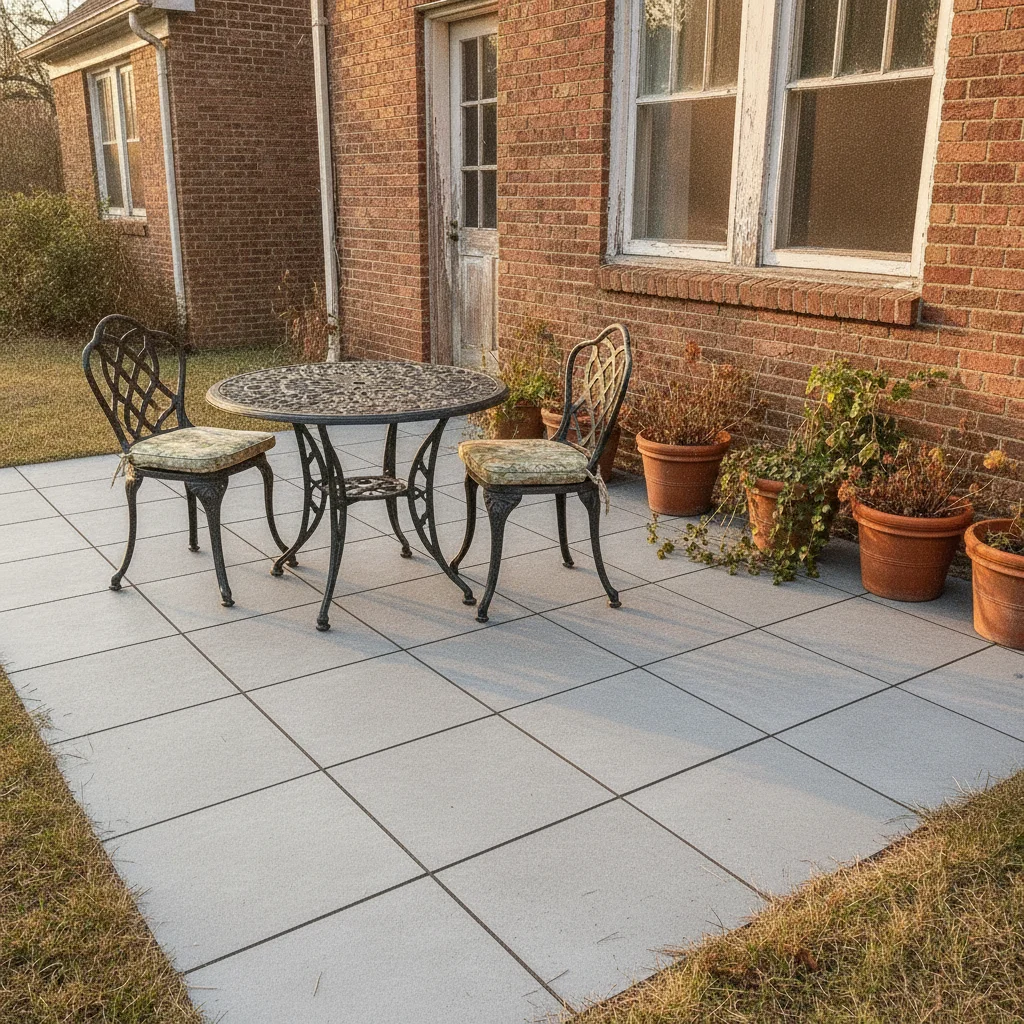
Same space with large-format light gray porcelain tiles, furniture and planters unchanged
After

Old brick to large-format porcelain — modern outdoor update

Dated red brick patio surface. Homeowner wanted to visualize a contemporary porcelain tile update for a kitchen extension project. Large-format light gray tiles rendered with thin grout lines and clean corner edges.

Prompt: replace the brick patio with 24x24 inch light gray porcelain tile in a grid pattern, thin gray grout, keep outdoor furniture, planters, and house wall unchanged

Quick answers

Do I need to mark the patio area before visualizing a new surface?

No. Describe what you want: 'replace the concrete slab with herringbone tan pavers.' The AI identifies the ground surface from the photo. Use markers only if the AI recolors the wrong area — tap directly on the patio surface to clarify.

Is there a free patio visualizer with no login?

Yes. EditThisPic is free, no account. Upload a backyard photo, describe the patio material and pattern, and download the visualization in 30 seconds. Works in any browser on desktop or mobile. The free edit is a preview — purchased downloads are clean, full quality.

Can I visualize adding a patio where there is only lawn?

Yes. Describe the shape and material: 'add a rectangular herringbone paver patio in the center of the backyard, warm tan pavers, natural edge transition to lawn.' The AI infers the perspective and ground plane from the photo and renders the new patio in place.

Can landscapers and contractors use this for client presentations?

Yes. Take one photo of the client's existing outdoor space and generate multiple material options — pavers, flagstone, stamped concrete — from the same image. Each rendering takes about 30 seconds and uses the same background for side-by-side comparison. Purchased downloads are clean, full quality.

How do I get realistic grout lines in the paver rendering?

Specify grout width and color in your prompt: 'herringbone tan pavers, 1/4-inch gray grout lines, individual stone edges clearly visible.' Without grout specifications, the AI may render a flat surface with indistinct joints. Adding 'high detail' to the prompt also sharpens grout line definition.

How much does EditThisPic cost?

You get 1 free edit per week — no account needed. After that, one-time credit packs start at $4.99 for 10 edits, valid 12 months, no subscription. Power users who edit daily can pick Studio Membership, a monthly workspace at $49.99/mo for 300 edits. Purchased downloads are clean with no watermark.

Ready to visualize your new patio?

Free to try. No signup required.

1 free edit included·Credit packs from $4.99