Pricing Restore Fire-damaged photo · Free

Restore a Fire-Damaged Photo

← Browse all restore tools

Last updated

Clear soot, scorch marks, and burned edges from a photo that survived a fire, gently and with care.
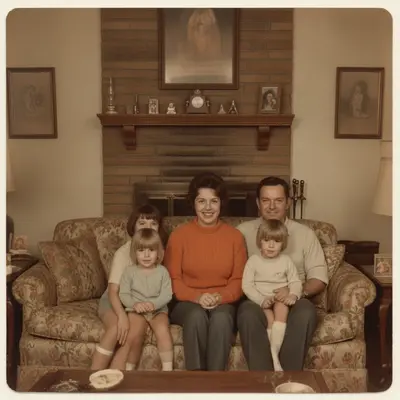
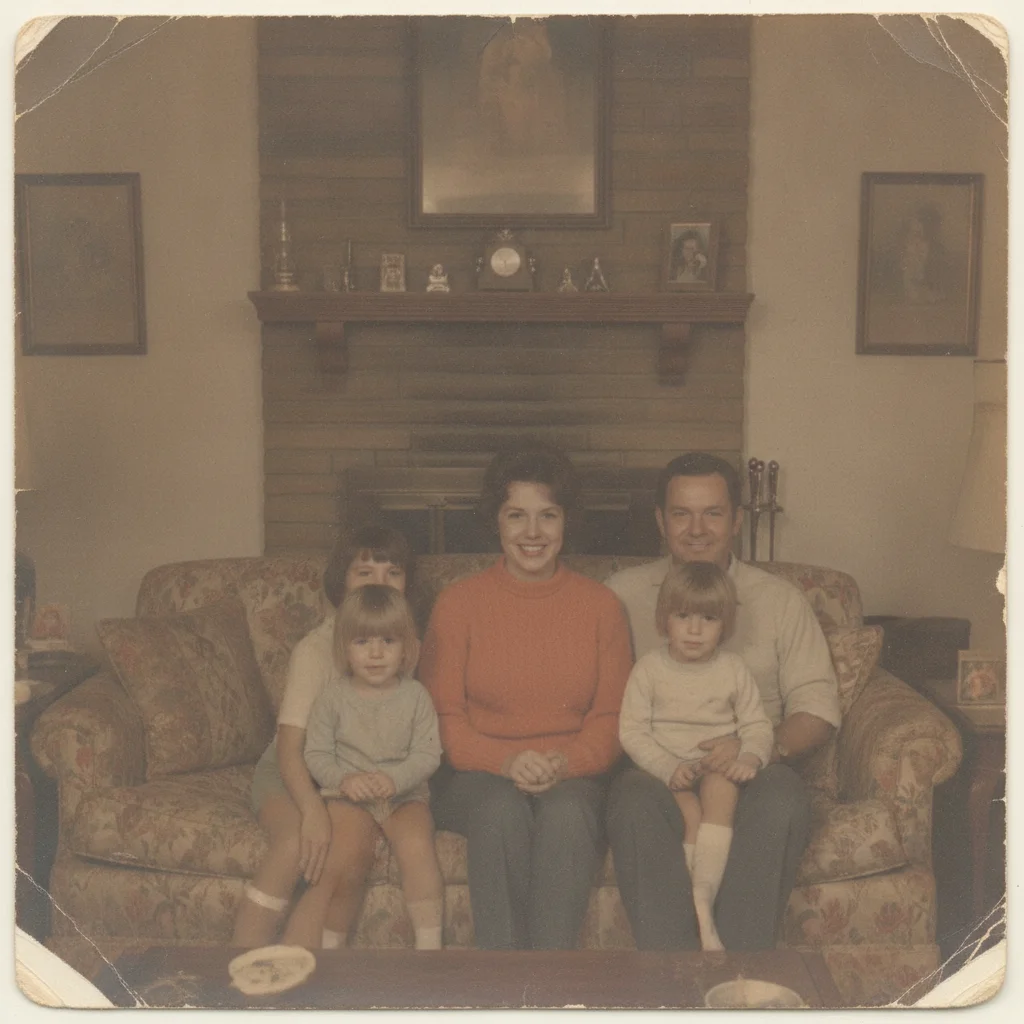
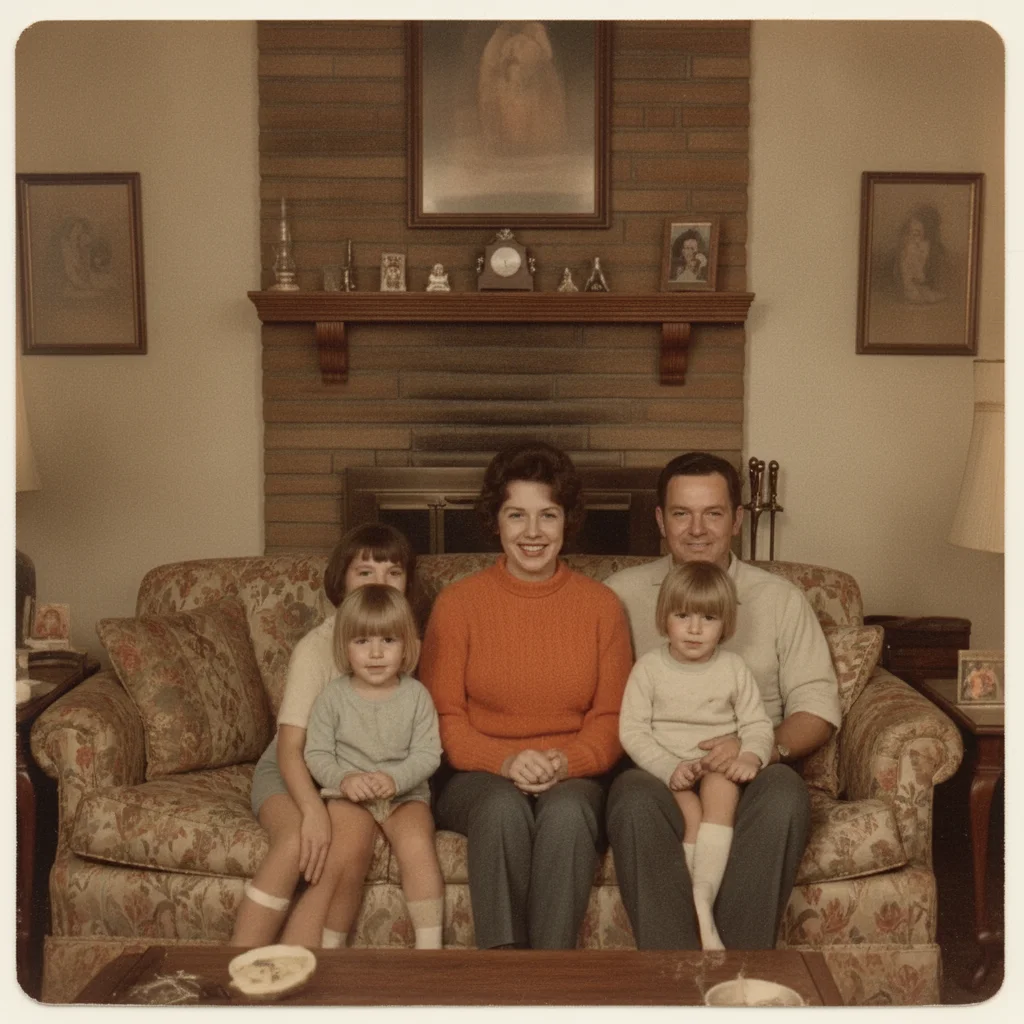
Old photo darkened by soot and smoke discoloration Old photo restored with the soot discoloration removed

Upload photo to restore fire-damaged photo

"rebuild the scorched edge of this photo, matching the color, lighting, and detail of the rest of the print"

Free to try · no sign-up · photos are never shared

Release to upload

<30stypical edit
1 freeedit weekly
Photo on your phone? Scan to open this editor there — free edit works on your phone too.

1 free edit every week·paid packs after

How it works

  1. Upload or scan the damaged print

    Scan the photo if you can, or photograph it flat in even daylight with no glare — JPG, PNG, or WebP up to 7MB. If you don't have a scanner, natural daylight shows soot and scorch color more accurately than indoor lighting.

    Expect: Soot darkening and smoke discoloration clean up well. A scorched or burned-away edge is rebuilt from the surrounding photo, so review that area closely once the edit is done.
  2. Describe the restoration

    Type what happened to the photo: 'remove the soot discoloration and scorch marks, rebuild the burned corner, keep the faces natural.' If this is the only surviving copy of the photo, say so — it doesn't change the process, but it's fine to be specific about what matters to you.

    Tip: Separate the two damage types in your prompt — soot darkening (a color problem) and scorching (missing or charred material) — so each is handled correctly.

    Copy one of these to get started:

    Soot and smoke discoloration remove the soot discoloration and smoke darkening from this photo and restore the natural colors underneath
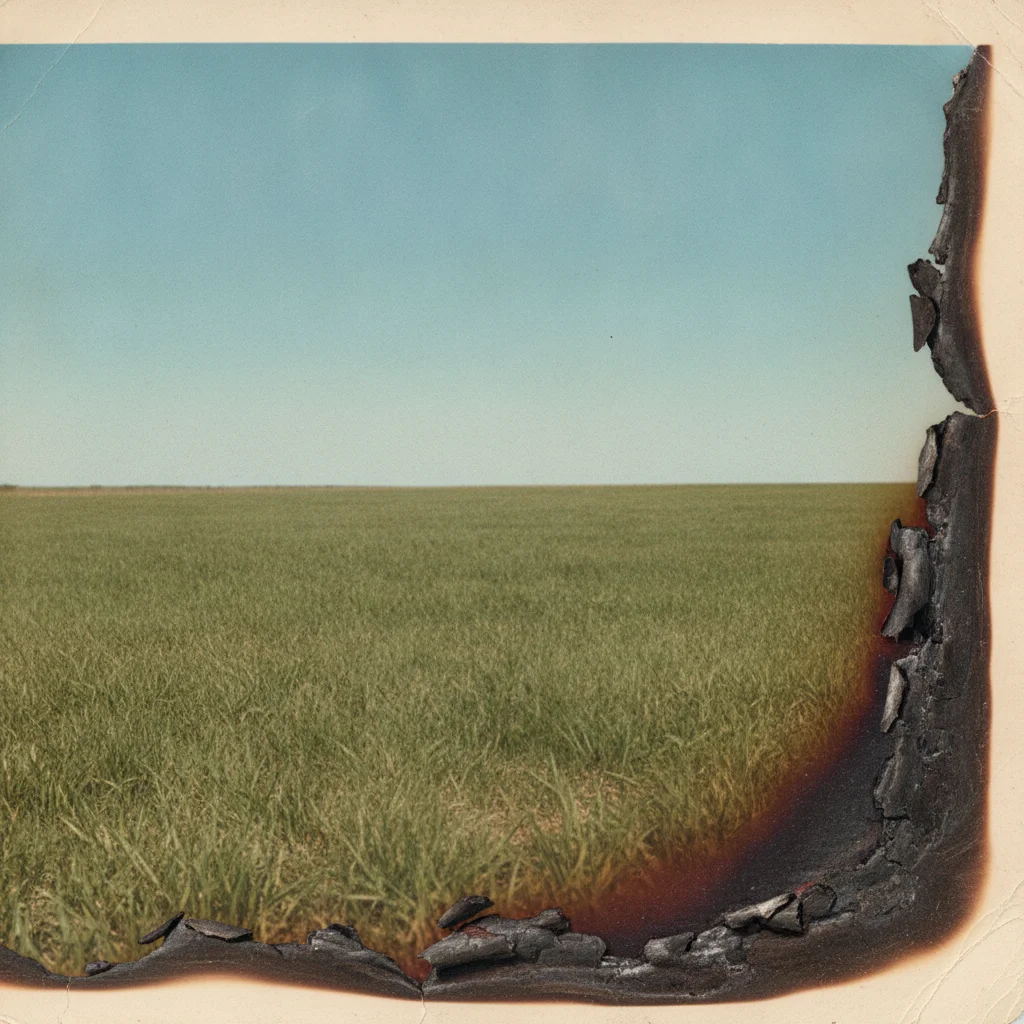
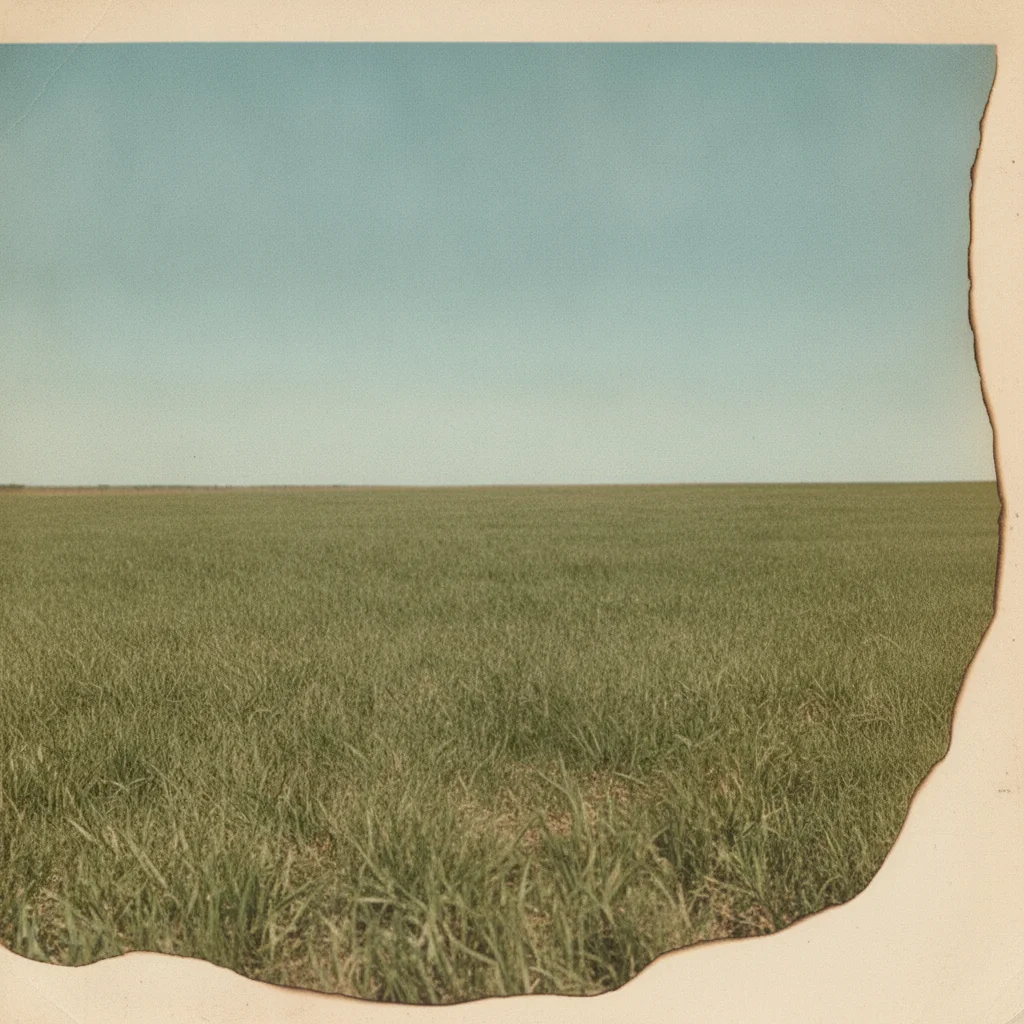
    Scorched edge rebuild the scorched edge of this photo, matching the color, lighting, and detail of the rest of the print
    Burn hole near a face restore this fire-damaged photo, rebuilding the burned area near the face naturally without changing the person's likeness elsewhere
    Yellowed and warped print remove the heat-yellowing and even out the warped, discolored areas of this fire-damaged photo
    3 more prompts
    Gentle, minimal restoration gently clean the soot and smoke haze from this photo while keeping the original vintage look and film grain
    Soot plus scratches remove the soot discoloration and the surface scratches together and restore this old photo
    Full restoration pass restore this fire-damaged photo completely — remove soot and smoke discoloration, rebuild scorched edges, and keep the faces natural
  3. Review closely

    Zoom in on any rebuilt edge and on faces. Check that skin tones, clothing, and the background look natural and match the parts of the photo the fire didn't touch.

  4. Refine with a marker if needed

    If one burned area still looks off, tap a marker on that spot and describe it more specifically. Markers are optional — most fire damage restores well from a clear written description alone.

See it in action

Old photo darkened by soot and smoke discoloration
Before
->
Old photo restored with the soot discoloration removed
After

Restore a Fire-Damaged Photo — Soot Discoloration

A family photo darkened by soot, cleaned back to its natural color.

Prompt: remove the soot discoloration and smoke darkening from this photo and restore the natural colors underneath
Old photo with a scorched, charred corner
Before
->
Old photo with the scorched corner rebuilt
After

Restore a Fire-Damaged Photo — Scorched Corner

A photo with a charred bottom-right corner, rebuilt to match the rest of the scene.

Prompt: rebuild the scorched edge of this photo, matching the color, lighting, and detail of the rest of the print
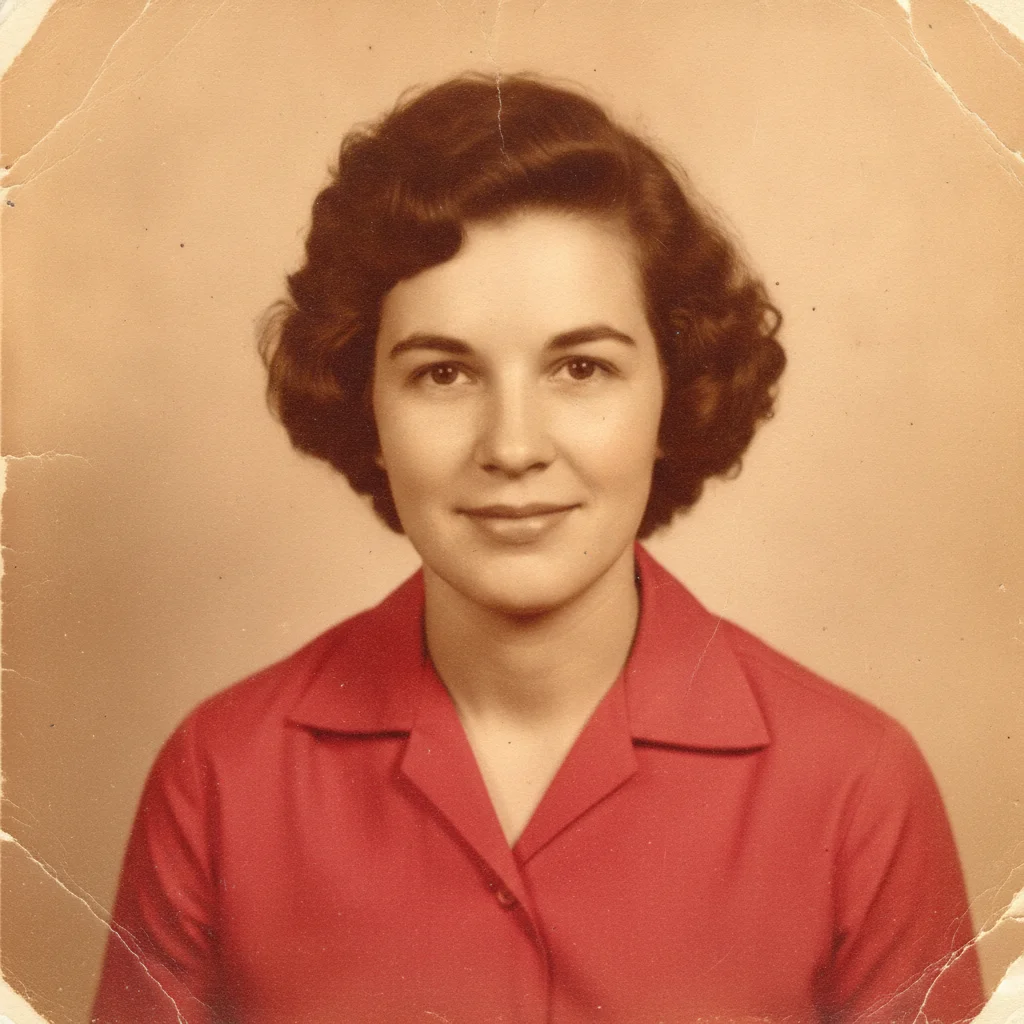
Old photo yellowed by heat exposure
Before
->
Old photo restored with the heat-yellowing removed
After

Restore a Fire-Damaged Photo — Heat Yellowing

A photo yellowed by heat exposure, evened out to its original tones.

Prompt: remove the heat-yellowing and even out the warped, discolored areas of this fire-damaged photo

Quick answers

Do I need to mark or select the burned area before restoring the photo?

No. Describe the damage in plain language — 'remove the soot and rebuild the scorched corner' — and the AI locates it. Tap markers are only for refining one specific spot afterward.

Is restoring a fire-damaged photo free?

Yes. EditThisPic restores a fire-damaged photo for free with one Fast edit per week, no signup or credit card required. Credit packs and a subscription are available for more edits.

Can AI really fix soot and smoke damage?

Yes — soot and smoke discoloration are color and haze problems the AI clears well, since the underlying image is usually still there beneath the darkening.

What if part of the photo actually burned away?

The AI rebuilds a burned-away area plausibly from the surrounding photo. This is a careful reconstruction, not a recovery of what was physically lost to the fire, and it's honest to treat it that way.

Will a face under soot come back looking exactly the same?

It comes back as a close, natural likeness, not a guaranteed exact match, especially if scorching reached the face directly. Compare against another photo of the same person if one exists.

What photo formats can I upload?

JPG, PNG, and WebP up to 7MB. The restored photo downloads in the same format you uploaded.

How much does EditThisPic cost?

You get 1 free edit per week — no account needed. After that, one-time credit packs start at $4.99 for 10 edits, valid 12 months, no subscription. Power users who edit daily can pick Studio Membership, a monthly workspace at $49.99/mo for 300 edits. Purchased downloads are clean with no watermark.

Ready to restore your fire-damaged photo?

Free to try. No signup required.

1 free edit included·paid credit packs after