Pricing Visualize Ceiling beams · Free

AI Ceiling Beam Visualizer

← Browse all creative effects

Last updated

Describe the beams you are considering and see them on your own ceiling. Free, no account.
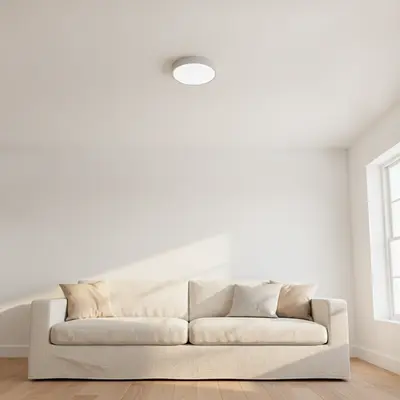
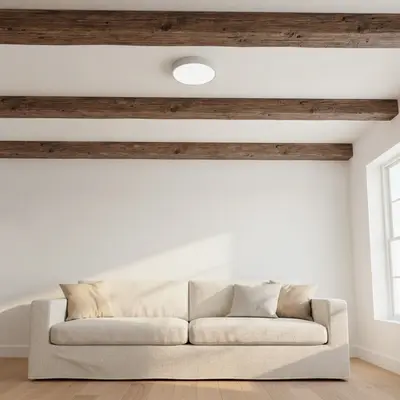
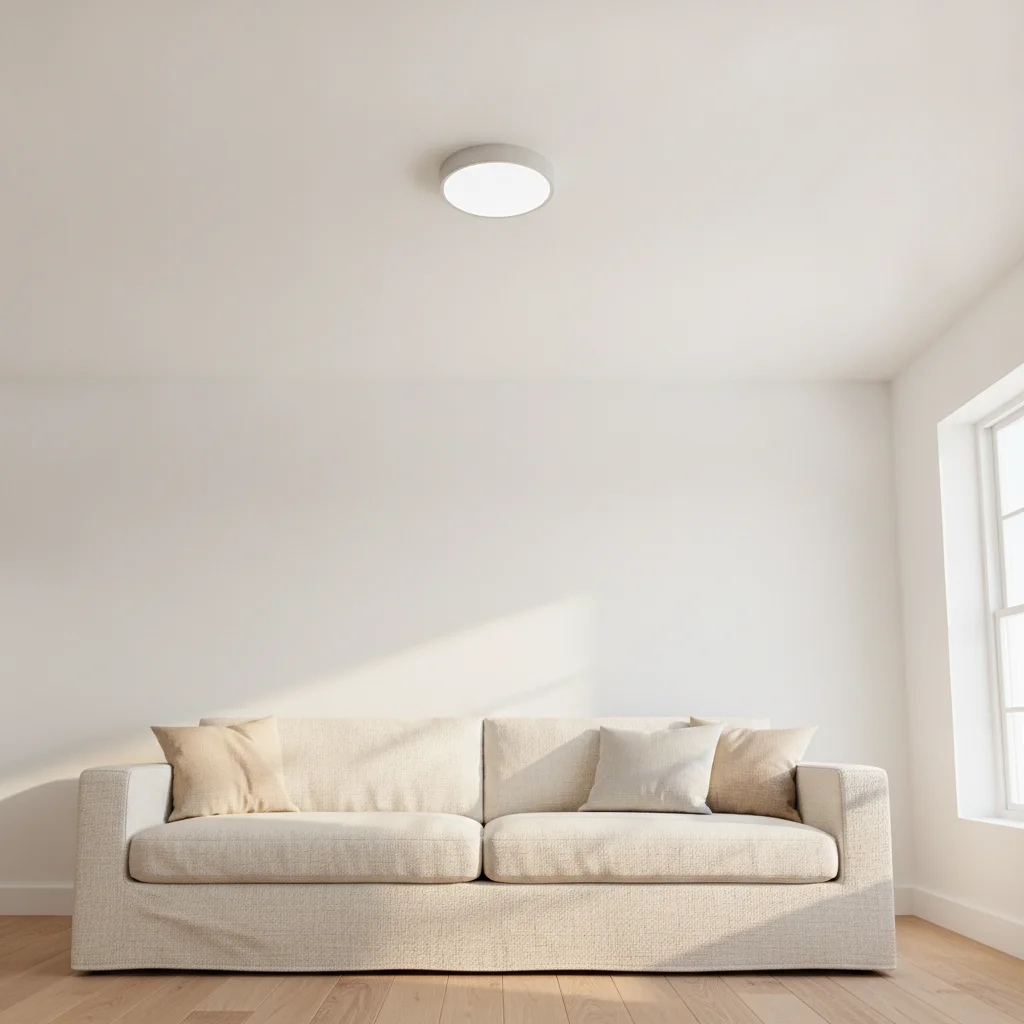
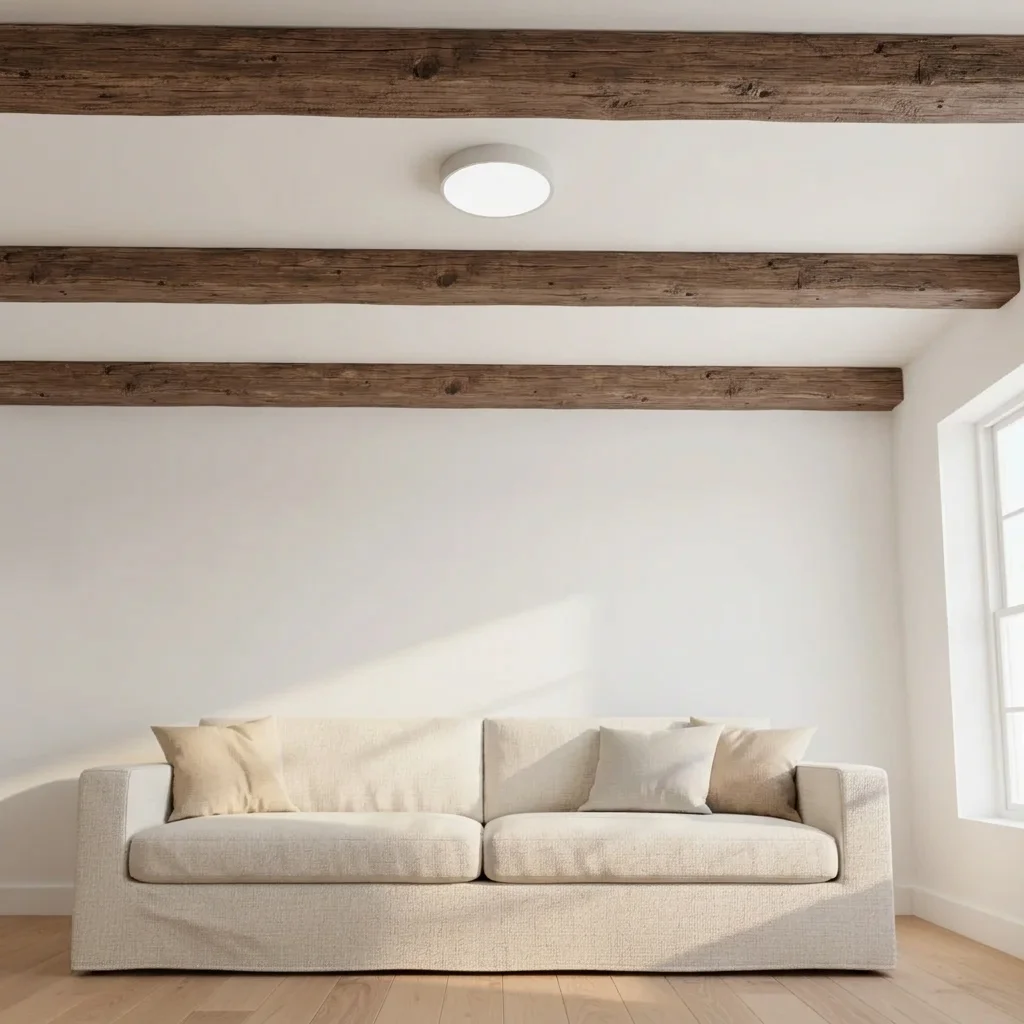
Living room with a plain white flat ceiling and cream sofa Same living room with three dark walnut beams across the ceiling

Upload photo to visualize ceiling beams

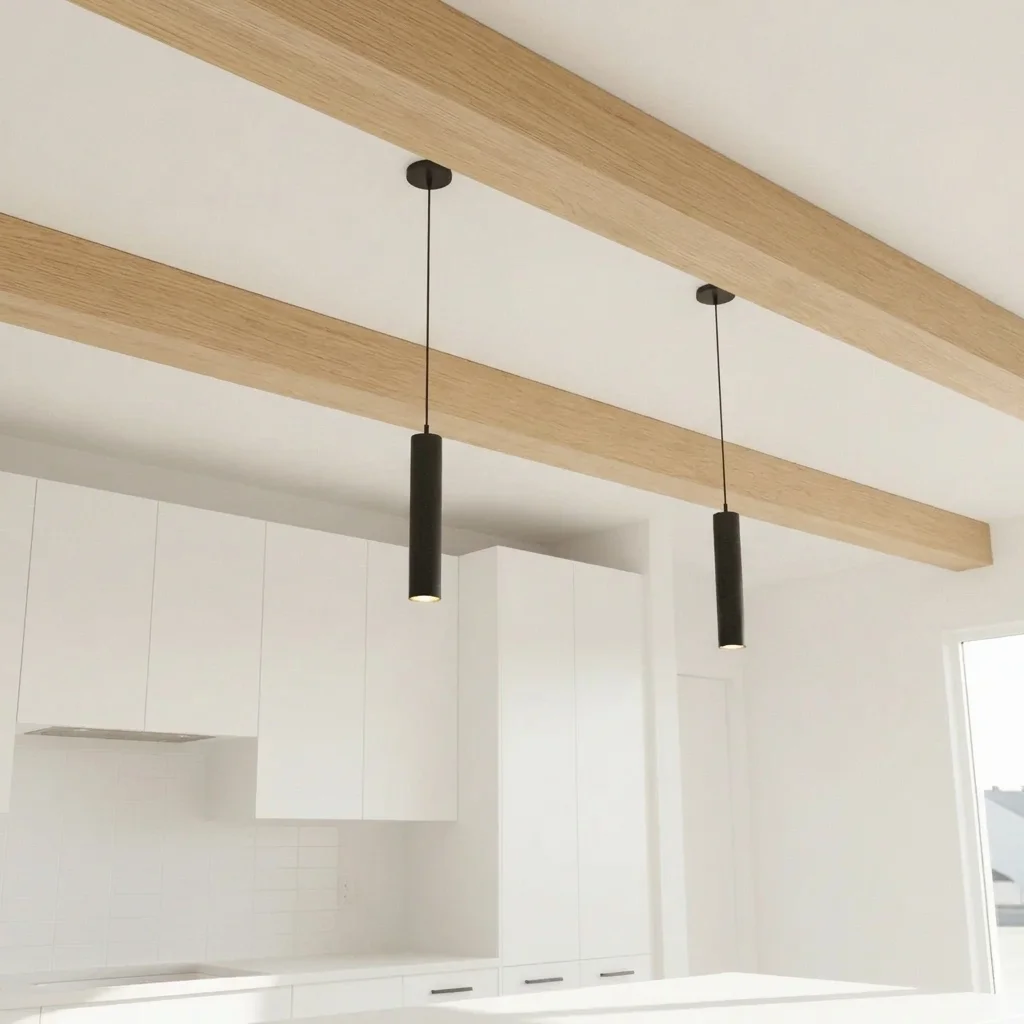
"add two light oak box beams across the kitchen ceiling, natural grain, keep the pendant lights and cabinets the same"

Free to try · no sign-up · never used for AI training

Release to upload

<30stypical edit
1 freeedit weekly
Photo on your phone? Scan to open this editor there — free edit works on your phone too.

1 free edit every week·paid packs after

How it works

  1. Upload a photo of your ceiling

    Take the photo looking up slightly so a good part of the ceiling is visible with the walls on at least two sides. A ceiling that fills a third of the picture or more gives the best preview.

    Expect: Simple changes usually finish quickly. Detailed patterns or several elements at once may need a second try.
  2. Describe what you want to see

    Describe the beams: number, direction, finish and style. For example: 'add three rustic faux wood beams running across the ceiling, dark walnut finish, evenly spaced.' Say whether you want solid beams or box beams. No marking needed.

    Tip: Say which way the beams run. 'Running from the left wall to the right wall' avoids the AI picking a direction at random.

    Copy one of these to get started:

    Rustic dark beams in a living room add three rustic faux wood beams running across the ceiling from the left wall to the right wall, dark walnut finish, evenly spaced, keep the lights and walls unchanged
    Light oak beams for a bright kitchen add two light oak box beams across the kitchen ceiling, natural grain, keep the pendant lights and cabinets the same
    White painted beams for a coastal look add white painted beams across the ceiling with a slight wood grain showing, evenly spaced, keep walls and furniture unchanged
    Reclaimed wood beams in a farmhouse room add four weathered reclaimed wood beams across the ceiling with visible grain and knots, grey brown tone
    3 more prompts
    A single mantel-style beam over a seating area add one thick rough hewn wood beam across the ceiling above the sofa, medium brown finish
    Beams in a grid on a vaulted ceiling add dark wood beams along the slope of the vaulted ceiling, evenly spaced, keep the windows and walls unchanged
    Beams in a bedroom add two medium oak beams across the bedroom ceiling, running along the length of the room, keep the bed and walls unchanged
  3. Review the preview

    Check that the beams look straight and meet the walls cleanly. Look at lights or fans on the ceiling too, since the AI should leave them in place. Wood grain is usually convincing at a glance.

  4. Refine with markers if needed

    If beams run in the wrong direction or cover a light fixture, tap a marker on the ceiling area you mean and regenerate with a more exact instruction. Markers are optional.

    Tip: Markers are for precision refinement, not a required step. Most previews work from the description alone.

See it in action

Living room with a plain white flat ceiling and cream sofa
Before
->
Same living room with three dark walnut beams across the ceiling
After

Flat living room ceiling to dark beams

A homeowner with a low ceiling wanted to see whether dark beams would feel too heavy.

Prompt: add three rustic faux wood beams across the ceiling, dark walnut finish, evenly spaced
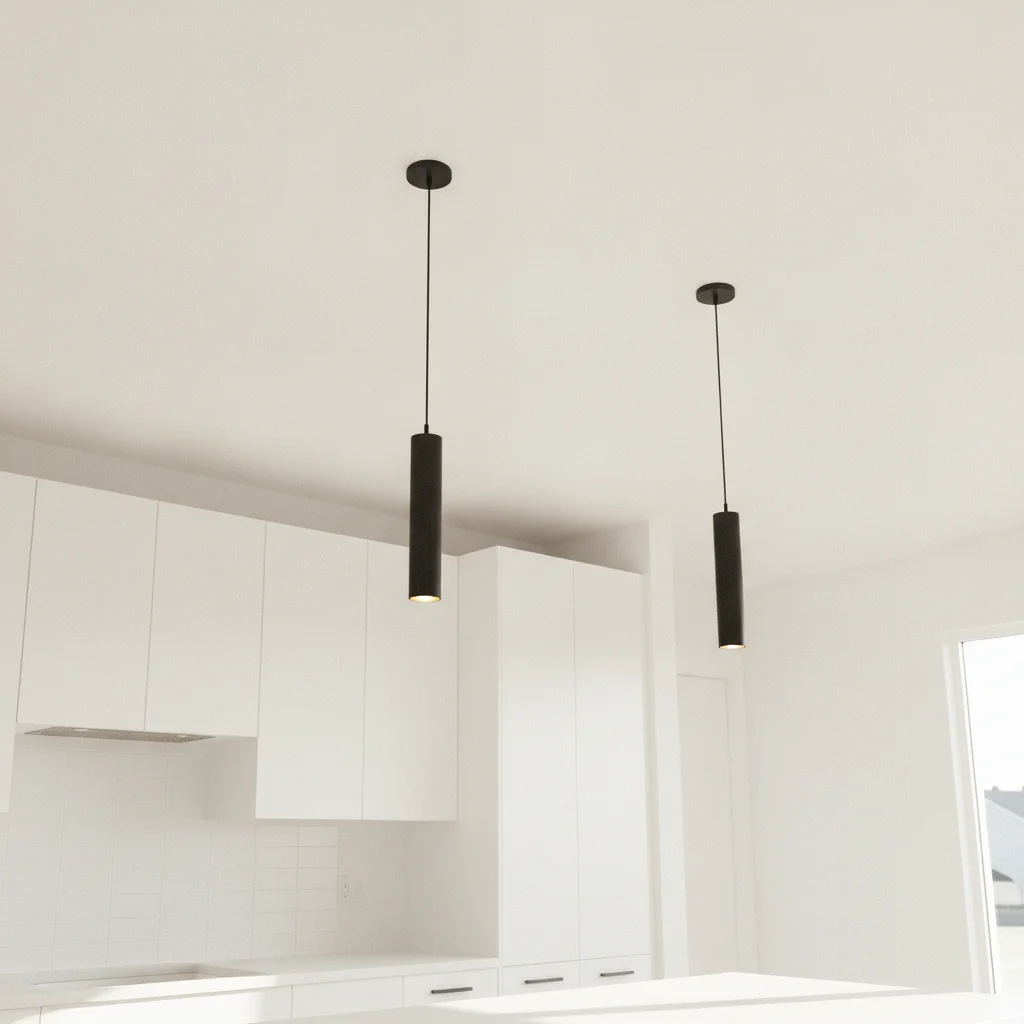
Kitchen with plain white ceiling and black pendant lights
Before
->
Same kitchen with two light oak beams on the ceiling
After

Kitchen ceiling to light oak box beams

A kitchen with a plain ceiling and pendant lights, previewed with light box beams.

Prompt: add two light oak box beams across the kitchen ceiling, keep the pendant lights and cabinets
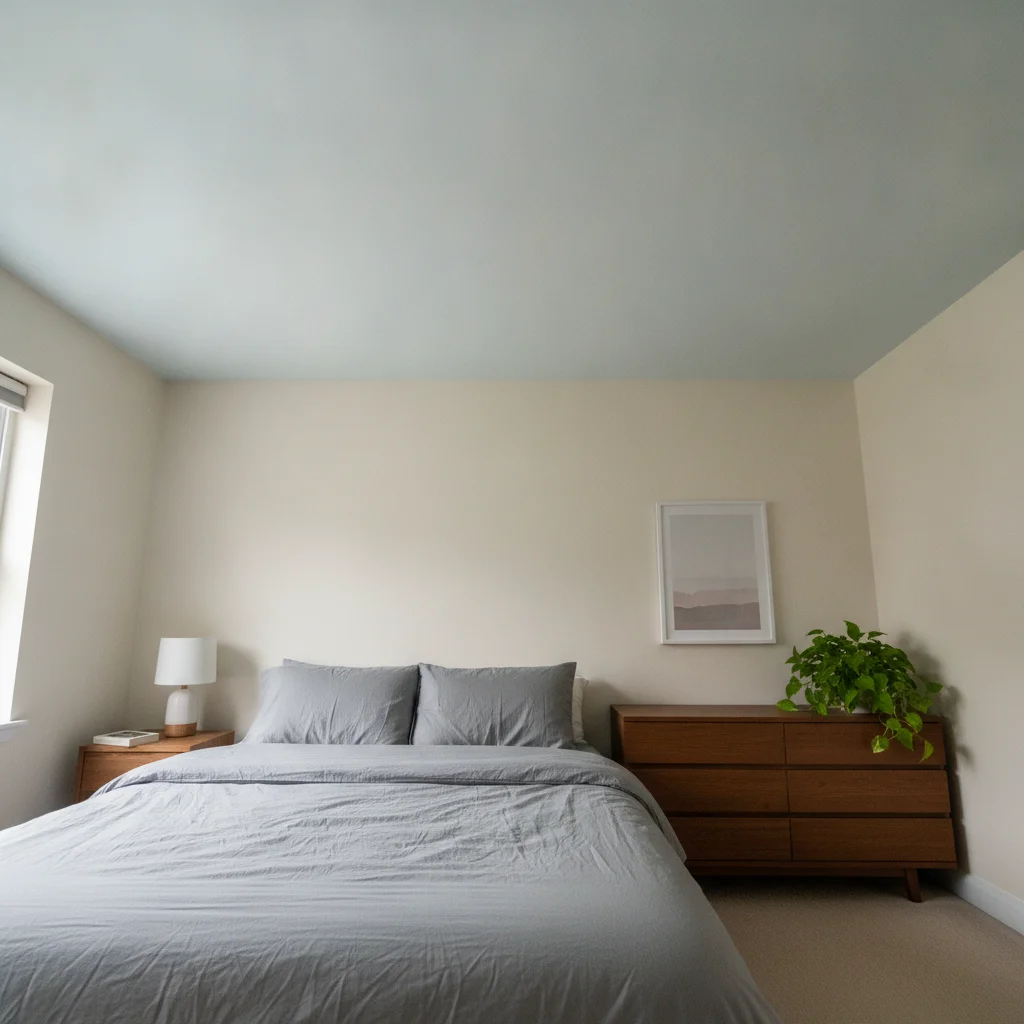
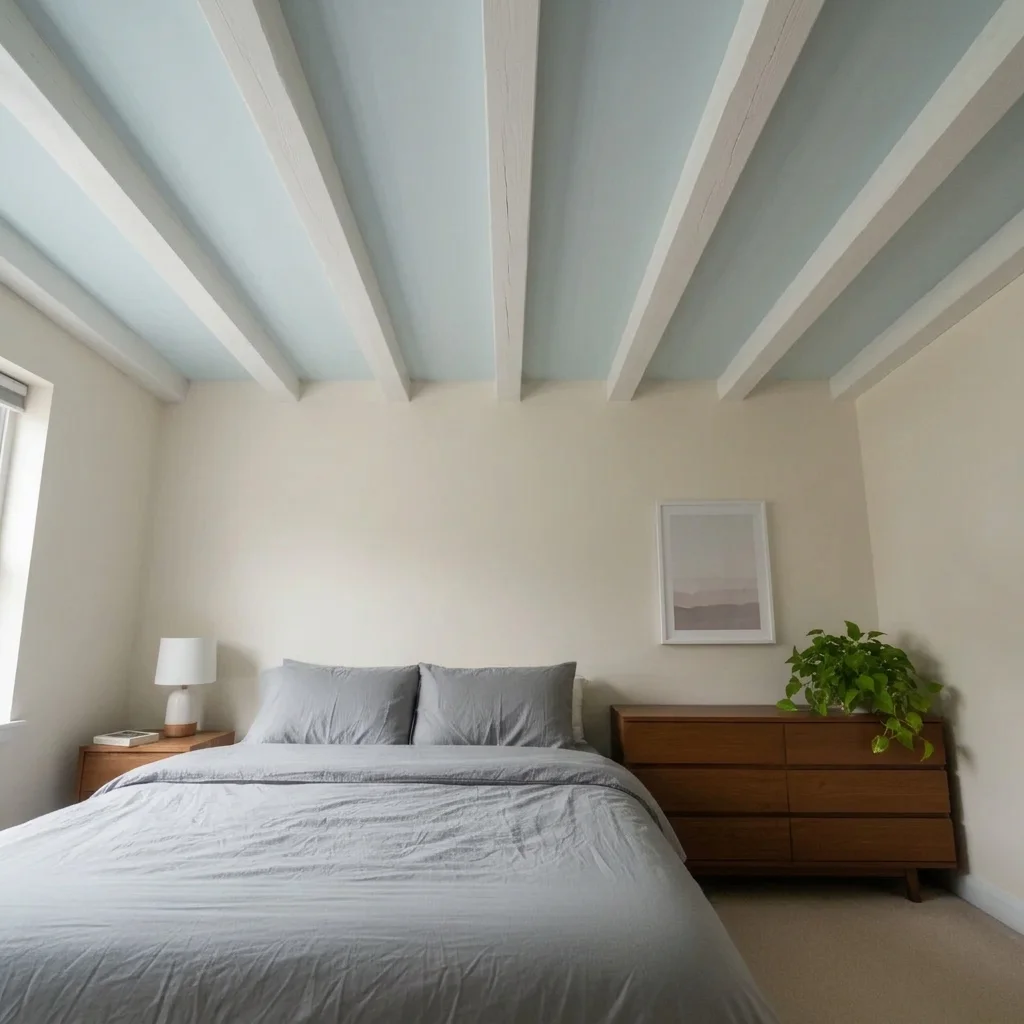
Bedroom with plain pale blue ceiling
Before
->
Same bedroom with white beams along the ceiling
After

Bedroom ceiling to white painted beams

A bedroom ceiling made to feel more cottage-like with white beams.

Prompt: add white painted beams running along the length of the ceiling, evenly spaced, keep walls and bed unchanged

Quick answers

Do I need to mark the ceiling before adding beams?

No. Describe the beams you want, for example 'add three dark faux wood beams across the ceiling.' The AI finds the ceiling from the photo. Use a marker only if the beams land on the wrong surface or cover a light.

Is there a free ceiling beam visualizer with no signup?

Yes. EditThisPic gives you a free preview edit with no account and no watermark. Upload a photo of your ceiling, describe the change, and look at the result. It is a mock-up to help you decide, not a quote or a plan.

Does it show real beam sizes and spacing?

No. It is a style preview. Beam size, spacing, fixings and weight are for a contractor or the manufacturer to confirm. Show the preview to them as a reference.

Can I compare dark and light beams?

Yes. Run the same photo twice with different finishes, such as dark walnut and light oak, and compare how the room feels.

Does it work for faux beams, not structural ones?

The preview only shows how beams look. It does not tell you whether a beam is structural, hollow or faux. Choose and install according to the product and a professional's advice.

What if my ceiling is sloped or vaulted?

Say so in the prompt, for example 'beams along the slope of the vaulted ceiling.' Sloped ceilings are harder, so check the result and try markers if needed.

How much does EditThisPic cost?

You get 1 free Standard edit per week — no account needed. After that, one-time credit packs start at $4.99 for 10 credits, valid 12 months, no subscription. A Standard edit uses 1 credit, Pro 2 and Ultra 3. Purchased downloads are clean with no watermark.

Ready to preview ceiling beams in your room?

Free to try. No signup required.

1 free edit included·paid credit packs after