Pricing Remove Flash glare · Free

AI Flash Glare Remover

← Browse all remove tools

Last updated

Describe the flash hot-spot and the AI tones it down. Free, no signup.
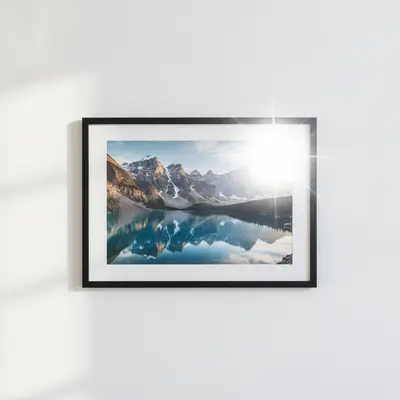
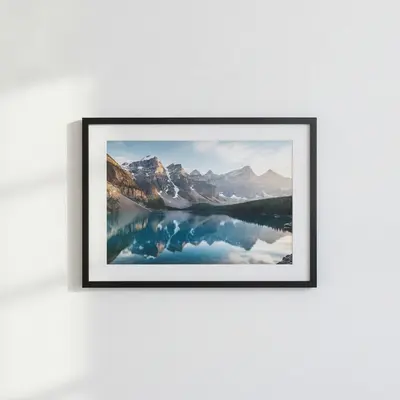
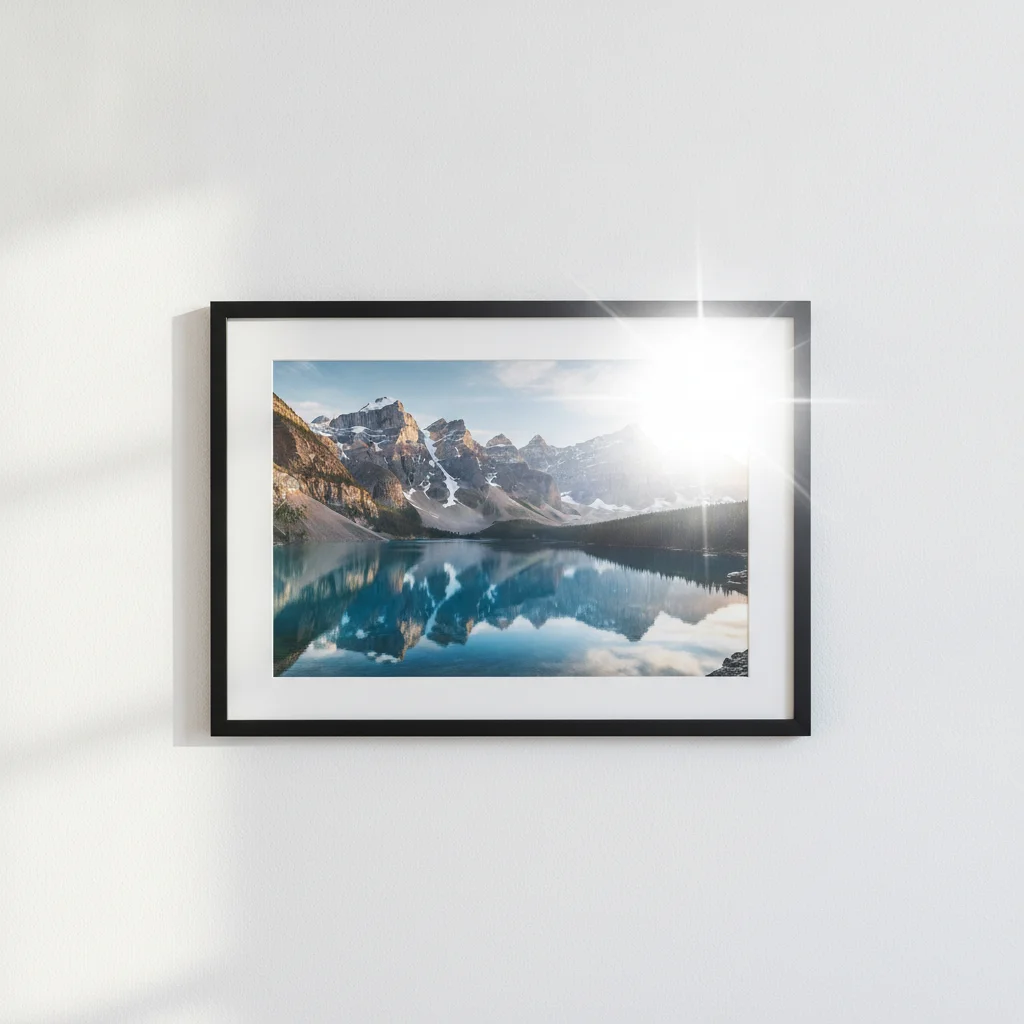
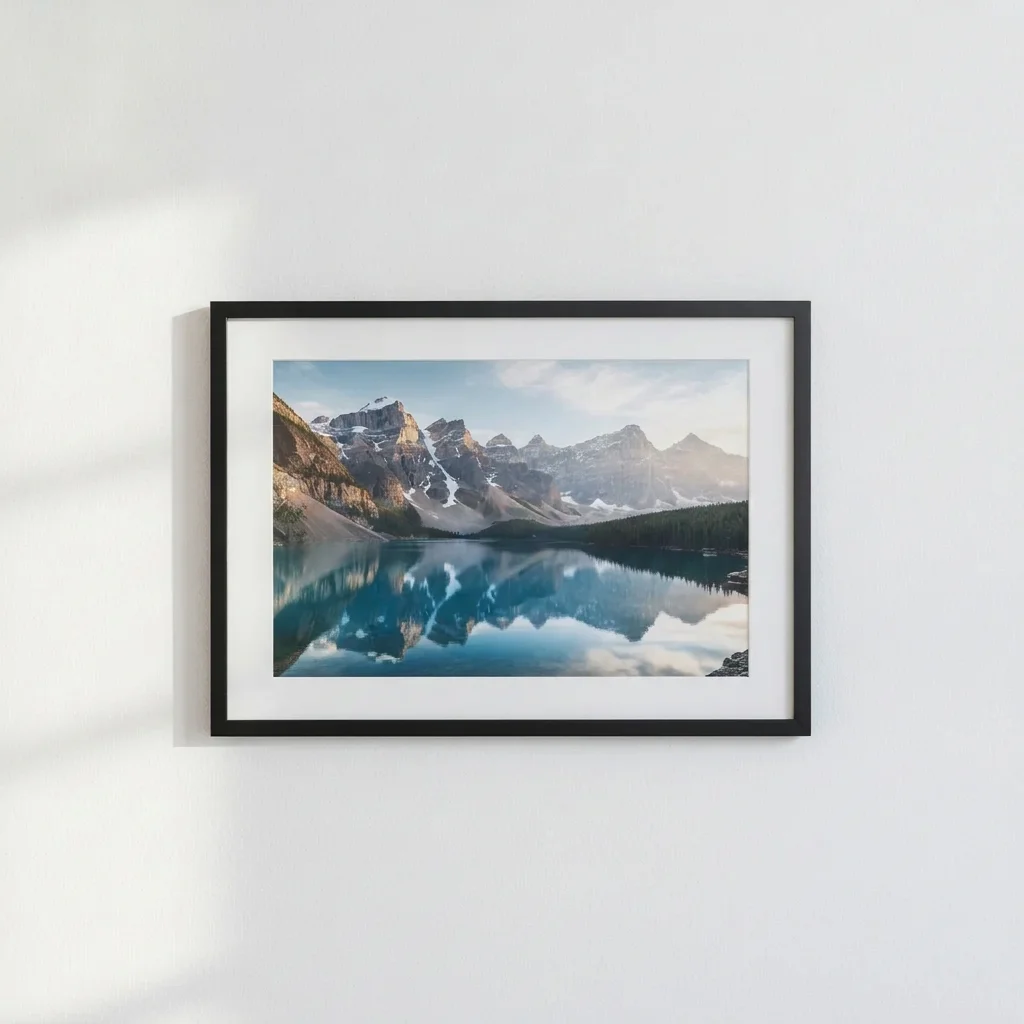
Framed print with a white flash blob on the glass Same print with the flash blob removed

Upload photo to remove flash glare

"remove the flash shine from the forehead, nose and cheeks of the person, keep natural skin texture and colour, do not blur the face"

Free to try · no sign-up · never used for AI training

Release to upload

<30stypical edit
1 freeedit weekly
Photo on your phone? Scan to open this editor there — free edit works on your phone too.

1 free edit every week·paid packs after

How it works

  1. Upload your photo

    Use the photo with the flash glare. The detail still visible under the glare matters: a pale shine can be fixed, but a fully white patch has nothing left to recover. Photos of glass, glossy paper, plastic and faces all work.

    Expect: Simple fixes usually finish in under a minute. Heavier damage or busy detail can take a little longer and may need a second pass.
  2. Describe what you want

    Say where the glare is and what is underneath. For example: 'remove the white flash glare on the glass of the framed picture and show the artwork underneath, keep the frame unchanged.' No marking needed.

    Tip: Name the surface: glass, laminate, a forehead, a car body. It helps the AI judge what should be under the shine.

    Copy one of these to get started:

    Flash glare on glass over a framed picture remove the white flash glare on the glass of this framed picture, show the artwork beneath it, keep the frame and wall unchanged

    Shiny forehead and cheeks from flash remove the flash shine from the forehead, nose and cheeks of the person, keep natural skin texture and colour, do not blur the face
    Glossy print or photo album page remove the flash hot-spot on the glossy photo album page, keep the photos underneath visible and sharp
    Laminated menu or poster remove the flash glare from the laminated poster so the printed text and image are visible, keep the layout unchanged
    3 more prompts
    Flash reflection on a window remove the flash reflection on the window glass so the view outside is visible, keep the window frame unchanged
    Glare on a car or product remove the flash glare spot on the car door, keep the paint colour and body lines unchanged
    Flash on glasses remove the flash glare from the lenses of the glasses so the eyes are visible, keep the frames unchanged
  3. Review the result

    Look at the area where the hot-spot was. Skin should keep its pores and tone, and glass should still look like glass. Watch for flat patches where the glare used to be.

  4. Refine with markers if needed

    If some glare remains or the AI changed a part you wanted kept, tap a marker on that area and regenerate.

    Tip: Markers are for precision refinement, not a required step. Most edits work from the description alone.

See it in action

Framed print with a white flash blob on the glass
Before
->
Same print with the flash blob removed
After

Framed print behind glass

A framed landscape print photographed with flash, a bright hot-spot hiding part of the picture.

Prompt: remove the white flash glare on the glass of this framed picture, show the artwork beneath it, keep the frame and wall unchanged

Portrait with a shiny forehead from flash
Before
->
Same portrait with natural skin
After

Flash shine on a face

A party snapshot with a shiny forehead and nose.

Prompt: remove the flash shine from the forehead, nose and cheeks of the person, keep natural skin texture and colour, do not blur the face
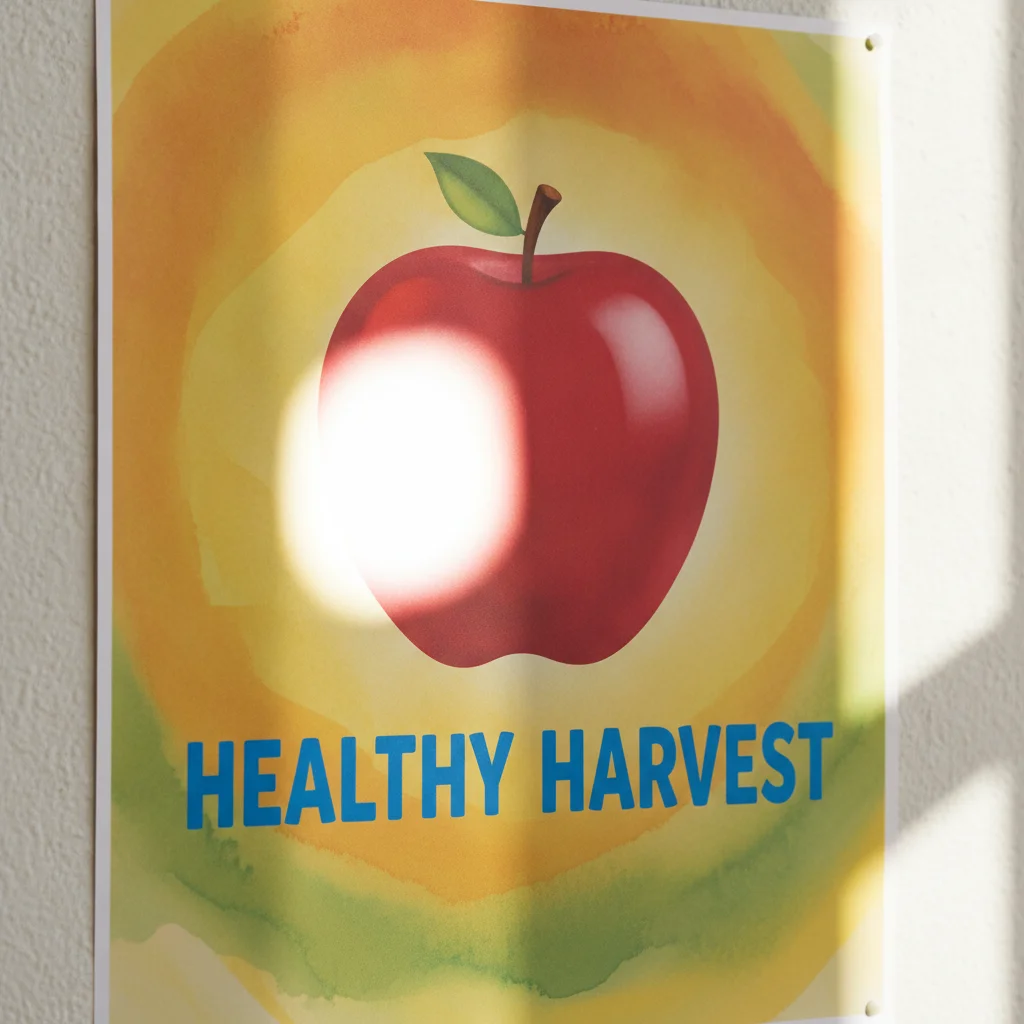
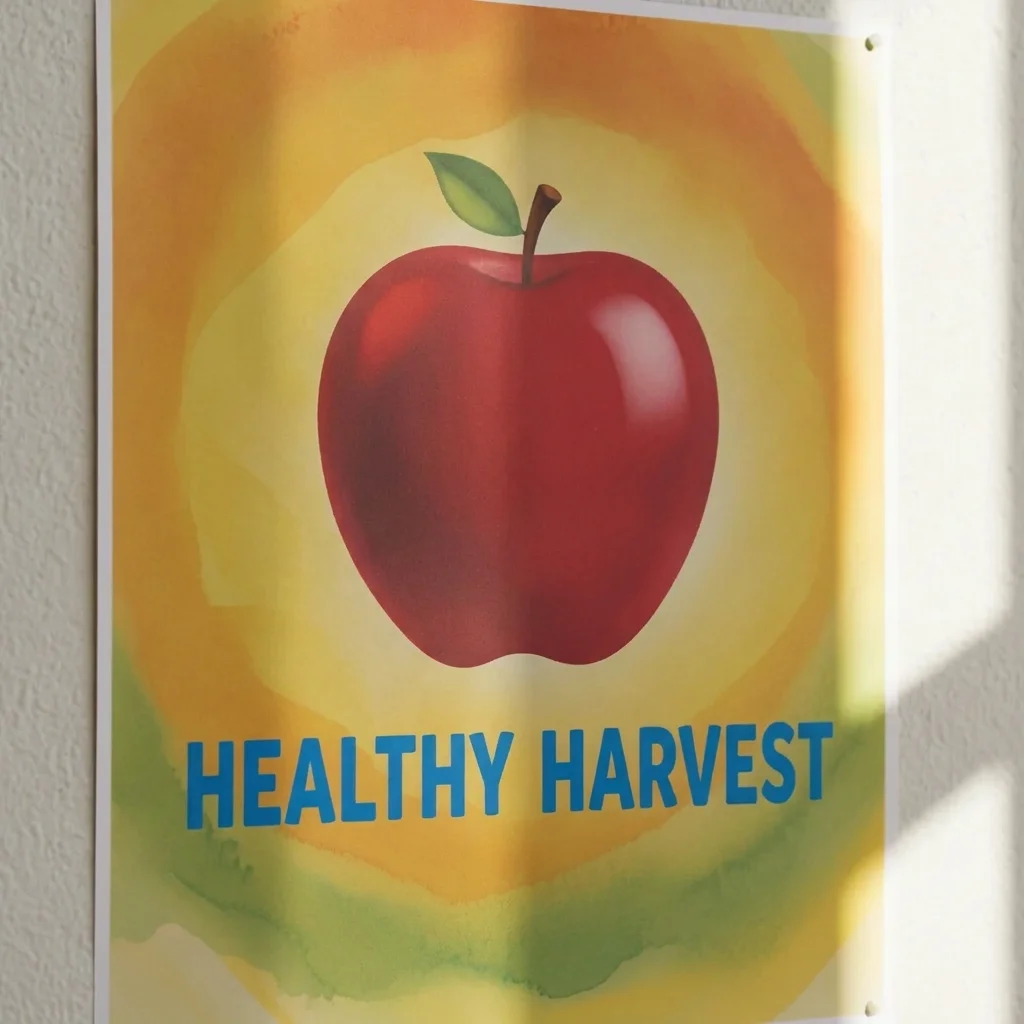
Laminated poster with a flash glare patch
Before
->
Same poster with the glare reduced
After

Laminated poster

A laminated information poster with a glare patch over the text.

Prompt: remove the flash glare from the laminated poster so the printed text and image are visible, keep the layout unchanged

Quick answers

Do I need to mark the flash glare before describing what I want?

No. Describe where the glare is and what it covers, and the AI finds it. Markers help if a second hot-spot is missed or a good area changes.

How do I remove flash glare from a photo for free?

Upload the photo, type where the glare is, and download the preview. The free edit is a preview, with no signup and no watermark.

Can it recover a completely white area?

No. Fully blown-out areas have no information. The AI can reconstruct something plausible, but it is a guess, so check important details.

Does it work on glass over a picture?

Yes, usually. Say it is glass and describe the picture beneath. A pale shine is easier than a totally white patch.

What if the flash glare is on someone's glasses?

Try this tool first, or use the dedicated glasses glare remover for lens-specific prompts.

How can I avoid glare next time?

Shoot at a slight angle to glass, turn off the flash, or use soft window light.

How much does EditThisPic cost?

You get 1 free Standard edit per week — no account needed. After that, one-time credit packs start at $4.99 for 10 credits, valid 12 months, no subscription. A Standard edit uses 1 credit, Pro 2 and Ultra 3. Purchased downloads are clean with no watermark.

Ready to remove the flash glare?

Free to try. No signup required.

1 free edit included·paid credit packs after